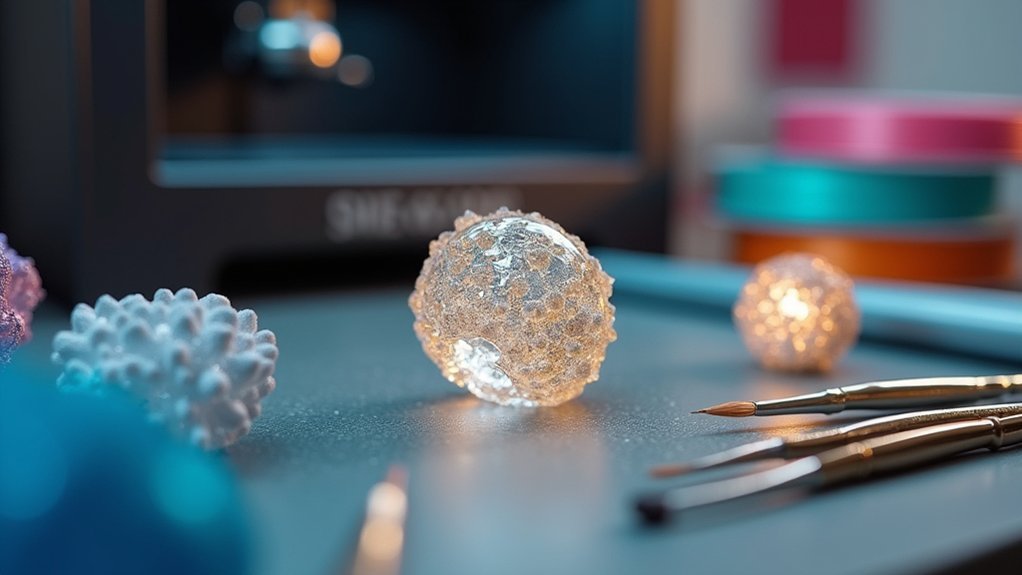
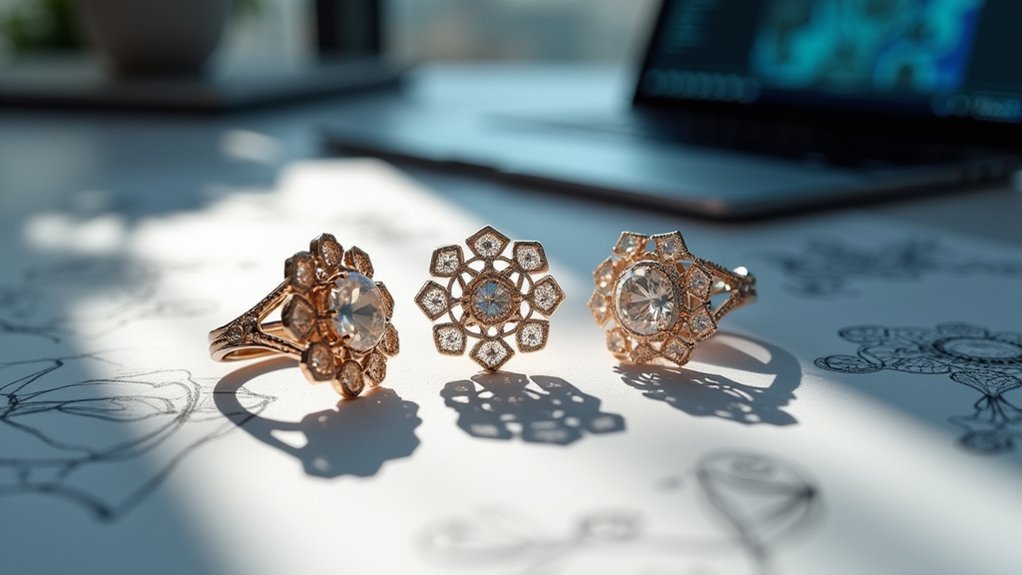
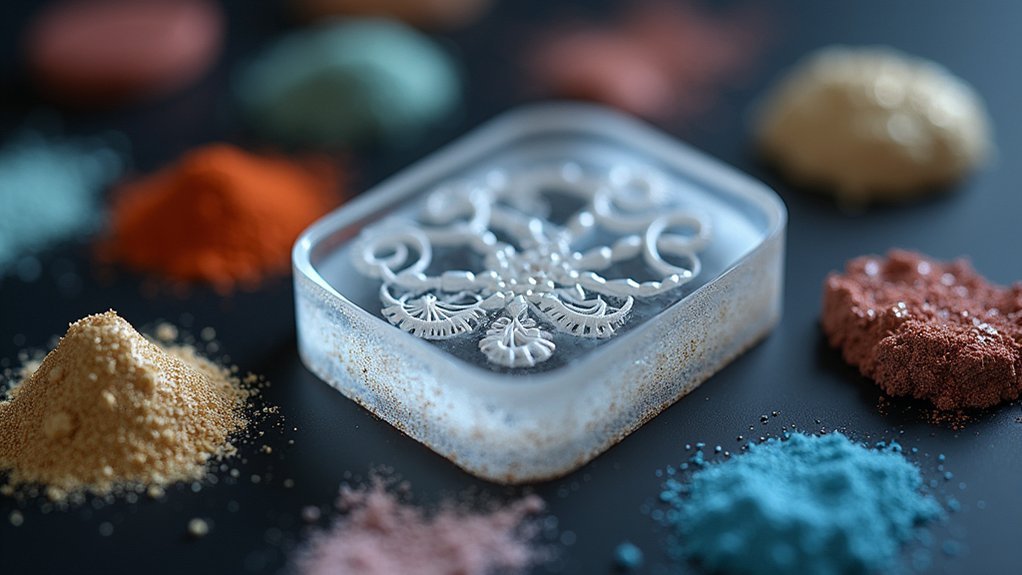
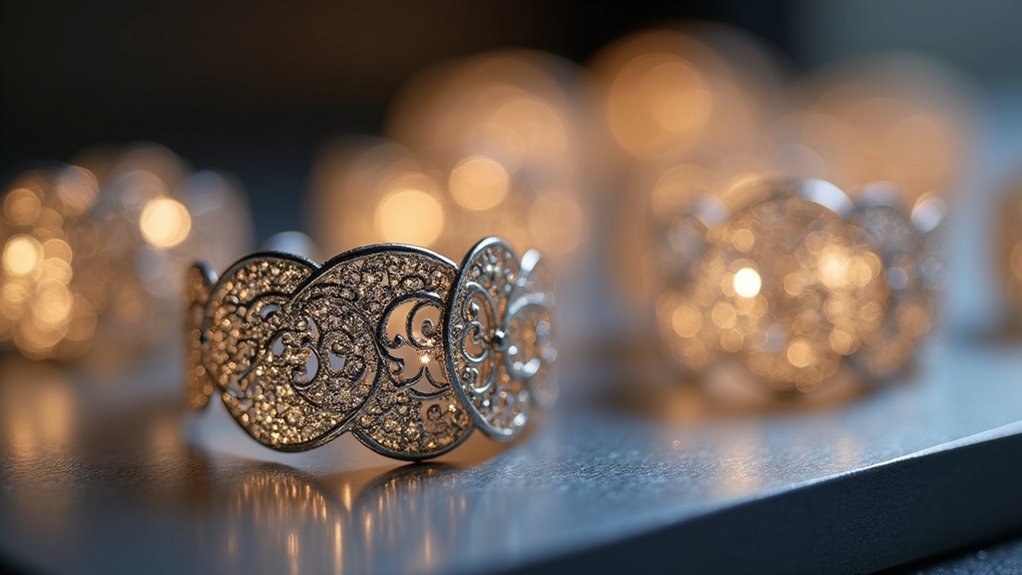
You can create precise jewelry molds using 3D printing technology with SLA or DLP printers that offer 25-50 micron layer resolution. You’ll need CAD software and specialized resins like W20 Green or Jewelry Violet for ideal results. The process involves designing your model, printing with proper support structures, then post-processing with isopropyl alcohol cleaning and UV curing. This method enables complex geometries impossible with traditional techniques while reducing waste and production time. Master these fundamentals to access advanced casting possibilities.
What Is 3D Printing for Jewelry Mold Creation

Revolution has transformed jewelry manufacturing through 3D printing technology, which allows you to create precise molds using computer-aided design (CAD) software and specialized printing materials like wax or resin.
This innovative approach enables you to produce complex shapes and intricate details that traditional methods can’t achieve effectively.
Your digital design begins as a CAD model that’s sliced into layers for accurate printing. You’ll primarily use Stereolithography (SLA) or Digital Light Processing (DLP) technologies, both delivering exceptional resolution and detail in your jewelry molds.
SLA and DLP technologies deliver exceptional precision when your CAD jewelry designs are sliced into printable layers for manufacturing.
The process streamlines jewelry production by reducing waste and production time considerably.
You’ll find this cost-effective solution beneficial whether you’re an individual artisan or running larger manufacturing operations, making complex jewelry designs more accessible than ever.
Essential Equipment and Software Requirements
You’ll need to choose a high-resolution 3D printer that can handle the intricate details required for jewelry mold creation.
SLA and DLP printers are your best options since they deliver the precision necessary for fine jewelry work.
Additionally, you’ll want to select CAD software that allows you to design complex models and prepare them properly for printing.
3D Printer Selection
Two primary technologies dominate the 3D printing landscape for jewelry mold creation: Stereolithography (SLA) and Digital Light Processing (DLP).
Both offer exceptional precision essential for intricate jewelry designs, making them ideal choices for your 3D printer selection.
SLA printers use a laser to cure resin layer by layer, providing excellent detail resolution.
DLP printers utilize a digital projector to cure entire layers simultaneously, often resulting in faster print times.
When choosing between SLA and DLP, you’ll need to evaluate specific printer specifications that directly impact your mold quality.
Layer resolution determines how fine your details will appear, while build volume dictates the maximum size of your molds.
Consider printers offering layer heights of 25-50 microns for peak jewelry mold results.
CAD Software Options
While selecting the right 3D printer sets the foundation for quality molds, choosing appropriate CAD software determines your design capabilities and workflow efficiency.
You’ll find several CAD software options specifically designed for jewelry creation. RhinoGold, MatrixGold, and 3Design lead the market with specialized tools for intricate jewelry modeling.
These programs offer parametric design features that let you modify dimensions and details with exceptional accuracy. You’ll streamline your entire workflow from initial concept to final 3D printing, considerably reducing production time and minimizing errors.
Before selecting software, verify compatibility with your 3D printer to avoid format issues during file transfer. This compatibility prevents printing problems and guarantees peak results for your jewelry molds.
CAD Design Fundamentals for Jewelry Molds

You’ll need to choose CAD software that balances user-friendliness with the advanced features required for jewelry design, considering factors like parametric modeling capabilities and material libraries.
Your modeling approach must prioritize precision at microscopic levels, since even tiny errors can compromise the mold’s functionality and the final jewelry piece’s quality.
You can’t skip file optimization—properly preparing your digital models guarantees successful printing by eliminating mesh errors, reducing polygon count, and matching your printer’s specifications.
Software Selection Criteria
When choosing CAD software for jewelry mold design, you’re making a decision that’ll directly impact your workflow efficiency and final product quality.
Your software selection criteria should prioritize a user-friendly interface and robust modeling tools that streamline your jewelry design process. Don’t overlook compatibility with 3D printers and essential file formats like STL or OBJ – this guarantees seamless integration with your printing workflow.
Consider advanced features such as parametric design and simulation capabilities, which enhance efficiency and accuracy for complex jewelry designs. Popular options like Rhino, MatrixGold, and Tinkercad cater to different skill levels and design complexities.
Finally, familiarize yourself with rendering and visualization tools, as these capabilities greatly influence your final mold quality and aesthetics.
Precision Modeling Techniques
Mastering precision modeling techniques becomes your foundation for creating flawless jewelry molds that translate seamlessly from digital concept to physical reality.
Computer-Aided Design software empowers you to manipulate intricate details and proportions with surgical accuracy, ensuring your digital prototype captures every nuance of your intended design.
Your modeling workflow should incorporate these essential precision techniques:
- Layer-by-layer slicing enhancement – Configure your digital files with proper resolution settings and strategic support structures to minimize printing errors.
- Material-specific design adjustments – Adapt your models based on resin and metal compatibility requirements for peak mold durability.
- Iterative refinement cycles – Test and modify your prototypes systematically, incorporating feedback to perfect dimensional accuracy before final production.
This methodical approach transforms your creative vision into production-ready molds that consistently deliver professional-quality jewelry pieces.
File Optimization Methods
While precision modeling establishes your design foundation, file optimization methods determine whether your digital masterpiece translates into a flawless physical mold. Your CAD model must be manifold—completely watertight without holes or non-manifold edges—to prevent printing failures that’ll compromise jewelry casting quality.
| Optimization Aspect | Problem | Solution |
|---|---|---|
| Manifold Geometry | Holes, gaps in mesh | Check mesh integrity tools |
| File Size | Slow processing, crashes | Simplify complex surfaces |
| Scale Accuracy | Incorrect dimensions | Verify real-world measurements |
| Layer Organization | Modification difficulties | Use proper naming conventions |
| Export Format | Compatibility issues | Choose STL/OBJ formats |
Simplifying complex geometry while preserving essential details reduces file size dramatically, improving printing efficiency. You’ll also want to verify your scale against real-world measurements and export using compatible formats like STL or OBJ.
Material Selection for 3D Printed Jewelry Molds

The foundation of successful jewelry casting lies in selecting the appropriate material for your 3D printed molds.
Material selection for 3D printed jewelry molds greatly impacts your final results in the jewelry industry. You’ll need to take into account compatibility with your printing technology and burnout characteristics.
Popular resin options for 3D printed jewelry molds include:
- W20 Green – Offers excellent detail retention and smooth surface finish for intricate designs
- W40 Orange – Provides superior casting properties with reliable burnout performance
- Jewelry Violet – Delivers high precision for delicate jewelry components
Each resin requires specific temperature profiles during the burnout process to eliminate residue completely.
You’ll also need proper post-processing with 95% IPA cleaning and UV curing to guarantee ideal mold performance and longevity for casting operations.
Stereolithography Vs Digital Light Processing Technologies
Once you’ve selected your resin material, choosing the right printing technology becomes your next critical decision.
Stereolithography uses UV lasers to cure photopolymer resin layer by layer, delivering exceptional resolution and smooth surfaces perfect for intricate jewelry pieces.
Digital Light Processing employs a digital projector to cure entire layers simultaneously, offering faster printing speeds but typically lower resolution than SLA.
You’ll want SLA when your designs demand fine details and superior surface finishes, reducing post-processing time before creating your wax model.
Choose DLP for larger batches or when speed matters more than ultra-fine detail.
DLP technology excels in high-volume production environments where printing speed takes priority over achieving maximum detail resolution.
Both technologies produce excellent castable models for investment casting, but your specific design requirements, timeline, and budget will determine which technology best suits your jewelry production needs.
Preparing and Optimizing Digital Files for Printing
When you’re preparing digital files for 3D printing jewelry molds, you’ll need to guarantee your files meet specific format requirements like STL or OBJ that your printer can process.
You must carefully configure model resolution settings to balance print quality with processing time, as higher resolutions create smoother surfaces but longer print times.
Additionally, you’ll need to strategically place support structures in your design software to prevent overhangs and bridges from collapsing during the printing process.
File Format Requirements
How do you guarantee your digital jewelry design translates perfectly into a printable mold? Start with proper file format requirements. For your 3D Printing Jewelry Molds: Complete Guide, you’ll need STL format as your foundation. STL files provide universal compatibility across most 3D printers and design software, ensuring seamless workflow integration.
Essential file preparation steps include:
- Verify manifold geometry – Your file must contain no holes or non-manifold edges that could cause printing failures.
- Optimize mesh resolution – Balance detail quality with file size to prevent processing slowdowns.
- Run mesh repair tools – Fix overlapping vertices and intersecting faces that compromise mold integrity.
Always double-check your design’s scale before printing. Size discrepancies will render your molds unusable, wasting both time and materials during jewelry production.
Model Resolution Settings
Three critical resolution parameters determine whether your jewelry mold captures every delicate detail or becomes a disappointing blur. Your model resolution settings directly control the final print quality, with higher settings producing finer details at the cost of extended print times.
Optimize your layer height between 25 to 100 microns in your slicing software—jewelry applications demand this precision range for professional results. You’ll need to balance detail requirements against production time constraints.
Before printing, verify your CAD model has clean geometry and proper manifold construction. Remove non-manifold edges and reduce unnecessary complexity to minimize printing failures.
Don’t overlook support structures and model orientation—they’re essential for achieving superior surface finishes and reducing your post-processing workload considerably.
Support Structure Placement
Although your model’s geometry might be perfect, inadequate support placement will destroy even the most meticulously designed jewelry mold.
You’ll need strategic positioning to minimize material waste while maintaining stability for overhangs and delicate features.
Optimize your digital files by adjusting model orientation first—this reduces excessive support structures and improves surface finish quality.
Use simulation software to analyze weak points before printing begins.
Follow these essential guidelines for effective support placement:
- Position supports on less visible surfaces to minimize post-processing challenges
- Select breakaway materials that won’t damage your final piece during removal
- Analyze overhang angles to determine minimum support requirements for structural integrity
Smart support structure placement guarantees your intricate jewelry molds print successfully while maintaining the precision your designs demand.
Step-by-Step 3D Printing Process
Creating a jewelry mold through 3D printing starts with developing a precise digital design using CAD software that captures every detail of your intended piece.
You’ll then slice this design into thin layers that your printer can interpret.
Next, you’ll use SLA or DLP technology to build the mold layer by layer with high-temperature resin.
During 3D printing, make sure you’ve optimized your digital model with proper support structures and material compatibility.
Once printing completes, you’ll clean the mold with isopropyl alcohol and cure it to enhance strength and precision.
Finally, you’ll prepare the mold for casting by drilling necessary vents and verifying it meets specifications for pouring metal or other materials into your finished jewelry mold.
Post-Processing Techniques for Mold Refinement
Success in 3D printed jewelry mold creation depends heavily on meticulous post-processing techniques that transform your raw printed piece into a professional-grade casting tool.
Your post-processing workflow begins with cleaning your mold using isopropyl alcohol to remove excess resin, creating a smooth foundation for refinement. Next, you’ll cure the mold under UV light to strengthen the resin and enhance durability for repeated casting cycles.
Critical refinement steps include:
- Support removal – Use tools like the Sonic Saber to carefully extract support structures without damaging intricate details.
- Surface finishing – Sand with various grits, then polish with jeweler’s rouge for ideal smoothness.
- Quality inspection – Check for imperfections and test compatibility with your intended casting methods.
These post-processing techniques for mold refinement guarantee your jewelry making projects achieve professional results.
Investment Casting With 3D Printed Models
When you shift from traditional jewelry making to investment casting with 3D printed models, you’ll discover a revolutionary approach that combines digital precision with time-tested metallurgy techniques.
Your 3D printed models replace traditional wax patterns, serving as master patterns that enable precise replication of intricate designs impossible with conventional methods.
3D printed models revolutionize jewelry making by replacing wax patterns and enabling intricate designs beyond conventional manufacturing capabilities.
You’ll achieve ideal results using stereolithography (SLA) or Digital Light Processing (DLP) technologies, which deliver exceptional resolution and detail accuracy.
Castable resins in your 3D printing process create high-quality master models while minimizing material waste.
After printing, you’ll subject your models to a burnout process, heating them to eliminate remaining resin before pouring molten metal.
Essential post-processing steps include thorough cleaning and polishing to guarantee smooth finishes in your final cast jewelry pieces.
Quality Control and Testing Methods
Although your 3D printed jewelry models may appear flawless upon initial inspection, rigorous quality control and testing methods will determine whether they’ll produce successful cast pieces.
You’ll need to implement thorough measures throughout your printing process to guarantee ideal results.
Essential quality control steps include:
- Calibration and monitoring – Regularly calibrate your printers and monitor material consistency to meet design specifications and quality standards.
- Dimensional testing – Conduct accuracy checks and surface finish evaluations to identify potential defects before casting begins.
- Advanced inspections – Use non-destructive techniques like ultrasonic or X-ray inspections to reveal internal flaws without compromising mold integrity.
You should also perform fit tests on prototypes and establish feedback loops with jewelers to address real-world performance issues.
Troubleshooting Common Printing Issues
Even the most extensive quality control measures can’t prevent every printing problem from occurring, so you’ll need to master troubleshooting techniques when issues do arise.
| Issue | Cause | Solution |
|---|---|---|
| Layer adhesion failures | Incorrect temperature/bed leveling | Adjust print temperature and level bed |
| Inaccurate dimensions | Poor printer calibration | Regular calibration checks and slicer adjustments |
| Support structure failures | Suboptimal design/settings | Optimize design and adjust support density |
When printing in jewelry applications, warping and curling often result from temperature fluctuations. Control your print environment by maintaining consistent temperatures and eliminating drafts. Post-processing challenges like rough surfaces require fine-tuning resolution settings and implementing proper post-curing techniques for resin molds. Regular calibration prevents dimensional inaccuracies that compromise mold precision.
Frequently Asked Questions
What Are the Typical Production Costs Compared to Traditional Jewelry Mold Making?
You’ll save 60-80% on production costs with 3D printing compared to traditional methods. You’re eliminating hand-carving labor, reducing material waste, and cutting turnaround times from weeks to days.
How Long Do 3D Printed Jewelry Molds Typically Last Before Replacement?
You’ll typically get 50-200 castings from resin molds before replacement, depending on metal type and casting temperature. Higher-temp metals like gold reduce lifespan, while silver’s gentler on your molds.
Can Existing Jewelry Designs Be Reverse-Engineered for 3D Printing Molds?
You can reverse-engineer existing jewelry designs using 3D scanning technology or photogrammetry software. You’ll capture the piece’s geometry, then modify the digital model to create molds with proper draft angles and parting lines.
What Licensing Considerations Exist When Selling 3D Printed Jewelry Mold Designs?
You’ll need copyright permissions for protected designs, can’t sell Disney or trademarked jewelry molds, must verify original ownership, should include proper licensing terms, and you’re liable for intellectual property infringement.
How Does 3D Printed Mold Production Time Compare to Conventional Methods?
You’ll find 3D printed molds take 2-12 hours depending on complexity, while conventional silicone molding requires 24-48 hours for curing. You’re saving significant time, especially for intricate designs requiring multiple mold pieces.


Leave a Reply