
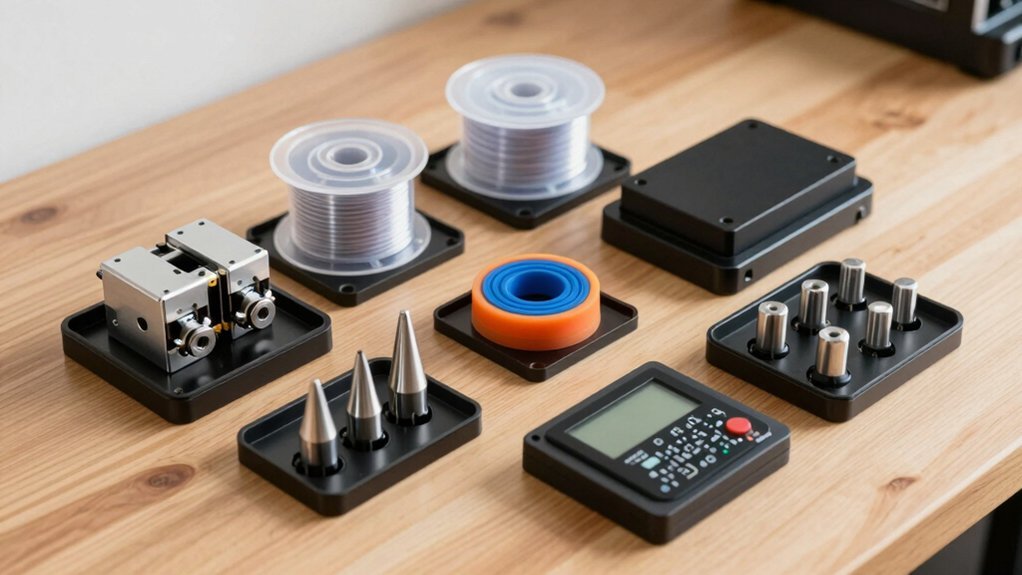
You’re looking for the most reliable way to benchmark ultrasonic gauge performance this year, and the answer boils down to two calibrated cube sets: the 0.250–1.000 inch aluminum or polymer blocks with a uniform Ra finish, and the steel‑and‑stainless wedges that mimic 1018 and 304 alloys. Both provide tight tolerances, traceable certificates, and consistent reflectivity, but each shines under different material‑compatibility scenarios. The next step is to see how these factors translate into real‑world repeatability and cost‑effectiveness for your process.
| 4‑Step Ultrasonic Thickness Calibration Block Steel Wedge |  | Professional Grade | Application: Ultrasonic thickness gauge calibration (NDT) | Step Increments: 0.250″, 0.500″, 0.750″, 1.000″ | Material: #1018 steel | CHECK ON AMAZON | Read Our Analysis |
| 4-Step Ultrasonic Calibration Wedge Block (Stainless Steel) |  | Budget-Friendly Pick | Application: Ultrasonic thickness gauge calibration (NDT) | Step Increments: 0.250″, 0.500″, 0.750″, 1.000″ | Material: #304 stainless steel | CHECK ON AMAZON | Read Our Analysis |
More Details on Our Top Picks
4‑Step Ultrasonic Thickness Calibration Block Steel Wedge
The 4‑Step Ultrasonic Thickness Calibration Block Steel Wedge is the ideal choice for NDT professionals who need precise thickness and linearity calibration of ultrasonic gauges, delivering reliable measurements across 0.250‑inch increments up to 1.000 inch on #1018 steel. You’ll value its compact 4.92 × 3.66 × 1.14‑inch package and light 7.7‑ounce weight, making it easy to transport to job sites. M&A Instruments lists it as model B‑101‑0002, available since November 29 2022, with ASIN B0BNKJV7K7. The block’s four steps—0.250, 0.500, 0.750, and 1.000 inches—ensure accurate linearity checks. If you spot a lower price, you can submit the store, city, state, price, shipping cost, and date through the provided form.
- Application:Ultrasonic thickness gauge calibration (NDT)
- Step Increments:0.250″, 0.500″, 0.750″, 1.000″
- Material:#1018 steel
- Manufacturer:M&A INSTRUMENTS INC
- Model Number:B-101-0002
- Category:Industrial & Scientific – Thickness Gauges
- Additional Feature:Compact 4.92×3.66×1.14″ package
- Additional Feature:Light 7.7‑oz weight
- Additional Feature:Price‑matching inquiry form
4-Step Ultrasonic Calibration Wedge Block (Stainless Steel)
If you need a reliable tool for calibrating ultrasonic thickness gauges across multiple steel thicknesses, the 4‑Step Ultrasonic Calibration Wedge Block (Stainless Steel) is the perfect choice. Made from #304 stainless steel, it offers four precise steps—0.250, 0.500, 0.750, and 1.000 inches—so you can verify both accuracy and linearity in one go. Its compact 3.2 × 1 × 0.96‑inch footprint and 7.2‑oz weight make handling easy on the shop floor. M&A Instruments lists it under model B‑101‑0022, first released November 29 2022, and it ranks well in the industrial scientific best‑sellers category. Use it to simulate varied thicknesses, ensuring your NDT gauges stay trustworthy.
- Application:Ultrasonic thickness gauge calibration (NDT)
- Step Increments:0.250″, 0.500″, 0.750″, 1.000″
- Material:#304 stainless steel
- Manufacturer:M&A INSTRUMENTS INC
- Model Number:B-101-0022
- Category:Industrial & Scientific – Thickness Gauges
- Additional Feature:Approx. 3.2×1×0.96″ size
- Additional Feature:Light 7.2‑oz weight
- Additional Feature:Offline store price entry fields
Factors to Consider When Choosing Test Print Calibration Cube Sets for Benchmarking Quality
When you pick a calibration cube set, start by checking the material accuracy and how consistently each cube maintains its dimensions. Look for a smooth surface finish that reveals subtle layer issues and guarantee the material works with your printer’s filament or resin. Finally, choose a set with a straightforward calibration procedure so you can get reliable benchmarks without extra hassle.
Material Material Accuracy
Why does material accuracy matter for calibration cubes? Because you rely on a well‑characterized, homogeneous composition to get repeatable ultrasonic readings. Choose cubes that list the exact alloy grade and heat‑treatment history—say, #1018 steel or 304 stainless—so acoustic impedance and attenuation stay consistent across tests. Keep thickness steps precise (0.250, 0.500, 0.750, 1.000 in) and within tight tolerances to preserve linearity calibration. Ensure the blocks have controlled machining and surface‑finish standards, as roughness degrades coupling and measurement accuracy. Finally, verify traceability to recognized standards or material certificates; this lets you substantiate property accuracy and compare benchmarks confidently.
Dimensional Consistency
Do you need truly reliable benchmarks? When you pick a calibration cube, demand tight tolerances—typically a few thousandths of an inch or hundredths of a millimeter—on every axis. Those dimensions must stay consistent so your measurement tools produce repeatable length, width, and height data. Look for cubes with uniform surface finish and perfectly square geometry; this eliminates parallax, edge effects, and contact inconsistencies that could skew readings. Verify that each cube traces back to a recognized standard or calibration method, giving you confidence that dimensional accuracy persists across batches. Finally, ensure the manufacturer enforces strict in‑process controls and offers periodic re‑verification, so reproducibility across production lots remains guaranteed.
Surface Finish Quality
Surface finish matters because a smooth, uniform cube lets your measurement tools make consistent contact, reducing stray signals and edge effects. You should first check the Ra value; lower roughness means fewer anomalies in thickness readings. Look for even layer deposition and minimal stair‑stepping on all faces—any uneven step can skew calibration. Visible defects like chatter marks, z‑seam lines, or finishing artifacts must be absent, as they introduce bias. If the cube has been sanded, polished, or coated, note the post‑processing method because it changes the surface characteristics you’re measuring. Consistent documentation of these steps lets you compare results across different printers and settings, ensuring reliable benchmarking.
Material Compatibility
What material you choose for your calibration cubes can make or break your ultrasonic or NDT results. You need blocks that mimic the engineering steels you’ll encounter—typically #1018 carbon steel and 304 stainless steel—so attenuation and acoustic impedance stay realistic. Their differing densities and impedances let you test thickness‑calibration accuracy and linearity across each step (0.250, 0.500, 0.750, 1.000 in.). Mixing materials in one set simulates welds or clad interfaces, giving you a broader performance picture. Keep the surface finish and microstructure uniform across batches; any roughness or grain variation will add unwanted measurement variance. Standardized step increments in both steels also let you compare gauge performance side‑by‑side, confirming that your calibration holds across material types.
Calibration Procedure Simplicity
When you pick a calibration‑cube set, look for uniform step increments—0.250, 0.500, 0.750, and 1.000 in.—so the thickness references are unmistakable. A compact block, roughly 3.2 × 1 × 0.96 in. and weighing about 7.2 oz., cuts down handling time and error risk. Choose a set built from standardized material like 304 stainless steel or 1018 steel; the predictable ultrasonic response means you won’t waste time tweaking settings. Documented first‑availability dates and model IDs let you trace results quickly, keeping each session consistent. Finally, define clear objectives—measure thickness and linearity—so you skip vague steps and finish calibration efficiently.
Environmental Stability
Stability under real‑world conditions is the linchpin of a reliable calibration cube set, so you need a material that resists temperature swings, humidity, and UV light. Look for polymers or composites with a low thermal expansion coefficient; a CTE that matches the cube’s tolerance keeps dimensions steady from 20 °C to 30 °C. Choose a material with minimal water absorption—ideally under 0.1 %—to avoid swelling when ambient humidity spikes. UV‑stable pigments and a surface finish that won’t fade preserve the contrast of markings for optical or triangulation checks. By prioritizing these properties, you’ll prevent dimensional drift and visual degradation, ensuring each calibration run remains accurate regardless of the environment.
Cost‑Effectiveness
How can you squeeze the most value from a calibration cube set without overspending? First, compare unit prices to the number of steps and overall block size; a larger set with finer increments often delivers better thickness‑calibration value per dollar. Choose a mix of materials—steel and stainless steel—so you can see how substrate differences affect repeatability and wear resistance. Prioritize kits that list step increments clearly (e.g., 0.250″, 0.500″, 0.750″, 1.000″) to keep benchmarking consistent across tests. Look for identical or matched blocks (same model number and dimensions) to cut variability in results. Finally, factor in weight and dimensions; lighter, compact cubes are easier to handle and position repeatably, saving time and reducing error.
Frequently Asked Questions
How Do I Store Calibration Cubes Long‑Term Without Warping?
Store cubes in a sealed, low‑humidity container, keep them flat on a rigid board, and avoid temperature swings; add silica packets and a desiccant drawer, then rotate them periodically to prevent stress.
Can I Use These Cubes for Resin Printers?
Yes, you can use those cubes on resin printers; just ensure the design’s tolerances match your printer’s layer height, and adjust exposure settings to avoid over‑curing or detail loss.
What Temperature Range Is Safe for the Steel Wedge Blocks?
You should keep steel wedge blocks between 150 °C and 250 °C; staying under 250 °C prevents warping, while dropping below 150 °C may cause insufficient softening for accurate calibration.
Do the Cubes Require Post‑Processing Before Measurement?
You don’t need extensive post‑processing; just remove supports, clean off any filament strings, and let the cubes cool before measuring dimensions with a caliper or scanner. This keeps tolerances accurate.
How Often Should I Replace the Calibration Cubes?
You should replace the calibration cubes every three to six months, or sooner if you notice dimensional drift, warping, or material degradation, because consistent accuracy depends on fresh, undistorted reference prints.
Leave a Reply