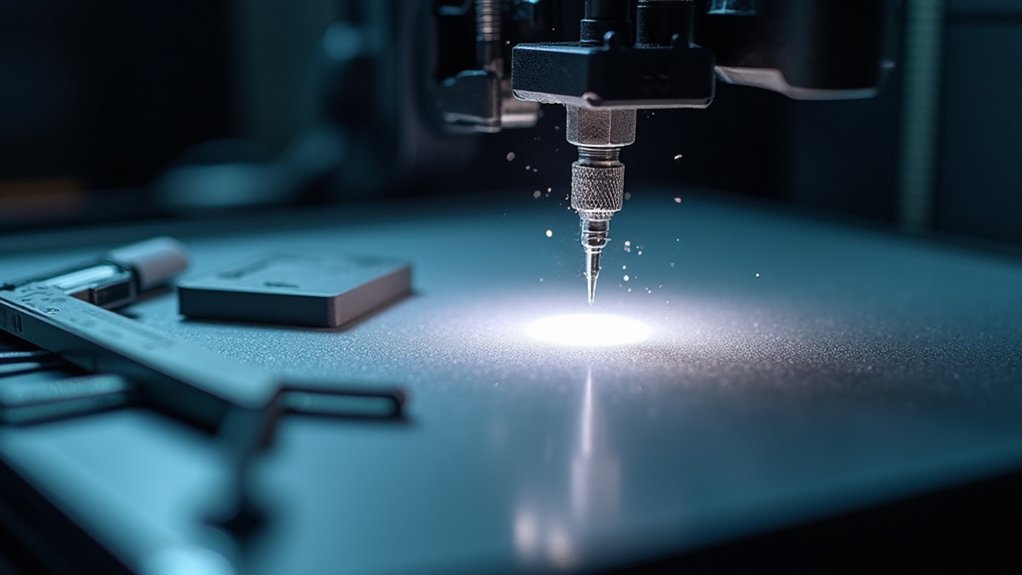
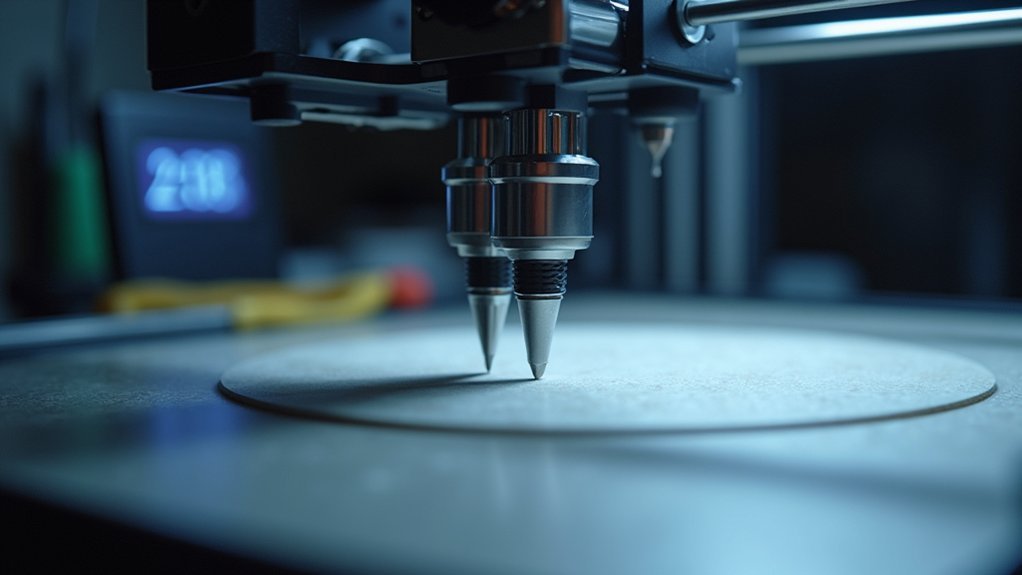
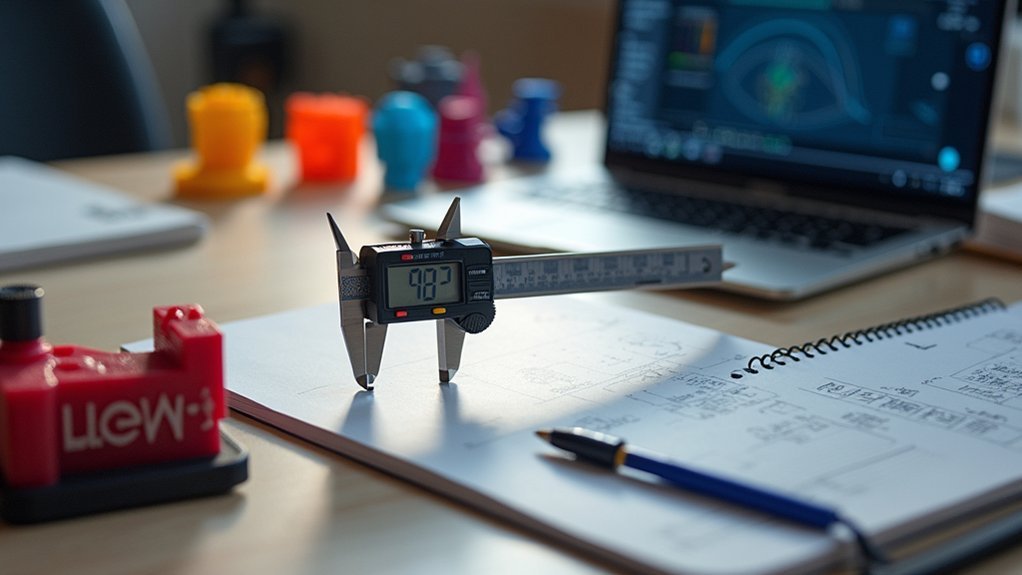
After leveling your bed, start z-offset calibration with the paper test method for initial distance assessment. Make incremental adjustments of 0.1mm or smaller to avoid overcorrection. Print single-layer test patterns like squares to evaluate accuracy, observing first layer quality indicators such as smooth filament deposition and proper line fusion. Use high-precision probes for consistent measurements, configure settings through firmware or slicer software, and document successful values for future reference. These essential techniques will guide you toward mastering precise calibration methods.
Ensure Your Bed Is Properly Leveled Before Starting Z-Offset Calibration

Before diving into Z-offset calibration, you must verify your printer bed is properly leveled, as this creates the foundation for accurate first layer printing. Without proper leveling, your nozzle won’t maintain consistent distances across the build surface, making Z-offset adjustments ineffective and potentially damaging your equipment.
Start by loosening bed screws to maximize clearance, then progressively tighten while checking nozzle-to-bed distance at each corner. Use thin paper or feeler gauges to confirm uniform spacing. You’ll need to cycle through all corners multiple times since adjusting one affects the others.
Even if you have automatic leveling sensors, you still need mechanical leveling first. This verifies your sensor data is reliable and your Z-offset calibration will produce consistent, high-quality first layers. Additionally, ensure you clean the print surface thoroughly to remove any oils or debris that could interfere with proper adhesion during calibration.
Use the Paper Test Method for Initial Z-Offset Distance Assessment
Once you’ve achieved proper bed leveling, the paper test method provides your most reliable starting point for Z-offset calibration.
The paper test method delivers the most dependable foundation for accurate Z-offset calibration after completing bed leveling procedures.
You’ll need a small piece of regular paper, approximately 5×3 cm, and guarantee your printer’s at operating temperature.
Lower your nozzle until it’s just above the paper on your print bed. Gently slide the paper back and forth beneath the nozzle.
You’re looking for slight resistance or friction when moving the paper. If it slides freely, your Z-offset’s too high. If you can’t move it or it tears, your nozzle’s too close.
Make incremental adjustments through your printer’s interface until you feel consistent light friction across the bed surface. This manual leveling approach takes more time than automated systems, but it provides precise control over your initial Z-offset positioning.
Make Small Incremental Adjustments to Avoid Overcorrection

After establishing your baseline distance with the paper test, you’ll need to make precise adjustments through your printer’s control interface using increments of 0.1mm or smaller.
These conservative movements prevent overshooting the ideal nozzle-to-bed distance and avoid damaging your print surface or nozzle.
Confirm each adjustment with a feeler gauge, checking for appropriate friction without excessive pressure. After every change, home your Z-axis to calibrate the printer to the new offset setting.
Advanced users can utilize G-code commands like G0 and G92 for even finer control with decimal increments.
Test print multiple lines at different heights to visually compare quality and adhesion.
This comparative method eliminates guesswork and guarantees you’ll achieve excellent first layer performance without repeated overcorrections. Remember to save new offset configurations using the M500 command to preserve your calibration settings permanently.
Print Single Layer Test Patterns to Evaluate Z-Offset Accuracy
You’ll need to select the right test patterns and know what to look for when evaluating your Z-offset accuracy.
Choose simple geometric shapes like squares or thin lines that clearly reveal first layer quality and adhesion issues.
Focus on analyzing key indicators such as filament line overlap, surface consistency, and proper flattening to determine if your Z-offset settings are correct. Print a square object at 0.22mm height to effectively test your calibration settings.
Choose Appropriate Test Patterns
While theoretical measurements provide a starting point, test patterns offer the most reliable method for gauging Z-offset accuracy through actual printing conditions.
You’ll want to select simple geometric shapes like squares, lines, or grids that allow clear observation of extrusion width and adhesion without complex layering variables.
Choose patterns that cover sufficient bed area to detect leveling inconsistencies across your print surface. Cross-hatch or grid patterns work exceptionally well for revealing filament flattening and bed adhesion uniformity.
Line-by-line extrusion patterns with defined spacing help evaluate line fusion and width consistency.
Your test patterns should be quick to print, enabling rapid iterative adjustments. Focus on designs that extrude continuous lines for measuring filament spread without multi-layer interference, making Z-offset effects easier to isolate. Many calibration prints focus primarily on the center of the build plate where most printing occurs.
Analyze Layer Quality Indicators
Single layer test patterns reveal Z-offset accuracy through distinct visual indicators that you can easily identify and interpret.
Look for gaps between extrusion lines, which indicate your nozzle’s too high and needs lowering. Overlapping or squished lines mean you’re too close to the bed and should raise the nozzle slightly. You’ll know you’ve achieved correct calibration when you see consistent, smooth extrusion lines forming a continuous sheet without gaps or raised areas.
Pay attention to first-layer adhesion quality and surface texture. Poor adhesion signals incorrect Z-offset, while elephant foot effects indicate over-squishing.
Use incremental adjustments of 0.01mm while retesting single layers. Different filaments may require specific offset tweaks, so repeat calibration tests when switching materials to maintain ideal print quality. PETG typically requires less squish compared to PLA when setting your Z-offset values.
Leverage High-Precision Probes for Consistent Measurement Values

High-precision probes like the Raise3D Z-probe transform Z-offset calibration by delivering exceptional repeatability with errors of just 0.012 mm or less.
This precision enables stable measurement of the nozzle-to-trigger distance, which is essential for consistent Z-offset results.
You’ll need to calibrate your probe’s X, Y, and Z offsets carefully to eliminate location bias.
Test the probe at various bed positions—corners and center—to detect inconsistencies greater than 0.025 mm that indicate mounting problems or unsuitable equipment.
The probe measures two vital distances: nozzle tip to trigger point and the additional offset to the sensor.
You must determine this sensor offset for your specific printer.
Once calibrated properly, high-precision probes allow automatic Z-offset calculation, minimizing manual adjustments and reducing first-layer failures. Remember that filament diameter variations can affect your calibration outcomes and may require small adjustments to maintain optimal results.
Utilize Live Z-Offset Adjustment During Print Start When Available
Though static Z-offset calibration provides a solid foundation, live Z-offset adjustment during print start takes precision to the next level by allowing real-time compensation for minor bed irregularities and surface variations.
You’ll observe filament deposition immediately and make incremental changes through your printer’s interface to achieve the ideal first layer.
- Watch for adhesion issues: Adjust negatively if you see gaps between lines or poor bed adhesion, positively if filament overlaps or creates rough textures
- Make small incremental changes: Use fractions of millimeters to fine-tune nozzle height without overcorrecting
- Save successful settings: Store preferred values in your firmware or slicer profiles for consistent future prints
This real-time approach prevents print failures and eliminates multiple restarts. The smooth first layer achieved through proper live adjustment promotes strong adhesion and sets the foundation for a successful print.
Observe First Layer Quality Indicators for Proper Adhesion
Once you’ve made your live Z-offset adjustments, you’ll need to evaluate the results by watching specific visual cues that reveal whether your first layer achieves proper adhesion.
Look for filament laying down smoothly without gaps, indicating good contact with the bed. Lines should be well-fused together with consistent width, creating a solid foundation.
You shouldn’t see any lifting, curling, or peeling—these signal your Z-offset needs adjustment. If filament appears rough or blurred, your nozzle’s too close. Gaps between lines mean it’s too high. Consider using test print files like single-layer grids to provide clear visual reference points for evaluating your calibration accuracy.
The ideal first layer shows uniform squish where filament bonds firmly to the bed surface without over-flattening or under-adhering, creating the perfect base for successful prints.
Configure Z-Offset Settings Through Firmware or Slicer Software
After you’ve identified how your first layer needs adjustment, you’ll configure the Z-offset through either your printer’s firmware or slicer software.
For firmware-based adjustment, navigate to your printer’s LCD menu and locate the configuration or probe Z-offset section. Use the dial to input negative values (typically) that represent the distance from nozzle tip to bed surface.
Most printers running Marlin firmware allow real-time adjustments during printing for immediate feedback. These adjustments are particularly valuable when using Auto Bed Leveling systems that require precise Z-offset values for accurate nozzle positioning.
Alternatively, configure Z-offset directly in your slicer software:
- Enter the offset value in your printer or print settings tab
- Save the setting to your profile for automatic application
- Benefit from per-print customization without firmware changes
Remember to save settings properly—firmware adjustments require using “Store Settings” to retain values after power cycles.
Document and Save Your Final Z-Offset Values for Future Reference
Once you’ve achieved perfect first layer adhesion, you’ll want to record your successful Z-offset settings in a dedicated logbook or digital file.
Create backup copies of your printer’s configuration profiles and slicer settings to prevent data loss after firmware updates or hardware changes.
Track how your Z-offset values change over time as you switch between different materials, nozzles, or build surfaces to establish reliable baselines for future calibrations. Remember that different filaments may require specific Z-offset adjustments, so maintaining separate records for each material type will streamline your future printing sessions.
Record Successful Settings
Recording your successful Z-offset settings is essential for maintaining consistent print quality and avoiding the frustration of repeated calibration sessions.
You’ll save valuable time and prevent trial-and-error recalibration when switching between materials or print profiles.
Document your settings using these proven methods:
- Digital logs – Create spreadsheets or use note-taking apps to record Z-offset values with corresponding dates, materials, and environmental conditions.
- Visual documentation – Take screenshots of your printer’s LCD menu or slicer settings showing the exact Z-offset value.
- Configuration backups – Save your printer’s firmware files or export G-code snippets containing successful offset parameters.
Include your printer model, firmware version, and any hardware changes like nozzle replacements.
Remember that using both printer Z offset and slicer Z offset simultaneously can create conflicting adjustments that compromise your documented settings.
This thorough documentation enables quick troubleshooting and guarantees you can restore ideal settings after firmware updates.
Create Backup Files
Creating backup files transforms your successful Z-offset calibration from a temporary achievement into a permanent reference point that protects against future setbacks.
You’ll save significant time by avoiding recalibration after firmware updates or hardware adjustments.
Use your printer’s configuration save commands to write settings directly to firmware memory. Export slicer profiles containing Z-offset parameters to your computer, and manually record values in spreadsheets for cross-reference.
Store these files systematically by printer model and date on local drives or cloud storage.
Perform backups immediately after completing satisfactory calibration, then verify integrity by reloading settings and running test prints. Access your current config file using Notepad to verify that your optimal Z offset values are properly recorded in the M8085 line.
Maintain multiple backup versions to track calibration changes and enable quick restoration when accidental modifications occur.
Track Changes Over Time
While backup files preserve your current settings, systematically tracking Z-offset changes transforms scattered calibration data into valuable performance insights.
You’ll identify trends that signal mechanical wear, temperature variations, or bed surface deterioration before they compromise print quality.
Create a thorough tracking system that includes:
- Digital log entries with dates, Z-offset values, printer model, filament type, and environmental conditions like temperature and humidity
- Visual documentation through photographs or videos of first layer test prints alongside recorded Z-offsets to correlate settings with quality outcomes
- Correlation notes linking Z-offset shifts to recent mechanical modifications such as nozzle replacements or bed resurfacing
This documentation enables rapid troubleshooting, supports consistent print quality across different materials, and eliminates guesswork when restoring settings after firmware updates or component changes. Since Z offset affects the first layer’s quality significantly, maintaining detailed records helps you quickly identify when subtle shifts in settings begin impacting print success rates.
Avoid Common Calibration Errors That Lead to Print Failures
Even experienced 3D printer users can fall into calibration traps that sabotage their prints before they’ve even begun.
Don’t assume zero or default Z-offset values are ideal—fine-tuning is essential. When your nozzle appears too high, you need a smaller Z-offset value, not larger. Always level your bed properly before calibrating Z-offset, as poor leveling creates cascading errors.
Never trust default Z-offset settings—when your nozzle runs too high, decrease the offset value to bring it closer.
Use “baby stepping” during first layer printing to make real-time micro-adjustments.
Watch your test prints closely—ridges and valleys indicate Z-offset problems, not extrusion issues. When using the paper method, maintain consistent slight resistance across the entire bed.
Don’t rely solely on digital measurements; always follow up with actual test prints to verify your calibration accuracy.
Frequently Asked Questions
How Often Should I Recalibrate Z-Offset During Regular Printing Operations?
You’ll rarely need to recalibrate z-offset during regular printing if your first layers look good. Only recalibrate when changing filament types, moving your printer, or noticing first layer adhesion problems.
Can Different Filament Types Require Unique Z-Offset Values for Optimal Adhesion?
Yes, you’ll need unique z-offset values for different filament types. PLA, ABS, and PETG have varying thermal expansion properties and adhesion characteristics, so you should save material-specific offset settings for ideal first-layer results.
What Temperature Should the Nozzle Be During Z-Offset Calibration Procedures?
You should heat your nozzle to the exact printing temperature you’ll use for your filament during z-offset calibration. This accounts for thermal expansion and guarantees accurate first layer height during actual printing.
Should Z-Offset Calibration Be Performed With a Heated or Cold Bed?
You should perform z-offset calibration with a heated bed. Thermal expansion changes the actual distance between nozzle and bed, so calibrating at operating temperature guarantees accurate results during real printing conditions.
How Do Nozzle Wear and Replacement Affect Existing Z-Offset Calibration Settings?
Nozzle wear gradually erodes the tip, changing your nozzle height and making your existing z-offset inaccurate. You’ll need to recalibrate after replacement too, since new nozzles have slightly different lengths and geometries.


Leave a Reply