Start with 1mm Z-hop height for ideal clearance, then adjust retraction distance based on your extruder type—use 1mm for direct drive and 3-5mm for Bowden systems. Set your Z-hop speed between 50-70 mm/s to balance efficiency and quality. Configure material-specific settings like 0.4mm Z-hop for PLA with 0.2mm layers, and reduce heights to 0.2mm for flexible materials. Test these configurations using retraction towers to validate your ideal settings and discover advanced techniques for perfect prints.
Start With 1mm Z-Hop Height for Optimal Clearance

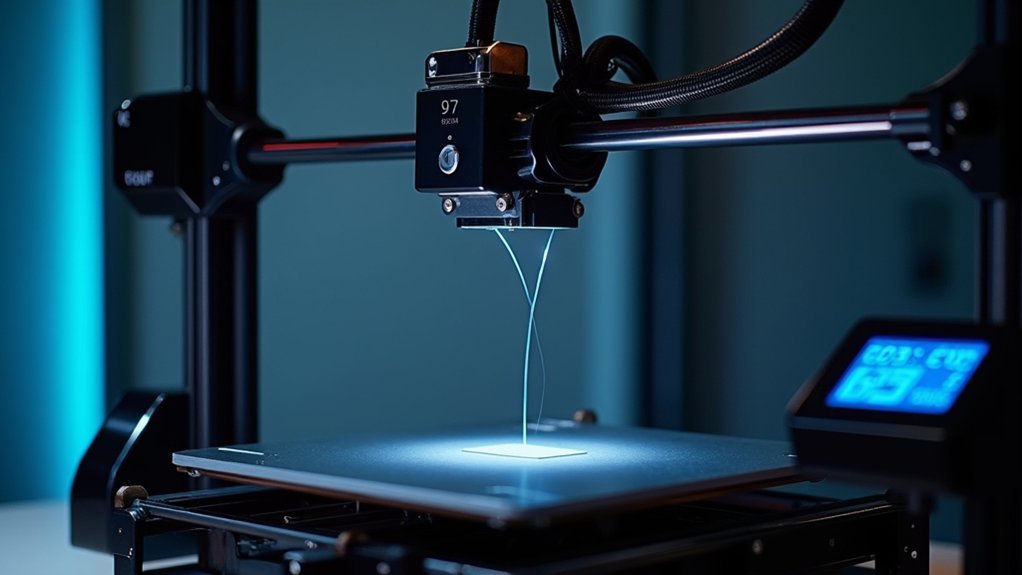
Why do most 3D printing experts recommend starting with a 1mm Z-Hop height? This setting provides sufficient clearance to prevent nozzle collisions with your printed parts during travel moves.
You’ll find that 1mm Z Hop effectively reduces the risk of dragging your nozzle across delicate features, greatly enhancing your print quality.
This height works particularly well for intricate designs and models with overhangs, minimizing damage risks during printing.
You should monitor your 1mm Z-Hop’s effectiveness and adjust based on your specific requirements and filament types.
Experimenting with heights around 1mm leads to cleaner prints, reduced stringing, and improved surface finishes, especially when you combine it with ideal retraction settings for your printer.
Adjust Retraction Distance Based on Extruder Type
While fine-tuning your Z-hop height optimizes vertical clearance, your extruder type determines the ideal retraction distance for preventing stringing and oozing. Direct drive systems respond quickly due to their short filament path, requiring minimal retraction distance. Bowden extruders need longer distances to compensate for the extended tube length between motor and hotend.
| Extruder Type | Retraction Distance | Retraction Speed |
|---|---|---|
| Direct Drive | 1mm | 70mm/s |
| Bowden | 3-5mm | 30-50mm/s |
| Flexible Materials | Reduce by 25% | Reduce by 40% |
You’ll need to test different settings based on your specific printer and filament. Flexible materials require shorter distances and slower speeds regardless of extruder type to prevent jamming. Start with these baseline values, then adjust incrementally while monitoring print quality.
Fine-Tune Z-Hop Speed to Reduce Print Time

After establishing ideal retraction distances for your extruder type, Z-hop speed becomes your next lever for reducing print time without sacrificing quality.
You’ll want to match or exceed your retraction speed, typically setting Z-hop speed around 50-70 mm/s for maximum efficiency.
Consider these game-changing strategies:
Unlock breakthrough 3D printing performance by implementing these strategic optimization techniques for superior results.
- Test different speeds on complex prints – You’ll discover the sweet spot where quality meets speed
- Coordinate Z-hop speed with travel speed settings – This creates a cohesive time-saving approach
- Combine speed adjustments with Z-hop height tuning – You’ll prevent stringing while minimizing travel duration
Experimenting with these retraction settings helps you identify the perfect balance.
Configure Material-Specific Z-Hop Settings
Different materials demand unique Z-hop configurations to achieve ideal print results.
When working with PLA, set Z-hop heights around 0.4mm for 0.2mm layers or 0.5mm for 0.3mm layers to prevent nozzle collisions. For flexible materials like TPU or TPE, use lower Z-hop heights around 0.2mm to avoid jamming while maintaining clearance during travel moves.
Your Z-Hop and retraction settings work together—pair a 5mm retraction length with 1mm Z-hop to reduce stringing effectively.
Balance quality with efficiency by monitoring how Z-hop affects print time. Higher settings improve finishes but extend duration.
Optimize your filament settings by experimenting with “Z-Hop on Surfaces” in your slicer, activating lift only when necessary to minimize unnecessary movements on simpler prints.
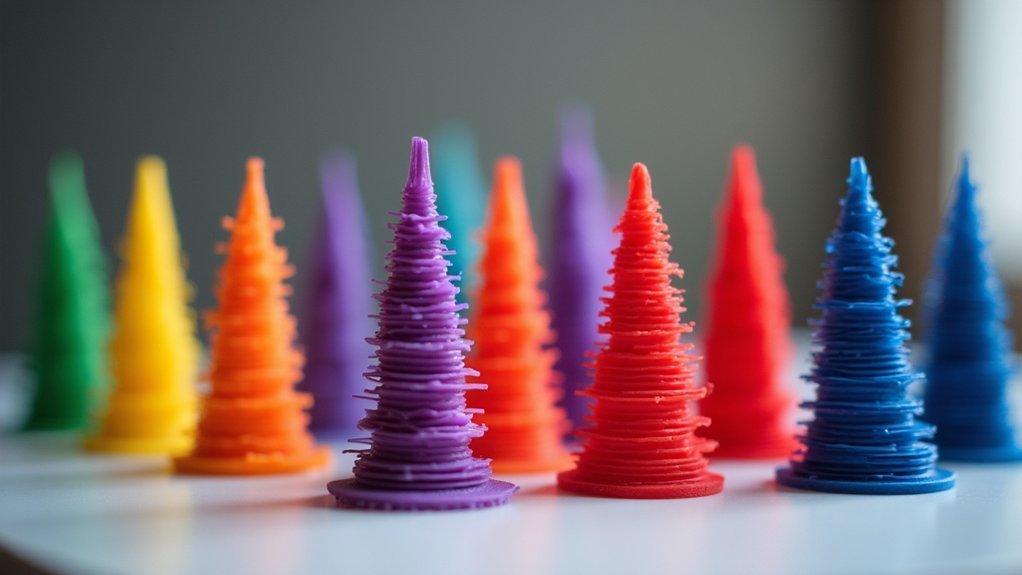
Test and Validate Settings Using Retraction Towers

Before you commit to your retraction settings, test them systematically using retraction towers to validate performance across different temperatures and conditions.
Start by printing towers at temperatures 10°C higher than your normal printer settings to observe stringing effects. Arrange multiple towers from hottest to coolest on your build plate to prevent collisions.
For ideal use cases, follow these guidelines:
- Limit retraction length – Use maximum 1mm for direct drive systems, 3mm for Bowden setups
- Count rings accurately – Subtract one from total rings and multiply by step value
- Document everything – Record results for each filament type and select heights one to two rings higher than where stringing disappears
This systematic approach guarantees your retraction performs reliably across various printing scenarios.
Frequently Asked Questions
What Should Retraction Distance Be Set To?
You should set retraction distance to 1-2mm for direct drive setups and 3-5mm for Bowden systems. Use 0.5mm for flexible filaments. Start conservatively and adjust in 0.5mm increments through testing.
What Is the Z Hop Setting for Retraction?
You’ll find Z Hop lifts your nozzle during travel moves to prevent collisions with printed parts. Set it between 0.2mm to 0.6mm initially, then adjust based on your print’s complexity and filament characteristics.
What Is a Good Z Hop Distance?
You’ll want to use 0.2mm to 0.6mm for most prints. For complex models with overhangs, try 1mm. Start with your layer height times two and adjust based on your print’s quality.
What Is the Best Retraction Length for TPU?
You’ll want to start with 0.5mm retraction for TPU and gradually increase up to 2mm maximum. TPU’s flexibility makes it jam-prone with excessive retraction, so shorter distances work best for consistent extrusion.


Leave a Reply