For ideal vase mode spiral printing, you’ll want to increase your nozzle temperature by 20-50°C above standard settings and set your line width 50-75% wider than your nozzle diameter. Keep print speeds between 15-40 mm/s with a 0.2mm layer height for the best balance of quality and efficiency. You’ll also need to boost your flow rate up to 50% above normal settings to guarantee consistent single-wall extrusion. These foundational adjustments will activate even more advanced optimization techniques.
Understanding Vase Mode and Spiral Printing Fundamentals

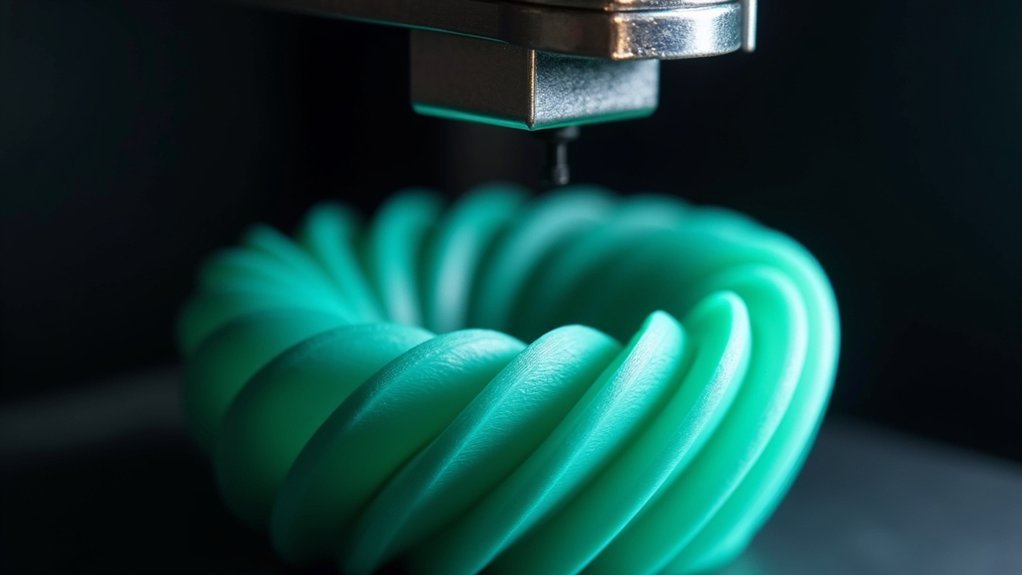
When you enable vase mode in your slicer, you’re fundamentally changing how your 3D printer builds objects from the traditional layer-by-layer approach to a continuous spiral motion.
When you enable vase mode, you’re transforming your printer from traditional layering to seamless spiral construction.
This spiral printing technique creates a seamless hollow shell by maintaining continuous extrusion throughout the entire build process. Your printer’s nozzle moves in an uninterrupted upward spiral, eliminating layer starts and stops that typically create visible seam lines.
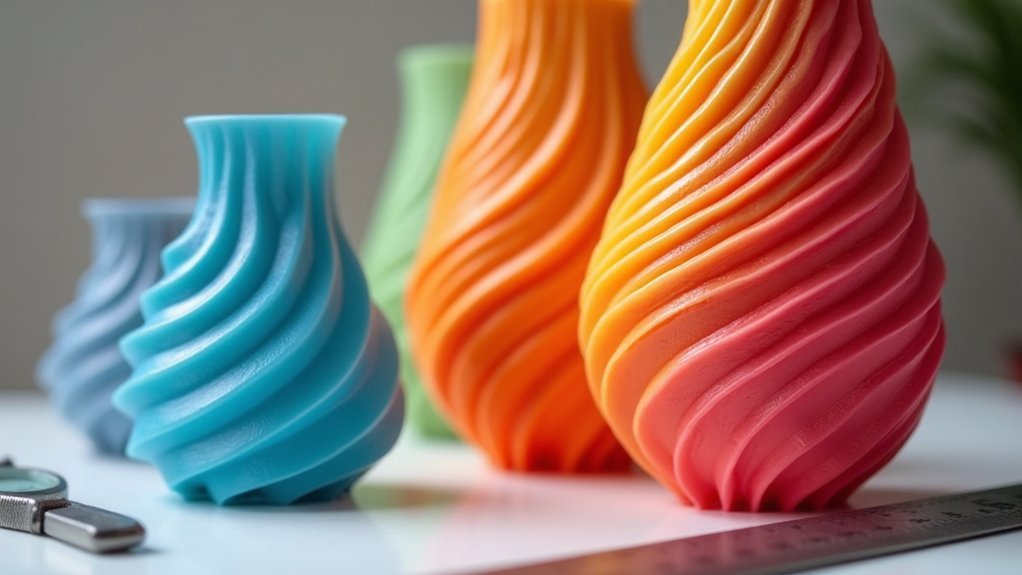
The result is aesthetic prints with smooth surface finishes and consistent wall thickness determined by your nozzle diameter and layer height settings.
You’ll notice significant reductions in material usage and print speed since you’re only creating single-walled structures.
However, this continuous extrusion method limits your design options to simple, hollow geometries without complex overhangs or internal features.
Essential Layer Height and Print Speed Configurations
Your layer height selection directly impacts both print quality and structural integrity in vase mode printing. A standard 0.2 mm layer height provides ideal balance between surface smoothness and printing efficiency for most single wall applications.
When using larger nozzle size options like 0.6 mm or 0.8 mm, you’ll achieve stronger walls with proper layer height adjustments.
Print speed settings between 15-40 mm/s work best for Cura Vase Mode operations. Slower speeds enhance surface quality while faster speeds reduce overall print time.
You must calibrate your flow rate precisely since improper extrusion becomes highly visible in continuous motion printing. Different filament types require specific speed adjustments to maintain consistent material flow throughout the spiral path, ensuring your 3D printing results meet quality expectations.
Nozzle Selection and Line Width Optimization

Choosing the right nozzle size greatly affects wall thickness and structural performance in vase mode printing. With a 0.4 mm nozzle, you’ll want to set your line width between 0.6-0.7 mm to maximize strength while maintaining print quality.
This single perimeter approach requires precise extrusion settings since errors become highly visible.
Larger nozzles like 0.6 mm or 0.8 mm offer superior structural integrity, especially with transparent filaments. You can even experiment with 1 mm nozzles for considerably thicker walls while preserving the continuous path principle of vase mode.
Your filament profile must match your line width adjustments to maintain proper volumetric flow rates.
Careful calibration of these extrusion settings guarantees ideal wall thickness without compromising the seamless nature of spiral printing.
Temperature and Flow Rate Adjustments for Single Wall Prints
Since single-wall vase mode prints depend entirely on continuous extrusion without perimeters or infill, you’ll need to adjust both temperature and flow rate settings to compensate for the unique challenges this printing method presents.
Increase your nozzle temperature by 20-50 degrees Celsius to enhance filament melting and guarantee smooth extrusion. This temperature boost helps prevent under-extrusion issues common in single wall printing.
Adjust your flow rate up to 50% above standard settings to create thicker walls and improve strength. While 100% is typical, increased flow rates compensate for the absence of multiple perimeters.
Reduce print speed to 15-40 mm/s when using higher flow rates, allowing better layer adhesion during continuous extrusion.
Monitor volumetric flow rates carefully to prevent clogs and maintain consistent filament delivery for quality prints.
Troubleshooting Common Vase Mode Print Quality Issues

When vase mode prints develop quality issues like gaps, weak walls, or inconsistent layers, the root cause often stems from improper model preparation or incorrect printer settings.
First, verify your model is manifold to prevent gaps that compromise single wall integrity. Monitor your extrusion multiplier carefully—under-extrusion creates weak walls, while over-extrusion causes surface defects.
Reduce print speeds to 15-40 mm/s for better layer adhesion and improved surface quality. Regular calibration of bed leveling and nozzle height prevents layer shifts and guarantees consistent extrusion throughout your print.
Consider testing larger nozzle sizes like 0.6mm or 0.8mm to reduce print time while improving wall thickness.
These adjustments will greatly enhance your vase mode print quality and reliability.
Frequently Asked Questions
What Is the Usual Number of Perimeters in Spiral Vase Mode?
You’ll typically use just one perimeter in spiral vase mode. This single wall creates the characteristic hollow structure that makes vase mode prints lightweight, quick, and uses minimal filament while maintaining smooth surfaces.
How to Make Vase Mode Prints Stronger?
You can strengthen vase mode prints by increasing line width to 0.6-0.7mm, slowing print speed to 15-40mm/s, boosting flow rate 50%, raising nozzle temperature 20-50°C, and using larger 0.6-0.8mm nozzles.
How Do You Spiral a Vase in Cura?
Import your STL model into Cura, then enable “Spiralize Outer Contour” in Print Settings under Special Modes. This creates a continuous spiral path, printing your vase as a single-walled hollow shell.
What Is Vase Mode Good For?
You’ll find vase mode perfect for creating decorative items like vases, lampshades, and sculptures. It’s ideal for lightweight structures, transparent objects, and artistic designs since it eliminates infill while producing smooth surfaces.


Leave a Reply