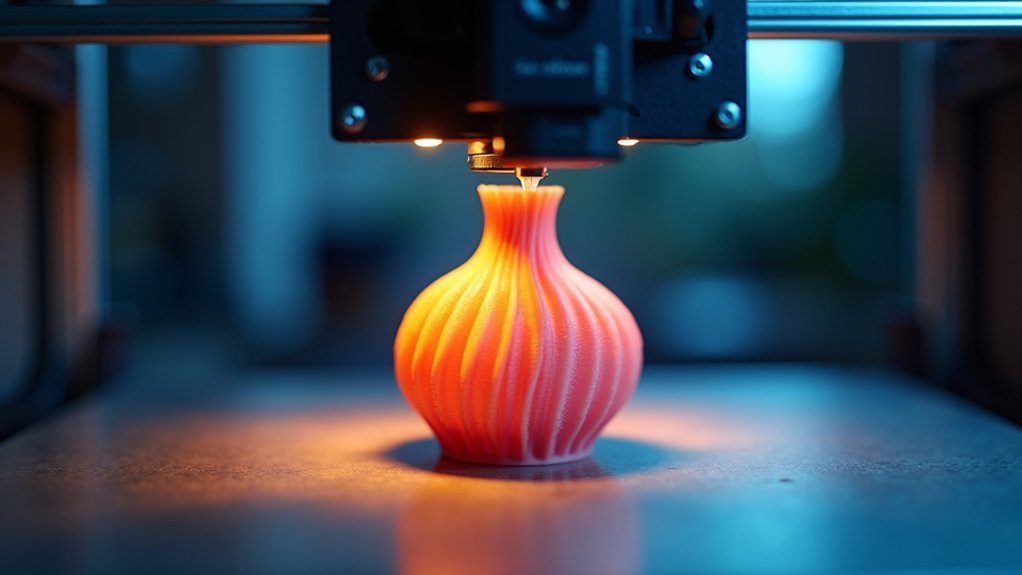
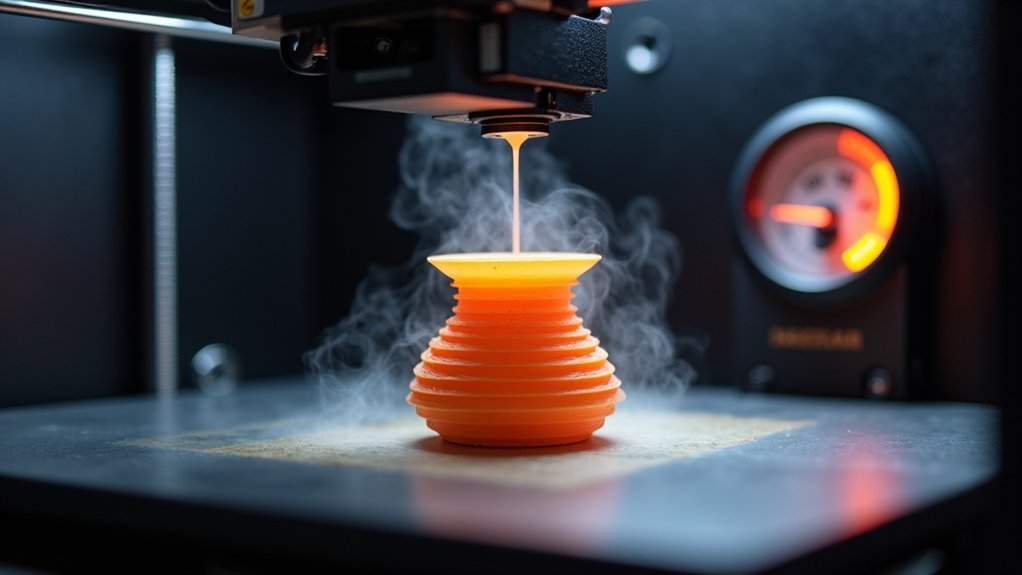
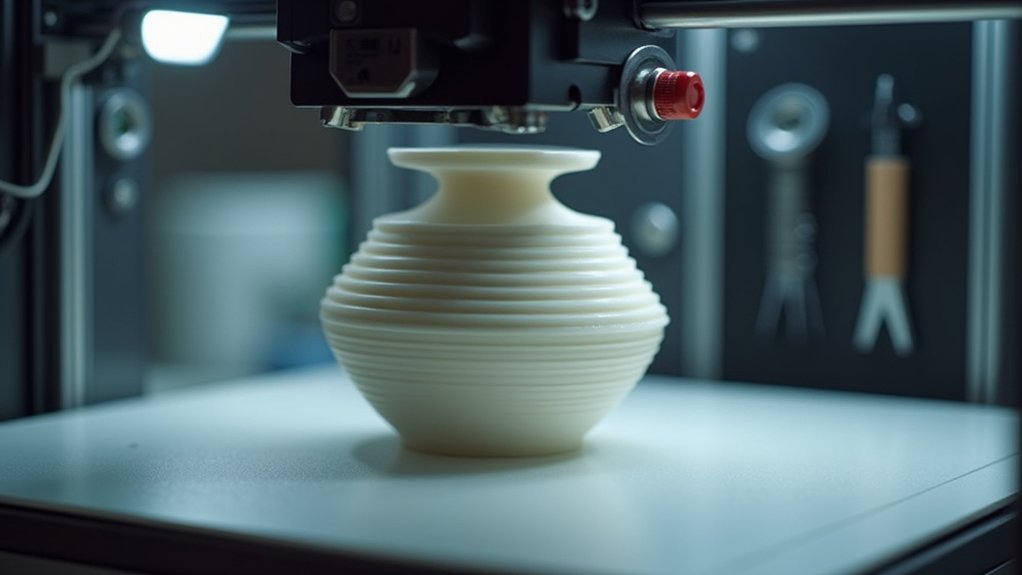
You can accelerate vase mode printing by optimizing layer height between 0.1-0.3mm and print speeds of 15-30mm/s for the best quality-speed balance. Upgrade to larger 0.6mm or 0.8mm nozzles for faster material deposition and thicker lines. Fine-tune cooling settings by lowering the slowdown threshold to 2-3 seconds while adjusting fan speeds. Calibrate your flow rate and extrusion multipliers between 0.9-1.1 for proper material flow. Simplify model geometry and maintain consistent wall thickness above 0.8mm. These foundational techniques will transform your printing efficiency and reveal additional optimization strategies.
Optimize Layer Height and Print Speed Settings

Two key parameters will greatly impact your vase mode printing success: layer height and print speed.
Setting your layer height between 0.1mm to 0.3mm enhances print quality while maintaining reasonable speed. Lower heights provide finer detail but increase print time, so find your balance.
For print speed, start by experimenting with 15mm/s versus 25mm/s to compare results. You can push speeds up to 30mm/s for larger objects, considerably reducing overall print time.
However, higher speeds require careful calibration to prevent layer adhesion issues.
Consider upgrading to a 0.6mm or 0.8mm nozzle to facilitate faster extrusion rates and improve wall thickness.
These ideal settings contribute to quicker prints while maintaining structural integrity for your vase mode projects.
Upgrade to Larger Nozzle Diameters for Faster Material Deposition
Building on those speed recommendations, you’ll find that swapping your standard 0.4mm nozzle for a 0.6mm or 0.8mm diameter creates an even more dramatic improvement in print times.
These larger nozzles allow greater material flow, greatly reducing passes needed for vase mode’s outer wall construction. You’ll extrude thicker filament lines, completing layers faster and cutting overall print time, especially for larger models.
When using a 0.6mm nozzle, increase your layer height to 0.3mm for ideal speed without sacrificing quality.
You’ll need to adjust the extrusion multiplier to guarantee proper material deposition and prevent under-extrusion. Monitor temperature and print speed settings carefully, as they directly affect layer adhesion and print quality in vase mode applications.
Fine-Tune Cooling and Temperature Parameters

While larger nozzles dramatically improve speed, proper cooling and temperature control becomes even more critical for maintaining vase mode quality at these faster deposition rates.
Your cooling settings require immediate attention when printing with bigger nozzles. Lower your Cooling Slowdown threshold to 2-3 seconds to enhance efficiency during small tip areas. This prevents your hot nozzle from dwelling too long on delicate sections of your vase prints.
Lower your Cooling Slowdown threshold to 2-3 seconds when using larger nozzles to prevent hot nozzle dwelling on delicate vase sections.
Fine-tune these critical parameters:
- Set Min Print Speed to match normal small perimeters speed, preventing quality-damaging slowdowns
- Experiment with fan speeds to optimize airflow and solidify layers quickly
- Adjust print temperature based on filament type, as higher temperatures demand more cooling
Monitor these settings continuously during printing. You’ll achieve better layer adhesion and eliminate common defects like stringing or oozing that plague vase mode prints.
Calibrate Flow Rate and Extrusion Multipliers
Perfect extrusion lies at the heart of successful vase mode printing, where even minor flow irregularities create visible defects on your smooth, continuous walls.
Calibrating flow rate guarantees you’re extruding the correct filament amount, preventing over-extrusion blobs or under-extrusion gaps that compromise your vase’s aesthetic quality.
Start by adjusting your extrusion multiplier between 0.9 and 1.1 in your print settings. Use a digital caliper to measure your filament’s actual diameter, then run test prints with varying multipliers to find ideal values for each material type.
Regular calibration dramatically improves layer adhesion and surface smoothness. Since vase mode relies on single-wall construction, precise flow control becomes critical for structural integrity.
Perform systematic tests with different geometries to establish reliable baseline settings for future projects.
Simplify Model Geometry and Wall Thickness Configuration

Since vase mode printing creates objects through a continuous spiral path, your model geometry directly determines print success and quality.
You’ll achieve excellent results by eliminating complex features and overhangs that can disrupt the continuous printing process.
Configure your wall thickness strategically for maximum effectiveness:
- Set single wall thickness to 0.8mm or higher – This enhances structural integrity while maintaining aesthetic appeal
- Maintain consistent wall thickness throughout – Uniform dimensions prevent gaps and guarantee smooth extrusion during spiral printing
- Keep models manifold without internal details – This streamlines slicing and reduces potential errors
Design hollow models without unnecessary internal structures to minimize material usage and accelerate print completion.
Simplified model geometry combined with proper single wall configuration creates the foundation for successful, efficient vase mode printing.
Frequently Asked Questions
How to Strengthen Vase Mode?
You’ll strengthen vase mode by increasing wall thickness to 0.8mm, using larger nozzles, raising print temperature slightly, adjusting extrusion multiplier for better flow, and printing multiple walls instead of single perimeters.
Does Vase Mode Print Faster?
Yes, you’ll find vase mode prints much faster than traditional methods. You’re eliminating infill, top layers, and multiple perimeters while using continuous spiral motion, which greatly reduces your overall print time and material usage.
How to Speed up 3D Print Times?
You can reduce print times by increasing layer height, using larger nozzles, boosting print speeds, reducing infill percentages, and enabling vase mode for hollow objects with single-wall construction.
How 3D Printing Can Be Quicker Than Using Traditional Methods?
You’ll eliminate infill and assembly steps with 3D printing, achieving faster speeds than manual fabrication. You can rapidly iterate designs digitally, completing hollow objects in hours rather than days required by traditional manufacturing methods.


Leave a Reply