You’ll need to choose the right lab type based on your educational goals, from simple collaborative makerspaces for beginners to state-of-the-art centers for advanced research. Design efficient physical spaces with proper ventilation and dedicated electrical circuits, select appropriate FDM or PolyJet technologies, and implement user-friendly request systems. Establish clear safety protocols, create thorough training programs, and develop strategic partnerships across departments to maximize your lab’s impact and foster cross-disciplinary collaboration that transforms theoretical concepts into tangible prototypes.
Choose the Right Lab Type for Your Educational Goals

When establishing a university 3D printing lab, you’ll need to select the lab type that best matches your institution’s educational objectives and student needs.
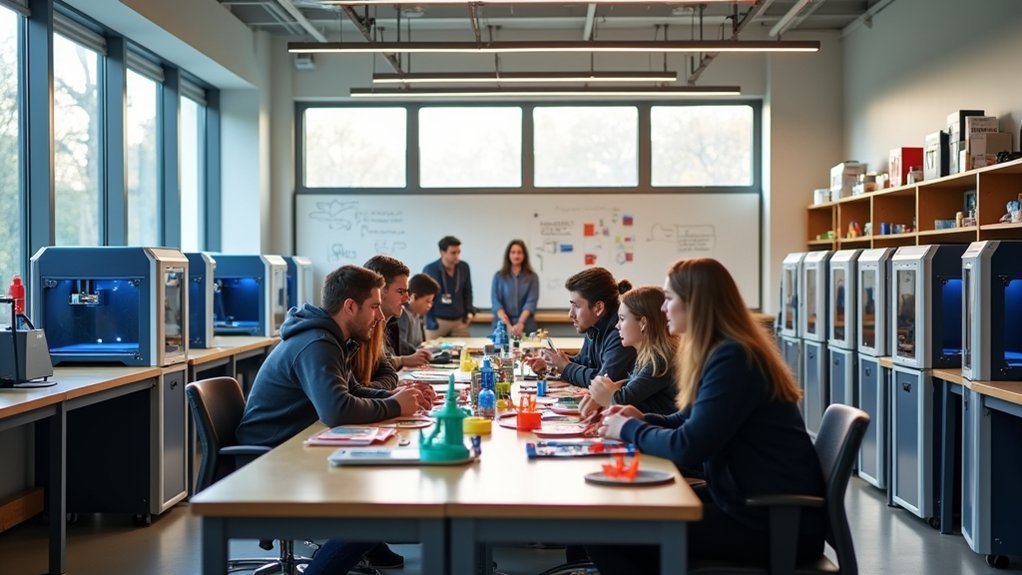
A Simple Collaborative Makerspace works perfectly for beginners, emphasizing high throughput and fundamental 3D printing experiences that welcome all students.
Simple Collaborative Makerspaces provide beginner-friendly, high-throughput 3D printing environments that welcome students from all academic backgrounds and experience levels.
Standard Academic Labs offer balanced equipment options, combining user-friendly and advanced tools for students in specific programs or courses.
State of the Art Centers of Excellence showcase cutting-edge technology, serving multiple academic disciplines while meeting broader community requirements.
Your lab’s design and size must align with particular educational goals, ensuring it meets unique program demands.
Consider how each printing labs option supports your institution’s learning outcomes and available resources.
Design an Efficient Physical Space and Layout
When you’re designing your 3D printing lab’s physical space, you’ll need to carefully consider room dimensions, workflow patterns, and how students will move through the area.
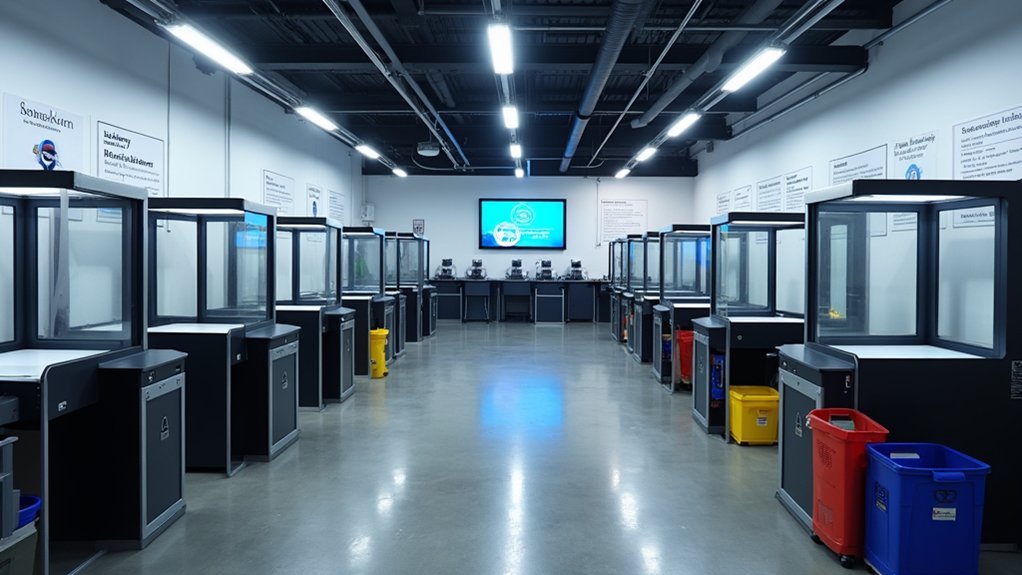
Your ventilation system and electrical infrastructure must support multiple printers running simultaneously while maintaining safe air quality and preventing power overloads.
You’ll want to strategically position equipment to create efficient workstations that minimize bottlenecks and maximize collaboration opportunities.
Space Planning Considerations
Before you begin installing equipment or ordering materials, you’ll need to carefully plan your lab’s physical layout to support both educational objectives and operational efficiency.
Consider your space’s size and shape based on specific educational goals, guaranteeing adequate room for student collaboration and equipment operation. Design your workflow logically by positioning printers, post-processing stations, and material storage in sequence to minimize movement during the printing process and enhance efficiency.
Consult facility management about proper ventilation and power requirements, as 3D printing technologies require controlled environments for safety and peak performance.
Implement modular furniture and flexible workstations to accommodate various projects and group sizes. Staff your lab with knowledgeable personnel, including certified operators and student apprentices, to guarantee effective maintenance and operation.
Ventilation and Power Requirements
Since 3D printing operations generate fumes and particles that can pose health risks, you’ll need to install robust ventilation systems that maintain consistent air circulation throughout your lab.
Install dedicated exhaust fans and air circulation systems to effectively remove harmful particulates and chemical vapors from various printing materials.
Plan your electrical infrastructure carefully to support multiple 3D printers simultaneously. Each printer requires reliable power with sufficient amperage for peak performance.
You’ll also need additional power capacity for ancillary equipment like support removal systems and finishing tools, which often require dedicated power sources.
Implement temperature control through air conditioning since FDM and PolyJet technologies operate best within specific temperature ranges.
Consult with facility management during design phases to verify your ventilation and electrical requirements meet safety standards while supporting efficient operations.
Equipment Layout Optimization
After establishing proper ventilation and power infrastructure, you’ll need to design dedicated zones for different 3D printing technologies to maximize workflow efficiency and prevent bottlenecks.
Separate FDM and PolyJet printing areas to optimize each zone’s specific requirements and reduce congestion during peak usage.
Create flexible workspaces that enable collaborative projects while providing easy access to post-processing tools and materials.
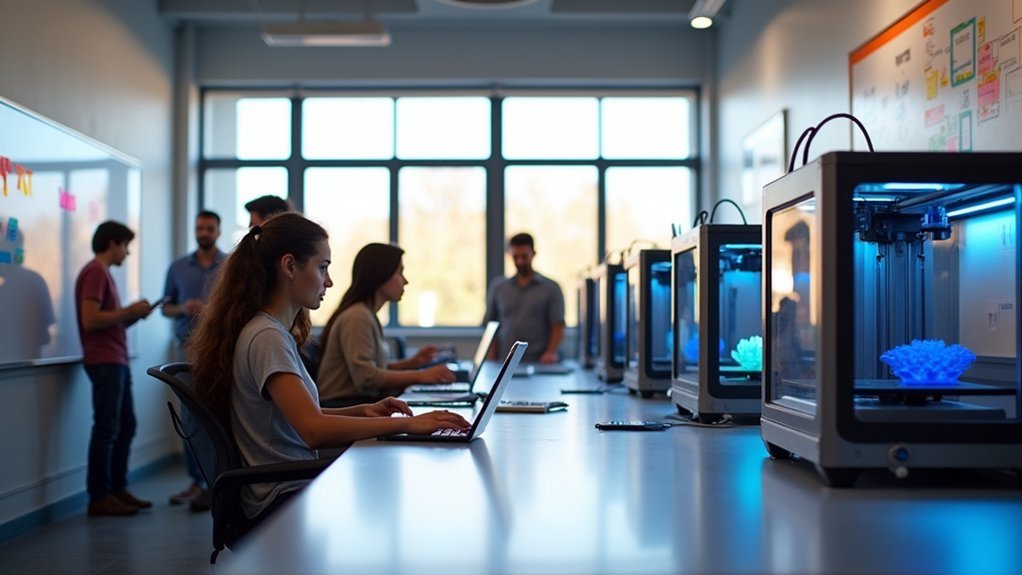
Position design stations close to printing areas, minimizing the distance students travel between digital design and physical printing phases.
Implement mobile workstations and storage solutions that adapt to varying project sizes and foster dynamic learning environments.
This flexibility allows you to reconfigure spaces based on class needs and project requirements, ensuring your lab remains functional as technology and curriculum evolve.
Select Appropriate 3D Printing Technologies and Equipment
You’ll need to choose between FDM and PolyJet technologies based on your lab’s primary applications and user skill levels.
Consider that FDM systems require minimal training and work well for beginners, while PolyJet technology demands more extensive instruction but delivers superior detail and color capabilities.
Don’t overlook your facility’s infrastructure requirements, as both technologies need proper ventilation and climate control to operate effectively.
FDM Vs Polyjet Technologies
When establishing your university’s 3D printing lab, you’ll need to choose between FDM and PolyJet technologies based on your specific educational goals and budget constraints.
FDM technology builds parts layer-by-layer using thermoplastics, making it perfect for beginners with its low cost and ease of use. You’ll find it handles basic print jobs efficiently while requiring controlled ventilation and temperature management.
The Stratasys F123 Series exemplifies reliable FDM performance for educational settings.
PolyJet technology uses liquid photopolymers to create highly detailed, multi-material prints with smooth finishes and extensive color options. The Stratasys J850 delivers unparalleled detail and color fidelity but requires dedicated space and additional post-processing equipment.
- Budget-friendly learning: FDM empowers students without breaking institutional budgets
- Professional dreams realized: PolyJet transforms creative visions into stunning reality
- Future-ready skills: Students gain industry-relevant experience through hands-on learning
- Innovation released: Advanced capabilities inspire groundbreaking research projects
Equipment Training Requirements
Before your lab becomes operational, establishing detailed training protocols guarantees both student safety and equipment longevity. You’ll need extensive programs covering setup, maintenance, and operation for both FDM and PolyJet technologies. Focus training on hands-on experience with GrabCAD Print software to streamline print requests and workflow processes.
| Training Component | FDM Technology | PolyJet Technology |
|---|---|---|
| Setup Requirements | Build platform calibration | Resin handling procedures |
| Maintenance Tasks | Nozzle cleaning protocols | Print head maintenance |
| Safety Procedures | Ventilation monitoring | UV curing precautions |
| Software Training | GrabCAD Print workflow | Material selection guidance |
| Support Systems | Removal tool operation | Post-processing techniques |
Consider hiring certified operators for advanced systems oversight. Confirm your facility meets cooling and ventilation requirements while providing adequate workspace for ancillary equipment and finishing tools.
Facility Infrastructure Needs
Since environmental controls directly impact print quality and user safety, establishing proper facility infrastructure forms the foundation of any successful university 3D printing lab.
You’ll need adequate ventilation systems to manage fumes from heated materials, especially when running FDM and PolyJet technologies simultaneously. Air conditioning maintains consistent temperatures that prevent warping and failed prints. Dedicated power setups guarantee your Stratasys F123 Series and J850 systems receive stable electricity without overloading circuits.
Your facility infrastructure should include:
- Proper ventilation systems – Keep your students safe from potentially harmful fumes
- Climate-controlled environment – Protect expensive equipment investments from temperature fluctuations
- Dedicated electrical circuits – Prevent costly printer damage from power surges
- Adequate workspace layout – Enable smooth workflow from design to finished product
Implement User-Friendly Request and Workflow Systems
While establishing the physical infrastructure remains essential, you’ll find that implementing an intuitive request and workflow system determines whether students actually embrace your 3D printing lab.
Design your ordering platform like familiar food delivery apps to maximize user engagement. Create a visually appealing storefront featuring pre-configured products with clear material options like basic plastic and metal prints.
Include starter kits and example designs from Thingiverse to guide newcomers through their first print experience. Establish streamlined submission processes with early request deadlines, enabling proper prioritization based on geometry complexity and machine availability.
Deploy automated notifications to keep users informed about job statuses throughout the entire printing workflow, ensuring transparency and building trust in your lab’s services.
Establish Clear Guidelines and Safety Protocols

A well-designed workflow system won’t protect your lab from accidents or equipment damage without proper safety foundations.
You need clear guidelines defining who can operate equipment and extensive training programs covering handling, maintenance, and procedures. Eye protection during post-processing isn’t optional—it’s mandatory.
Make clients responsible for their own post-processing to prevent accidents and equipment damage.
Shifting post-processing responsibility to clients reduces lab liability while ensuring users understand the risks they’re accepting.
Your safety protocols should include:
- One moment of carelessness can result in serious eye injuries from flying debris during print removal
- Untrained users operating expensive equipment leads to costly repairs and potential safety hazards
- Unclear responsibilities create confusion when accidents occur, leaving liability questions unanswered
- Outdated safety procedures put your entire lab community at unnecessary risk every single day
Regularly review and update protocols to maintain industry-standard safety practices.
Create Comprehensive Training and Support Programs
| Training Component | Method | Outcome |
|---|---|---|
| Initial Orientation | Personalized consultations | Confident first-time users |
| Ongoing Support | Mentorship program | Collaborative community |
| Skill Development | Hands-on workshops | Technical proficiency |
| Knowledge Transfer | Online resources | Self-sufficient learners |
Offer personalized consultations for new users’ first print jobs, creating a welcoming environment. Establish mentorship programs where experienced students guide newcomers, fostering collaboration. Regularly gather user feedback to improve your training materials and support services, ensuring your program follows best practices and evolves with student needs.
Develop Strategic Partnerships Across Departments

Because 3D printing applications span virtually every academic discipline, establishing partnerships across departments transforms your lab from an isolated resource into a dynamic hub of interdisciplinary innovation.
You’ll maximize your digital fabrication capabilities by connecting with architecture, engineering, and medical programs. Each partnership brings specialized equipment access and unique project opportunities that enrich student learning experiences.
Track non-departmental usage to maintain budget transparency while building trust with partner departments. Schedule regular joint workshops where students collaborate on cross-disciplinary projects, creating breakthrough solutions neither department could achieve alone.
- Students witnessing their theoretical concepts materialize into tangible prototypes
- Breaking down academic silos that limit creative potential
- Discovering unexpected career paths through interdisciplinary collaboration
- Building lifelong professional networks across diverse fields
These strategic alliances create lasting educational impact beyond individual courses.
Frequently Asked Questions
What Is the 45 Degree Rule for 3D Printing?
You should keep overhangs within 45 degrees from vertical to avoid needing support structures. This rule prevents sagging and deformation during printing, improving your print quality and success rate considerably.
What Is the Most Profitable Thing to 3D Print?
You’ll find customized phone cases most profitable, offering up to 300% margins. You can also profit from spare parts, prototyping services, educational models, and limited edition collectibles targeting niche markets.
What Is the Most Common 3D Print Fail?
You’ll encounter warping as your most common 3D print failure. It happens when your print’s corners lift off the build plate during cooling, caused by temperature changes that create stress in the material.
What Is the Best Way to Assemble 3d-Printed Parts?
Clean your parts’ surfaces thoroughly, then use cyanoacrylate or epoxy for strong bonds. Consider screws for mechanical strength, employ alignment jigs for precision, and sand surfaces for better fit and appearance.


Leave a Reply