You’ll need to set your STL wall thickness between 1-2mm for most materials, with PLA performing best at 1-2mm and ABS requiring around 2mm to prevent warping. Calculate ideal dimensions by dividing your desired thickness by extrusion width—use 3 perimeters with a 0.4mm nozzle for approximately 1.3mm walls. Analyze your STL using MeshMixer’s thickness tool or Fusion 360’s thicken feature to identify problem areas. Master these fundamentals and you’ll discover advanced techniques that transform complex geometries into flawless prints.
Understanding Wall Thickness Fundamentals in STL Files

Precision in wall thickness determines whether your STL file produces a successful 3D print or a failed attempt.
You’ll need to understand that wall thickness refers to the measurement between your model’s inner and outer surfaces. This critical dimension affects your print’s structural integrity, durability, and overall success rate.
When designing STL files, you’re working with geometric data that slicing software converts into printable layers. Your wall thickness must accommodate the physical limitations of 3D printing technology while maintaining the model’s intended function.
Too thin, and you’ll face warping, cracking, or complete print failure. Too thick, and you’ll waste material and increase printing time.
Understanding these fundamentals helps you make informed decisions about your model’s design parameters.
Minimum Wall Thickness Requirements by Printing Technology
You’ll need different minimum wall thickness values depending on which 3D printing technology you’re using for your project.
FDM printers typically require thicker walls than SLA or SLS systems due to their layer-by-layer extrusion process and nozzle limitations.
Let’s examine the specific requirements for each major printing technology so you can optimize your STL files accordingly.
FDM Technology Requirements
FDM 3D printers require a minimum wall thickness of 1-2 mm to achieve structural integrity and prevent print failures. Your standard 0.4mm nozzle produces an extrusion width of approximately 0.45mm, meaning two perimeters create roughly 0.9mm wall thickness.
While this meets basic requirements, you’ll want three perimeters for enhanced strength, yielding about 1.3mm thickness.
Proper layer bonding depends on adequate wall thickness to prevent warping and cracking during printing. You can adjust perimeter count in your slicer settings to control wall thickness directly.
Remember that thicker walls increase material usage and print time, so balance strength requirements with efficiency. For most functional prints, staying within the 1-2mm range provides ideal results without compromising quality or wasting resources.
SLA Printing Specifications
While SLA technology offers superior precision compared to FDM printing, you’ll still need to maintain minimum wall thickness standards for reliable results. You can achieve walls as thin as 0.5 mm for intricate designs, though 1.0-2.0 mm represents the safer range for most applications.
| Wall Type | Minimum Thickness | Recommended Thickness |
|---|---|---|
| Supported walls | 0.5 mm | 1.0 mm |
| Unsupported walls | 1.5 mm | 2.0 mm |
| Complex geometries | 1.0 mm | 1.5 mm |
Your ideal wall thickness depends on the specific resin you’re using, so always consult manufacturer guidelines. Unsupported walls require greater thickness to prevent warping, while supported structures can be thinner. Test your designs iteratively, as inadequate thickness creates fragile parts that’ll fail during post-processing.
SLS Process Guidelines
Since SLS technology uses a laser to fuse powder particles together, you can achieve reliable prints with minimum wall thickness starting at 0.8 mm, though 1.0-1.5 mm provides better structural integrity for most applications.
You’ll find SLS offers unique advantages for complex geometries without requiring support structures, but maintaining proper wall thickness remains essential for successful sintering.
When designing walls below the minimum threshold, you risk compromising structural integrity and potential print failures.
Your material choice greatly impacts these requirements – nylon and polyamide powders each have distinct properties affecting wall strength.
You should always consult your material manufacturer’s specific guidelines to determine ideal thickness for your application. This guarantees your parts achieve the best possible print quality and long-term performance in their intended use.
Calculating Optimal Wall Dimensions for Your 3D Printer
Your nozzle size directly determines the baseline for wall thickness calculations, with a 0.4 mm nozzle typically producing 0.45 mm perimeter widths that you’ll multiply by your chosen perimeter count.
Different materials require specific thickness adjustments—flexible filaments need thicker walls for stability while rigid materials like PLA can work with thinner dimensions.
You’ll need to optimize your perimeter count based on these calculations, as three perimeters with a 0.4 mm nozzle creates approximately 1.35 mm walls that balance strength with print efficiency.
Nozzle Size Impact Calculations
Three fundamental variables determine your wall thickness calculations: nozzle diameter, extrusion width, and perimeter count. When you’re working on nozzle size impact calculations, these elements directly influence your final wall dimensions.
Your standard 0.4mm nozzle produces approximately 0.45mm extrusion width, creating predictable thickness patterns. Two perimeters yield 0.9mm walls, while three generate 1.3mm thickness.
If you need to print thin walls effectively, consider upgrading to a 0.8mm nozzle, which enables thicker extrusion widths and achieves 1.6mm+ wall thickness.
You can strategically set your extrusion width beyond nozzle diameter to improve layer bonding. This technique enhances structural integrity while maintaining dimensional accuracy.
Calculate your ideal combination by multiplying desired perimeter count by planned extrusion width, ensuring your design matches printer capabilities.
Material-Specific Thickness Guidelines
When selecting ideal wall thickness, different materials demand specific dimensional requirements based on their unique printing characteristics and mechanical properties.
For PLA prints, you’ll achieve perfect wall thickness between 1-2 mm, balancing strength with print quality.
PETG requires at least 1.2 mm thickness to prevent under-extrusion and guarantee proper layer adhesion.
ABS needs thicker walls around 2 mm to combat warping and maintain structural integrity during cooling.
When you’re working with flexible filaments like TPU, aim for 1.5 mm thickness to preserve flexibility while preventing stress tears.
Nylon prints also benefit from 1.5 mm minimum thickness, providing necessary strength and preventing deformation during printing.
Each material’s unique properties directly influence your ideal thickness calculations.
Perimeter Count Optimization
Beyond choosing the right material thickness, you’ll need to calculate how many perimeters your slicer should generate to achieve those dimensions.
Perimeter count enhancement involves dividing your desired wall thickness by your extrusion width. For example, achieving 2.1mm thickness requires five perimeters with 0.45mm extrusion width.
With a standard 0.4mm nozzle, you’ll want wall thickness between 0.6mm to 0.8mm for ideal structural integrity. While increasing perimeters strengthens walls, it extends print times considerably.
You’ll need to balance strength against efficiency. For vase mode prints, stick to single perimeters to eliminate seams, but increase external perimeter extrusion width up to 0.8mm for thickness.
Your slicer’s vertical shells setting directly controls perimeter count.
Slicer Settings and Perimeter Configuration
Once you’ve designed your STL file with appropriate wall thickness, your slicer settings become the critical bridge between digital design and physical reality. The Vertical Shells setting controls your perimeter count—setting it to 3 creates three perimeters, resulting in approximately 1.3mm wall thickness with a standard 0.4mm nozzle.
| Desired Wall Thickness | Extrusion Width | Required Perimeters |
|---|---|---|
| 1.3mm | 0.45mm | 3 |
| 2.1mm | 0.45mm | 5 |
| 1.6mm | 0.8mm | 2 |
| 2.4mm | 0.8mm | 3 |
| 3.6mm | 0.8mm | 4-5 |
Calculate required perimeters by dividing wall thickness by extrusion width. Increase extrusion width up to 0.8mm for enhanced layer bonding. Enable “print thin walls” for improved quality on delicate geometries.
Design Software Tools for Wall Thickness Analysis

Before sending your model to the slicer, you’ll want to analyze your STL file’s wall thickness using specialized CAD tools that can identify potential printing issues.
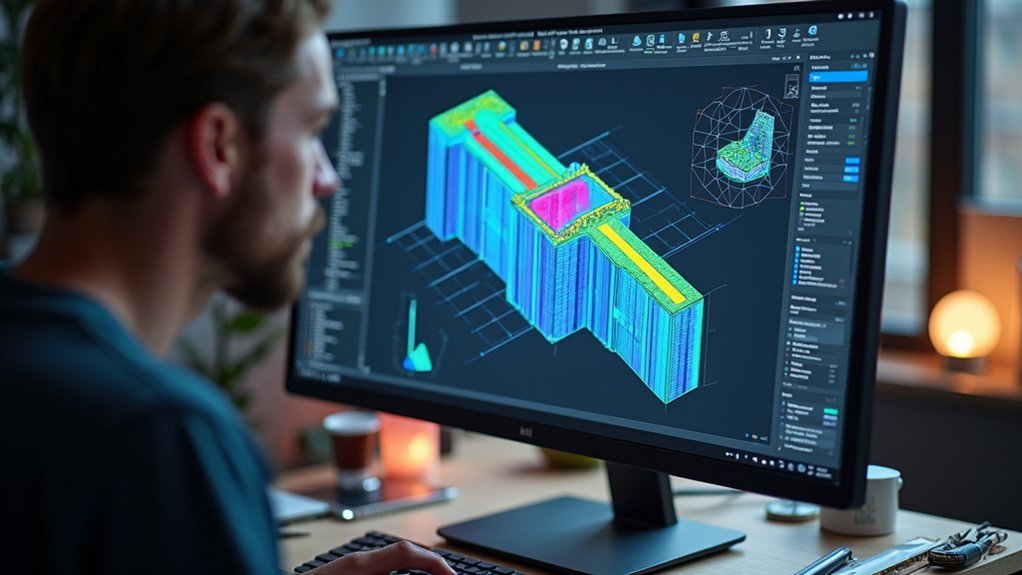
MeshMixer’s Analysis → Thickness feature highlights areas with insufficient wall thickness, helping you avoid structural failures during printing. You can then make certain your design meets minimum requirements before proceeding.
Fusion 360 offers the Thicken feature, allowing you to intuitively select and adjust specific model areas.
Rhino’s Extrude Surface feature provides customizable thickness adjustments to enhance structural integrity.
These analysis tools work alongside your slicer’s perimeter and extrusion width settings to optimize print quality.
Troubleshooting Common Wall Thickness Problems
Even with careful analysis and proper tool usage, wall thickness issues can still emerge during printing, manifesting as weak structures, layer separation, or complete print failures.
When you encounter these problems, systematic troubleshooting becomes essential.
- Check for underextrusion signs – Look for gaps, poor infill, or inconsistent layers that indicate flow rate or temperature adjustments are needed for your specific filament.
- Test prototype variations – Print small samples with different wall thicknesses and layer heights to identify ideal settings for enhanced adhesion and structural integrity.
- Enable slicer optimizations – Activate “print thin walls” and adjust horizontal expansion to maintain adequate thickness during slicing.
- Consider thicker walls – Increase wall thickness beyond 1-2mm minimum when prints remain fragile or prone to breaking.
Advanced Techniques for Complex Geometry and Scaling

While basic wall thickness principles apply universally, complex geometries and scaling operations demand sophisticated approaches that go beyond standard minimum thickness guidelines.
You’ll need to manually adjust wall thickness in your CAD software when scaling, ensuring walls remain above 1-2mm thresholds. Enable “Print Thin Walls” in your slicer to maintain structural integrity for intricate downscaled designs. Fine-tune horizontal expansion settings to compensate for scaling effects and preserve desired wall dimensions.
Conduct test prints with varied thicknesses on complex geometries to understand how scaling impacts your output. This reduces print failures and optimizes performance.
Advanced CAD tools offer thickness checking capabilities across different model areas, enabling targeted modifications that balance aesthetic appeal with functional requirements in your scaled designs.
Frequently Asked Questions
How Thick Should Walls Be for 3D Print?
You should make walls 1-2mm thick for most FDM prints. Set three perimeters with a 0.4mm nozzle to achieve 1.3mm thickness. Unsupported walls need at least 1mm, while supported walls can be thinner.
How to Make Stl Walls Thicker?
You can thicken STL walls using CAD software like Fusion 360’s Thicken feature or increase perimeters in your slicer settings. Alternatively, adjust extrusion width or use MeshMixer’s offset tools for modifications.
What Is the Best Wall Thickness in Cura?
You’ll achieve ideal strength with 0.6mm to 0.8mm wall thickness in Cura. Set this through “Wall Line Count” in Print Settings, typically using 2-3 perimeters with a standard 0.4mm nozzle for best results.
What Is the 5mm Rule in 3D Printing?
You should maintain at least 5mm wall thickness for structural components in 3D printing. This rule guarantees your prints won’t break under stress and provides adequate strength for functional parts.


Leave a Reply