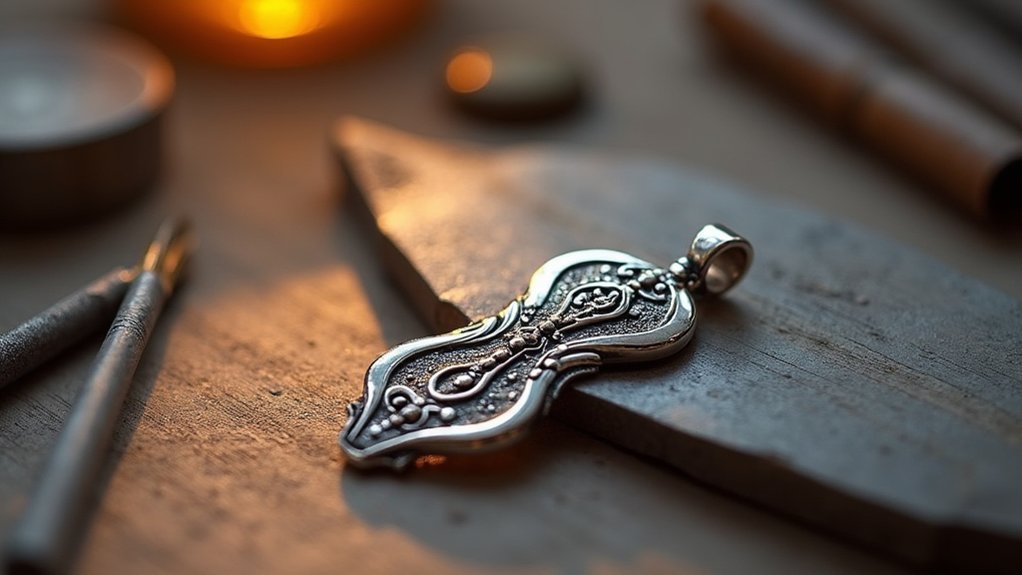
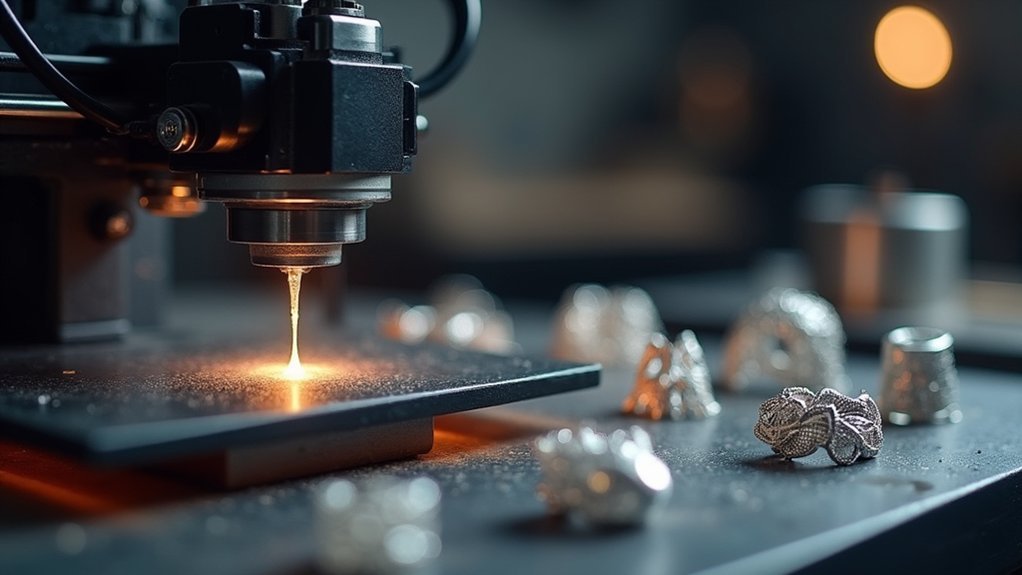
You’ll start by creating a detailed 3D model using stereolithography, then print it in wax with proper support structures. Next, you’ll attach sprues to your wax model and encase it in plaster to form a mold. Heat the mold to burn out the wax, leaving cavities for pouring molten sterling silver (92.5% pure silver, 7.5% copper). After the silver solidifies, break the plaster mold and apply post-processing techniques like filing, sanding, and polishing to achieve your desired finish—whether gloss, satin, or antique. This thorough process transforms your digital design into professional-quality jewelry that meets industry standards for both aesthetics and durability.
Understanding 3D-Printed and Casted Sterling Silver Materials

When you’re exploring sterling silver for 3D printing and casting, you’ll work with an alloy that contains 92.5% pure silver and 7.5% other metals, typically copper. This composition matches jewelry store quality, ensuring your pieces maintain professional standards.
This professional-grade alloy delivers jewelry store quality with 92.5% pure silver and 7.5% copper composition for your projects.
The combined 3D printing and casting process greatly enhances your material’s density and strength compared to traditional methods. You’ll start by creating a wax model through 3D printing, then proceed through plaster casting and manual finishing stages.
Critical design elements require careful attention. You’ll need adequate wall thickness to prevent structural weakness and properly positioned support structures during printing.
After casting, you can customize surface finish with five options: Gloss, High Gloss, Satin, Sandblasted, or Antique Silver, giving you complete control over your jewelry’s final appearance.
Choosing the Right Silver Finish for Your Jewelry Design
Since your jewelry’s surface finish dramatically affects both its visual appeal and tactile experience, you’ll want to match the finish type to your design’s specific characteristics and intended aesthetic.
| Finish Type | Best For | Key Characteristic |
|---|---|---|
| Gloss | Intricate designs | High detail retention |
| High Gloss | Simple, bold pieces | Smoothest, shiniest surface |
| Satin | Textured designs | Manual brushed line effects |
For pieces using complex geometries, choose Gloss finish to preserve fine details despite its slightly uneven surface. High gloss works perfectly for minimalist designs where you want maximum shine. Satin finish adds unique tactile qualities through brushing techniques. Sandblasted creates modern, matted appearances ideal for contemporary styles. Antique Silver combines shiny surfaces with darker recessed areas, delivering vintage depth and character to your 3D-printed sterling silver jewelry.
The Complete 3D Printing and Casting Process Workflow

You’ll start by creating a detailed 3D model through stereolithography, which gets printed in wax complete with all necessary support structures.
Next, you’ll attach sprues to your wax model and encase it in plaster before heating the mold to burn out the wax and create cavities for molten silver.
The casting process involves pouring sterling silver into these cavities, letting it solidify, then breaking away the plaster to reveal your jewelry piece.
Wax Model Creation
Although traditional jewelry making relies on hand-carved wax models, 3D printing revolutionizes this foundational step by offering unprecedented precision and design complexity.
You’ll begin by using stereolithography to create your wax model, which captures fine details that would be nearly impossible to achieve by hand. This digital approach to Lost wax casting guarantees consistent quality and allows for intricate geometries.
During the printing process, you’ll need to include essential support structures:
- Strategic placement of supports to prevent model distortion during printing
- Adequate thickness in support beams to maintain structural integrity
- Easy removal points that won’t damage delicate features when detached
These supports are vital for maintaining stability throughout the casting process, making sure your final silver piece matches your original design intent perfectly.
Silver Casting Steps
Once you’ve completed your 3D-printed wax model, the silver casting process transforms your digital design into tangible sterling silver jewelry through a methodical sequence of steps.
You’ll attach your wax model to a sprue and tree system, then encase it in plaster to create the casting mold.
Next, you’ll burn out the wax in an oven, leaving hollow cavities shaped like your jewelry design.
Pour molten sterling silver into these cavities to produce jewelry pieces.
After cooling, break the plaster mold to retrieve your silver castings.
You’ll need to manually file and sand each piece to remove rough edges and refine the surface.
Finally, polish your jewelry and apply your chosen finish—whether gloss, high gloss, satin, sandblasted, or antique silver—to achieve a professional appearance.
Essential Design Guidelines for Sterling Silver 3D Models
When designing 3D models for sterling silver jewelry, specific technical requirements determine whether your piece will successfully shift from digital concept to finished metal. Your wall thickness needs careful consideration—maintain at least 0.5 mm minimum, though 1 mm works better for delicate pieces requiring high tensile strength.
You’ll achieve a high level of structural integrity by following these core principles:
- Design escape holes with 1.5 mm minimum diameter when creating hollow models to prevent air pockets during casting
- Verify smallest features measure at least 0.3 mm diameter and 0.4 mm height for successful printing resolution
- Round sharp corners during design phase, as post-processing finishes affect models differently
Avoid nested objects or interlinking components—3D printing technology can’t support these complex configurations in sterling silver applications.
Alternative Electroplating Methods for DIY Silver Jewelry

Why settle for expensive sterling silver printing when electroplating can transform your standard 3D prints into brilliant silver jewelry?
You’ll need to start by applying conductive coatings like copper paint or graphite paint to your 3D printed pieces. This essential step guarantees proper conductivity during the electroplating process.
Next, immerse your conductive prints in a pure silver electrolyte bath. Use a constant current power supply to achieve even silver deposition across your jewelry’s surface.
The thick silver layers you’ll create will closely mimic traditional silver jewelry while boosting durability.
Don’t forget regular electrolyte bath maintenance for consistent results.
After electroplating, tumbler polishing will give your pieces that coveted high-gloss finish, completing your professional-looking silver jewelry.
Professional Post-Processing and Final Finishing Techniques
After your sterling silver pieces emerge from the casting process, you’ll need to transform them from rough castings into polished masterpieces through careful post-processing.
Manual filing and sanding remove imperfections while guaranteeing smooth surfaces before final polish. These post-processing techniques are essential for creating professional-quality jewelry.
Post-processing transforms rough sterling silver castings into polished jewelry through meticulous filing, sanding, and finishing techniques that ensure professional quality.
Your choice of finishing techniques dramatically impacts your piece’s appearance:
- Gloss and high gloss finishes provide maximum shine and reflectivity
- Satin and sandblasted textures create sophisticated matte appearances
- Antique silver treatments add vintage character and depth
Professional polishing can be achieved using tumblers or hand techniques with specialized media.
Remember to round sharp corners during post-processing—this prevents breakage and guarantees your sterling silver jewelry’s durability.
Different finishing techniques require specific approaches, so select methods that complement your design vision.
Frequently Asked Questions
Can You 3D Print Sterling Silver?
You can’t directly 3D print sterling silver, but you can create it through indirect methods. You’ll print a wax model first, then use traditional casting techniques to pour molten sterling silver into the resulting mold.
Can You Print Jewelry With a 3D Printer?
You can print jewelry with a 3D printer by creating wax models that get cast into sterling silver. You’ll need proper wall thickness and feature sizing for successful results.
What Is the Best Material for 3D Printed Jewelry?
You’ll find 3D-printed and casted sterling silver offers the best results for jewelry. It’s 92.5% pure silver with 7.5% other metals, ensuring durability, skin safety, and quality comparable to traditional jewelry stores.
What Metals Cannot Be 3D Printed?
You can’t 3D print toxic metals like lead and mercury, extremely high-melting materials like tungsten, or reactive metals like titanium without specialized equipment and controlled environments for safety.


Leave a Reply