You can minimize Z seam visibility by configuring Cura’s seam alignment settings to “Random” for scattered placement or “User Specified” to position seams in less visible areas like sharp corners or model backs. Optimize retraction settings between 0.5-2mm distance and 40-50mm/s speed to prevent oozing. Fine-tune printing temperature and flow rates for your specific filament. For post-processing, sand with progressively finer grits and apply automotive filler primer for professional results. Mastering these techniques will transform your prints completely.
Understanding Z Seam Formation in FDM Printing
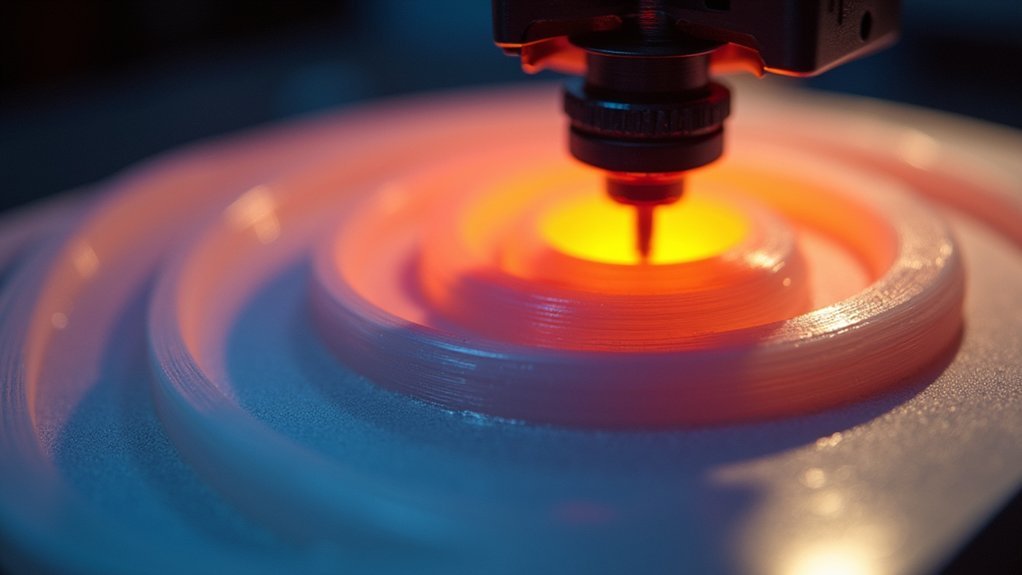
When your 3D printer creates each layer during FDM printing, it must start and stop the extrusion process somewhere, which inevitably creates visible lines known as Z seams.
These seams occur because the extruder can’t shift seamlessly between layers without leaving a mark. The location where each layer begins and ends determines where you’ll see these imperfections on your finished model.
Several factors influence Z seam visibility, including your print speed, layer height, and retraction settings.
Faster speeds can create more pronounced seams, while proper retraction helps minimize excess material buildup.
While you can’t completely rid of the seam, understanding how they form allows you to control their placement.
Configuring Cura Seam Alignment Settings
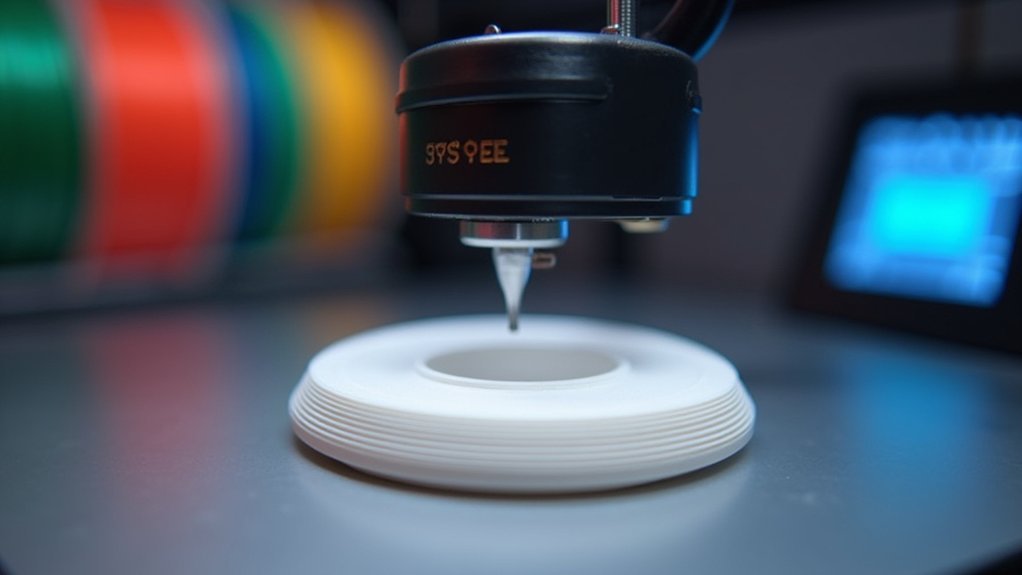
You’ll find Cura’s Z Seam Alignment settings in the “Mesh” section under “Print Setup,” where you can choose between three primary options to control seam placement.
The “Random” setting distributes seams across your print’s surface, while “User Specified” lets you manually position seams at specific locations like corners or edges.
You can also enable the “Randomize Starting Point” feature and adjust corner preference settings to further refine where seams appear on your model.
Z Seam Alignment Options
Since Cura’s Z Seam Alignment setting directly controls where layer shifts occur on your 3D print, mastering these options is essential for achieving professional-looking results.
You’ll find three primary Z Seam Alignment choices that dramatically impact seam visibility.
The Random option distributes seams across your model’s surface, preventing consistent lines that draw attention. This approach works well for organic shapes where scattered seams blend naturally.
For precision control, choose User-defined positioning. This lets you place seams in less visible areas like corners or hidden surfaces where they won’t affect your print’s appearance.
The Nearest option automatically aligns seams to the closest vertical edge, which minimizes visual impact by utilizing natural geometry breaks.
Each option serves different aesthetic goals depending on your model’s design.
Randomize Starting Point Feature
Beyond selecting your preferred Z seam alignment method, Cura’s “Randomize Starting Point” feature adds another layer of seam control by varying where each layer begins printing.
When you enable this option, your printer starts each layer at different locations, effectively scattering Z seam marks across your model’s surface rather than creating one continuous vertical line.
You’ll find the randomize starting point setting under Cura’s “Z Seam Alignment” options during print preparation.
This feature works particularly well for models without specific orientation requirements or where seam appearance can be easily masked.
It’s especially effective on prints with flat surfaces where traditional seams would be highly visible.
Experimenting with this setting alongside other seam alignment options can greatly improve your print’s aesthetic quality by distributing visual imperfections.
Corner Preference Settings
While randomizing starting points helps distribute seams across your model’s surface, Cura’s Corner Preference settings provide more strategic control over seam placement.
You’ll find Z Seam Alignment options under the Shell settings, where you can choose “Sharpest Corner” to automatically position seams at the model’s most angular edges. This Corner Preference approach works exceptionally well for geometric prints with defined corners, as seams naturally blend into existing edges.
For maximum precision, select “User Specified” to manually designate exactly where seams appear. You can target specific coordinates or select particular corners that’ll remain hidden from view.
Experiment with different Corner Preference combinations to find what works best for your model’s geometry. Strategic seam placement in less visible areas dramatically improves your print’s surface finish and overall aesthetic appeal.
Random Start Point Configuration for Seam Distribution
You can configure Cura’s random start point feature to scatter seam locations across your model’s surface, making them less noticeable than concentrated seams.
This randomization works by changing where each layer begins printing, creating a distribution pattern that breaks up the vertical seam line into smaller, less visible marks.
However, you’ll need to balance seam reduction against potential quality trade-offs like slight surface inconsistencies or minor layer adhesion issues.
Random Point Mechanics
The “Randomize Starting Point” feature in Cura takes a scatter-shot approach to seam placement by changing where each layer begins printing.
Instead of creating a continuous vertical line where each layer starts and ends, you’ll get seam lines distributed randomly across your model’s surface. This breaks up the uniform pattern that makes seams so visible on finished prints.
The mechanics work by calculating different starting coordinates for each layer, effectively spreading imperfections across the entire surface.
You’ll find this particularly effective on complex geometries where traditional seam placement creates obvious marks.
However, balance randomization with your print speed settings. Excessive nozzle movement between random points can introduce stringing or other artifacts if your speeds aren’t properly calibrated for the increased travel distances.
Distribution Pattern Effects
Successfully configuring random start points creates distinct distribution patterns that dramatically affect how seam imperfections appear on your finished models. You’ll notice different spreading behaviors based on your geometry and settings.
| Pattern Type | Seam Visibility | Best Applications |
|---|---|---|
| Clustered | Moderate | Simple geometries |
| Scattered | Low | Complex surfaces |
| Linear | High | Avoid this pattern |
| Adaptive | Very Low | Curved objects |
When you adjust randomization intensity, you’re controlling how aggressively the slicer distributes start points. Higher randomization reduces seam visibility on cylindrical objects but may compromise print quality if overdone. You’ll need to experiment with different values since each model responds differently. Monitor your results carefully—excessive randomization can introduce surface inconsistencies that outweigh seam reduction benefits.
Quality Trade-offs
While random start points effectively distribute seams across your print surface, they introduce measurable trade-offs that you’ll need to evaluate for each project.
You’ll notice a slight increase in print time as your extruder makes additional movements between randomized positions. These extra travels can make your print much less predictable in timing compared to consistent seam placement.
The randomization process prevents seams from forming a straight line, which improves aesthetics but creates small surface imperfections where each layer begins.
You might observe tiny bumps or slight inconsistencies that weren’t present with fixed seam positioning. When you try to make high-precision prints, these micro-imperfections could affect dimensional accuracy.
Post-processing techniques like light sanding can address these issues, but factor in the additional finishing time required.
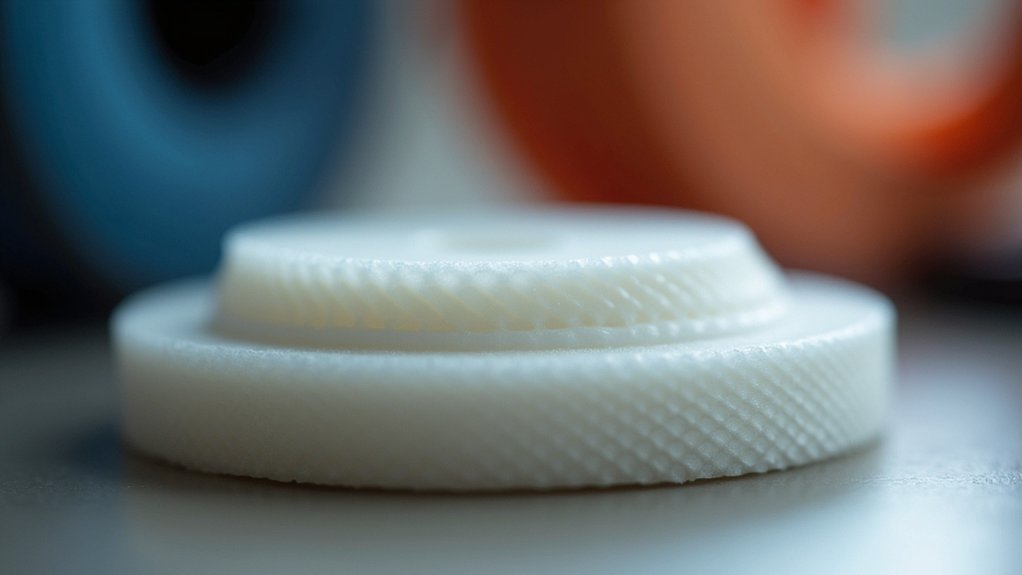
Corner Seam Placement Strategies
Where should you position seam lines to minimize their visual impact on your 3D prints?
Strategic corner placement makes seams virtually invisible during normal use and display.
Your slicing software’s “Z Seam Alignment” feature gives you precise control over seam positioning. In Cura, you’ll find options like “Random” or “User Specified” that let you dictate exactly where seams appear.
Master seam placement with your slicer’s Z Seam Alignment settings for professional-looking prints every time.
Consider these effective corner seam strategies:
- Position seams in sharp corners where they’ll naturally blend into edge connections.
- Orient your model to place seams on the back or bottom surfaces.
- Design grooves or indentations that camouflage seam lines within the model itself.
- Test different placements on small samples before committing to larger prints.
For particularly stubborn seams, you can sand them smooth and apply CA glue for seamless finishing.
Retraction Settings Optimization for Cleaner Seams
You’ll dramatically improve seam quality by fine-tuning your retraction settings to prevent filament oozing during travel moves.
Start by adjusting your retraction distance between 0.5-2mm and setting your retraction speed around 40-50 mm/s based on your specific printer and filament combination.
Don’t forget to configure your un-retract amount, which controls how much filament gets pushed back into the nozzle after each retraction cycle.
Retraction Distance Adjustments
When retraction distance isn’t properly calibrated, excess filament oozes out during travel moves and creates more prominent seam lines on your prints.
You’ll need to adjust this setting based on your printer’s extruder type to achieve cleaner results.
Here’s how to optimize your retraction distance:
- Set 4-6mm for Bowden systems – The longer filament path requires greater retraction to pull material back effectively.
- Use 1-3mm for direct drive setups – Since the extruder sits directly above the hotend, less distance is needed.
- Start with conservative values – Begin at the lower end of these ranges and gradually increase if you notice stringing.
- Test incrementally – Make 0.5mm adjustments and print test models to find your printer’s sweet spot.
Proper retraction distance prevents oozing while avoiding excessive wear on your extruder gear.
Retraction Speed Settings
While retraction distance controls how much filament pulls back, retraction speed determines how quickly that movement happens—and this timing directly affects seam quality. Faster retraction speeds reduce stringing and create cleaner layer shifts by minimizing the time filament can ooze during travel moves.
| Retraction Speed (mm/s) | Result Quality |
|---|---|
| Below 30 | Poor – slow retraction allows oozing |
| 30-45 | Good – balanced speed and effectiveness |
| 45-60 | Excellent – ideal for most materials |
| 60-80 | Variable – may cause extruder stress |
| Above 80 | Poor – can lead to under-extrusion |
You’ll need to experiment with speeds between 30-60 mm/s for your specific printer and filament combination. Remember that excessive retraction speed can stress your extruder and cause under-extrusion, while insufficient speed won’t prevent the filament leakage that creates visible seams.
Un-retract Amount Control
After perfecting your retraction speed, the un-retract amount becomes your next critical adjustment for eliminating seam artifacts. This setting controls how much filament gets pushed back into the nozzle after retraction, directly affecting seam quality.
Follow these steps to optimize your un-retract amount:
- Start with 0.5mm as your baseline un-retract setting
- Lower the amount gradually to improve filament flow consistency at seams
- Test different values during calibration prints to find your printer’s sweet spot
- Coordinate with other retraction parameters like distance and speed for best results
Lowering your un-retract amount reduces gaps and blobs that make seams visible.
You’ll achieve smoother changes between print segments when this setting works harmoniously with your other retraction parameters.
Linear Advance Calibration Impact on Seam Quality
Although many 3D printing enthusiasts focus on slicer settings to hide seam lines, linear advance calibration often provides the most remarkable improvement in seam quality.
You’ll enhance extruder pressure control, creating more consistent flow that reduces seam visibility. By adjusting the linear advance factor, you’re improving layer adhesion while minimizing gaps and bumps that make seams pronounced.
Linear advance calibration delivers superior extruder pressure control, ensuring consistent filament flow that dramatically reduces visible seam lines on your prints.
You should perform calibration tests since ideal settings vary by filament type, nozzle size, and print speed.
This calibration greatly affects extrusion response, enabling smoother layer shifts that hide seams more effectively. When you’ve properly calibrated linear advance, you’ll achieve better overall print quality with smoother surfaces and less noticeable seam lines, significantly enhancing your model’s aesthetic appeal.
Coasting and Wipe Settings for Seam Reduction
Fine-tuning your slicer’s coasting and wipe settings creates a powerful one-two punch against visible seam lines.
Coasting stops filament extrusion before segment completion, preventing excess material buildup at seams. Wipe settings drag the nozzle across finished layers, smoothing residual filament.
Here’s how to enhance these settings:
- Set coasting distance between 0.2-0.8mm based on your printer and filament combination.
- Configure wipe distance around 1-3mm to remove excess filament at print moves.
- Test incrementally starting with conservative values to avoid under-extrusion.
- Combine both settings for maximum seam reduction effectiveness.
You’ll need to experiment with different values since each printer-filament pairing responds uniquely.
Start with lower settings and gradually increase until you achieve ideal seam quality without compromising extrusion consistency.
Temperature and Flow Rate Adjustments
When temperature and flow rate work in harmony, they create the foundation for nearly invisible seam lines in your 3D prints. You’ll need to match your printing temperature to your specific filament type, as each material has ideal temperature ranges that directly affect layer adhesion and seam visibility.
Start with your filament manufacturer’s recommended settings, then make small adjustments. Higher flow rates can improve extrusion consistency and fill gaps that make seams visible, but watch for over-extrusion. Monitor your flow ratio characteristics to fine-tune material delivery.
| Filament Type | Temperature Range | Flow Rate |
|---|---|---|
| PLA | 190-220°C | 95-105% |
| PETG | 220-250°C | 90-100% |
| ABS | 240-260°C | 95-105% |
Conduct test prints with incremental changes to achieve ideal results.
Alternative Slicer Profiles for Better Seam Control
Beyond optimizing your printer’s hardware settings, your choice of slicer software can dramatically impact seam visibility through specialized algorithms and advanced control features.
Alternative slicer profiles like PrusaSlicer offer enhanced seam management that outperforms standard settings.
Here are four key strategies for better seam control:
- Enable “Randomize Starting Point” to distribute seams across your model’s surface instead of creating a visible line.
- Adjust Z Seam Alignment settings to position seams in less noticeable areas like corners or edges.
- Customize infill patterns that create more uniform surfaces to disguise seam imperfections effectively.
- Try advanced slicers like SoftFever for fine-tuning seam gap closing radius and other specialized parameters.
You’ll need to test different profiles since various materials respond differently to these seam handling capabilities.
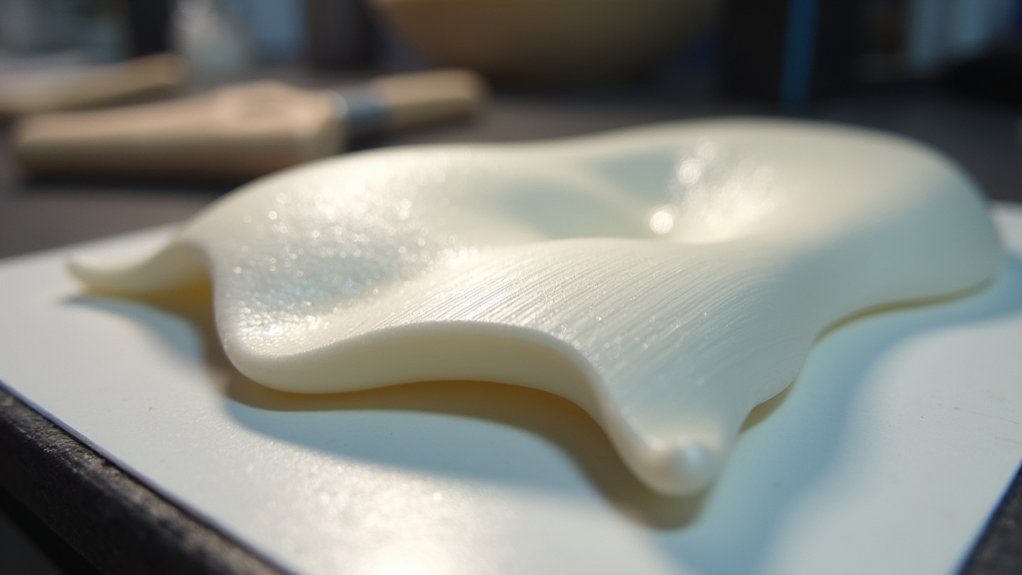
Post-Processing Techniques for Seam Elimination
Three fundamental post-processing methods can eliminate stubborn seam lines that remain visible even after optimized printing settings.
Start by sanding with progressively finer grits, beginning at 80 and finishing with 220 to smooth surface imperfections. For challenging areas, use a heat gun or hairdryer to soften edges before sanding, making them easier to blend together.
Apply Bondo glazing spot putty to fill small gaps and seams that sanding can’t address. Once dried, sand the putty smooth and apply automotive filler primer to hide remaining layer lines and create a seamless surface.
Repeat the sanding and priming cycle multiple times for professional results.
This systematic approach transforms rough prints into polished pieces ready for final painting or finishing.
Hardware Considerations Affecting Seam Visibility
Your printer’s hardware configuration directly determines how visible seam lines appear on finished prints. Several key components affect seam formation and visibility.
Hardware configuration is the foundation of seam control – your printer’s components directly dictate the quality of your finished prints.
Consider these hardware factors:
- Nozzle size – Larger nozzles (0.6mm or 1.0mm) create thicker extrusion widths that reduce seam appearance, though you’ll need slower print speeds for proper adhesion.
- Print speed settings – Slower speeds improve layer adhesion and minimize visible seams, while faster speeds cause inconsistent extrusion and pronounced seam lines.
- Filament type – Choose materials with better adhesion properties that create smoother finishes rather than those prone to pronounced seams.
- Regular maintenance – Keep your extruder clean and calibrate retraction settings properly to prevent issues that worsen seam visibility and overall print quality.
Frequently Asked Questions
How Do You Hide Lines in 3D Prints?
You can hide seam lines by randomizing starting points in Cura, positioning Z-seam alignment strategically, experimenting with infill patterns, orienting prints thoughtfully, and maintaining proper printer calibration for ideal results.
How to Seal Seams in 3D Prints?
You’ll seal seams by applying 5-minute epoxy for bonding, then using JB Weld putty to fill gaps. Sand with 80-grit, then 220-grit sandpaper for smoothness before applying automotive primer.
How to Seamlessly Join 3D Prints?
You’ll achieve seamless joins by using 5-minute epoxy or super glue with proper keying and registration. Remove excess adhesive with a sharp knife, sand with progressive grits, then apply Bondo putty for flawless results.
How to Get Rid of Layer Lines in 3D Printing PLA?
You can sand your PLA prints with 80 then 220 grit sandpaper to smooth layer lines. Apply automotive filler primer for better results, or use slower speeds and higher layers during printing.


Leave a Reply