
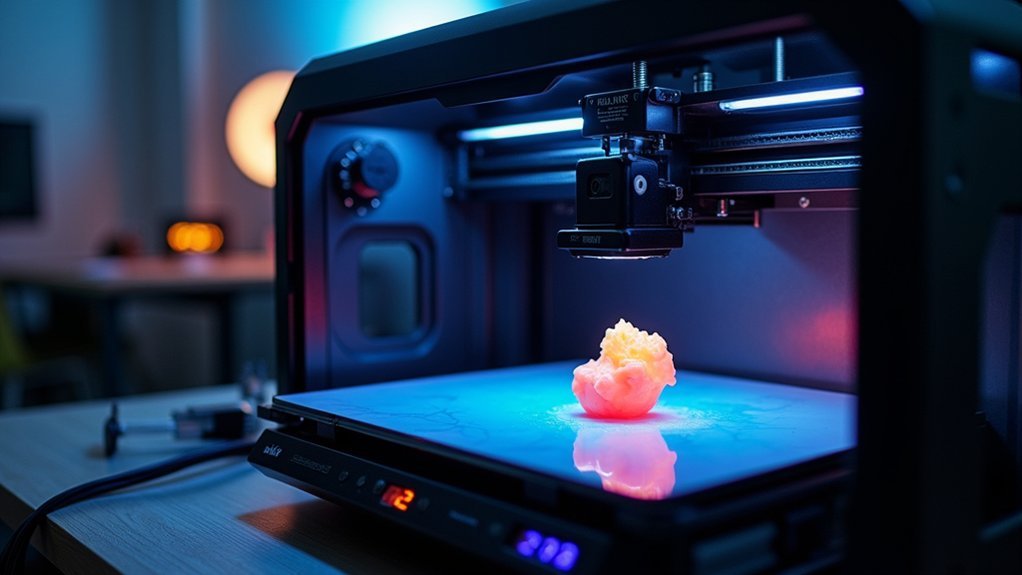
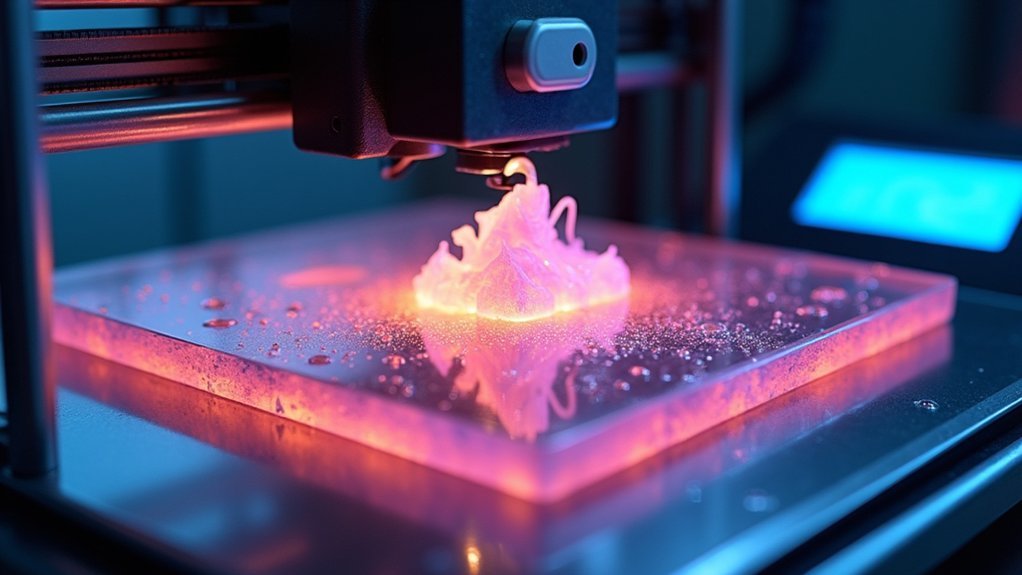
You can greatly reduce resin printing times by systematically testing exposure settings below manufacturer defaults, which prioritize safety over speed. Start with normal layer exposures between 0.5-5 seconds for monochrome printers, reduce bottom layers to under 30 seconds, and maintain temperatures between 20-30°C to double curing speed. Increase layer heights from 0.05mm to 0.1mm to halve print duration while using fast-curing resins for 30% time savings. These optimization strategies will transform your printing efficiency.
Why Standard Exposure Settings Prioritize Safety Over Speed
When you first set up your resin printer, you’ll notice that manufacturers configure exposure settings with generous safety margins rather than ideal speed parameters.
These conservative exposure times serve multiple critical purposes that prioritize your health and print success over speed.
Standard settings guarantee complete resin curing, preventing uncured material from remaining on your prints. This is essential for safety, as uncured resin poses health risks through skin contact and fumes.
Manufacturers recommend bottom layer exposure times that are 8-12 times longer than normal layers to assure strong build plate adhesion.
While these extended exposure times slow your printing process, they protect print quality by preventing failures, layer separation, and adhesion issues that would waste both time and materials.
Understanding the Relationship Between Exposure Time and Print Quality
Although exposure time might seem like a simple timer setting, it’s actually the most critical factor determining whether your prints succeed or fail. The relationship between exposure time and print quality follows a delicate balance where too little curing creates weak, delaminated layers, while excessive exposure bleeds light and destroys fine details.
| Exposure Level | Print Quality Result |
|---|---|
| Under-exposed | Poor adhesion, layer separation |
| Ideal | Strong layers, crisp details |
| Over-exposed | Light bleeding, lost features |
| Severely over-exposed | Brittle prints, dimensional errors |
| Inconsistent | Unpredictable failures |
Your bottom layer exposure requires 8-12 times longer duration than standard layers for proper platform adhesion. Understanding this relationship lets you push exposure times lower while maintaining quality, greatly reducing print duration without sacrificing reliability.
Calibrating Your Baseline Exposure Requirements
Now that you understand how exposure time affects print quality, you need to establish your printer’s baseline exposure requirements through systematic testing.
Start with the Validation Matrix to quickly identify ideal settings in under 15 minutes.
For normal layer exposure time, begin with 0.5-5 seconds on monochrome printers or 2-20 seconds on RGB printers.
Test using small 0.1-second increments until you achieve well-defined features without voids.
Configure bottom layers at 8-12 times your normal layer exposure time for proper build platform adhesion, keeping exposure under 30 seconds to prevent overheating.
Re-evaluate these settings whenever you change resin types or encounter contamination, as variations greatly impact curing efficiency and print quality.
Reducing Normal Layer Exposure Without Compromising Detail
You’ll want to systematically test exposure times by starting with your baseline settings and reducing them in small increments while closely monitoring print quality.
Run validation prints at each exposure level to identify the shortest time that still produces clean layer adhesion and sharp details.
Document your results carefully since you’re walking a fine line between faster prints and maintaining the quality standards your projects demand.
Testing Optimal Exposure Times
When you’re ready to optimize your printer’s performance, testing exposure times becomes the foundation for achieving faster prints without sacrificing quality.
Use models like the Validation Matrix to systematically test your normal layers and reduce print time effectively.
For Monochrome printers, adjust exposure settings in 0.1-second increments within the 0.5 to 5-second range.
RGB printers require 1-second increments between 2 to 20 seconds, with high sample rates for quicker adjustments.
Balance is essential—under-exposure causes delaminations and poor adhesion, while over-exposure creates light bleeding and detail loss.
Test regularly when switching resin types or changing layer heights.
This methodical approach guarantees you’ll find the sweet spot where speed meets quality for consistent results.
Maintaining Print Quality Standards
Once you’ve identified your ideal exposure range through testing, the challenge becomes reducing that exposure time while preserving the crisp details that make resin printing superior to other methods.
Your Normal Exposure Time directly impacts layer thickness and overall print quality, so you’ll need to balance speed with precision.
Watch for early warning signs of under-exposure: layer delaminations, weak adhesion between layers, or missing fine details. Over-exposure creates light bleeding that destroys sharp edges and intricate features.
You’ll achieve peak results by making incremental 0.1-second adjustments on monochrome printers while monitoring surface quality closely.
Remember that different resins require unique exposure profiles, so don’t assume settings will transfer between materials.
Regular validation guarantees you’re maintaining quality standards while maximizing speed.
Optimizing Bottom Layer Exposure for Faster Adhesion
While bottom layers form the foundation of successful resin prints, they’re often the biggest bottleneck in your printing speed.
You’ll typically need exposure times 8-12 times longer than normal layers to guarantee proper adhesion to your build platform. However, don’t exceed 30 seconds to prevent overheating and print failures.
For ideal results, use approximately 10 times your normal layer exposure with around 10 bottom layers. This approach works especially well with models requiring strong adhesion.
Consider implementing transitional layers to prevent delamination when using shorter bottom layer exposure times – they’ll provide smoother shifts to normal layers.
Regularly test and adjust your settings based on your specific resin properties and print requirements to achieve reliable adhesion while maintaining speed.
Minimizing Light-Off Delay Between Exposures
Light-off delay represents one of the most overlooked opportunities for cutting your print times dramatically. This pause between exposures adds unnecessary seconds to each layer, accumulating into significant time waste over hundreds of layers.
You can safely reduce light-off delay to 0-1 seconds for most models without compromising print quality.
The key lies in understanding your specific resin and model requirements. Thinner, simpler geometries tolerate minimal delays better than complex, thick sections.
Start conservative with 1-second delays, then experiment downward while monitoring results closely.
Watch for layer delamination or insufficient curing when pushing limits too aggressively. Different resin types respond uniquely to reduced exposure times and delays.
This optimization maintains continuous workflow, eliminating idle time and dramatically accelerating your overall printing process.
Selecting Fast-Curing Resins for Speed Enhancement
Although standard resins work adequately for most applications, fast-curing formulations represent your best opportunity to slash print times without sacrificing quality.
These specialized resins react rapidly to UV light, with options like Liqcreate Premium delivering up to 30% speed improvements. You’ll need only 1-3 seconds per layer instead of standard exposure times, dramatically reducing overall print duration.
For ideal results, choose resins specifically designed for monochrome LCD printers.
These printers emit higher intensity UV light, which pairs perfectly with fast-curing formulations for maximum efficiency. You’ll maintain dimensional stability and fine detail while achieving faster throughput – perfect for rapid prototyping workflows.
Always verify compatibility with your specific printer model to guarantee proper curing and adhesion performance.
Adjusting UV Power Settings for Shorter Exposure Times
You’ll need to calibrate your UV power settings properly to achieve shorter exposure times without compromising print quality.
Start by incrementally increasing power while testing small calibration prints to find the sweet spot where your resin cures quickly but doesn’t over-expose.
This balance requires careful adjustment since too much power can cause detail loss and dimensional issues, while too little won’t give you the speed gains you’re after.
UV Power Calibration Methods
Anyone seeking faster resin prints must master UV power calibration, as properly adjusting your light source’s intensity can dramatically reduce exposure times without sacrificing print quality.
Start by setting your resin printer’s UV power to manufacturer-recommended levels, then gradually increase intensity while monitoring results. Higher UV power enables shorter exposure times, but you must verify your resin’s compatibility to prevent over-curing damage.
Use a radiometer to regularly test your UV power output, ensuring consistent curing results and preventing failures from fluctuating intensity.
Document each adjustment’s effects on print outcomes—this creates valuable reference data for future calibration efforts.
Balancing Power and Quality
When fine-tuning UV power settings, you’re fundamentally walking a tightrope between speed and precision. Higher UV power reduces exposure time dramatically, but push too far and you’ll sacrifice print quality through over-curing and detail loss.
| UV Power Level | Exposure Time | Print Quality Impact |
|---|---|---|
| Low (70-80%) | Longer | Excellent detail retention |
| Medium (85-90%) | Moderate | Balanced speed/quality |
| High (95-100%) | Shortest | Risk of over-curing |
| Excessive (>100%) | Minimal | Detail loss, bleeding |
You must test different combinations systematically with your specific resin. Start conservative, then incrementally increase UV power while monitoring dimensional accuracy and surface finish. Regular calibration helps you identify that sweet spot where exposure time shrinks without compromising the intricate details that make resin printing exceptional.
Temperature Control Effects on Exposure Requirements
While many factors influence resin printing speed, temperature stands out as one of the most critical variables affecting your exposure requirements. Effective temperature control directly impacts your resin’s curing behavior and determines the best exposure times.
When your workspace drops below 20°C, resin viscosity increases considerably, forcing you to extend exposure times for proper curing. Conversely, maintaining temperatures between 20°C to 30°C creates ideal conditions where you can minimize exposure times while preserving print quality.
Here’s the game-changer: every 10°C temperature increase approximately doubles your resin’s curing speed. You’ll need to adjust exposure settings accordingly to prevent overcuring.
Monitor your room temperature consistently, as fluctuations create unpredictable exposure requirements that compromise print reliability and waste valuable printing time.
Layer Height Optimization for Time Savings
Beyond temperature enhancement, your layer height settings present another powerful opportunity to greatly reduce print time without sacrificing quality for most applications.
Increasing from the standard 0.05mm to 0.1mm can nearly halve your printing duration while maintaining acceptable detail for most models. For intricate designs requiring fine details, stick with 0.05mm, but simpler prints benefit considerably from 0.1mm adjustments.
You can push to 0.15mm for functional parts and larger models needing less detail. Remember that larger layer heights reduce fine details, so balance speed against your specific model requirements.
Consider your resin’s characteristics when determining ideal exposure settings, as different layer heights require corresponding exposure adjustments to maintain proper curing and adhesion.
Advanced Exposure Testing Methods for Fine-Tuning
How can you determine the perfect exposure settings that maximize speed without compromising print quality?
You’ll need to conduct systematic exposure tests using a validation matrix model that can assess ideal layer exposure time in under 15 minutes.
Start with your printer’s default settings and adjust incrementally. For monochrome printers, use 0.1-second increments, while RGB printers require higher sample rates for accuracy.
The validation matrix will show clear visual indicators:
- Over-exposed sections display more pins than voids
- Under-exposed areas show fewer pins with visible gaps
- Properly exposed regions balance pins and structural integrity
Remember to retest exposure times when switching resins or encountering contaminants, as these variations greatly impact curing effectiveness and your final print quality.
Monitoring Quality While Pushing Exposure Limits
When you’re pushing exposure times to their limits for faster printing, you’ll need to watch carefully for telltale signs that indicate you’ve gone too far.
Under-exposed prints typically show incomplete layer adhesion, weak structural integrity, fewer pins in test models, and increased voids throughout the print.
You can catch these issues early by conducting regular test prints and inspecting finished models for shiny blemishes during post-processing, which signal under-curing problems.
Signs of Under-Exposure
While pushing exposure times to their limits can dramatically reduce print duration, you’ll need to recognize the telltale signs that indicate you’ve gone too far. Under-exposure creates distinct visual and structural problems that compromise your print quality.
Watch for these key indicators:
- Layer delamination – Parts separate easily or fail to stick to the build platform properly
- Shiny, tacky surfaces – Incomplete curing leaves glossy blemishes that feel sticky to touch
- Distorted details – Fine features lose definition or disappear entirely due to insufficient light penetration
You’ll also notice fewer support pins connecting properly and increased gaps throughout your model’s structure. These defects signal that your resin isn’t receiving adequate curing time.
Test your exposure settings regularly, especially when switching resins or adjusting printer parameters, to maintain ideal results.
Quality Assessment Methods
Since faster printing requires walking a tightrope between speed and quality, you’ll need systematic methods to monitor your results as you push exposure limits.
Start by conducting exposure tests using validation models to find ideal exposure times that balance under-exposure and over-exposure risks. Regularly assess print quality by examining layer adhesion and surface texture, watching for tackiness that indicates insufficient curing.
Apply the 8-12 times longer bottom layer exposure rule while experimenting with normal layer times. Document every adjustment’s effects on print outcomes, recording successful settings for future reference.
Monitor for light bleeding and dimensional inaccuracies that signal excessive exposure, then adjust accordingly to maintain quality control.
Frequently Asked Questions
What Should My Exposure Time Be for Resin Printing?
You’ll want 0.5-5 seconds for monochrome printers or 2-20 seconds for RGB printers. Set bottom layers 8-12 times longer than normal layers, but don’t exceed 30 seconds to prevent overheating.
How to Increase Resin Printing Speed?
You’ll boost printing speed by reducing exposure times, increasing lift speeds to 300 mm/min, shortening light-off delays, using faster-curing resins, and doubling layer heights from 0.05mm to 0.1mm.
What Are the Fastest Resin Print Settings?
You’ll achieve fastest speeds using 0.5-1 second exposure times, 30-second bottom layers, 1-2 bottom layers total, minimal light-off delay, and 40-60 mm/min lift speeds for ideal balance.
What Is the Best Lift Speed for Resin Printing?
You’ll get best results with 40-60 mm/min for normal layers and 5 mm/min for bottom layers. Expert users can push speeds to 300 mm/min, but you’ll need careful monitoring to maintain quality.


Leave a Reply