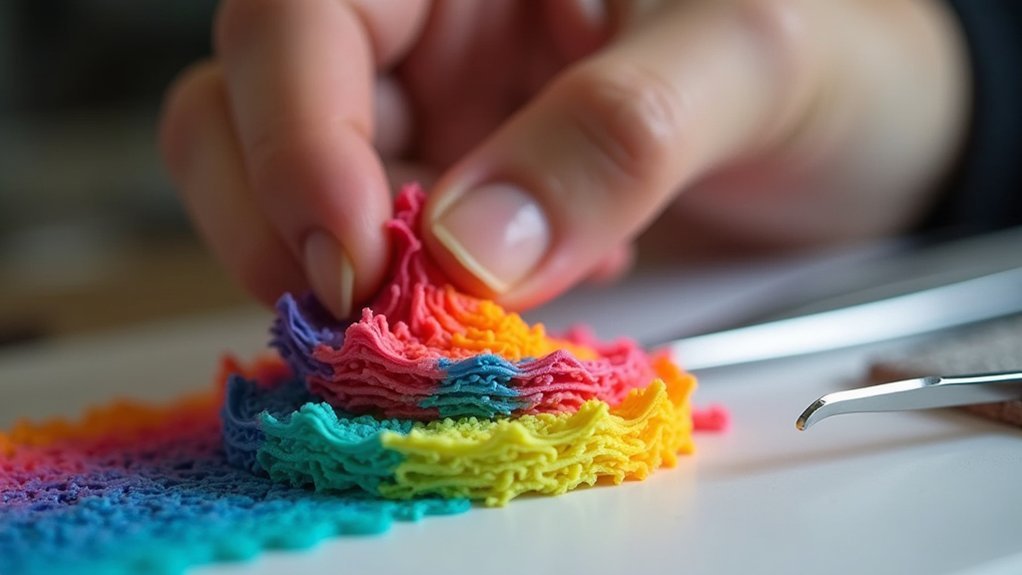
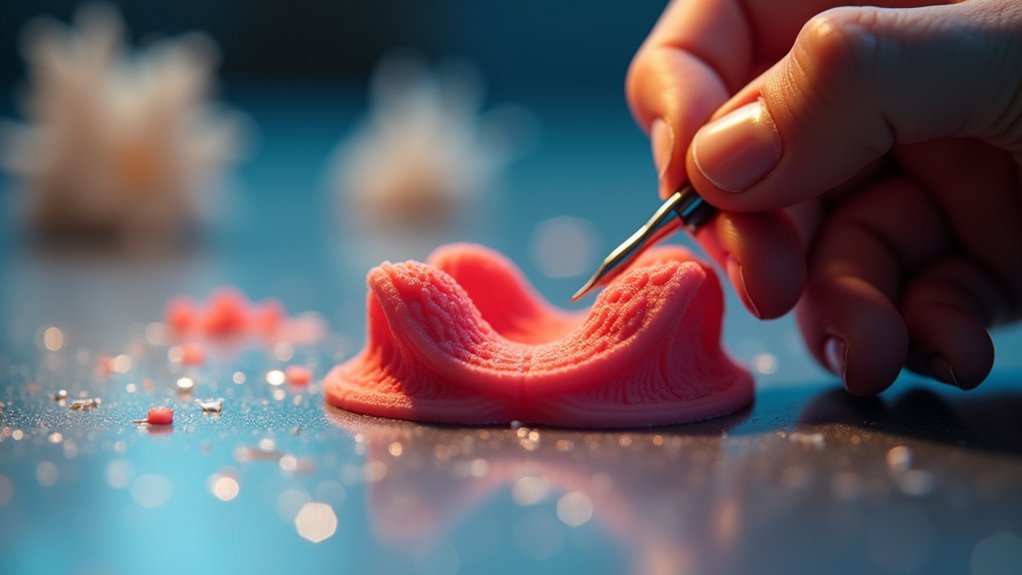
You’ll need to identify your support material type first—breakaway supports snap off with pliers, while soluble PVA dissolves in water. Always wear protective gloves and use fresh flush cutters for precise cuts at contact points. Start removing larger outer supports before working inward to protect delicate details. For stubborn supports, try soaking in warm water or using specialized chemical solutions with proper ventilation. Master these fundamentals to access advanced techniques that’ll transform your post-processing workflow.
Understanding Different Types of Support Materials

When you’re preparing to remove supports from your 3D print, identifying the type of support material used determines your entire removal strategy.
Breakaway supports in FDM printing snap off easily since they’re made from the same material as your part.
FDM breakaway supports remove effortlessly with a simple snap since they use your print’s base material.
Soluble supports like PVA and HIPS dissolve completely in water or chemical solutions, making them perfect for complex geometries with intricate details.
Resin supports from SLA/DLP printers are brittle and require flush cutters for clean removal without damaging your model.
Powder supports in SLS printing consist of unsintered material that you’ll brush or blast away.
Understanding which support materials you’re working with guarantees you’ll select the correct removal method and protect your finished print from damage.
Essential Tools for Safe Support Removal
You’ll need the right tools to remove support material safely without damaging your 3D prints.
Manual removal tools like needle-nose pliers give you control when pulling away larger support structures, while precision cutting instruments such as flush cutters and hobby knives let you make clean, accurate cuts around detailed features.
Having these essential tools ready before you start will make the support removal process much smoother and reduce the risk of accidentally breaking your printed parts.
Manual Removal Tools
Successful support removal hinges on having the right tools at your disposal. Precision knives offer excellent control when removing supports from detailed areas, while flush cutters provide clean cuts without leaving stubs.
Needle-nose pliers give you the grip needed to twist and pull stubborn support material away from your model. For challenging situations, you’ll want specialized tools. A heating knife blade melts through support material, creating smoother detachment in intricate sections.
When dealing with tiny holes, a 3-4mm drill bit effectively extracts embedded supports while maintaining precise fit. Tool selection matters tremendously. Match your tool size to the support structure dimensions to protect delicate features.
Start removal with larger outer supports, then work inward systematically to minimize damage risk.
Precision Cutting Instruments
Sharp cutting instruments form the backbone of any support removal toolkit.
Precision cutting instruments like flush cutters and hobby knives are essential for safely removing supports without damaging delicate features on your prints. You’ll find that a fresh scalpel or utility knife provides clean cuts through support structures, especially in detailed areas where precision is paramount during support removal.
Don’t overlook needle-nose pliers for gripping and twisting small support pieces in tight spaces like tiny holes.
After cutting, use deburring tools to smooth rough edges left behind, ensuring your final print has a refined finish.
Remember to maintain tool sharpness and cleanliness throughout the support removal process to prevent potential damage to your carefully crafted prints.
Preparing Your 3D Print for Support Extraction

Before you remove any support material, you’ll need to properly clean your 3D print to guarantee safe and effective extraction.
Start by thoroughly cleaning the printed model using an ultrasonic cleaner with a mixture of water and isopropyl alcohol to remove any residue that could interfere with support removal.
Once cleaned, allow your print to dry for at least one hour until the surface isn’t sticky or tacky, which will make the support extraction process much smoother.
Initial Print Cleaning
When you’ve completed your 3D print, proper cleaning becomes the foundation for safe support removal. Start your initial print cleaning by thoroughly rinsing the model in warm water to eliminate debris and residual material before you attempt support extraction. This preparation step prevents damage during the removal process.
If you’re working with soluble supports, submerge your print in a water bath to soften the material, making extraction considerably easier.
For enhanced cleaning effectiveness, use an ultrasonic cleaner filled with water and isopropyl alcohol, ensuring you place the model in an all-metal unit for durability.
After cleaning, allow your print to dry for at least one hour. This prevents sticky or tacky surfaces that complicate when you remove supports from delicate features.
Surface Preparation Steps
Proper surface preparation sets you up for successful support removal without damaging your print.
After your initial cleaning phase, you’ll need to thoroughly assess and prepare the surface before extracting any support material.
Follow these essential preparation steps:
- Inspect the surface for stickiness or tackiness that indicates incomplete curing
- Dunk your model in tap-hot water to soften stubborn supports
- Allow adequate drying time of at least one hour after cleaning
- Wear protective gloves to maintain print quality and prevent contamination
- Work on a stable surface to avoid accidental drops or damage
You can’t rush this preparation phase.
Taking time to properly assess your print’s condition and soften the support material will make extraction remarkably easier while preserving your print quality.
Manual Removal Techniques for Breakaway Supports
Manual removal represents the most straightforward approach for eliminating breakaway supports from your 3D prints. You’ll need precision knives, flush cutters, or pliers for this process.
Start by removing larger outer supports first, then work inward to protect intricate details. For delicate areas, use a fresh scalpel knife to slice through contact points cleanly without damaging your model.
Configure your slicer settings with low-density supports beforehand—they’re much easier to break away during manual removal.
When removing supports, avoid aggressive twisting or bending that could crack your print. Instead, apply steady, controlled pressure to break connections gradually.
This methodical approach guarantees you’ll maintain your model’s integrity while achieving clean separation at all contact points throughout the removal process.
Water Jet and Pressure Cleaning Methods

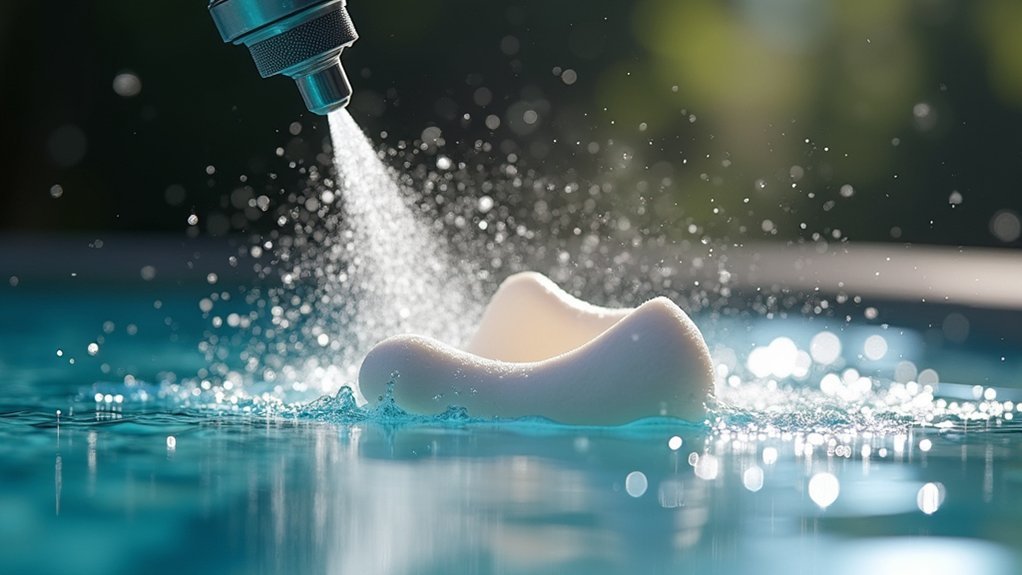
High-pressure water systems revolutionize support material removal by harnessing concentrated water jets to blast away stubborn supports from your 3D prints.
Water jet cleaning methods efficiently remove support material from large or complex structures where manual techniques fall short.
The Objet WaterJet cleaning unit transforms ordinary tap water into powerful jets that penetrate tight spaces and dissolve supports quickly.
Ordinary tap water becomes a precision tool, creating focused streams that reach impossible angles and strip away support material in seconds.
You’ll save significant time compared to tedious hand removal.
- Water streams carving through intricate lattice supports like liquid knives
- Protective sleeves wrapping around delicate print surfaces during cleaning
- High-pressure jets penetrating deep cavities and overhangs
- Support material dissolving away under concentrated water bursts
- Clean prints emerging from pressurized chambers without residue
Handle delicate prints carefully, as excessive pressure can damage fine details.
Always use protective equipment and follow manufacturer guidelines.
Soluble Support Dissolution Procedures
When you’re working with soluble support materials, dissolution procedures offer the most efficient path to clean, professional-looking prints. You’ll find PVA dissolves effectively in warm water, while HIPS requires limonene solutions. Don’t use water that’s too hot—you’ll risk warping your model. Agitate the water bath to accelerate dissolution and guarantee more efficient removal.
| Material | Solution | Temperature |
|---|---|---|
| PVA | Warm water | 40-60°C |
| HIPS | Limonene | Room temp |
| PVA+ | Warm water | 50-70°C |
| PVOH | Hot water | 60-80°C |
| SUPPORT-G | Alkaline solution | 40-50°C |
When you print using dual extrusion systems, soluble supports considerably reduce post-processing time compared to manual methods. Store your soluble filament properly to prevent clogging and maintain effectiveness for future prints.
Chemical Solutions for Stubborn Support Materials
When standard removal methods aren’t enough, you’ll need chemical solutions to tackle stubborn support materials that resist mechanical removal.
You can use caustic soda solutions for materials like SUP706/706B, which require a 2% caustic soda and sodium metasilicate mixture for effective dissolution.
For PVA supports, you’ll find that warm water provides a gentler chemical approach that safely dissolves the material without harsh chemicals.
Caustic Soda Solutions
Chemical dissolution offers a powerful solution when mechanical removal methods fall short with stubborn support materials.
Caustic soda solutions effectively dissolve challenging supports like SUP705/705B and SUP706/706B. However, proper safety precautions are vital when handling these chemicals.
For effective dissolution, you’ll need specific concentrations:
- SUP705/705B: Mix 1% caustic soda solution for soaking after manual removal
- SUP706/706B: Prepare 2% caustic soda and sodium metasilicate solution for tougher materials
- Safety gear: Always wear nitrile gloves to protect your skin from chemical burns
- Mixing protocol: Add water to caustic soda, never the reverse, to prevent dangerous heat generation
- Final rinse: Thoroughly wash prints after treatment to eliminate all residual chemicals
This method guarantees complete support removal while maintaining print integrity and your safety throughout the process.
PVA Water Dissolution
Although caustic soda solutions handle tough synthetic supports, PVA (polyvinyl alcohol) supports offer a gentler chemical dissolution approach that’s both safer and more user-friendly.
You’ll find PVA dissolves easily in warm water between 40-60°C, making removal straightforward without harsh chemicals. Keep the water moving in your bath to accelerate dissolution and prevent warping your main print with excessive heat.
Store your PVA filament properly in dry conditions to prevent moisture absorption that’ll clog your extruder.
When removing supports from 3D prints, you’ll need patience as dissolution takes time depending on support density. After the PVA dissolves completely, rinse your model thoroughly to eliminate any residual material, then inspect for surface imperfections before considering your print finished.
Removing Supports From Delicate and Detailed Areas
Delicate and detailed areas of your 3D print require the most careful attention during support removal, as these intricate features can easily break or become damaged with improper technique.
When dealing with intricate geometries, you’ll need to maintain the functional integrity of your print while carefully extracting support structures.
Use these precise techniques for detailed areas:
- Grip fresh scalpel blades at shallow angles to slice cleanly through contact points without applying excessive pressure
- Peel supports gently when possible, working from thicker sections toward delicate features
- Remove one support at a time to maintain structural stability throughout the process
- Leave small nubs temporarily on fragile areas, then smooth with diamond files while damp
- Assess surface condition before filing and apply final UV cure if areas feel soft
Handling Deep Holes and Tight Spaces
When supports become lodged in deep holes and tight spaces, you’ll face one of the most challenging aspects of post-processing your 3D prints. These scenarios require specialized techniques and tools to safely extract support structure without damaging thin or detailed areas.
| Tool/Technique | Application | Key Benefit |
|---|---|---|
| Small needle-nose pliers | 3-4mm diameter holes, 30mm deep | Precise extraction control |
| 3-4mm drill bit | Tight spaces with lodged material | Safe removal without force |
| Design optimization | Tip angles <40 degrees | Minimizes support needs |
| Vertical orientation | Slicer settings adjustment | Reduces support generation |
| Slow work approach | All tight spaces | Prevents model damage |
You’ll achieve better results by prioritizing safety and working methodically through these confined areas.
Post-Removal Surface Finishing Techniques
Once you’ve successfully extracted supports from confined areas, the real work begins with cleaning up the attachment points and restoring your print’s surface quality. Achieving a clean finish requires careful attention to surface preparation and tool selection.
Extracting supports marks just the beginning—true craftsmanship emerges in the meticulous restoration of your print’s surface integrity.
Use small diamond files to smooth remaining nubs, but always work with damp models to prevent airborne resin dust. Before filing, assess your print’s surface softness—if it feels gummy, cure it first to avoid inhaling particles.
- Gentle filing motions across wet surfaces minimizing dust clouds
- Diamond files gliding smoothly over hardened resin attachment points
- UV light bathing your model between finishing steps
- Careful inspection revealing hidden imperfections requiring attention
- Delicate features preserved while nubs disappear under precise filing
Work methodically around delicate areas, leaving small support remnants rather than risking damage to intricate details.
Safety Precautions and Protective Equipment
Support removal exposes you to multiple hazards that require thorough protection before you begin work.
Essential safety precautions start with wearing nitrile or latex gloves when handling caustic soda or sharp tools to prevent skin irritation and cuts. You’ll need safety goggles to shield your eyes from chemical splashes and flying debris, especially when using high-pressure water jets or solvents.
Establish proper ventilation in your workspace to avoid inhaling harmful fumes from chemical solutions. Keep a well-stocked first aid kit within reach, including supplies for treating chemical burns, and learn emergency procedures beforehand.
Store all chemicals like caustic soda in clearly labeled containers to prevent accidental exposure. This protective equipment forms your defense against common support removal injuries.
Troubleshooting Common Support Removal Problems
Why do supports sometimes refuse to come off cleanly despite your careful planning? Several factors can complicate support removal, but you can overcome these challenges with the right techniques.
Support removal challenges stem from multiple factors, but targeted techniques can overcome even the most stubborn adhesion issues.
When you’re dealing with stubborn supports, try these targeted solutions:
- Small holes: Grip supports with needle nose pliers or carefully use a 3-4mm drill bit to extract material without damaging surrounding areas.
- Lodged deep supports: Soak your print in warm water to soften the material before attempting removal.
- Detailed prints: Use a scalpel or precision knife to slice through contact points with surgical precision.
- Timing issues: Always wait for complete cooling or curing before removal to prevent warping.
- Future prevention: Increase Z-distance settings in your slicer for easier detachment next time.
Quality Control and Final Inspection Steps
After you’ve successfully removed all support material, thorough inspection becomes your final checkpoint before considering the print complete. Begin your quality control process by examining the surface for any imperfections that could affect the final product. Print thoroughly by checking every angle and detail.
| Inspection Stage | What to Check | Action Required |
|---|---|---|
| Surface Assessment | Imperfections, smoothness | Address before finishing |
| Post-Support Check | Nubs, damage areas | File while damp |
| Curing Evaluation | Surface hardness/gumminess | Additional cure if soft |
| Final Verification | Structural integrity | Confirm before completion |
Use small diamond files to smooth rough areas while the model remains damp, minimizing resin dust. Assess surface softness—gummy textures indicate insufficient curing. This systematic approach guarantees ideal print quality.
Frequently Asked Questions
How to Safely Remove Supports From 3D Print?
You’ll want to use precision tools like flush cutters or scalpels, working one support at a time. For soluble supports, soak in warm water. Heat knife blades for tough spots, then file smooth.
How to Prevent Supports From Damaging the 3D Print?
You’ll prevent support damage by adjusting Z-distance settings, using low-density supports, choosing soluble materials like PVA, and orienting your model to minimize overhangs that need support structures.
How to Safely Remove a 3D Print?
You’ll want to wait until your print bed cools completely before removal. Gently flex the bed or use a thin spatula to carefully lift edges, working slowly to avoid cracking your finished print.
What Is the Easiest Support Pattern to Remove?
You’ll find tree supports easiest to remove since they create minimal contact points with your print. They’re designed with branch-like structures that break away cleanly without damaging intricate details.


Leave a Reply