To remove stuck filament from your hotend, first power off and unplug your printer, then heat the hotend to the appropriate temperature for your filament type—220°C for PLA or 240-260°C for PETG. Use needle-nose pliers or tweezers to grip and gently pull the visible filament with steady pressure. If it’s completely stuck, you’ll need to disassemble the hotend by removing fans and unscrewing components to access trapped material for thorough extraction and cleaning.
Identifying When Filament Is Stuck in the Hotend

When should you suspect that filament has become stuck in your hotend? Look for these telltale signs: no filament sticking out of the nozzle, grinding noises from your extruder motor, or failed extrusion error messages.
You’ll notice the extruder struggling to push material through, indicating an extruder clog has formed. If you can see filament but can’t pull it out easily, you’re likely dealing with heat creeps causing the material to jam at the nozzle’s top.
Your hotend temperature might be too low for your specific filament type, causing solidification instead of proper flow. To confirm the blockage, manually pull the filament while your hotend’s heated to the appropriate temperature and check for unusual resistance.
Safety Precautions and Preparation Steps
Before attempting any filament removal, you’ll need to prioritize safety and gather the right tools. Start by powering off and unplugging your printer to eliminate electrical hazards.
Allow the hot end and heat sink to cool completely to room temperature before touching any components. This cooling period prevents burns and makes handling safer.
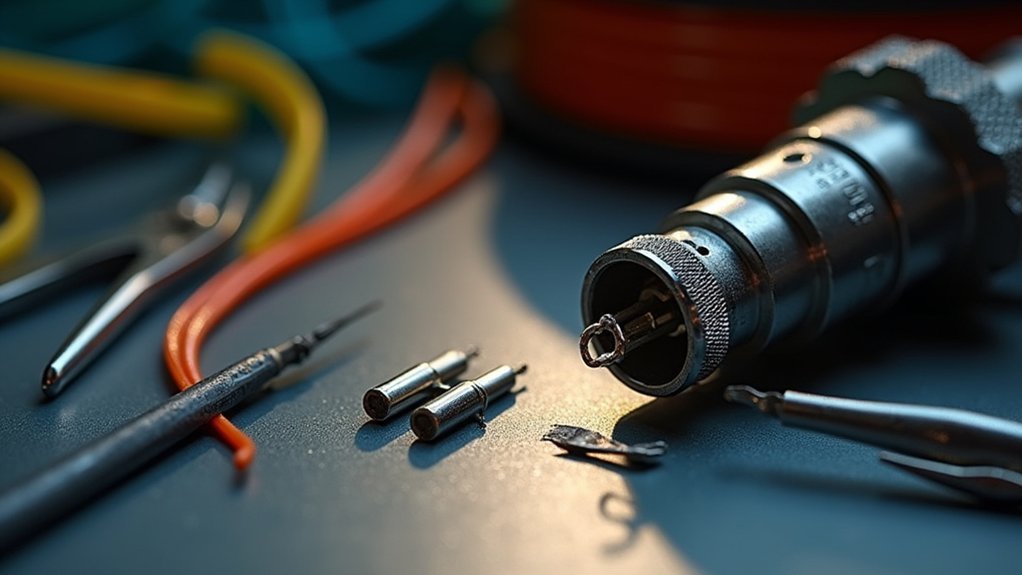
Essential safety precautions include wearing heat-resistant gloves throughout the process, even when components seem cool. Gather appropriate tools like pliers, tweezers, and Allen keys for disassembly.
Never use bare hands to grip or pull filament, as residual heat can cause burns.
Prepare a clean workspace with adequate lighting and keep all necessary tools within reach. This organization streamlines the removal process and reduces distractions that could lead to accidents.
Heating the Hotend to Proper Temperature

You’ll need to heat your hotend to the correct temperature for your specific filament type—typically 220°C for PLA or up to 260°C for PETG.
Use your printer’s control interface like Viki to set and monitor the temperature accurately.
Maintaining this proper temperature prevents heat creep, which can cause filament to soften too high in the hotend and create additional jams.
Setting Target Temperature
Start by accessing your printer’s control interface and setting the hotend to the appropriate printing temperature for your specific filament type—typically around 220°C for PLA or up to 260°C for PETG, ABS, or TPU. Use your control interface, such as Viki, to adjust and confirm the target temperature before initiating the heating process.
| Filament Type | Target Temperature |
|---|---|
| PLA | 220°C |
| PETG | 240-260°C |
| ABS | 240-260°C |
| TPU | 240-260°C |
Once you’ve set the temperature, allow the hot end to reach and stabilize for several minutes. This guarantees the stuck filament softens completely for easier removal. Monitor the temperature closely to prevent overheating, which can cause additional clogging or damage to your hotend components.
Preventing Heat Creep
When heat creep occurs, filament softens prematurely in the hotend’s cold zone, creating clogs that prevent proper extrusion and complicate stuck filament removal.
You’ll need to control your heat source properly to prevent this issue. Set your hot end temperature correctly: 190-220°C for PLA and 220-250°C for ABS. These ranges guarantee proper flow without premature softening.
Check that your cooling fans work effectively, as they dissipate heat from the heat sink and prevent early filament melting.
When your filament is stuck due to heat creep, heat the hot end to the filament’s melting point before attempting removal. This reduces resistance and protects components.
Maintain consistent temperatures and regularly inspect cooling systems to minimize future heat creep incidents.
Removing Fans and Accessing the Hot End
Before accessing your hot end, you’ll need to remove any cooling fans that might obstruct your work area.
Start by powering off your printer and letting it cool completely, then use the appropriate screwdriver to carefully remove the screws holding the fans in place.
Keep all hardware organized so you can easily reassemble everything once you’ve extracted the stuck filament.
Fan Removal Steps
After guaranteeing your hot end has completely cooled, unscrew and detach the fans to gain clear access to the stuck filament.
Fan removal creates better visibility and workspace around the hot end assembly. You’ll need to carefully disconnect any wire connectors before fully removing the fans from their mounting positions.
During this process, keep these key points in mind:
- Document each step with photos or notes to guarantee proper reassembly later
- Handle all wire connections gently to avoid damaging delicate components
- Store screws and small parts in a labeled container to prevent loss
Once you’ve completed fan removal, you can proceed with the actual filament extraction.
If necessary, you may need to disassemble the extruder further for complete access to stubborn blockages.
Hot End Access
Once you’ve removed the fans, you’ll need to carefully unscrew the bolt securing the hot end to the extruder body.
Take your time during this step to avoid damaging any wiring or delicate components. When gripping the hot end, use pliers on the heat sink only – never apply force to the heater cartridge or thermocouple wires, as these are fragile and expensive to replace.
If the stuck filament isn’t grippable from this position, you’ll need to completely remove the hot end from the extruder for further disassembly.
Disassembling the extruder requires patience and attention to detail. Always reference the instructional video specific to your printer model before proceeding, as proper reassembly techniques are essential for maintaining your extruder’s functionality.
Extracting Visible Filament With Tools
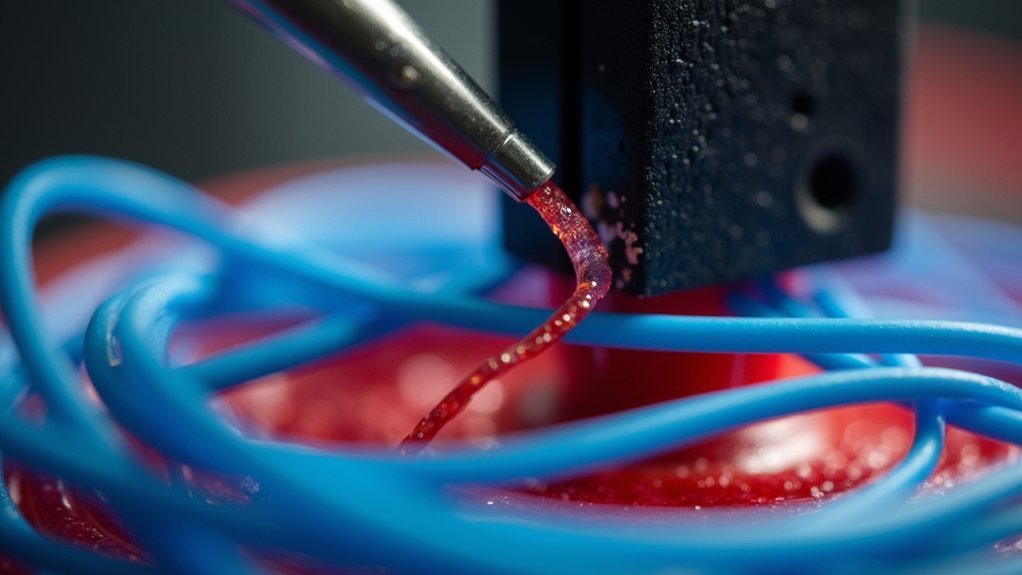
When filament becomes visible but stuck in your hot end, you’ll need the right tools and technique to extract it safely. First, heat your hot end to the appropriate temperature for your filament type – 220°C for PLA or up to 260°C for PETG. This softens the material, making extraction easier.
Use needle-nose pliers or tweezers to grip the visible portion firmly but gently. Apply steady pressure to pull the filament stuck in the assembly without using excessive force.
- Maintain consistent heat throughout the extraction process
- Grip the filament close to the hot end for better control
- Pull with steady, even pressure rather than jerky motions
If the filament won’t budge, you may need to push it through from the nozzle end using alternative methods.
Cold Pull Method for Stubborn Filament
If conventional extraction methods fail to remove your stuck filament, the cold pull technique offers a highly effective solution for clearing stubborn blockages. This Cold Pull method involves heating your nozzle to the melting temperature, then cooling it rapidly before you pull out filament.
| Step | Temperature | Action |
|---|---|---|
| 1 | 220-260°C | Heat nozzle based on filament type |
| 2 | Same temp | Push 1.75mm probe through nozzle |
| 3 | Room temp | Cool nozzle quickly |
| 4 | Cool | Firmly pull out filament |
| 5 | Repeat | Perform 2-3 cycles if needed |
Always wear gloves when handling hot components. The melted filament will capture debris as it cools, effectively cleaning your nozzle when extracted. Repeat this process until you achieve a clean pull.
Disassembling the Hotend for Complete Removal
Sometimes the cold pull method isn’t enough to dislodge severely stuck filament, requiring a complete hotend disassembly for thorough removal. When broken filament becomes deeply lodged, you’ll need to take apart your hotend components systematically.
Start by powering off your printer and letting it cool completely. Remove the nozzle using proper technique, then unscrew the heat sink from the heater block to expose more filament area.
If material remains stuck, carefully heat the hotend to your filament’s printing temperature while gently pulling from below.
- Power off and cool the printer before beginning disassembly
- Remove nozzle first, then detach heat sink from heater block
- Heat components only when necessary for stubborn removal
Allow everything to reach room temperature before reassembling, then torque your nozzle to 34.5 in-lbs.
Cleaning and Inspecting Components
After disassembling your hotend, thorough cleaning and inspection guarantee top performance and prevent future jams.
Heat your hotend to the appropriate temperature for your specific filament type to soften stuck material. Use needle nose pliers or tweezers to gently extract visible filament remnants from the nozzle and heat break.
Heat your hotend to filament-specific temperatures before using pliers or tweezers to gently remove stubborn material remnants.
Carefully inspect the PTFE tube for signs of degradation or clogging that could cause blockages. Check the nozzle opening for debris and verify the heat break moves freely.
During cleaning, document the temperatures used and filament types for future troubleshooting reference.
Once everything’s clean, reattach the silicone sock and confirm all components are securely positioned. This maintains ideal thermal performance and prevents heat creep issues.
Reassembly and Calibration Process
The reassembly process requires careful attention to detail to restore your 3D printer’s peak performance. After removing the stuck filament, you’ll need to reinstall the hotend securely into the extruder body, tightening all bolts properly.
Follow your printer’s specific calibration procedure starting with Step 1 to verify proper alignment and functionality.
Key steps for successful reassembly:
- Verify all components including fans and nozzles are securely reattached
- Document any issues encountered during reassembly for future reference
- Perform a thorough self-test to confirm operational systems
Before proceeding to print, run the calibration sequence to guarantee ideal hotend positioning.
Check that there aren’t any remaining blockages or mechanical issues. This detailed approach prevents future filament jams and maintains consistent print quality.
Frequently Asked Questions
How to Remove Filament Stuck in Hotend?
Heat your hotend to the filament’s printing temperature to soften it. Gently pull visible filament out with pliers. If it’s not grippable, disassemble the hotend and push it through from above.
How Do You Unload a Stuck Filament?
You’ll need to heat your hot end to the filament’s printing temperature first. Then gently pull the filament while it’s heated, or remove the nozzle if nothing’s grippable.
What to Do When Filament Won’t Come Out?
Set your hot end to the appropriate printing temperature first to soften the stuck filament. If you still can’t grip it, you’ll need to remove the hot end from the extruder for better access.
How Do You Clean Filament off Hotend?
You’ll heat the hotend to proper temperature, carefully remove covers, gently pull out softened filament with pliers, quickly wipe residual material with cloth, then reattach components and test functionality.


Leave a Reply