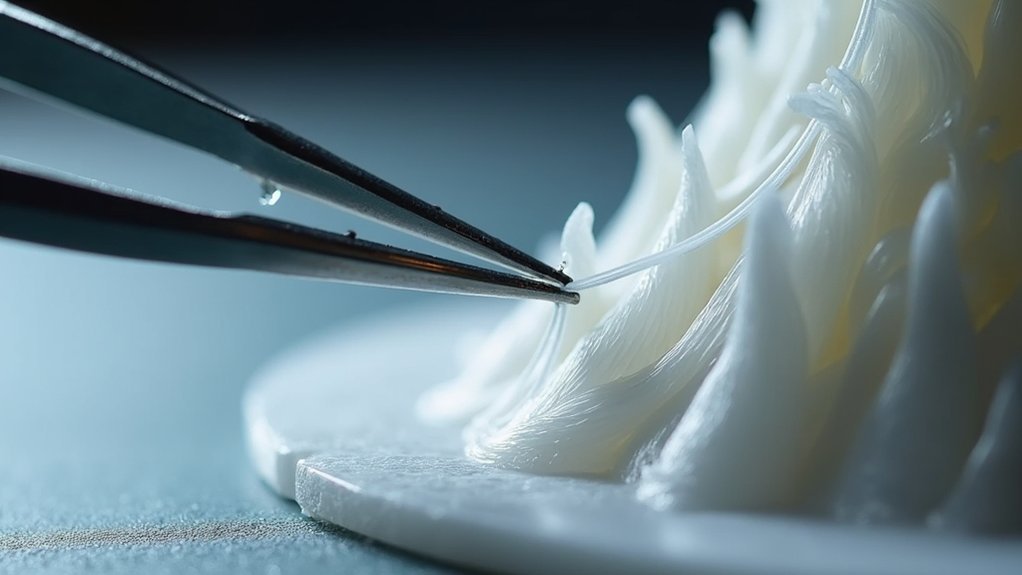
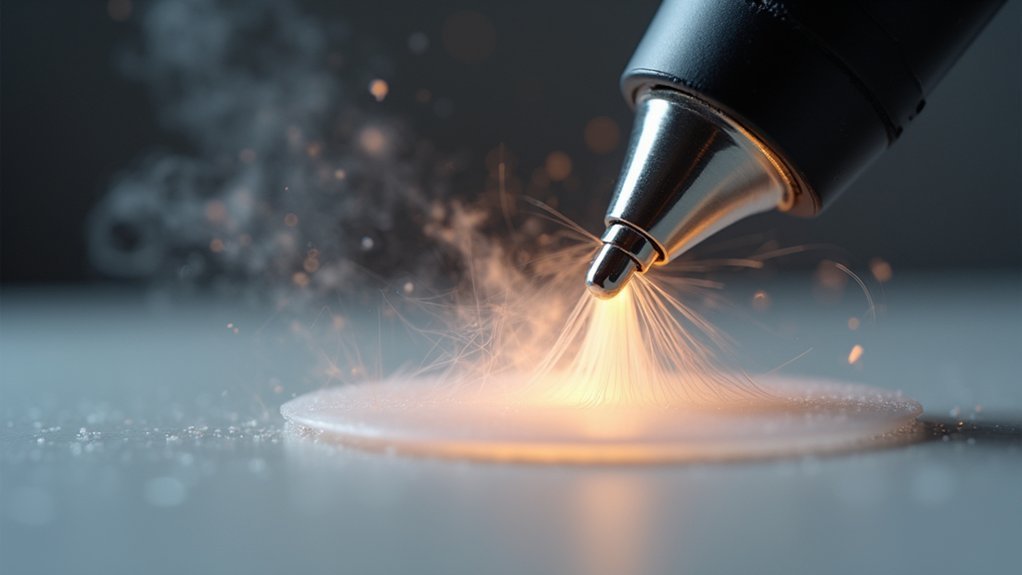
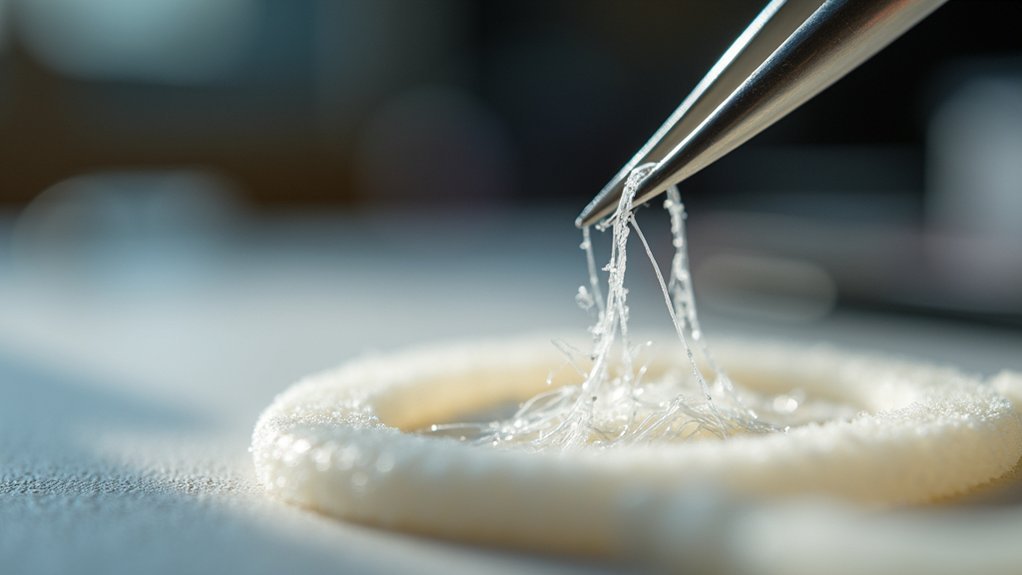
You can remove stringing from your 3D prints using several effective methods. Start with manual tools like craft knives, tweezers, or small scissors to carefully cut away thin filament strands without damaging your model. For quicker results, use a heat gun with controlled one-second bursts to melt unwanted strings, but secure your print with pliers first. Gentle sanding can smooth areas where strings occurred, creating cleaner finishes and better overall print quality.
Understanding What Causes Stringing in 3D Prints

When your 3D printer’s nozzle travels between different parts of your model, molten filament can ooze out and create those annoying thin strands known as stringing. Stringing is a common problem that affects print quality, but understanding its causes helps you tackle it effectively.
Understanding what causes stringing is the first step toward achieving cleaner, more professional-looking 3D prints.
Several factors contribute to this common issue. High nozzle temperature makes filament more fluid, increasing the likelihood of dripping during travel moves.
Poor retraction settings fail to pull filament back into the nozzle properly, allowing continued oozing.
Moisture-absorbed filament bubbles during printing, disrupting consistent flow.
Additionally, clogged nozzles create uneven extrusion patterns that worsen string formation.
Manual Removal Techniques Using Basic Tools
Once you’ve identified what’s causing your stringing issues, you can tackle existing strings using simple tools you likely have at home.
Manual removal works effectively for post-processing your prints. A craft knife or razor blade lets you carefully slice off thin strands without damaging your print’s structure.
Use tweezers for precision work on intricate designs, gripping fine strings in tight spaces. Small pliers help pull away larger stringies, though you’ll need to avoid bending fragile parts.
Sandpaper smooths areas where strings occurred, creating cleaner surface finishes. While a heat gun can soften stringies for removal, manual tools like scissors provide better control for delicate sections of your print.
Heat-Based Removal Methods for Quick Results

When you need faster results than manual removal can provide, heat-based methods offer an efficient solution for eliminating stringing from your 3D prints.
A heat gun stands out as the most effective tool for this task, capable of quickly melting away unwanted filament strands without damaging your model when used properly.
You’ll need to follow specific safety protocols to prevent overheating and guarantee successful results.
Heat Gun Technique
A heat gun offers one of the fastest methods for removing stringing from your 3D prints by applying controlled bursts of hot air that quickly melt away unwanted plastic threads. This post-processing technique requires precision and safety awareness to achieve ideal results.
Before starting, secure your print with pliers to maintain steady control and prevent burns. Apply hot air in brief one-second bursts while moving the heat gun uniformly across stringy areas. Allow your model to recover between passes to prevent overheating and deformation.
| Safety Step | Best Practice |
|---|---|
| Hold Print | Use pliers for secure grip |
| Heat Duration | Apply for 1 second or less |
| Movement Pattern | Keep gun moving uniformly |
| Recovery Time | Allow cooling between passes |
This technique works quickly enough to dramatically reduce post-processing time compared to manual removal methods.
Safety Considerations Required
Heat-based methods deliver impressive speed for string removal, but they demand strict safety protocols to protect both you and your printed model.
You’ll need protective gear including heat-resistant gloves and safety goggles to prevent burns and protect against molten plastic splashes. Guarantee proper ventilation in your workspace since heated plastics release potentially harmful fumes you shouldn’t inhale.
Apply heat in short bursts rather than continuous exposure to prevent deformation. Monitor the print constantly during the process—excessive heat can melt your model beyond the intended stringing removal.
Use pliers to securely hold your print, maintaining safe distance from the heat source. Never touch heated areas directly, and keep your workspace clear of flammable materials throughout the heat-based removal methods process.
Chemical Solutions for Stubborn Stringing Issues
While chemical solutions might seem like a viable option for removing stubborn stringing from your 3D prints, they’re generally not recommended due to significant safety risks and potential damage to your printed parts. Chemicals like dichloromethane and tetrahydrofuran dissolve PLA but pose serious health risks including unconsciousness. Hot sodium or potassium hydroxide rapidly hydrolyzes PLA but requires specialized equipment and training.
| Chemical | Risk Level | Effectiveness |
|---|---|---|
| Dichloromethane | Extremely High | High |
| Tetrahydrofuran | Very High | High |
| Hot NaOH/KOH | High | Very High |
These dangerous chemicals demand proper ventilation and protective gear, complicating their use for cleaning stringing. Community feedback strongly favors safer heat application techniques over chemical solutions for addressing stubborn stringing issues.
Sanding and Abrasive Techniques for Surface Smoothing

For stringing that remains after heat treatment or when chemicals aren’t suitable for your workspace, mechanical removal techniques offer a safer and more controlled approach.
Sanding and abrasive techniques excel at surface smoothing while preserving your model’s integrity.
Follow this progressive approach for ideal print quality:
- Start coarse – Begin with 100-150 grit sandpaper to remove stubborn stringing
- Progress gradually – Move through finer grits up to 400+ for polished results
- Use circular motions – Apply light pressure in circular patterns to avoid flat spots
- Try scotch-brite pads – Mild abrasive pads effectively remove stringing without shape distortion
Always wear protective gear including dust masks and goggles.
Guarantee proper ventilation when sanding cleaning filament residue.
This mechanical approach delivers consistent results across various materials.
Safety Considerations When Removing Stringing
Since stringing removal often involves potentially hazardous tools and materials, prioritizing your safety considerations assures both effective results and personal protection.
When using heat sources like heat guns or butane torches, maintain safe distances and use quick movements to prevent model damage. Always work in a well-ventilated area when employing chemical methods, as improper handling can cause serious health risks, including unconsciousness.
Essential protective gear includes gloves and goggles to minimize burns and chemical exposure. If children are present, educate them about flammable materials dangers and guarantee constant supervision during heating processes.
Allow your model to cool between heating passes to prevent deformation from excessive heat exposure.
Preventing Future Stringing Through Print Settings
You can prevent stringing by fine-tuning your slicer’s retraction settings to pull filament back during travel moves.
Lower print temperatures reduce material fluidity, making your filament less likely to ooze from the nozzle.
These two adjustments work together to eliminate most stringing issues before they occur.
Optimize Retraction Settings
When stringing appears on your 3D prints, enhancing your retraction settings offers the most effective solution for preventing this issue in future prints. Your slicer settings control how the printer handles non-printing moves to prevent material from oozing out of the nozzle.
Here’s how to enhance your retraction settings:
- Adjust retraction distance between 1-6 mm for most filaments to pull material back effectively during travel moves.
- Set retraction speed between 20-100 mm/s to achieve ideal filament movement without excess leakage.
- Configure minimum travel distance around 2-5 mm to reduce unnecessary retractions and potential material issues.
- Enable Z-Hop during retractions to lift the nozzle vertically, preventing drag across printed parts.
Experimenting with these settings will help you minimize stringing while finding the perfect balance for your specific printer and filament combination.
Adjust Temperature Control
Temperature control stands as another critical factor in preventing stringing, as excessive heat causes filament to become overly fluid and prone to oozing from the nozzle during travel moves.
Lowering your printing temperature within the manufacturer’s recommended range can greatly reduce stringing, since this common cause often stems from overheated material.
You’ll want to run temperature tower tests to identify ideal settings for your specific filament. Monitor filament behavior during printing at different temperatures to understand how adjustments affect string formation.
When adjusting print settings, aim for balance—while lower temperatures help reduce stringing, going too low may cause under-extrusion and compromise your print’s structural integrity and surface quality.
Frequently Asked Questions
How Do You Remove Strings From 3D Prints?
You’ll remove strings using a heat gun with quick bursts, manually pull larger pieces with pliers, gently flame fine hairs, sand rough areas, and always let your print cool between applications.
How Do You Fix Stringy 3D Prints?
You’ll fix stringy prints by adjusting retraction settings, lowering print temperature, and maintaining your nozzle regularly. For existing prints, carefully remove strings with craft knives or apply brief heat treatment.
How to Remove Burrs From 3D Prints?
You can remove burrs from 3D prints using fine-grit sandpaper to smooth rough edges, craft knives for precise trimming, or scotch-brite pads for polishing surfaces and achieving better finishes.
How to Remove Webbing From 3D Prints?
You’ll remove webbing by using a heat gun in brief bursts to melt the strands, or carefully cut them with craft knives. Adjust your retraction settings to prevent future webbing.


Leave a Reply