You can eliminate elephant foot by adjusting your z-axis offset and ensuring proper bed leveling across all corners. Optimize your bed temperature and first layer settings to prevent over-squishing material onto the build plate. Implement design modifications using chamfers at model bases and enable elephant foot compensation in your slicer settings. Consider using rafts for problematic prints, and apply post-processing techniques like sanding or chemical smoothing to refine surface quality. These thorough strategies will transform your printing results.
Adjust Z-Axis Offset and Bed Leveling Settings

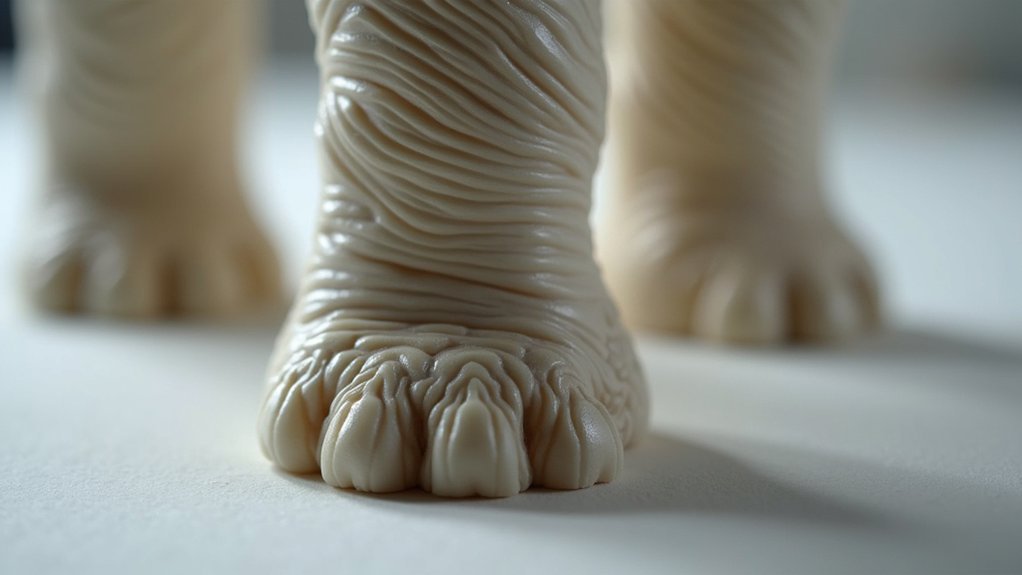
While elephant foot may seem like a complex printing defect, you’ll often find that improper Z-axis offset and bed leveling are the primary culprits behind this frustrating issue.
When your nozzle and the bed are positioned too closely, excessive filament squishing occurs during base layers, creating the characteristic elephant foot phenomenon.
Start by checking your bed leveling across all corners and center points. An uneven surface causes inconsistent first layer compression, worsening this printing problem.
Uneven bed surfaces create inconsistent first layer compression, making elephant foot defects significantly worse across your entire print.
Next, adjust z-axis offset through your printer’s fan interface or slicer settings. Fine-tune the distance until you achieve proper layer adhesion without material spreading.
Remember to regularly inspect Z-axis nuts for tightness, preventing wobbling that affects print quality.
Optimize Bed Temperature and First Layer Parameters
Once you’ve addressed mechanical adjustments, fine-tuning your bed temperature and first layer parameters becomes the next critical step in eliminating elephant foot.
Setting your bed temperature within the ideal range prevents semi-melted bottom layers that cause bulging at the base. Excessively high temperatures create adhesion issues and distort your print’s foundation.
Adjust your first layer height to prevent over-squishing material against the bed. When your nozzle height is too close, you’ll experience over-extrusion that directly contributes to elephant foot formation.
Fine-tune your extrusion settings to reduce filament output during initial layers.
Implement consistent cooling to solidify lower layers effectively. Proper cooling rate prevents heat-induced distortion while maintaining adequate adhesion.
These print settings work together to create uniform first layers without compromising base integrity.
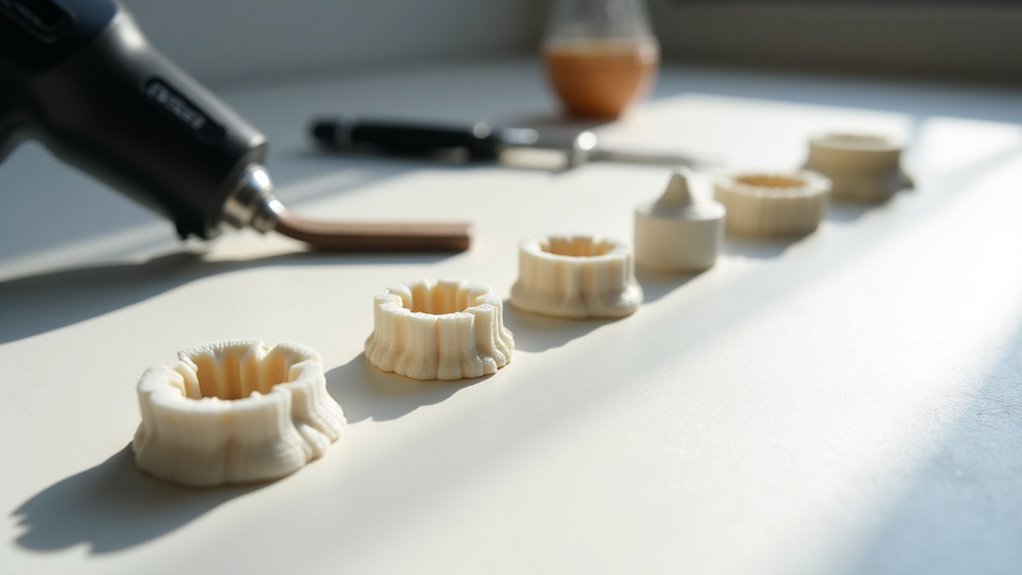
Implement Design Modifications With Chamfers and Compensation
Beyond adjusting printer settings, you can tackle elephant foot through strategic design modifications that address the problem at its source. Implementing chamfers at your model’s base edges reduces the initial layer’s footprint, enabling more controlled material spread and preventing the characteristic bulging that mars print quality.
Strategic chamfers at model base edges control material spread and eliminate the characteristic bulging that compromises print dimensional accuracy.
These angled cuts alleviate stress during material deposition, minimizing outward flaring.
You’ll find that many slicers offer elephant foot compensation features that automatically shrink first layer dimensions. Adjusting initial layer horizontal expansion settings with negative values further reduces excess spreading.
Combining chamfers with slicer compensation creates a dual approach that notably improves both dimensional accuracy and overall results. This strategic pairing of design modifications and software features provides the most effective solution for eliminating elephant foot distortion.
Utilize Rafts and Build Plate Adhesion Techniques
When design modifications alone aren’t sufficient, rafts offer an effective alternative approach by creating a sacrificial foundation layer that absorbs elephant foot distortion before it reaches your actual print.
You’ll find rafts under Build Plate Adhesion options in your slicer settings, where you can customize parameters for ideal results:
- Layer height adjustments – Configure raft thickness to accommodate print bed irregularities
- Extrusion rate optimization – Fine-tune material flow for proper adhesion without over-squishing
- Line spacing modifications – Control the layer of material distribution across dimensions of the first layers
- Adhesive options integration – Combine rafts with sprays or tapes for enhanced build plate adhesion
- Post-print removal techniques – Develop careful separation methods to preserve your finished object
This approach shifts elephant foot effects to the disposable raft instead of your actual design.
Apply Post-Processing Methods for Surface Refinement
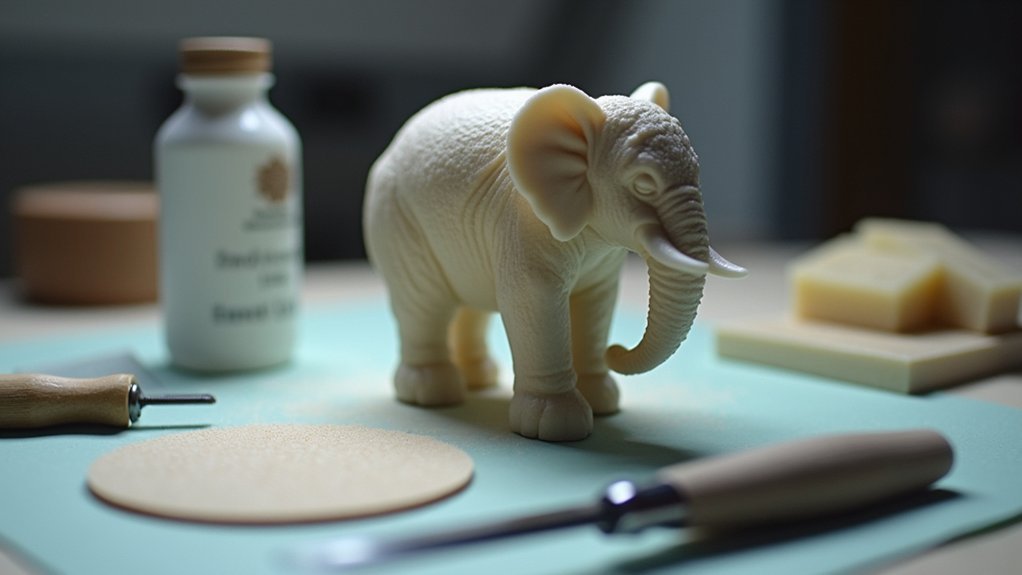
While prevention remains the ideal approach, post-processing techniques can salvage prints that already exhibit elephant foot deformation and restore them to professional-quality standards.
Sanding the base of your printed part effectively reduces elephant foot prominence while improving aesthetics. Start with coarse grit and progress to finer grits for surface refinement.
Chemical smoothing works exceptionally well for specific materials. Acetone vapor reshapes ABS surfaces, minimizing imperfections through controlled exposure.
Heat treatment offers another solution. Carefully apply heat to affected areas, softening the material for reshaping.
| Method | Material | Result |
|---|---|---|
| Sanding | All types | Mechanical removal |
| Chemical smoothing | ABS/ASA | Surface melting |
| Heat treatment | PLA/PETG | Material softening |
Combining techniques delivers peak results. Use sanding followed by chemical smoothing to eliminate elephant foot completely, ensuring your post-processing efforts achieve professional-grade surface quality.
Frequently Asked Questions
How to Reduce Elephant Foot in 3D Printing?
You’ll reduce elephant foot by adjusting your Z-axis offset, lowering bed temperature, using rafts, setting negative initial layer expansion in your slicer, and adding chamfers to your CAD design.
How to Get Rid of Elephant Foot 3D Printing Resin?
You’ll eliminate elephant foot by adjusting your Z-axis offset to prevent over-squishing, lowering bed temperature by 5-degree increments, using rafts, modifying exposure times with UVTools, and sanding finished prints.
How Do You Get Rid of Elephant Foot?
You can eliminate elephant foot by adjusting your Z-axis offset, reducing bed temperature by 5-degree increments, using rafts, applying negative initial layer expansion in slicer settings, and adding chamfers to your designs.
What Causes Elephant Foot 3D Print?
You’ll get elephant foot when your print bed’s too hot, keeping bottom layers semi-melted. Poor cooling, incorrect bed leveling, over-extrusion, and high infill density also cause this spreading effect.

Leave a Reply