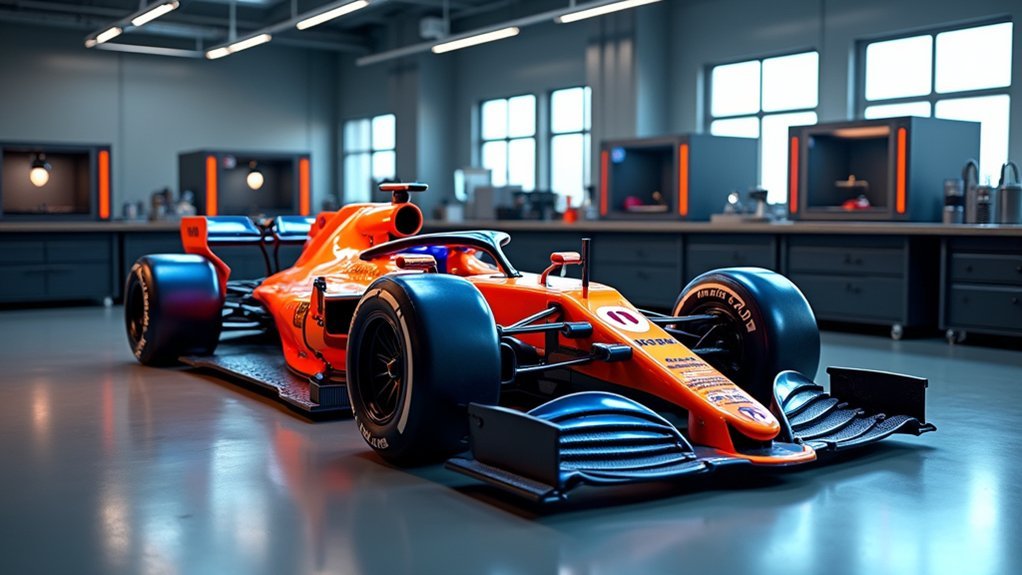
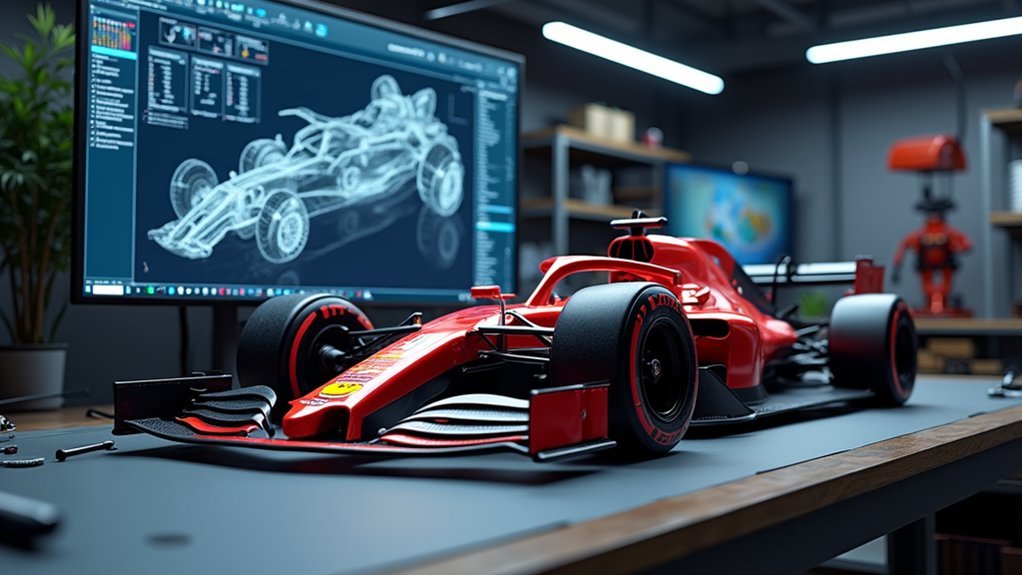
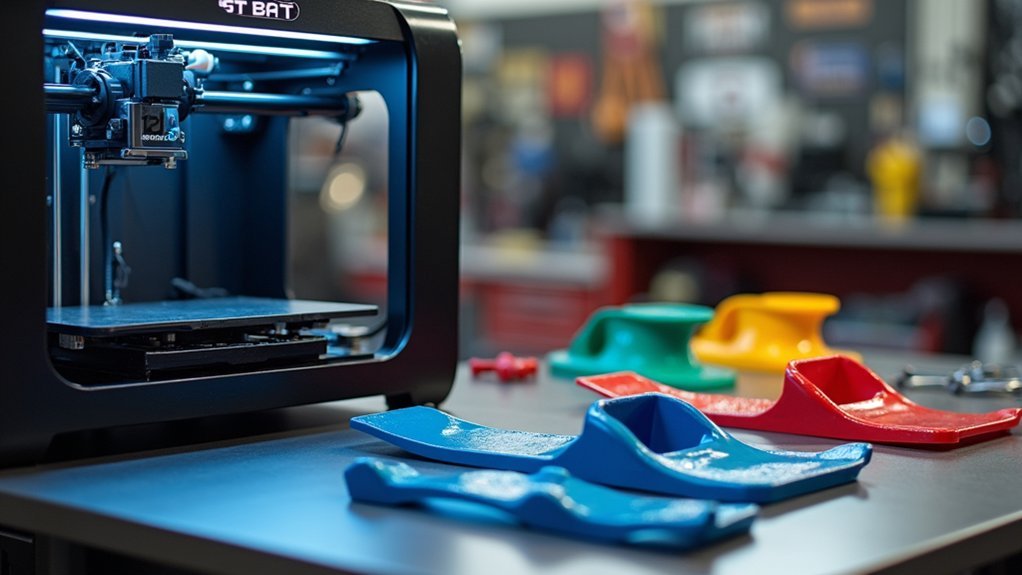
You can 3D print custom racing car parts by selecting industrial-grade printers like the Raise3D Pro3 Plus and using advanced materials such as carbon fiber-reinforced nylon for structural components or TPU for flexible seals. Design your parts using CAD software like Fusion 360 or SolidWorks, refining for weight reduction and aerodynamics while maintaining structural integrity. Set layer heights between 0.1-0.3mm and print speeds around 60mm/s for peak strength. Extensive testing and post-processing techniques will enable your components’ full competitive potential.
Benefits of 3D Printing for Racing Applications

When you’re competing in high-stakes racing, 3D printing transforms how you develop and manufacture custom car parts. The printing process dramatically cuts your design-to-production timeline from weeks to mere days, enabling rapid iterations for peak performance.
3D printing revolutionizes racing by slashing development timelines from weeks to days, enabling rapid performance iterations.
You’ll create complex geometries and lightweight structures that traditional manufacturing can’t achieve, enhancing aerodynamics while reducing vehicle weight.
The benefits of 3D printing extend to customization, allowing you to tailor components like specialized intake manifolds and aerodynamic elements for specific performance needs.
Advanced materials such as carbon fiber-reinforced nylon deliver the durability required for competitive motorsport conditions.
For automotive applications, you’ll eliminate expensive molds and tooling costs, making small-batch production economically viable while maintaining the high-strength components your racing demands.
Essential Materials for High-Performance Racing Parts
Since material selection determines whether your racing components will endure extreme competition conditions or fail catastrophically, you’ll need to understand the specific properties each 3D printing material brings to high-performance applications.
For your customized car projects, carbon fiber reinforced nylon delivers exceptional strength-to-weight ratios for stressed components. TPU works best for flexible gaskets and seals requiring elasticity and abrasion resistance.
| Material Type | Best Applications |
|---|---|
| Carbon Fiber Nylon | Structural components, brackets |
| Metal 3D Printing (Aluminum/Titanium) | Engine parts, heat-exposed areas |
| Engineering Resins | Aerodynamic elements, precision parts |
Metal 3D printing with aluminum and titanium creates lightweight engine components that handle extreme temperatures and pressures. Engineering resins produce intricate aerodynamic parts with superior surface finishes. Consider heat resistance, impact strength, and fatigue resistance when selecting materials for high-performance racing parts.
CAD Software Selection for Racing Component Design

Three critical factors determine your CAD software choice for racing component design: modeling complexity, simulation capabilities, and team collaboration requirements.
AutoCAD and Fusion 360 excel in the racing industry due to their advanced modeling capabilities and simulation tools for custom components.
Fusion 360’s cloud-based platform enables seamless team collaboration and project sharing, making it perfect for racing teams.
SolidWorks offers powerful parametric design features that provide precise dimensional control for complex racing parts assemblies.
If you’re new to CAD software, Tinkercad provides a beginner-friendly introduction, though it lacks advanced features for intricate racing components.
Verify your chosen software supports STL file exportation for 3D printing compatibility, as most racing parts require this format for production.
Design Considerations for Racing Car Components
Although weight reduction remains your primary objective, you’ll need to balance this goal against structural integrity requirements that racing components face under extreme conditions.
Your design process should prioritize aerodynamic considerations to minimize drag while maximizing downforce through computer simulations and flow analysis. Materials selection critically impacts performance – carbon fiber-reinforced nylon delivers the lightweight, high-strength characteristics essential for high-stress applications.
Effective aerodynamic design demands strategic material choices like carbon fiber-reinforced nylon to achieve optimal drag reduction and downforce generation.
Use CAD software to create intricate geometries that enhance functionality, particularly for airflow management in spoilers and diffusers.
Complex designs become achievable through advanced modeling capabilities. You’ll want to incorporate rapid prototyping for testing and iterating your components, ensuring they meet rigorous performance standards.
This approach guarantees your parts can withstand high-speed racing demands while delivering peak functionality.
Choosing the Right 3D Printer for Racing Parts

When selecting a 3D printer for racing applications, you’ll need to prioritize machines that can handle high-performance materials and deliver the precision your components demand.
Industrial-grade options like the Raise3D Pro3 Plus offer 300°C operating temperatures and substantial build volumes of 300 x 300 x 605 mm for robust racing parts.
FDM printers such as the Original Prusa MK4 provide beginner-friendly access to strong materials like ABS and PETG.
For larger components, consider the Modix Big-180X V4 with its massive 1800 x 600 x 600 mm chamber.
Verify your chosen printer supports diverse materials including nylon and TPU for flexible, durable parts.
High-resolution printing capabilities, like those found in the Sinterit NILS 480, enable precise detail for complex racing components.
Pre-Print Preparation and File Processing
You’ll need to optimize your CAD design before sending it to the printer, ensuring your model meets exact vehicle specifications and dimensional requirements.
Once your design’s ready, you’ll convert it into printable instructions using slicing software that transforms your 3D model into GCODE.
This preparation phase determines whether your racing part prints successfully or fails, so don’t rush through these critical steps.
CAD Design Optimization
Before your 3D printer ever touches the filament, the success of your custom racing car part hinges on meticulous CAD design optimization. Your Computer-Aided Design (CAD) model must align perfectly with vehicle specifications, dimensions, and performance requirements to design and produce functional components.
Focus on minimizing overhangs and reducing support structures during optimization. This approach enhances print quality while cutting material waste.
You’ll want to leverage simulation tools within your CAD software to identify potential structural weaknesses before printing begins.
Pay close attention to your slicer settings—correct layer height and infill percentages directly impact your printed parts’ strength and durability.
Finally, export your optimized model in compatible formats like STL or OBJ to guarantee accurate processing and maintain intended geometry throughout printing.
Slicing Software Setup
Once your CAD model is optimized, slicing software becomes the critical bridge between your digital design and physical racing part. You’ll convert your 3D model into GCODE that your printer understands by breaking it into precise layers.
Choose software like Cura, PrusaSlicer, or Simplify3D based on your specific needs. Critical settings directly impact your part’s performance:
| Setting | Racing Application | Recommended Range |
|---|---|---|
| Layer height | Surface finish quality | 0.1-0.3mm |
| Print speed | Dimensional accuracy | 40-80mm/s |
| Infill density | Strength-to-weight ratio | 15-40% |
Before slicing, orient your model properly and add necessary supports. Use the preview feature to visualize each layer, identifying potential issues like overhangs or weak points that could compromise your racing component’s integrity during high-stress conditions.
Printing Process Optimization for Performance Parts
You’ll need to fine-tune your layer height and print speed settings to achieve the precision and strength racing parts demand.
Start with a 0.1-0.2mm layer height for critical components where surface finish affects aerodynamics, but consider 0.3mm layers for internal structural parts where speed matters more than aesthetics.
Your print speed should typically range between 40-60mm/s for performance parts, as rushing the process can compromise layer adhesion and dimensional accuracy.
Layer Height Optimization
When 3D printing racing car parts, layer height becomes one of your most critical variables for balancing detail, strength, and production efficiency.
You’ll typically work within a 0.1mm to 0.3mm range, where lower heights deliver superior print quality but extend production time considerably.
For functional performance parts requiring structural integrity, 0.2mm offers the best compromise between speed and strength.
You can’t overlook adaptive layer height settings in your slicing software—they’ll automatically vary thickness throughout your print, providing fine detail where needed while maintaining speed in simpler areas.
Don’t skip trial prints when determining ideal settings for specific components.
Testing different layer heights helps you identify the perfect balance for each racing part, ultimately improving both performance and durability while maximizing your printing efficiency.
Print Speed Settings
The relationship between print speed and part quality becomes paramount when manufacturing racing components that must withstand extreme mechanical stresses.
Your print speed settings directly affect layer adhesion and structural integrity. For FDM printers, you’ll want to operate between 40-100 mm/s, with 60 mm/s being the sweet spot for performance parts. This speed balances quality with production efficiency while maintaining strength.
When pursuing high-resolution prints, slow down to around 40 mm/s and pair this with ideal layer height settings. Thinner 0.1 mm layers deliver exceptional detail but extend print time, while 0.2-0.3 mm layers accelerate production.
You’ll need to calibrate acceleration and jerk parameters regularly, ensuring your heated bed and material settings support consistent quality at higher speeds without compromising part durability.
Post-Processing Techniques for Racing Components
Five essential post-processing techniques can transform your raw 3D printed racing parts into competition-ready components that’ll withstand extreme conditions.
| Technique | Purpose | Racing Benefit |
|---|---|---|
| Sanding/Smoothing | Reduce surface drag | Enhanced aerodynamics |
| Heat Treatment | Strengthen metal parts | Improved fatigue resistance |
| Quality Control | Verify dimensions/stress | Meets racing standards |
Start with sanding and smoothing surfaces to minimize drag and optimize aerodynamic performance. Apply specialized coatings that resist high temperatures and wear while protecting against environmental factors. Heat treatment for metal components increases strength and durability under racing stresses. During assembly of multiple 3D printed parts, you’ll need precise machining for proper fitting and alignment. Finally, conduct thorough quality control checks including dimensional verification and stress testing to guarantee your components meet competitive racing requirements.
Quality Control and Testing Procedures
Before your custom 3D printed racing parts hit the track, you’ll need rigorous quality control and testing procedures that verify every component can handle the intense demands of competitive racing.
Start with dimensional inspections using calipers and gauges to guarantee parts meet precise specifications and tolerances.
Next, conduct mechanical testing including tensile and impact tests to evaluate material strength and durability under racing conditions.
Implement non-destructive testing methods like ultrasonic or X-ray inspections to detect internal flaws that could compromise component integrity.
Perform thermal cycling tests on parts exposed to high temperatures, especially engine components and exhaust systems.
Finally, install parts on your racing vehicle for field testing, monitoring their performance under actual racing conditions to identify potential issues or improvements.
Cost Analysis of 3D Printed Vs Traditional Parts
Beyond ensuring your parts meet racing standards, you’ll want to understand the financial implications of choosing 3D printing over traditional manufacturing methods.
A thorough cost analysis reveals significant savings with 3D printed parts, which typically cost $200-$2,000 compared to traditional manufacturing methods ranging from $1,000-$10,000 per part.
You’ll eliminate expensive tooling and mold requirements that make traditional methods cost-prohibitive for low-volume production.
While material costs vary—PLA plastics around $20 per kilogram versus pricier metals and composites—3D printing’s on-demand production eliminates excess inventory and disposal costs.
You’ll also benefit from reduced development cycles, cutting prototype time from weeks to days, enabling faster iterations and improvements for your custom parts.
Safety and Regulatory Compliance Requirements
While cost savings make 3D printing attractive, you must prioritize safety and regulatory compliance when manufacturing racing car parts. Racing components must meet safety standards established by regulatory bodies like the FIA, which specify requirements for materials and design to protect drivers during competition.
Safety and regulatory compliance must take precedence over cost savings when 3D printing racing car components.
Your 3D printed materials need to satisfy specific performance criteria, including impact resistance and thermal stability, to handle racing’s high-stress conditions.
You’ll need to conduct thorough testing and validation, including fatigue testing and crash simulations, to verify part integrity.
Document everything meticulously—keep material certifications and testing results to prove compliance for sanctioned events.
Consider consulting regulatory bodies or certified engineers to navigate complex requirements and guarantee your custom parts meet all necessary safety and compliance standards.
Real-World Racing Applications and Success Stories
Racing teams across motorsport have already proven that 3D printing delivers measurable performance gains in competitive environments.
You’ll find teams successfully creating custom air intake systems that boost horsepower and improve engine airflow during competitions. By utilizing advanced materials like Nylon and TPU, racing teams produce lightweight components including brackets, panels, and custom body elements that reduce overall vehicle weight for faster lap times.
Rapid prototyping capabilities allow you to quickly test suspension parts and make on-the-fly adjustments during race weekends.
Teams regularly create tailored aerodynamic elements such as custom spoilers and diffusers that enhance downforce while minimizing drag.
Many successful racing organizations now collaborate directly with 3D printing manufacturers to develop bespoke parts meeting strict performance criteria, demonstrating the technology’s proven effectiveness in competitive motorsport environments.
Frequently Asked Questions
Can You Print Car Parts With 3D Printers?
You can definitely print car parts with 3D printers using materials like PLA, ABS, and nylon. You’ll create functional components, custom pieces, and even metal parts for high-performance applications through various printing technologies.
Is It Legal to 3D Print Car Parts?
You can legally 3D print car parts for personal use in most jurisdictions, but you’ll face restrictions for commercial sales and must guarantee parts meet safety standards for road use.
What Is the 45 Degree Rule for 3D Printing?
You can’t print overhangs steeper than 45 degrees without supports. This rule prevents sagging and print failures by ensuring your filament has enough surface to adhere to during the printing process.
What Is the Most Profitable Thing to 3D Print?
You’ll find custom racing car parts offer the highest profit margins in 3D printing. Lightweight brackets, aerodynamic components, and intake manifolds command premium prices while reducing production costs considerably.


Leave a Reply