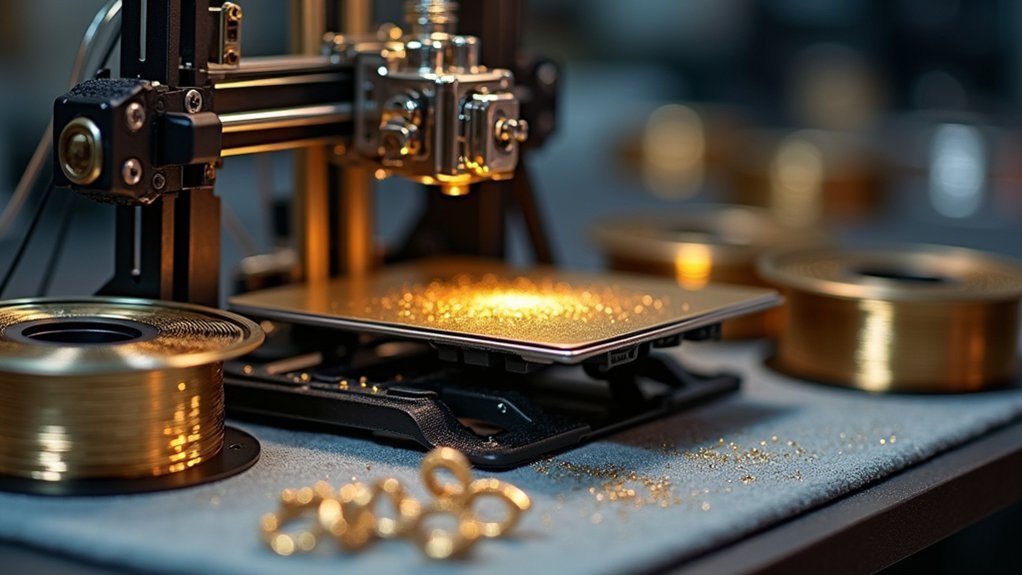
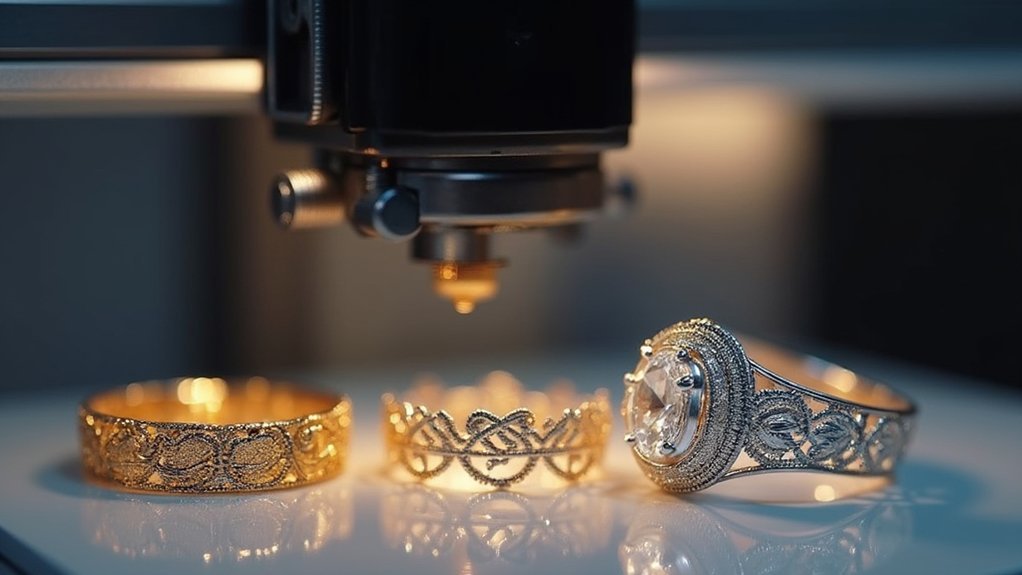
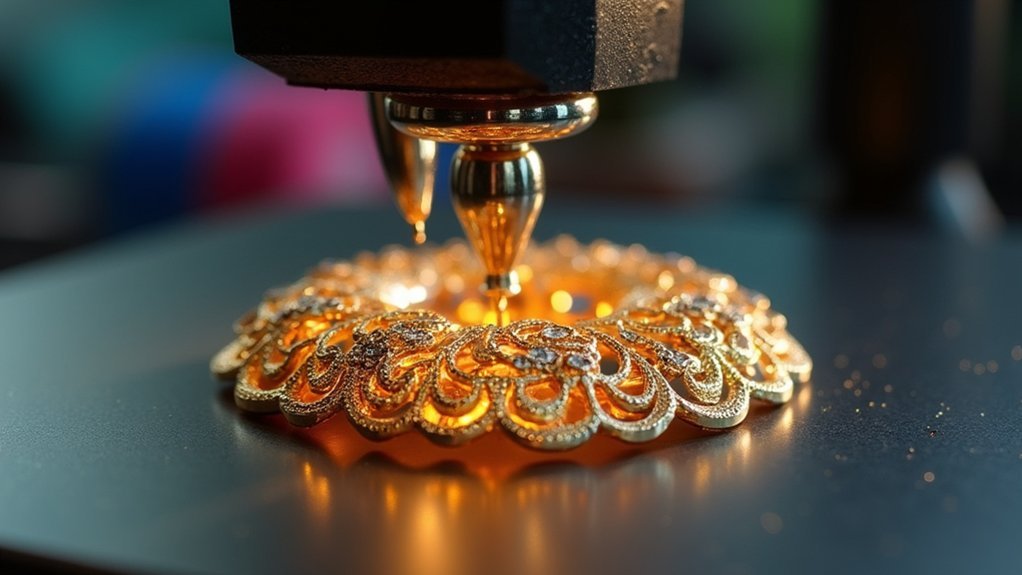
You can print stunning metallic jewelry using precious metal filaments that contain real bronze, copper, or stainless steel particles mixed with base materials like PLA. You’ll need an FDM printer with a hardened nozzle, heated bed, and proper ventilation. Set temperatures between 190-220°C, reduce print speeds to 30-50 mm/s, and design thicker walls for durability. Post-processing involves progressive sanding and polishing to achieve authentic metal finishes that rival traditional casting methods at considerably lower costs.
Understanding Precious Metal Filaments and Their Properties

Innovation in 3D printing has brought precious metal filaments to the forefront of jewelry creation, offering you an accessible way to craft metallic pieces without traditional casting methods.
3D printing precious metal filaments revolutionizes jewelry making by providing an accessible alternative to traditional casting techniques.
These specialized filaments combine a base material like PLA with fine metal powder, including bronze, copper, or stainless steel. You’ll get authentic metallic appearance while maintaining lightweight properties that make handling easier.
When working with precious metal filaments, you can polish pieces to achieve reflective surfaces that closely mimic solid metal jewelry.
However, you should understand that these materials won’t match the durability of fully cast metal pieces. The metal powder infusion creates striking visual results, but structural integrity differs from traditional jewelry materials, making them better suited for decorative pieces rather than everyday wear items.
Essential Equipment for Metal Filament Jewelry Printing
Three key components form the foundation of your metal filament jewelry printing setup: a compatible 3D printer, specialized filaments, and post-processing tools.
You’ll need an FDM printer equipped with a hardened nozzle to handle abrasive metal-filled materials effectively. A heated print bed prevents warping and guarantees proper adhesion, especially for larger jewelry pieces.
Select high-quality metal-filled PLA filaments containing metal powder blends that provide authentic weight and appearance.
Your post-processing arsenal should include:
- Fine-grit sandpaper for smoothing rough surfaces
- Polishing compounds for enhancing shine
- Tumbler for consistent finishing across multiple pieces
- Proper ventilation system for workspace safety
These tools help you achieve that professional metallic finish.
Remember to maintain adequate ventilation when working with metal filaments and finishing materials to guarantee your safety throughout the entire jewelry creation process.
Designing Jewelry Models for Metal Filament Compatibility

With your equipment ready, you’ll need to adapt your jewelry designs to work effectively with metal filaments’ unique characteristics.
When designing jewelry models for metal filament compatibility, create thicker walls and robust supports since metal powder adds weight and brittleness. Your CAD software should incorporate structural reinforcement features that standard plastic designs don’t require.
Adjust layer heights and plan for slower print speeds to capture intricate details accurately.
Design with post-processing in mind by including accessible surfaces for sanding and polishing – essential steps for achieving that premium metal finish.
Always test print smaller design sections first. This approach lets you evaluate how your digital models translate to physical objects before committing to full-sized pieces, saving both time and expensive filament material.
Preparing Your 3D Printer for Metal Filament Use
Before you start printing with precious metal filaments, you’ll need to make specific adjustments to your 3D printer’s settings and hardware.
Your printer’s calibration, extruder temperature, and bed adhesion setup require careful attention since metal-filled filaments behave differently than standard plastics.
These preparations are essential for achieving professional-quality jewelry prints that showcase the metallic finish you’re after.
Printer Calibration Essentials
Since metal-filled filaments contain abrasive particles that can quickly wear down standard brass nozzles, you’ll need to upgrade to a hardened steel or ruby-tipped nozzle before attempting your first jewelry print.
These printer calibration essentials guarantee successful results when working with precious metal filaments that’ll eventually undergo metal casting.
Your calibration checklist includes:
- Level the print bed meticulously – achieving perfect first-layer adhesion with mirror-like precision across the entire surface
- Adjust temperature settings – dialing in the sweet spot between 190°C and 230°C for peak metal particle flow
- Reduce print speeds – slowing down to 30-50 mm/s for smooth, consistent extrusion
- Configure slicing software – maximizing layer height and infill density for maximum strength and detail resolution
Proper calibration prevents costly print failures and material waste.
Extruder Temperature Settings
Getting your extruder temperature dialed in correctly makes the difference between a flawless jewelry print and a clogged nozzle disaster.
You’ll need to set your extruder temperature settings between 190°C to 220°C for ideal flow and adhesion with metal-filled filaments. Higher metal content materials often require temperatures at the upper end of this range, so always check your manufacturer’s specific recommendations first.
Don’t assume your standard brass nozzle will survive this process. Metal filaments are abrasive and will wear down standard nozzles quickly.
Switch to a hardened steel nozzle designed for abrasive materials before you start printing. This simple upgrade prevents costly damage and guarantees consistent extrusion throughout your jewelry printing projects.
Bed Adhesion Requirements
Three critical factors determine whether your metal filament jewelry will stick to the bed or turn into an expensive mess of failed prints.
Bed adhesion requirements for printing jewelry with real metal filaments demand precise preparation and monitoring.
Start with a compatible bed surface like glass or PEI, then preheat to 60°C-100°C based on manufacturer specifications.
Here’s what you’ll need for successful adhesion:
- Apply glue stick or hairspray to counteract the extra weight of metal-filled filaments
- Calibrate nozzle height precisely to prevent excessive squishing and print defects
- Use a smooth, flat surface that won’t interfere with intricate jewelry details
- Monitor the first layer closely as it determines your entire print’s success
Proper bed adhesion sets the foundation for stunning metal jewelry pieces.
Optimal Print Settings for Precious Metal Filaments
Five critical settings determine your success when printing with precious metal filaments, and getting them right means the difference between a stunning piece and a failed print.
Your ideal print settings start with nozzle temperature between 190°C to 220°C, depending on your specific filament brand and composition.
Set your heated bed to 60°C to prevent warping and improve layer adhesion—crucial for dense metal-filled materials.
Reduce your print speed to 30-40 mm/s for better detail capture and to prevent clogging from metal particles.
Use a larger nozzle size of 0.5 mm or bigger to accommodate those metal particles smoothly.
Consider dual extrusion setups for removable support materials, which help achieve better finishes on intricate jewelry designs.
Step-by-Step Printing Process for Metal Jewelry

Four essential phases guide your metal jewelry printing journey from digital design to finished piece.
First, you’ll prepare your jewelry 3D printing setup by loading metal-filled PLA filament and configuring your printer’s heated bed and nozzle temperature to 200-220°C.
Next, you’ll initiate the actual printing process, monitoring layer adhesion and ensuring consistent extrusion throughout the build.
The transformation begins during post-processing:
- Sanding away layer lines with progressively finer grits until surfaces become smooth
- Polishing with specialized metal compounds to achieve that coveted metallic luster
- Buffing surfaces until they reflect light like genuine precious metal
- Applying protective clear coat to seal the finish and prevent oxidation
You’ll witness your printed piece evolve from rough plastic into stunning metal jewelry that rivals traditionally crafted pieces.
Post-Processing Techniques for Metal Filament Prints
Once your metal filament jewelry piece finishes printing, you’ll need to transform its rough, layered surface into a polished masterpiece.
Start by sanding with coarse 100-200 grit sandpaper to eliminate visible layer lines, then progressively work through finer grits up to 2000 for an ultra-smooth finish.
After achieving the desired smoothness, you can apply metal-specific polishing compounds to bring out that coveted metallic shine that makes your jewelry look authentically precious.
Sanding and Smoothing
The rough, layered surface that emerges from your 3D printer won’t give you the polished jewelry finish you’re after. Sanding transforms these crude prints into stunning pieces worthy of wearing.
Start with coarse 100-200 grit sandpaper to eliminate those obvious layer lines, then systematically progress through finer grits.
Your sanding progression should follow this path:
- 100-200 grit: Aggressively remove layer lines and surface imperfections
- 400-600 grit: Smooth out scratches from coarse sanding
- 800-1200 grit: Create a refined, even surface texture
- 1500-2000 grit: Achieve a near-mirror finish ready for polishing
Take your time with each grit level—rushing through sanding stages will only create more work later.
The methodical approach guarantees your metal filament jewelry achieves that professional, luxurious appearance customers expect.
Polishing for Shine
After achieving that smooth 2000-grit finish, you’re ready to reveal the true brilliance hiding within your metal filament print. Select polishing compounds specifically formulated for metal to enhance shine and achieve that professional jewelry finish you’re after.
Start with a rotary tool equipped with a soft buffing wheel to speed up the process and guarantee even coverage across your piece. Apply the compound sparingly and work systematically across the surface.
For best results, combine mechanical polishing with hand finishing using a microfiber cloth. This two-stage approach creates a reflective, mirror-like surface that showcases your jewelry’s intricate details.
Remember to keep your polishing tools clean between sessions to prevent contamination and maintain consistent results across all your precious metal prints.
Polishing and Finishing Methods for Professional Results
When you’ve successfully printed your jewelry piece with precious metal filament, transforming it into a professional-looking accessory requires careful attention to polishing and finishing techniques.
Start by sanding systematically from coarse grit (100-200) to fine grits (600-2000) to eliminate visible layer lines and create smooth surfaces.
Your finishing arsenal should include:
- Metal-specific polishing compounds that enhance the metallic luster and bring out the filament’s inherent shine
- Clear protective coatings that shield against scratches while adding glossy or matte visual appeal
- Vapor smoothing with acetone for ABS-based pieces, creating glass-like finishes in well-ventilated areas
- Acrylic paints with proper primers for custom color effects and unique artistic touches
These methods elevate your 3D-printed jewelry from amateur craft to professional-grade accessories.
Heat Treatment and Sintering Options
You’ll need to master precise temperature control methods to achieve ideal sintering results with your metal-filled filaments.
The sintering time variables directly impact how well the metal particles bond together, requiring careful monitoring throughout the heating cycle.
Understanding the metal bonding process helps you determine the exact conditions needed to transform your printed piece into a durable, professional-quality jewelry item.
Temperature Control Methods
Since precious metal filaments require specific thermal processing to transform from printed objects into durable jewelry, you’ll need to master two critical temperature control methods: heat treatment and sintering.
Heat treatment relieves internal stresses and improves ductility in your printed pieces. Sintering involves heating below the melting point to achieve density and durability. You must maintain precise temperature control using specialized furnaces with programmable profiles to prevent warping.
Key temperature control considerations include:
- Setting sintering temperatures between 900°C to 1200°C based on metal composition
- Programming duration cycles lasting 1 to 4 hours depending on piece thickness
- Monitoring temperature gradients to guarantee uniform heating throughout the jewelry
- Implementing slow cooling phases within the furnace to enhance structural integrity
These temperature control methods guarantee your precious metal jewelry achieves professional quality and longevity.
Sintering Time Variables
While temperature ranges provide the foundation for successful sintering, the duration variables determine whether your precious metal jewelry achieves perfect density and structural integrity.
Your sintering time depends heavily on the specific metal powder composition in your filament. Silver-filled filaments typically require 4-6 hours at temperatures between 900°C to 1000°C for ideal particle bonding and density.
You’ll need to adjust your sintering time based on your piece’s thickness and complexity. Thicker sections demand longer durations to guarantee complete densification throughout.
Don’t rush this process—insufficient sintering time results in weak, porous jewelry that’ll break under stress.
Monitor your heating rate carefully, allowing gradual temperature increases to prevent cracking and achieve uniform metal particle bonding across your entire piece.
Metal Bonding Process
When your printed piece emerges from the printer, the real transformation begins through a carefully orchestrated metal bonding process that fuses individual particles into solid precious metal jewelry.
The metal bonding process relies on precise heat treatment and sintering techniques to create your finished piece:
- Temperature Control – Your jewelry reaches temperatures between 900°C to 1200°C, hot enough to fuse particles without melting.
- Atmospheric Protection – You’ll need vacuum or inert gas environments to prevent oxidation and maintain metal purity.
- Time Management – Sessions range from one to several hours depending on your specific filament and desired density.
- Final Finishing – Post-sintering polishing and coating bring out the brilliant luster you expect.
You’ll find this controlled heating process transforms your printed form into genuine precious metal jewelry with proper structural integrity.
Troubleshooting Common Metal Filament Printing Issues
Although metal filaments offer stunning results for jewelry printing, they present unique challenges that can frustrate even experienced makers. You’ll encounter specific issues that require targeted solutions to achieve professional metal jewelry results.
| Problem | Solution |
|---|---|
| Poor extrusion/clogging | Set nozzle temperature between 190°C-220°C |
| Rapid nozzle wear | Switch to hardened steel nozzle from brass |
| Stringing/under-extrusion | Reduce print speed to 20-30 mm/s |
| Warping/bed detachment | Calibrate first layer height precisely |
You’ll also need to experiment with different bed surfaces like glass or PEI to find the best adhesion for your specific filament. These adjustments guarantee consistent, high-quality prints while preventing costly failures and material waste during your metal jewelry creation process.
Cost Analysis of Metal Filament Vs Traditional Casting
Beyond mastering the technical challenges of metal filament printing, you’ll need to understand the economic implications of choosing this method over traditional casting.
Your cost analysis reveals considerable differences between these manufacturing approaches. Metal filaments cost $30-50 per kilogram, while precious metal casting materials range from $1,000-1,500 per kilogram.
Metal filaments at $30-50 per kilogram offer dramatic cost savings compared to precious metals ranging $1,000-1,500 per kilogram for traditional casting.
You’ll also face lower initial equipment investments compared to traditional casting setups requiring specialized tools.
Consider these key economic advantages:
- Rapid prototyping cycles – You’ll iterate designs faster without waiting for mold creation
- Minimal material waste – Layer-by-layer printing eliminates the 50% waste from sprues and excess metal
- Reduced overhead costs – Your workshop requires less specialized equipment and space
- Lower barrier to entry – You can start jewelry production with considerably less capital
However, remember that traditionally cast pieces often command premium prices due to superior finish quality and durability expectations in high-end markets.
Safety Considerations When Working With Metal Filaments
While metal filament printing offers compelling economic advantages, proper safety protocols become essential as you handle materials that pose unique health and workplace hazards.
You’ll need protective gloves and a mask to prevent inhalation of fine metal particles and avoid skin irritation. Ascertain proper ventilation since metal filaments release potentially harmful fumes during prolonged printing sessions.
Install a hardened nozzle designed for abrasive materials to prevent clogging and damage to standard components.
Exercise caution around heated printer parts, as metal filaments require higher temperatures that increase burn risks.
These safety considerations aren’t optional—follow your filament manufacturer’s specific guidelines to mitigate health hazards and maintain a secure workspace throughout your jewelry printing projects.
Advanced Techniques for Complex Metal Jewelry Designs
When designing complex metal jewelry pieces, you’ll discover that advanced CAD software like Fusion 360 and Tinkercad becomes your foundation for creating intricate geometries that showcase metal filament’s unique capabilities.
Metal-filled PLA printing materials offer exceptional versatility for detailed work while maintaining structural integrity.
Optimize your complex designs using these advanced techniques:
- Dual-extrusion printing with dissolvable supports enables delicate filigree patterns and hollow structures impossible with traditional methods.
- Layer height optimization balances surface quality with printing time, typically 0.1-0.2mm for fine jewelry details.
- Strategic infill percentage maintains strength while reducing material costs, usually 15-25% for jewelry applications.
- Post-processing workflows including progressive sanding (400-2000 grit) and metal polishing compounds create professional mirror finishes.
These methods transform basic printing materials into sophisticated jewelry pieces rivaling traditional metalworking techniques.
Frequently Asked Questions
What Is the Best Filament for Printing Jewelry?
You’ll want metal-filled PLA for realistic metallic appearance and weight. It’s affordable, easier than traditional casting, and you can polish it for enhanced finishing while achieving precious metal looks.
Can You 3D Print Metal Jewelry?
You can’t 3D print solid metal jewelry at home, but you can use metal-filled filaments that contain metal powders mixed with plastic, giving you a metallic appearance that requires post-processing.
What Metals Cannot Be 3D Printed?
You can’t 3D print pure gold, silver, titanium, or tungsten due to their extreme melting points. Reactive metals like magnesium and aluminum pose safety risks, while high-nickel alloys often become too brittle.
Can PLA Be Used for Jewelry?
You can use PLA for lightweight decorative jewelry pieces. It’s biodegradable, offers vibrant colors, and allows intricate designs. However, it’s less durable than metals, making it better for non-functional accessories.


Leave a Reply