You’ll achieve perfect PEI sheet bed leveling by following these five essential tips: clean your PEI surface with isopropyl alcohol before each print to remove oils and debris, use manual bed leveling with paper as a feeler gauge at all corners and center points, adjust your Z-offset settings based on your PEI sheet’s thickness, monitor first layer quality for consistent extrusion lines with proper squish, and maintain regular surface cleaning to prevent contamination. Master these fundamentals to access professional-grade printing results.
Prepare Your PEI Sheet Surface for Optimal Adhesion

Success with 3D printing starts with a properly prepared PEI sheet surface.
You’ll need to clean your PEI sheet with isopropyl alcohol or acetone before each print to remove oils and residues that degrade adhesion. Use a lint-free cloth when wiping to avoid transferring fibers onto the surface.
After cleaning, don’t touch the PEI surface with bare fingers since this’ll contaminate it with oils.
For stubborn residues, gently scrub with warm soapy water, then follow with an alcohol wipe. Grease stains can cause print failures due to poor surface adhesion.
Remember to remove protective blue films from both sides before installation, as they’ll interfere with adhesion and heat transfer.
Store unused sheets in dust-free environments to maintain pristine conditions for ideal printing results.
Master Manual Bed Leveling Techniques With PEI Sheets
While automated bed leveling systems offer convenience, mastering manual leveling techniques with PEI sheets gives you precise control over your first layer quality.
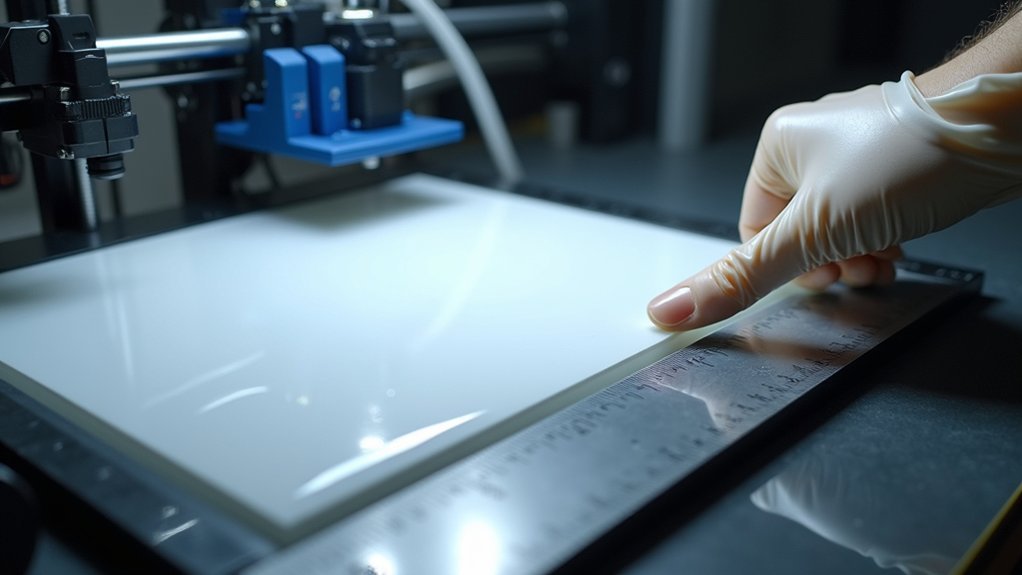
Start by moving your nozzle to each corner and the bed’s center, using standard printer paper as a feeler gauge. Adjust bed screws incrementally until you achieve consistent light friction between the paper and nozzle at all test points.
Tighten screws gradually and symmetrically to prevent warping your PEI sheet. Remember that changes at one point affect others due to bed tensioning, so you’ll need to re-check all positions after initial adjustments. Take advantage of PEI’s excellent thermal conductivity when working with heated beds during the leveling process.
Secure non-adhesive PEI sheets with binder clips and always re-level after installation to compensate for any height changes the sheet introduces.
Fine-Tune Z-Offset Settings for PEI Sheet Thickness

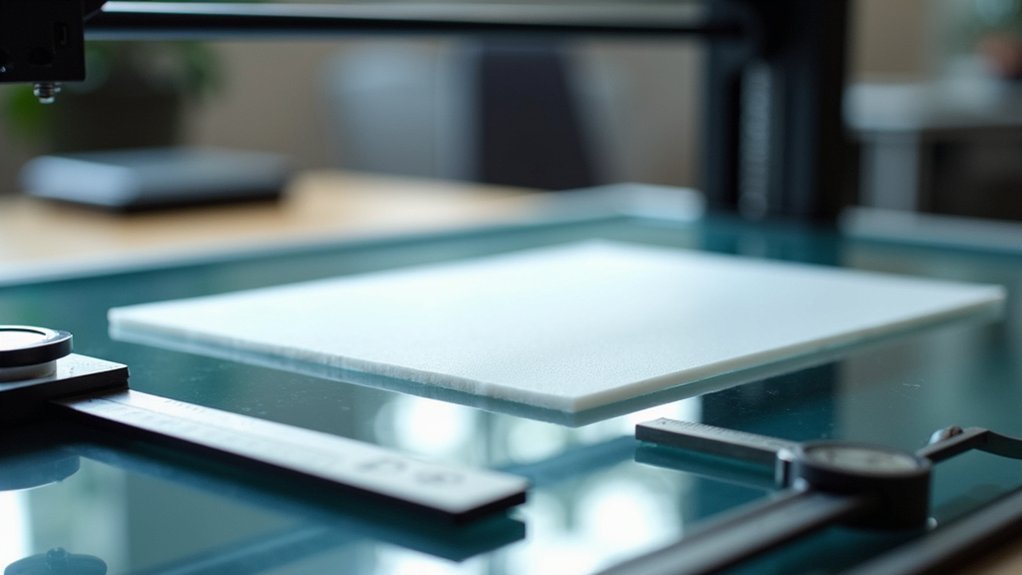
Precision becomes critical when adjusting your Z-offset to accommodate PEI sheet thickness variations.
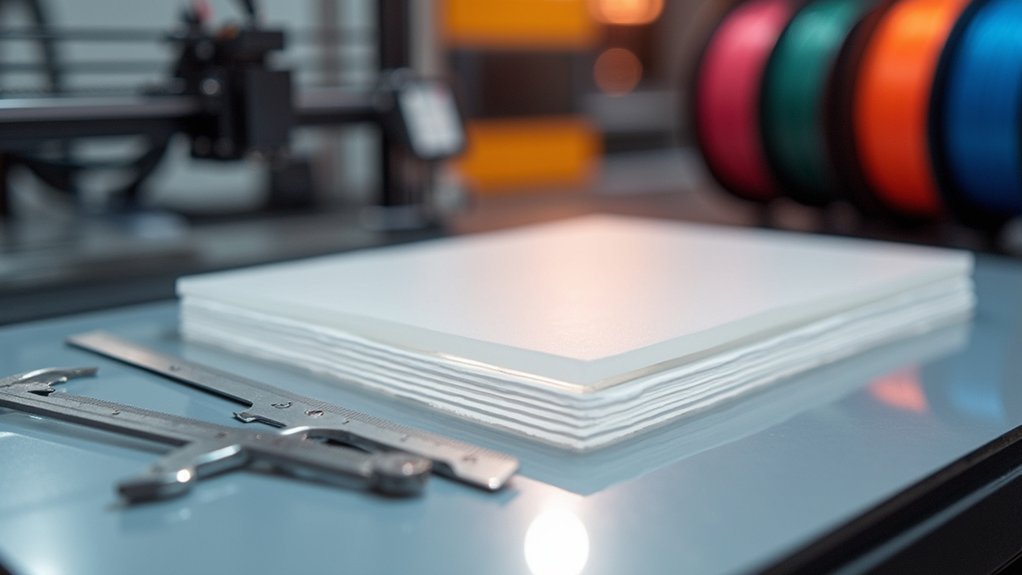
When you swap to a thicker PEI sheet, you’re effectively raising the print surface, which requires decreasing your Z-offset value to maintain proper nozzle-to-bed distance. Conversely, thinner sheets need positive Z-offset adjustments.
- Use the paper test method: Slide a single sheet of paper under the nozzle – it should grip lightly without tearing.
- Perform live adjustments: Fine-tune Z-offset during first-layer test prints, watching for proper filament squish and adhesion.
- Save filament-specific profiles: Different materials like PETG need slightly higher Z-offset than PLA to prevent excessive stickiness. Calibration squares can help determine optimal Z-offset values for each material combination.
Monitor and Perfect Your First Layer Quality
Once your Z-offset settings are dialed in, you’ll need to observe your first layer as it prints to achieve that perfect balance between adhesion and quality.
Watch for consistent extrusion lines that slightly squish into the PEI surface without being too thin or thick. You’ll want to slow your first layer speed to 20-30 mm/s, allowing proper melting into the sheet.
Proper first layer extrusion requires balanced squish into PEI and reduced speeds of 20-30 mm/s for optimal melting.
Increase your first layer height to 0.3-0.4mm for better flow and surface contact. Keep your cooling fans disabled during this critical layer to promote adhesion.
If you notice gaps between lines or poor stick, adjust your Z-offset incrementally. The ideal first layer should appear smooth with even spacing and no visible bed surface between extrusion paths. You can also consider using the Brim option in your slicer settings to increase the first layer’s surface area for improved adhesion on challenging prints.
Maintain Consistent PEI Surface Performance

Your PEI sheet’s performance will degrade over time without proper maintenance, directly affecting your bed leveling accuracy and print quality.
Consistent adhesion requires proactive care to prevent surface contamination and wear that can throw off your carefully calibrated Z-offset settings.
Regular maintenance guarantees your PEI sheet performs predictably:
- Clean regularly – Use isopropyl alcohol to remove oils and residues that reduce adhesion and create uneven surface conditions.
- Monitor environmental factors – Track humidity and temperature changes that can influence PEI performance and require offset adjustments.
- Document successful settings – Record working Z-offset values for different filaments to maintain consistency across print sessions.
Replace your PEI sheet when damage affects calibration or adhesion.
Worn sheets create inconsistent first layers that no amount of bed leveling can fix. A warped bed surface can completely compromise your leveling efforts and make achieving proper adhesion nearly impossible.
Frequently Asked Questions
Can I Use Different PEI Sheet Brands Interchangeably on My Printer?
You can use different PEI sheet brands interchangeably if they match your printer’s dimensions and thickness. However, you’ll get better compatibility, durability, and performance using your manufacturer’s recommended brand.
How Long Do PEI Sheets Typically Last Before Needing Replacement?
You’ll typically see PEI sheets lasting several months to years with moderate use. Heavy printing can cause noticeable wear within 120-150 hours, requiring replacement when adhesion fails or damage appears.
Should I Remove the PEI Sheet When Not Printing for Extended Periods?
You shouldn’t remove your PEI sheet during extended non-printing periods. Leave it attached and cover your printer to prevent dust accumulation. This maintains bed leveling calibration and prevents reinstallation issues.
Can I Print Directly on Both Sides of a Reversible PEI Sheet?
Yes, you can print directly on both sides of a reversible PEI sheet. You’ll need to relevel your bed after flipping since surface textures differ, affecting adhesion and first layer quality.
What’s the Difference Between Spring Steel and Magnetic PEI Sheet Bases?
Spring steel sheets use a flexible metal base you bend to remove prints, while magnetic PEI bases attach magnetically to your bed, letting you quickly swap surfaces without bending the sheet itself.


Leave a Reply