You’ll master 3D print painting by first removing supports carefully and sanding progressively from coarse to fine grits. Apply compatible primer in thin coats, then build up your base color gradually. Use high-quality brushes for detail work and spray techniques for smooth coverage. Create weathering effects through dry brushing and washes, while protecting edges with masking tape. Finish with appropriate clear coats after proper curing time. These foundational steps reveal professional-quality results and advanced finishing possibilities.
Surface Preparation and Support Removal

Before you can achieve a professional paint finish on your 3D print, you’ll need to properly prepare the surface through careful support removal and thorough cleaning.
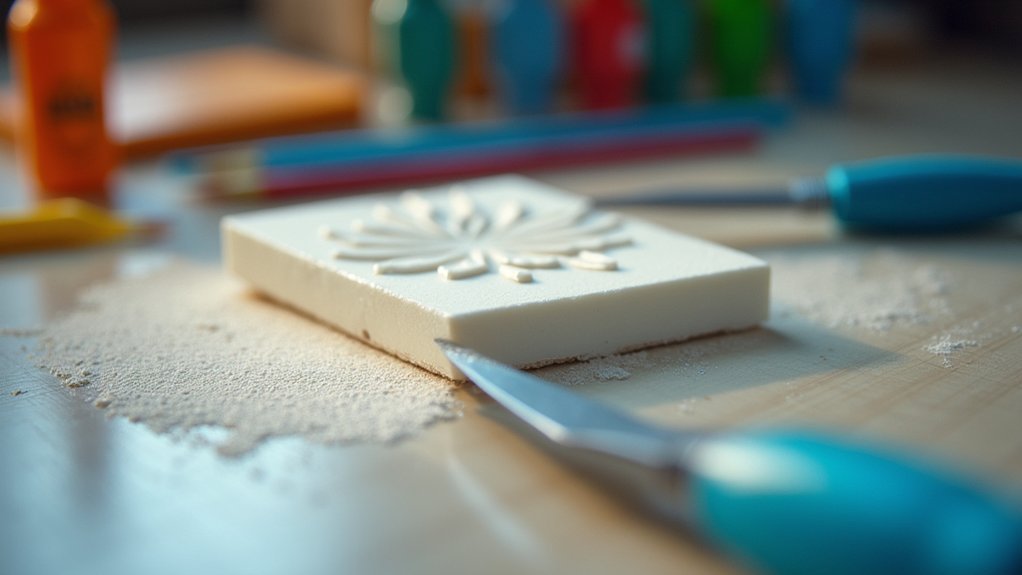
Start your surface preparation by removing support structures using flush cutters or an X-Acto knife, working carefully to avoid damaging your model.
Next, sand the surface starting with 220 grit sandpaper to eliminate visible layer lines, then progress to 400-600 grit for a smoother finish.
Wash your model with distilled water after sanding to remove all dust and debris that could interfere with paint adhesion.
Apply a neutral gray primer coat using multiple thin layers rather than one thick application. This primer coat guarantees better paint adhesion and reveals any remaining imperfections requiring additional sanding.
Verify the surface is completely dry before painting.
Sanding Techniques for Smooth Finishes
You’ll achieve professional-looking results by starting with coarse 120-220 grit sandpaper and progressively working your way up to finer 400-600 grits.
Wet sanding offers significant advantages over dry methods, reducing dust buildup while preventing sandpaper clogs that compromise your finish quality.
This systematic approach effectively eliminates visible layer lines and surface imperfections that would otherwise show through your paint job.
Progressive Grit Selection
When preparing a 3D print for painting, achieving a professional finish depends on your systematic approach to sanding with progressively finer grits.
You’ll start with coarse grit sandpaper ranging from 120-220 to eliminate support marks and major surface imperfections. This initial phase removes the roughest elements from your print.
Next, you’ll shift to medium grits between 220-320 to refine the surface further.
Finally, use fine grit sandpaper from 400-600 for your finishing passes, creating a smooth surface ready for priming.
Consider these essential techniques:
- Wet sanding with fine grits reduces dust and prevents clogging
- Inspect thoroughly after each grit phase
- Progress systematically through each grit level
- Never skip grit levels in your progression
Always examine your work between phases to identify remaining imperfections.
Wet Sanding Benefits
As you shift to finer grits, wet sanding transforms your finishing process by combining water with sandpaper to create superior surface smoothness while eliminating the dust clouds that plague dry sanding methods.
This technique prevents overheating that can warp delicate details or damage your 3D print’s intricate features.
You’ll achieve exceptional results using 400-600 grit sandpaper, which removes minimal material while delivering smooth surfaces. The water creates a beneficial slurry that fills small scratches and imperfections as you work, naturally smoothing the surface.
This method’s cooling effect protects your model from heat damage that dry sanding often causes.
After completing your wet sanding session, thoroughly dry your model and remove all residue. This step guarantees proper primer and paint adhesion for your final polished finish.
Layer Line Removal
Layer lines represent the most common surface imperfection you’ll encounter on 3D prints, appearing as horizontal ridges that follow each printed layer. Effective layer line removal requires a systematic sanding approach to smooth the surface and achieve professional results.
Start with coarse grit sandpaper (120-220 grit) to tackle major imperfections, then progress through finer grits for polished finishes.
Consider these essential techniques:
- Use wet sanding to minimize dust and prevent sandpaper clogging
- Apply rotary tools with adjustable RPM for faster results while avoiding overheating
- Progress methodically from 400-600 grit for final smoothing
- Clean thoroughly with tack cloth before priming
Each sanding pass should be thorough and even, removing visible lines systematically. Proper preparation guarantees your paint adheres correctly and creates flawless finishes.
Proper Primer Selection and Application
You’ll need to select a primer that’s specifically compatible with your 3D print material and intended paint system, with Tamiya or Montana spray-on primers being reliable choices.
Choose a neutral gray primer since it effectively reveals surface imperfections that require attention before final painting.
Apply your primer in 2-3 thin coats rather than one thick layer, allowing 30-40 minutes of drying time between applications to preserve your model’s fine details.
Choosing Compatible Primer Types
When preparing your 3D print for painting, selecting the right primer becomes essential for achieving professional results. Choosing a primer that matches your print material guarantees ideal paint adhesion and prevents coating failure.
For PLA prints, both acrylic and enamel primers work effectively, while other materials may require specific formulations.
Consider these primer color options for different applications:
- Neutral gray primer – Best for detecting surface imperfections and providing balanced coverage
- Black primer – Enhances darker top coats and adds depth to rich colors
- White primer – Ideal for bright, vibrant final colors
- Red-brown primer – Perfect for metallic finishes and weathered effects
The primer type you select directly impacts your final paint quality, so match the primer chemistry to both your print material and intended finish for ideal results.
Applying Thin Primer Coats
The foundation of exceptional painted 3D prints lies in mastering the art of thin primer application.
Before applying a primer, you’ll need to prepare a clean surface by washing your model with water and mild detergent, then drying it thoroughly with a soft cloth.
Mount your model on a dowel or painting block for easy rotation and complete access.
When applying thin coats, resist the urge to rush. Spray multiple light layers instead of one heavy coat to preserve intricate details and achieve professional results. Allow 30-40 minutes between each application for proper drying.
Choose neutral gray primer to reveal surface imperfections you can sand smooth.
This methodical approach guarantees ideal paint adhesion and superior finish quality.
Base Coat Application Methods

Establishing a solid base coat forms the foundation of any successful 3D print paint job, as this essential first layer hides surface imperfections while creating a uniform canvas for your artistic vision.
Base coats require careful application to achieve professional results. You’ll want to apply thin layers rather than thick coats to prevent drips and runs. Allow each layer to dry completely—typically 20 to 30 minutes—before adding subsequent coats.
Patience with base coat application separates amateur results from professional-quality finishes that showcase your 3D printed models at their absolute best.
Consider these application methods:
- Spray painting: Hold the can 10-12 inches from your model for even coverage
- Hand painting: Start with light colors, then shift to darker shades
- Primer selection: Choose black primer for dark tones, white for light colors
- Layer technique: Build coverage gradually through multiple thin applications
Using primer enhances paint adhesion considerably.
Spray Painting Best Practices
While spray painting offers superior coverage compared to brush application, mastering proper technique guarantees you’ll achieve professional-quality results on your 3D prints.
Hold your spray paint can 10-12 inches from the surface to prevent drips and ascertain even application. Apply thin coats of paint with 15-20 minutes drying time between layers—this prevents detail obscuration and creates smooth, uniform finishes.
Use steady sweeping motions while rotating your model frequently for consistent coverage. Don’t build up paint in one area.
Consider using plastic-specific primer to enhance adhesion and provide better base layers for subsequent colors.
Always work in a well-ventilated area wearing a NIOSH-approved respirator to protect against harmful fumes and particulates during the painting process.
Hand Painting With Brushes

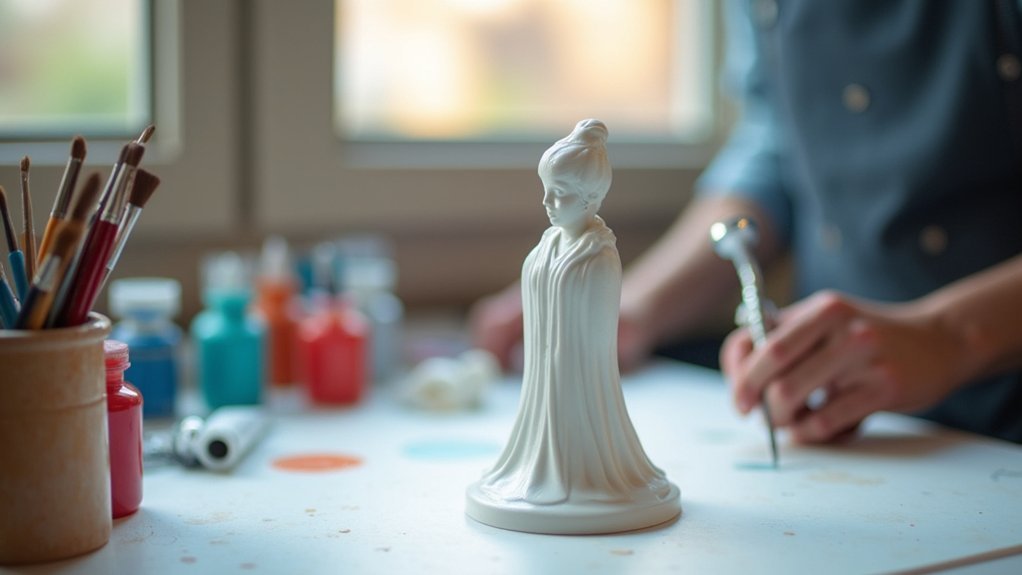
When you’re hand painting your 3D prints, you’ll want to invest in high-quality brushes with synthetic bristles that won’t leave visible brush strokes on your finished piece.
Start by applying thin coats rather than trying to cover everything in one heavy layer, as this approach gives you better opacity and smoother results.
You’ll find that building up color gradually with multiple thin applications creates a much more professional-looking finish than rushing the process.
Brush Selection and Quality
The foundation of successful 3D print painting lies in selecting the right brushes for your project. Quality brush selection directly impacts your paint application results, so you’ll want to invest in high-quality synthetic or natural bristle brushes that offer superior durability and performance.
Consider these essential brush types for your toolkit:
- Fine brushes (sizes 0-2) with pointed or flat edges for detailed work and intricate areas
- Larger flat brushes (sizes 4-10) for efficient base coat coverage on bigger surfaces
- Various shapes including round, flat, and angular for different techniques like dry brushing and washes
- High-quality synthetic bristles that maintain their shape through multiple uses
Remember to clean your brushes thoroughly after each session with appropriate solvents to extend their lifespan and guarantee consistent results.
Thin Coat Application
Mastering thin coat application transforms your 3D print painting from amateur to professional-looking results.
You’ll want to apply multiple thin layers rather than rushing with thick applications that create clumps and uneven surfaces. Each thin layer of paint should dry for 15-20 minutes before you move to the next coat.
Start with lighter base colors and gradually build up to darker shades. This layering technique guarantees better adhesion and deeper color saturation.
You’ll find that patience pays off—each successive coat enhances the overall finish quality.
Keep your paint consistency smooth by maintaining a wet palette nearby. This prevents your brush from drying out and helps you control the paint flow.
Advanced Weathering and Detailing Effects
Beyond basic painting fundamentals, advanced weathering and detailing effects transform ordinary 3D prints into museum-quality models that tell compelling stories.
Weathering techniques elevate your models through specialized applications:
- Dry brushing – Apply minimal paint to your brush and lightly drag across raised surfaces for worn, aged effects.
- Washing – Use thinned paint flowing into recesses to add depth and highlight fine details.
- Rust simulation – Layer metallic and rust-colored paints to mimic gradual surface deterioration.
- Sharp edge creation – Employ tape or liquid masking fluid for precise patterns.
Masking techniques guarantee clean lines when creating complex multi-colored weathering patterns.
Layering and blending multiple thin coats produces subtle shifts essential for realistic fading and aging effects, making your prints appear dynamic and lifelike.
Masking for Multi-Color Applications
| Masking Method | Best For | Application Tip | Removal Timing |
|---|---|---|---|
| Masking Tape | Straight lines | Press edges firmly | After light coats |
| Liquid Fluid | Curved details | Use fine brush | When fully dry |
| Stencils | Patterns | Secure completely | Immediate removal |
| Combined Methods | Complex designs | Layer strategically | Section by section |
Always make certain your base layer’s completely dry before masking to avoid paint lift-off.
Clear Coat Protection and Finishing
Once you’ve achieved your desired paint scheme, protecting that finish becomes your next priority.
Applying a clear coat creates a protective layer that shields your painted 3D print from scratches and daily wear. Wait at least a week for your paint to cure completely before applying this protective coating.
Clear coats act as armor for your painted prints, preventing damage from everyday handling and environmental exposure.
Apply your clear coat in thin, even layers—one or two coats typically provide adequate protection.
Choose from different finishes to match your vision:
- Gloss – Creates a shiny, reflective surface
- Matte – Delivers a flat, non-reflective appearance
- Satin – Offers a subtle sheen between gloss and matte
- Textured – Adds surface variation and grip
After curing, consider polishing with ultrafine grit cloth or carnauba wax for enhanced protection and visual appeal.
Drying and Curing Protocols
While your excitement to display your newly painted 3D print might tempt you to handle it immediately, proper drying and curing protocols assure your hard work won’t be compromised.
Allow your painted model to rest for at least 24 hours before touching it. This drying time guarantees paint cures properly and prevents smudging. When applying clear coat layers, use thin applications with 20-30 minutes between coats.
| Phase | Duration | Environment | Action Required |
|---|---|---|---|
| Initial Paint Dry | 24 hours | Well-ventilated space | No handling |
| Clear Coat Application | 20-30 minutes per layer | Well-ventilated area | Apply thin layers |
| Final Curing | 1 week minimum | Controlled conditions | Complete rest |
| Workspace Ventilation | Throughout process | Air circulation | Maintain airflow |
| Environmental Control | All phases | Avoid sunlight/humidity | Monitor conditions |
Maintain well-ventilated conditions throughout, avoiding direct sunlight and humidity extremes for best results.
Frequently Asked Questions
What Is the Best Way to Paint 3D Printed Things?
You’ll want to sand your print smooth, apply primer, then use thin acrylic paint coats with proper drying time between layers. Finish with clear coat protection for durability and enhanced appearance.
How to Prep 3D Printed Miniatures for Painting?
Remove support structures with flush cutters, sand layer lines starting with 220-grit sandpaper, wash with distilled water, apply thin primer coats with drying time between layers, then inspect for remaining flaws.
Can I Paint 3D Printed Objects Without Primer?
You can paint 3D printed objects without primer, but you’ll likely get poor adhesion, uneven coverage, and visible layer lines. Primer’s recommended for professional results and durability.
Do You Need to Wash 3D Prints Before Painting?
You should wash 3D prints before painting to remove oils, dust, and contaminants that’ll prevent proper paint adhesion. Use warm soapy water, rinse thoroughly, and dry completely for best results.


Leave a Reply