You’ll need to prioritize high-quality CT and MRI imaging for precise anatomical data, then select biocompatible materials like titanium or PEEK that match bone’s mechanical properties. Design porous lattice structures with 300-800 micrometer pores to enhance osseointegration while optimizing the elastic modulus to prevent stress shielding. Implement rigorous quality control protocols, guarantee FDA regulatory compliance, and collaborate closely with surgeons during design phases. Validate performance through FEA simulation and thorough testing before establishing complete manufacturing traceability systems. These foundational strategies will open advanced techniques for superior patient outcomes.
Prioritize High-Quality Medical Imaging for Accurate Patient Data

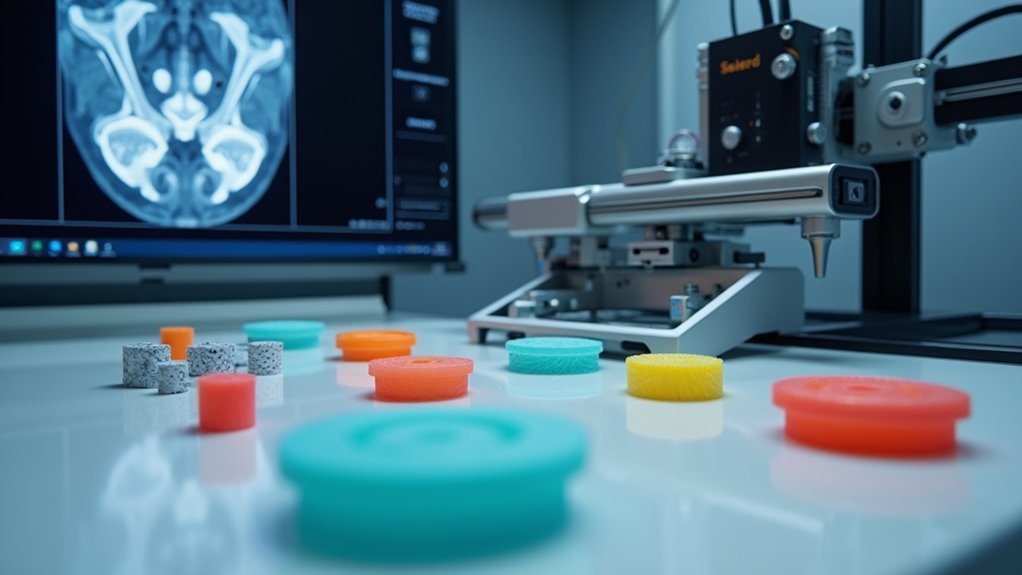
When developing 3D printed orthopedic implants, you’ll find that high-quality medical imaging serves as the critical foundation for capturing precise anatomical data. CT and MRI scans provide the essential resolution and clarity needed to generate accurate digital models for patient-specific implants.
Advanced imaging techniques enable detailed visualization of bone structures and defects, allowing you to customize designs that match individual anatomical characteristics perfectly.
You’ll markedly reduce mechanical strength issues and stress shielding effects by ensuring your 3D printing process starts with superior imaging data. This precision translates directly into implants that fit seamlessly with each patient’s unique anatomy.
Additionally, accurate imaging enhances your surgical planning capabilities, leading to improved outcomes and reduced operation times during procedures.
Select Biocompatible Materials That Match Bone Properties
You’ll need to carefully compare titanium and PEEK when selecting materials for your 3D-printed orthopedic implants.
Titanium offers excellent strength and proven biocompatibility, while PEEK provides a Young’s modulus closer to natural bone, reducing stress shielding risks.
Your choice between these materials depends on matching the specific mechanical requirements of the bone you’re replacing.
Titanium Vs PEEK Properties
Since you’re selecting materials for 3D printed orthopedic implants, you’ll need to understand how titanium and PEEK’s distinct properties align with your specific clinical requirements.
| Property | Titanium | PEEK |
|---|---|---|
| Young’s Modulus | 110 GPa | 3.6 GPa |
| Osseointegration | Excellent | Moderate |
| Weight | Heavy | Lightweight |
| Stress Shielding | Higher risk | Reduced risk |
When choosing between these materials for orthopedic implants, you’re balancing mechanical properties against biological responses. Titanium’s superior strength makes it ideal for load-bearing applications, while PEEK’s lower modulus better matches bone elasticity, reducing stress shielding effects. You can enhance titanium through surface coatings for improved bioactivity, or reinforce PEEK with carbon fibers for increased strength. Consider your patient’s anatomical site and required mechanical performance when making this critical material selection.
Matching Modulus Requirements
Achieving ideal implant performance requires selecting materials whose elastic modulus closely approximates that of natural bone, which ranges from 10 to 30 GPa.
When you choose biocompatible materials with mismatched mechanical properties, you’ll create stress shielding that compromises long-term implant success. Your material selection directly impacts how forces distribute throughout the implant-bone interface.
You’ll find that titanium and PEEK offer excellent modulus matching capabilities for different applications. Advanced 3D printing techniques let you create porous scaffolds that further enhance mechanical compatibility while promoting superior osseointegration.
These engineered structures allow bone ingrowth while mimicking natural bone’s mechanical behavior.
Focus your testing protocols on compressive strength to guarantee your printed implants withstand physiological loads.
Patient-specific designs require careful consideration of anatomical site requirements and corresponding modulus matching for peak performance.
Design Porous Lattice Structures for Enhanced Osseointegration

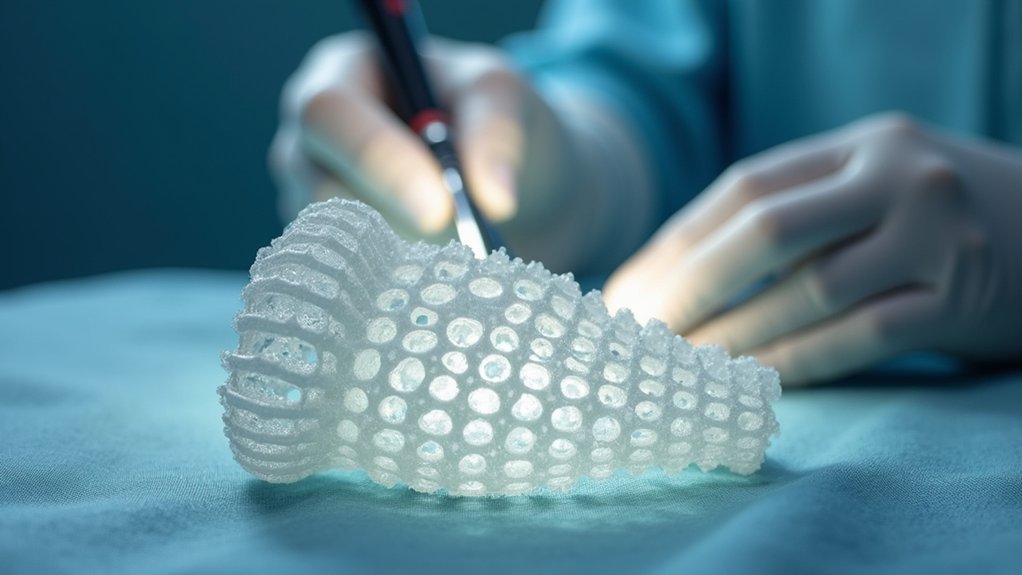
When designing orthopedic implants, you’ll find that incorporating porous lattice structures creates a sophisticated scaffold system that immensely enhances osseointegration. These structures provide vital pathways for bone ingrowth while improving mechanical stability at the implant-bone interface.
You can choose from various lattice types including stochastic, triply periodic minimal surfaces (TPMS), and graph lattice structures to fine-tune your implant’s mechanical properties, ensuring they closely match natural bone characteristics.
The porosity you create facilitates nutrient and cell permeability, promoting faster bone healing and integration.
You’ll want to optimize pore dimensions between 300-800 micrometers to balance mechanical strength with biological performance. This approach greatly reduces stress shielding effects, improving load distribution and extending your implant’s longevity and success rate.
Optimize Mechanical Properties to Prevent Stress Shielding
Beyond creating ideal pore architectures, you must carefully calibrate your implant’s mechanical properties to match those of natural bone and prevent stress shielding.
Target a Young’s modulus of 20-30 GPa to align with cortical bone characteristics. Your printing technology should incorporate stochastic, TPMS, or graph lattice structures that provide tailored stiffness while maintaining compressive strength above 200 MPa.
Design porous metal scaffolds that create gradual shifts in mechanical properties, enabling better load transfer to surrounding bone tissue. This approach reduces stress shielding risks while promoting osseointegration.
Use advanced computational simulations to predict how your implants will perform under physiological loading conditions. These modeling tools help you optimize mechanical properties before manufacturing, ensuring your printed implants deliver maximum patient outcomes while minimizing long-term complications.
Implement Robust Quality Control Throughout the Manufacturing Process

While optimizing mechanical properties forms the foundation of successful implant design, establishing thorough quality control protocols throughout your manufacturing process guarantees these properties translate into safe, effective patient outcomes.
You’ll need to monitor every stage of printing to verify regulatory compliance and patient safety. Regularly validate your additive manufacturing workflow to identify risks affecting material properties and mechanical integrity.
Implement traceable design and manufacturing processes that enhance credibility and enable swift corrective actions when production issues arise.
Establish comprehensive traceability systems that build manufacturing credibility and enable rapid response to quality issues throughout production.
Don’t overlook post-processing steps like sterilization and surface finishing—these require rigorous control to meet functional requirements for medical implants.
Invest in continual training for your quality control personnel, keeping them current with best practices and technologies that effectively monitor your entire manufacturing process.
Plan Post-Processing Steps for Sterilization and Surface Finishing
Although your 3D printed orthopedic implant may exhibit excellent mechanical properties fresh from the printer, it won’t meet medical standards until you complete essential post-processing steps.
You’ll need to plan sterilization procedures carefully, choosing between autoclaving or gamma radiation to eliminate all contaminants.
Don’t underestimate how these methods can affect your implant’s mechanical properties—thorough testing afterward is vital.
Surface finishing deserves equal attention for maximum biocompatibility. You can employ polishing, blasting, or coating techniques to reduce friction between your implant and surrounding tissues.
However, each method impacts performance differently, so select wisely.
Remember that regulatory compliance isn’t optional. Your post-processing choices must align with FDA standards to guarantee safety and effectiveness.
Test thoroughly to confirm your implant maintains structural integrity throughout the entire process.
Ensure Regulatory Compliance From Design to Delivery
You’ll need to navigate FDA approval pathways that specifically address 3D-printed orthopedic implants, which often require 510(k) clearance or premarket approval depending on your device’s risk classification.
Your quality control standards must encompass every stage from initial design through final delivery, ensuring consistent biocompatibility, mechanical strength, and dimensional accuracy.
You can’t afford to overlook the stringent documentation requirements that trace each implant’s journey through design validation, manufacturing processes, and post-processing protocols.
FDA Approval Pathways
When developing 3D-printed orthopedic implants, you must navigate the FDA’s rigorous regulatory approval process to guarantee your innovations reach patients safely and legally. Understanding FDA approval pathways is essential for successful regulatory compliance in 3D printing orthopedic implants.
You’ll encounter two primary routes: 510(k) premarket notification for devices substantially equivalent to existing products, or PMA (premarket approval) for novel implants requiring extensive clinical data. Your pathway depends on device classification and intended use.
Establish continuous communication with FDA reviewers early in development. This proactive approach helps identify potential regulatory challenges before submission.
Leverage FDA guidance documents specifically addressing additive manufacturing to understand best practices for safety and effectiveness standards. Maintain traceable design processes throughout development, as thorough documentation notably enhances your submission’s credibility and approval likelihood.
Quality Control Standards
Beyond securing FDA approval, implementing detailed quality control standards becomes your next priority for guaranteeing regulatory compliance from design to delivery.
You’ll need to establish a traceable design process that documents every step from patient data acquisition to final implant delivery, enhancing credibility and enabling corrective actions when necessary.
Your focus should include these critical areas:
- Mechanical properties verification – guaranteeing Young’s modulus and compressive strength match natural bone
- Post-processing steps validation – implementing proper sterilization and functional testing protocols
- Continuous process monitoring – maintaining compliance with quality management systems
You must validate manufacturing processes continuously to guarantee all implants meet specifications.
This extensive approach prevents complications like stress shielding and implant failure while meeting safety standards required for regulatory approval.
Collaborate With Surgeons During the Design Phase
Since successful orthopedic implants depend on both anatomical precision and surgical practicality, you’ll need to establish close collaboration with surgeons from the earliest design stages. When you collaborate with surgeons, you’ll gain critical insights into functional requirements that enhance osseointegration and patient outcomes. Their expertise helps refine your implant design to accommodate specific anatomical constraints and stress patterns.
Surgeons provide valuable feedback on surgical guides and procedural considerations, streamlining the implantation process while reducing errors. This partnership guarantees your material selection meets the mechanical demands of each application.
| Design Benefit | Surgical Input |
|---|---|
| Anatomical fit | Patient-specific requirements |
| Material selection | Stress pattern analysis |
| Surgical accessibility | Procedural constraints |
| Quality standards | Regulatory compliance |
| Risk mitigation | Challenge identification |
Validate Implant Performance Through Simulation and Testing
Before any 3D printed orthopedic implant reaches a patient, you’ll need to validate its performance through thorough simulation and testing protocols that predict real-world behavior.
Simulation tools can assess critical factors like stress distribution and fatigue life, helping you optimize mechanical performance before costly physical testing.
Finite Element Analysis (FEA) serves as your primary tool for evaluating how implants respond to various load conditions.
You’ll want to guarantee your designs match natural bone’s mechanical properties through rigorous validation.
Essential testing protocols include:
- Tensile, compressive, and torsional testing
- Biocompatibility assessments
- Surface treatment validation
Implement iterative design processes based on simulation results to refine implant geometries.
Don’t forget to evaluate post-processing techniques like sterilization through simulation, guaranteeing they won’t compromise your implant’s intended performance.
Establish Traceability Systems for Manufacturing Documentation
When manufacturing 3D printed orthopedic implants, you must establish extensive traceability systems that document every aspect of the production process from raw material receipt to final device delivery.
These manufacturing documentation protocols are essential for regulatory compliance and help you track design changes, material selections, and production decisions throughout the implant’s lifecycle.
You’ll enhance your credibility and mitigate risks by implementing documented traceability processes. When issues arise, you can respond effectively using the clear history of manufacturing decisions.
This documentation supports corrective actions and addresses potential failures or recalls.
Consider utilizing software with integrated traceability features to streamline your documentation process.
Maintaining thorough records becomes easier while ensuring compliance with quality control standards, ultimately improving patient safety and surgical outcomes for orthopedic implants.
Frequently Asked Questions
Can You 3D Print Medical Implants?
Yes, you can 3D print medical implants using biocompatible materials like titanium and PEEK. You’ll create patient-specific designs from CT/MRI scans, but you must obtain proper FDA regulatory approval before clinical use.
Which of the Following Is a Limitation of Using 3D Printing for Orthodontic Implants?
You’ll face challenges achieving consistent mechanical properties across different materials when 3D printing orthodontic implants. You’ll also encounter lengthy regulatory approval processes, material limitations, increased costs, and complex post-processing requirements.
How Is 3D Printing Used in Orthopedics?
You’ll use 3D printing in orthopedics to create patient-specific implants from CT and MRI data. This technology produces complex geometries mimicking natural bone structure, improving surgical outcomes and reducing recovery times considerably.
What Is One of the Challenges of Using 3D Printing for Prosthetics?
You’ll face challenges with precise patient data acquisition through 3D medical imaging, as inaccuracies can lead to poorly fitting prosthetics that compromise functionality and comfort for patients.


Leave a Reply