You’ll solve multi-material bed adhesion issues by matching each filament to its compatible print surface—use PEI for PLA, PETG, and ABS, while opting for textured surfaces for flexible materials. Set proper heated bed temperatures: 60-70°C for PLA, 100-120°C for ABS. Slow your first layer speed to 10-20 mm/s and increase layer height to 0.3-0.4 mm. Apply material-specific adhesion aids like glue sticks for PLA or ABS juice for ABS, and carefully calibrate your Z-offset for seamless material changes that reveal professional-quality results.
Understanding Multi-Material Adhesion Challenges
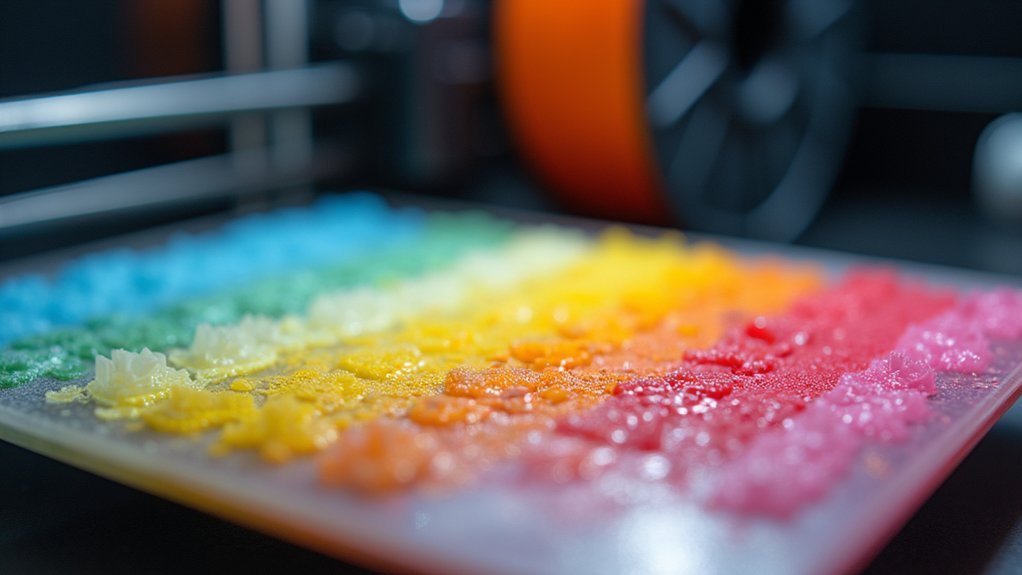
When you’re working with multiple filament types in a single print, you’ll quickly discover that each material brings its own adhesion personality to your build plate.
Materials like ABS expand and contract differently than PLA, creating warping and separation issues that can ruin your print. These thermal expansion differences mean your first layer adhesion problems multiply when switching between filaments mid-print.
Different materials expand and contract at varying rates, causing warping and first layer adhesion failures during multi-filament prints.
You’ll need to understand that each material demands specific print settings, including different temperatures and cooling settings.
What works for one filament often fails for another. Poor bed leveling compounds these challenges, as materials with varying flow characteristics won’t compensate for uneven surfaces.
Simple solutions like glue sticks can help bridge adhesion gaps between different materials, but understanding the root causes guarantees better bed adhesion success.
Selecting Compatible Print Surfaces for Different Materials
How can you dramatically improve your print success rate with a simple surface change? Selecting the right print bed for your materials is essential for good adhesion.
PLA works excellently on glass and blue painter’s tape, while ABS requires heated glass or Kapton tape. PEI surfaces provide compatibility across multiple filaments including PLA, PETG, and ABS, though regular cleaning methods prevent buildup that compromises performance.
Nylon needs smooth, non-porous surfaces like glass or PEI, often requiring adhesive aids due to warping tendencies.
TPU and flexible filaments benefit from textured surfaces or specialized adhesion products, as smooth surfaces cause sliding.
Testing different build surface combinations with various cleaning methods helps identify ideal setups. This surface area compatibility testing greatly improves overall success rates across different build materials.
Optimizing Temperature Settings for Material Transitions
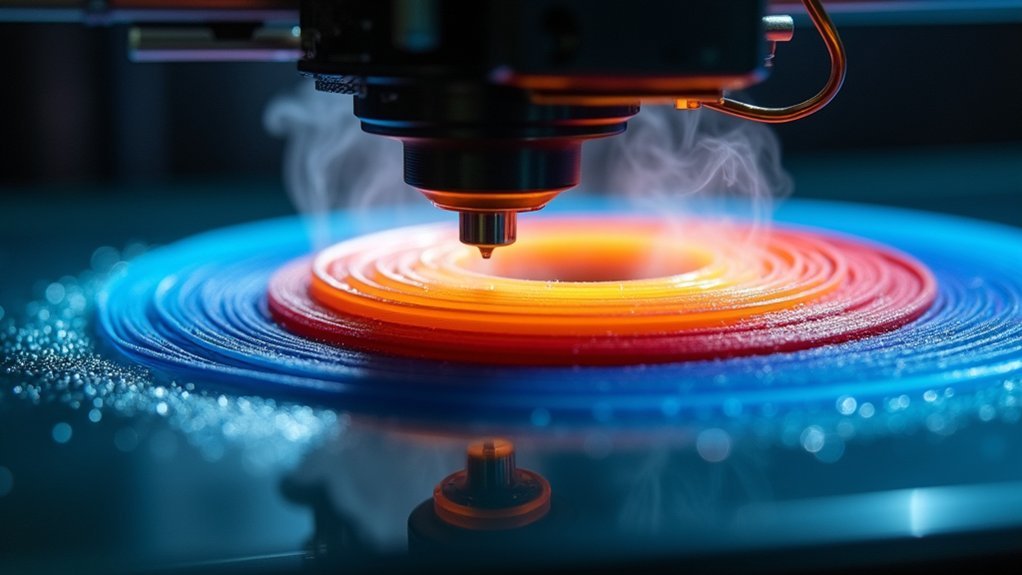
Since different filaments require vastly different temperatures to achieve proper adhesion, you’ll need to carefully adjust your bed settings when changing between materials during multi-material prints.
Set your heated bed to match each material’s requirements—PLA works well at 60-70°C, while ABS needs 100-120°C.
Gradually increase bed temperature when switching to temperature-sensitive materials prone to warping. Monitor consistency throughout the process, as fluctuations cause adhesion failures during material changes.
Consider using a heated enclosure to maintain stable temperatures around your printer’s build area.
Experiment with 5-10°C increases during the first few layers of new materials to enhance bonding, especially when layering incompatible filaments together.
Adjusting Print Speed and Layer Heights
Beyond temperature control, you’ll find that fine-tuning your print speed and layer heights can make the difference between a successful first layer and a failed print. Slowing your first layer to 10-20 mm/s allows better thermal bonding between filaments and the bed surface. For multi-material prints, reducing print speed to 50% of normal settings guarantees proper adhesion across different materials.
Increasing your first layer height by 0.1-0.2 mm creates better squishing against the bed, while a thicker first layer (0.3 mm instead of 0.2 mm) provides stronger foundation. Adjusting extrusion width to 120-150% normal value creates wider contact areas for improved adhesion.
| Parameter | Standard Value | Optimized Value |
|---|---|---|
| First Layer Speed | Normal speed | 10-20 mm/s |
| Layer Height | 0.2 mm | 0.3-0.4 mm |
| Extrusion Width | 100% | 120-150% |
| Multi-material Speed | Normal | 50% reduction |
Using Material-Specific Adhesion Aids

When your printer settings are dialed in but adhesion problems persist, material-specific adhesion aids can provide the targeted solution you need.
Different materials require different approaches for ideal bed adhesion. For PLA, you’ll find success with a simple glue stick or hairspray application, creating a slightly tacky surface that helps the first layer bond.
ABS typically benefits from ABS juice—dissolved ABS filament mixed with acetone—or Kapton tape.
When working with PETG, apply dedicated PETG adhesives lightly to prevent overly aggressive sticking that makes removal difficult.
Magigoo offers specialized formulations for various materials, greatly reducing warping and detachment risks.
Experimenting with BuildTak or other material-specific solutions helps enhance adhesion for your particular filament combinations.
Calibrating Z-Offset for Multi-Material Printing
Multi-material printing introduces a critical variable that can make or break your adhesion success: Z-offset calibration.
Different materials require varying nozzle distances from the bed to achieve peak bed adhesion. When calibrating your Z-offset, adjust settings in your slicing software for each specific material. Softer materials like TPU need slightly lower offsets for better bed contact.
Material-specific Z-offset adjustments in your slicer are essential—TPU requires closer nozzle positioning than rigid filaments for optimal first-layer adhesion.
Perform test prints with each material to fine-tune your settings. You’ll know you’ve achieved proper calibration when your first layer adheres well and displays a smooth finish across the entire print surface.
Use paper or a feeler gauge to measure proper nozzle distance—you should feel slight resistance when sliding it between the nozzle and bed.
Recalibrate regularly when switching materials or after extensive printer use.
Managing Cooling Settings Between Material Changes
Since different materials demand vastly different cooling requirements, you’ll need to adjust your fan settings strategically during material shifts to maintain ideal bed adhesion. When moving from PLA to ABS, gradually reduce your cooling fan speed to prevent thermal shock that prevents materials from properly sticking to the build plate.
| Material Change | Fan Speed First Layer | Fan Speed Subsequent Layers |
|---|---|---|
| PLA to ABS | 50% | 0-25% |
| ABS to PLA | 0% | 100% |
| PLA to PETG | 25% | 50-75% |
| PETG to ABS | 25% | 0% |
| Mixed Materials | 50% | 50% |
It’s a good idea to experiment with bed adhesion settings for different temperature materials combinations. Monitor ambient airflow around your printer, as drafts greatly impact cooling consistency and adhesion quality.
Implementing Brims and Rafts for Complex Multi-Material Prints
Complex multi-material prints often struggle with adhesion because different materials expand and contract at varying rates, creating stress points that can cause warping or detachment.
You can solve these issues by implementing brims or rafts to improve first layer stability.
Brims increase surface area for small or complex prints, enhancing adhesion to your build platform while accommodating different material properties. They’re particularly effective when printing with materials like PLA and ABS that have varying adhesion characteristics.
Rafts provide a stable foundation that accommodates different thermal expansion rates between materials. You’ll want to adjust raft thickness and spacing for ideal support while ensuring easy removal.
Remember to slow down your first layer print speed in your slicer settings for better layer bonding.
Frequently Asked Questions
How to Fix Bed Adhesion Issues?
You’ll fix bed adhesion by leveling your bed, cleaning with isopropyl alcohol, adjusting Z-offset, increasing bed temperature, applying adhesives like Magigoo, and slowing first layer speed in slicer settings.
Does a Hotter Bed Help With Adhesion?
Yes, a hotter bed improves adhesion by reducing cooling rates and preventing warping. You’ll get better results with ABS at 90-110°C and PLA at 60-70°C, but don’t exceed recommended ranges.
How to Fix Poor Layer Adhesion?
You’ll fix poor layer adhesion by leveling your bed properly, adjusting Z-offset for slight filament squishing, using heated beds, slowing first-layer speed, applying adhesives, and cleaning surfaces with isopropyl alcohol regularly.
How to Make 3D Printer Bed Adhesion Better?
You’ll improve bed adhesion by leveling your bed properly, cleaning it with isopropyl alcohol, adjusting Z-offset for ideal nozzle distance, using heated beds, and experimenting with adhesives like glue sticks.



Leave a Reply