You’ll face nozzle clogs 40% more often with multi-material printers due to thermal mismatches and chemical reactions between filaments. Start with the cold pull method using cleaning filament, then try needle probing for stubborn blockages. For severe clogs, use chemical solvents like acetone for ABS or ethyl acetate for PLA. Prevent future issues by storing filaments properly, adjusting temperatures correctly, and cleaning after every print. Master these thorough techniques to keep your printer running smoothly.
Understanding Multi-Material Printer Nozzle Clogs
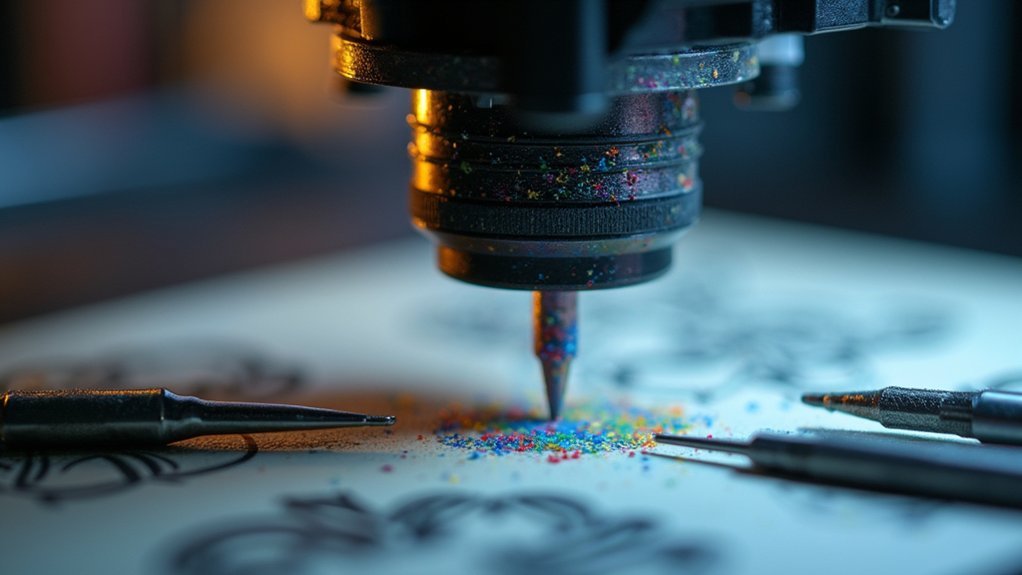
When you’re working with multi-material printers, nozzle clogs become considerably more challenging due to the complex interactions between different filament types. Each filament type requires specific temperature settings, and mixing incompatible materials creates thermal mismatches that cause improper melting and residue buildup.
Multi-material printing amplifies nozzle clog risks through incompatible filament interactions and thermal mismatches that create stubborn blockages.
You’ll encounter clogs in 3D printers when additives or fillers form particles too large for your nozzle openings.
Preventing clogs starts with understanding these material interactions. Temperature variations between filaments create stress points where blockages form.
You must prevent moisture absorption by storing filaments in airtight containers, as absorbed moisture worsens clogging during printing. Regular maintenance becomes critical, requiring temperature adjustments and cleaning filament use to clear residual materials between switches.
Common Causes of Clogging in Multi-Material Systems
Multi-material printing systems face unique clogging challenges that stem from the fundamental complexity of handling multiple filament types within a single extruder assembly. When you’re mixing incompatible materials, chemical reactions can occur that create stubborn residues inside your nozzle. Temperature mismanagement represents another critical factor—overheating carbonizes filament while underheating causes incomplete melting.
| Problem Source | Clogging Effect |
|---|---|
| Incompatible filaments | Chemical reactions create blockages |
| Wrong temperature settings | Carbonization or incomplete melting |
| Material residue buildup | Old filament mixes with new |
| Excessive retraction | Filament solidifies in cooler zones |
Your printing process suffers when residual material from previous jobs contaminates fresh filament. Regular cleaning prevents these common causes of nozzle clogs, while proper retraction settings prevent nozzle blockages from solidified material.
Identifying Signs of Nozzle Blockage
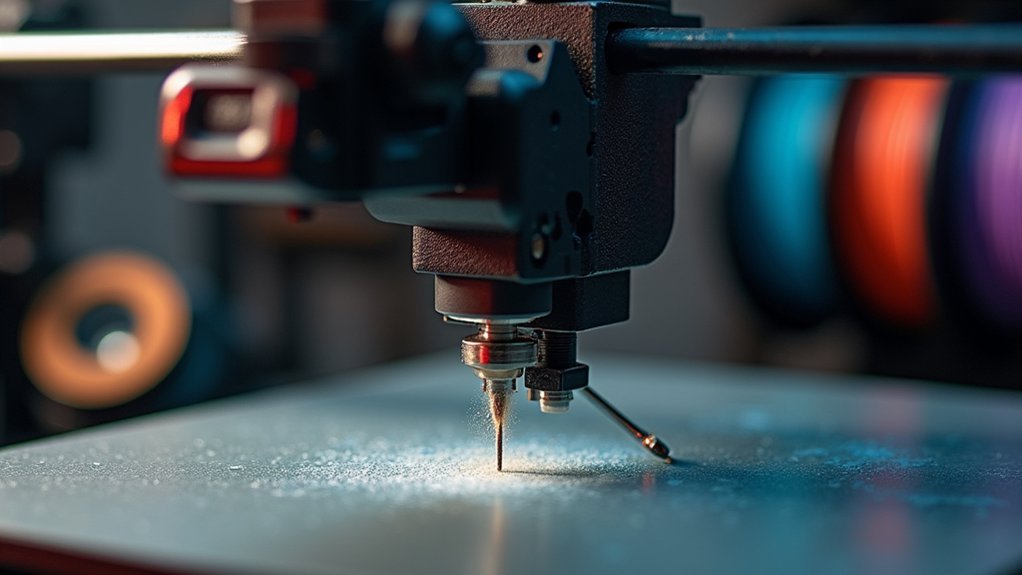
You’ll notice nozzle blockages first through visual changes in your print quality and disrupted extrusion flow patterns.
Watch for inconsistent layers, gaps between perimeters, or stringy filament that signals partial clogs restricting material movement.
When your extruder struggles to push filament or stops feeding entirely, you’re facing a blockage that needs immediate clearing.
Visual Print Quality Signs
Since nozzle blockages directly impact filament flow, the most reliable way to detect clogs is by examining your print quality for telltale visual print quality signs.
You’ll notice inconsistent extrusion appearing as uneven lines, gaps, or weak spots throughout your layers. Under-extrusion creates incomplete layers with stringy or blobby features, clearly indicating your clogged nozzle isn’t delivering adequate material.
An uneven first layer with irregular coverage often signals a partially clogged nozzle restricting flow. Complete filament stoppage during printing confirms total blockage requiring immediate intervention.
Listen for clicking sounds from your extruder motor—this audible cue means it’s struggling against resistance from the obstruction.
These visual and audible indicators help you quickly identify print quality issues before they ruin entire projects.
Extrusion Flow Problems
When your multi-material printer’s nozzle becomes clogged, extrusion flow problems create distinctive patterns that’ll help you diagnose blockages before they completely halt your print job.
You’ll notice inconsistent extrusion manifesting as under-extrusion, where layers appear weak with visible gaps and poor adhesion. Clogged nozzles can stop filament flow entirely, creating interruptions that prevent completing objects.
Partial clogs cause stringing or blobbing as filament oozes irregularly from pressure build-up. Your first layer’s uneven appearance often signals insufficient filament flow from emerging blockages.
Listen for clicking sounds from your extruder motor—this indicates the motor’s struggling to push filament through obstructed nozzles. Recognizing these symptoms early helps maintain high-quality prints and prevents complete nozzle failure.
Essential Tools and Safety Preparations
Before you tackle a clogged nozzle, you’ll need the right tools and safety setup to work effectively and avoid injury.
Essential cleaning equipment includes cleaning filament, fine wire or acupuncture needles for manual probing, and a brass wire brush for exterior cleaning.
Your safety preparations should involve turning off and unplugging the printer, allowing components to cool, and gathering protective gear like gloves, safety glasses, and oven gloves for handling hot parts.
Required Cleaning Tools
Although multi-material printer nozzle clogs can seem challenging, you’ll find the cleaning process manageable with the right tools and safety measures in place. Essential cleaning filament designed for your specific printer helps dissolve material buildup effectively. A thin needle works perfectly for dislodging stubborn particles from the nozzle opening.
| Tool Category | Specific Items |
|---|---|
| Cleaning Materials | Cleaning filament, brass wire brush |
| Precision Tools | Thin needle, tweezers, needle-nose pliers |
| Heat Sources | Heat gun, soldering iron |
| Safety Equipment | Safety glasses, protective gloves |
Your manual cleaning arsenal should include tweezers for debris removal and needle-nose pliers for filament extraction. A heat gun provides controlled heat application when dealing with particularly stubborn clogs. Always guarantee proper ventilation and maintain safety glasses during cleaning procedures.
Safety Precautions Setup
Safety precautions form the foundation of successful nozzle maintenance and prevent costly accidents during the cleaning process. Before beginning any maintenance work, you’ll need to establish a secure environment that protects both you and your equipment from potential hazards.
Start by creating your safe workspace:
- Power isolation: Always unplug the 3D printer completely to eliminate electrical hazards and guarantee components can’t accidentally heat up.
- Personal protection: Wear safety glasses and gloves when handling heated components or cleaning solvents to prevent burns and chemical exposure.
- Environmental setup: Establish a clean workspace with proper ventilation, removing flammable materials and placing heat-resistant mats under your essential tools.
A well-ventilated workspace prevents harmful fume accumulation while organized tool placement ensures efficient and safe maintenance procedures.
Cold Pull Method for Multi-Material Cleaning
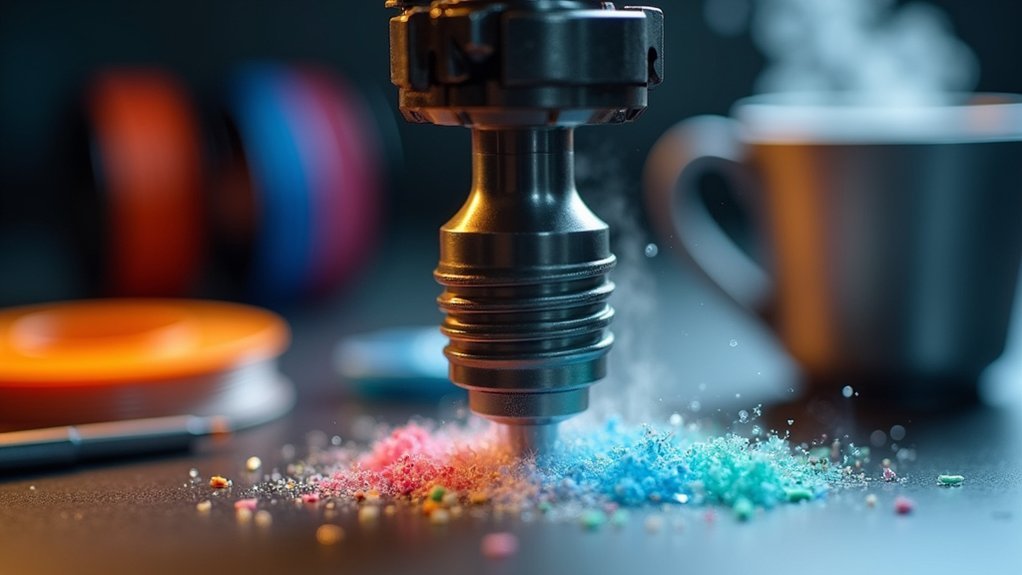
When multi-material printing leaves stubborn clogs in your nozzle, the cold pull method offers one of the most effective cleaning techniques available.
You’ll heat your clogged nozzle to a temperature below the filament’s melting point, allowing materials to soften without liquefying. Insert nylon or cleaning filament into the heated nozzle, letting it fill the cavity completely.
Next, reduce the temperature approximately 50°C below the material’s softening point. Apply steady, firm pressure to extract the cooled filament, which pulls out hardened residue and debris.
You’ll likely need multiple repetitions for thorough cleaning, especially with different filament types from multi-material prints. This technique effectively removes material remnants, ensuring peak print quality.
Needle and Wire Cleaning Techniques
For stubborn clogs that resist the cold pull method, needle and wire cleaning techniques provide precise mechanical intervention.
You’ll need to heat your nozzle to the correct temperature for your filament before attempting to clean the clogged opening.
Here’s your systematic approach:
- Heat and insert: Warm the nozzle to your filament’s printing temperature, then gently insert a thin needle or wire into the opening.
- Break up blockages: Move the needle around carefully to dislodge the clog without damaging internal nozzle threads.
- Test and repeat: Extrude filament to verify the clog’s cleared, repeating as necessary until smooth flow returns.
Additionally, use a brass wire brush on the exterior to remove carbonized residues.
Regular maintenance with these techniques prevents frequent clogging and maintains consistent print quality.
Chemical Solvent Cleaning Solutions
Sometimes mechanical cleaning methods won’t fully dissolve hardened filament residues that have built up inside your nozzle over time.
Stubborn filament buildup requires more than basic cleaning to restore your nozzle’s optimal printing performance.
Chemical solvent cleaning offers an effective solution for stubborn clogs. Remove your nozzle and select the appropriate solvent—acetone for ABS or ethyl acetate for PLA. Let it soak for several hours until the clog dissolves completely. A thorough soak will break down hard filament residues that other methods can’t remove.
After soaking, rinse the nozzle thoroughly with water and allow it to dry completely before reinstalling.
Remember that a clogged nozzle can cause print quality issues, so this deep cleaning method helps restore peak performance. Always wear protective gear and guarantee proper ventilation when handling solvents to thoroughly clean safely.
Preventive Maintenance Strategies
Although chemical cleaning can rescue clogged nozzles, implementing consistent preventive maintenance strategies will save you time and frustration by stopping clogs before they start.
You’ll prevent the filament from causing issues by establishing proper maintenance routines.
To prevent this issue effectively, focus on these essential practices:
- Storage and Materials: Use high-quality compatible filaments stored in airtight containers with desiccants to avoid moisture absorption and swelling.
- Temperature Management: Monitor and adjust print temperatures according to filament specifications to guarantee proper melting and flow.
- Regular Maintenance: Regularly clean the nozzle after each print and perform deep cleaning every 50 hours of frequent printing.
Additionally, fine-tune your retraction settings to minimize filament accumulation during intricate designs.
These proactive measures will keep your clogged 3D printer nozzle problems at bay.
Advanced Troubleshooting for Persistent Clogs
When preventive measures haven’t stopped persistent clogs from occurring, you’ll need to employ more intensive troubleshooting techniques to identify and resolve the underlying causes.
Start by performing a thorough inspect the nozzle examination for physical damage, as repeated unclogging attempts can cause deformation. If your printer nozzle is clogged consistently, try temperature cycling—alternately heating and cooling to clear the clog effectively.
Temperature cycling through alternating heating and cooling cycles provides an effective method for clearing stubborn nozzle clogs without causing physical damage.
Cold pulls using high-quality nylon filament work exceptionally well to remove the cleaning residue and accumulated debris. This method helps nozzle clean operations by softening and extracting stubborn materials.
Advanced users should consider hotend disassembly to check internal components for obstructions. Any clog due to heat creep requires examining the heat break and heat sink functionality for ideal performance.
Frequently Asked Questions
How Do I Keep My Nozzle From Clogging?
You’ll prevent nozzle clogs by using dry, high-quality filament, maintaining proper temperatures, cleaning regularly, optimizing retraction settings, and monitoring filament diameter consistency. Clean after each print and deep clean every fifty hours.
How Do You Fix a Clogged Printer Nozzle?
Heat your nozzle to the filament’s printing temperature, then use a cleaning needle to clear blockages. Perform cold pulls or use cleaning filament until it extrudes cleanly, indicating successful clearing.
How Do You Unclog a FDM Nozzle?
Heat your FDM nozzle to the last filament’s temperature, then use a cleaning needle to clear blockages. Try the cold pull method or cleaning filament for stubborn clogs.
What Does It Mean if My 3D Printer Nozzle Keeps Clogging?
If your nozzle keeps clogging, you’re likely using contaminated filament, incorrect temperatures, or improper extrusion speeds. You might also have overly tight retraction settings causing molten filament to harden in cooler areas.


Leave a Reply