You’ll achieve better multi-color 3D printing results by choosing the right printer technology for your budget—FDM for affordability or PolyJet for precision. Save separate STL files for each color component and use interface shells to prevent color bleeding between sections. Plan your color layout beforehand, test filament compatibility, and enable “Flush Into Infill” settings to minimize waste during changes. Optimize temperature settings through tower tests and apply proper post-processing techniques like sanding and priming. These foundational strategies will open up advanced techniques for professional-quality prints.
Choose the Right Multi-Color 3D Printer Technology
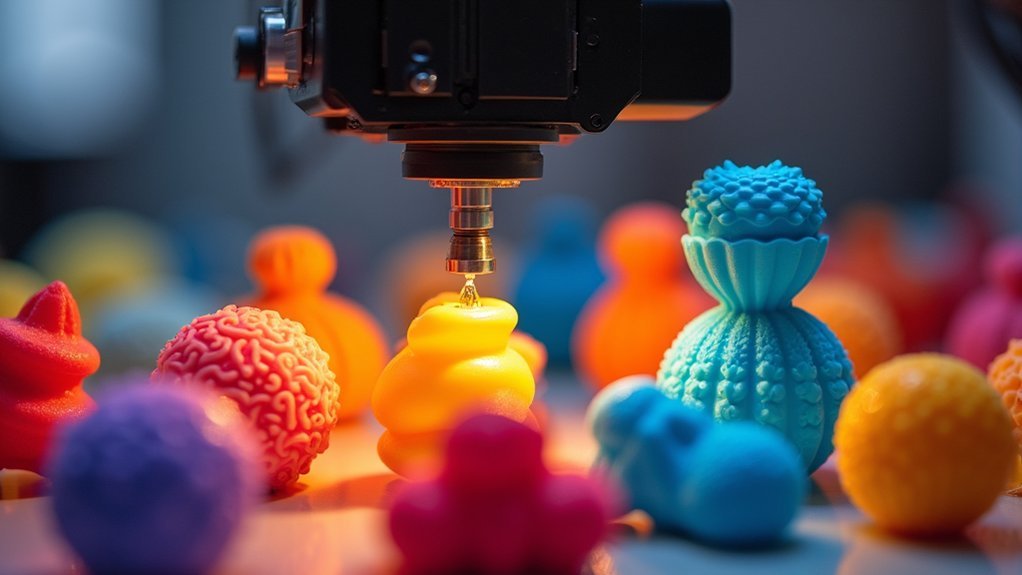
When you’re ready to plunge into multi-color 3D printing, selecting the right printer technology becomes your most crucial decision.
For budget-conscious creators, FDM printers offer excellent versatility through filament swapping or dual extrusion capabilities, making multicolor 3D printing accessible without breaking the bank.
If you need professional-grade results with multiple colors, PolyJet printers deliver stunning high-resolution prints but require significant investment.
SLA printers excel at mixing resins for vibrant color variations and smooth finishes, though they demand careful calibration for accurate results.
For functional parts requiring durability, SLS printers handle colored powders effectively.
Multi-material printers provide the ultimate flexibility for complex geometries and diverse color outputs, but they’ll require more maintenance expertise during printing operations.
Save Separate STL Files for Each Color Component
Although slicing software paint tools might seem convenient, you’ll achieve far superior results by creating separate STL files for each color component of your model. This approach eliminates quirks associated with painting tools and prevents misidentified colors that plague many slicers.
When printing with multiple colors, separate files enable precise color management and cleaner final prints. You can utilize interface shells between components, ensuring full layers separate different colors for enhanced aesthetics.
This method creates a more organized workflow, allowing quicker adjustments and efficient color assignments during printing. Multiple separate files also simplify troubleshooting – you’ll easily adjust specific color parts without affecting the entire model.
The streamlined process reduces inconsistencies in your slicer’s color representation while maintaining better control over your multi-color prints.
Use Interface Shells Between Different Colors
When you’re printing with contrasting colors, interface shells act as barriers that prevent unwanted color bleeding between layers.
You’ll create cleaner shifts by adding these thin intermediate layers, which physically separate different colored materials during the printing process.
This technique guarantees your color boundaries remain sharp and well-defined, especially when working with materials that might otherwise blend or create muddy shifts.
Preventing Color Bleed
Unless you implement proper separation techniques, different colored filaments will inevitably bleed into each other during multi-color printing, creating muddy shifts and ruining your print’s visual appeal. Interface shells create physical barriers between various colors, preventing unwanted mixing at boundaries while maintaining structural integrity.
| Setting | Recommended Value |
|---|---|
| Shell Thickness | 0.4-0.8mm |
| Layer Height | 0.2mm |
| Interface Layers | 2-3 layers |
| Print Speed | 80% normal speed |
| Temperature Drop | 5-10°C between colors |
You’ll need to configure your slicer settings carefully, as interface shell implementation varies between software platforms. Test different thickness values to balance material usage with separation effectiveness. Regular refinement of these settings minimizes trial-and-error while maximizing color definition in your finished prints.
Creating Clean Transitions
Interface shells serve a dual purpose beyond preventing color bleed—they actively improve the visual quality of color changes by creating smooth, professional-looking boundaries.
You’ll create full buffer layers that enhance aesthetic shifts, ensuring distinct colors remain visually separated throughout your print.
When you’re working with contrasting colors, interface shells become especially valuable. They eliminate unwanted black outlines that often appear between color boundaries, delivering cleaner results.
You’ll need to plan carefully during the design phase, considering thickness and placement to align with your desired shifts.
Adjust your slicer settings to incorporate interface shells effectively. This streamlines your printing process while greatly enhancing final quality.
The technique transforms amateur-looking prints into professional-grade models with crisp, well-defined color separations that enhance your project’s overall appearance.
Minimize Filament Waste During Color Changes
When changing colors in multi-color prints, you’ll want to redirect purged filament rather than letting it go to waste.
You can flush excess material directly into your print’s infill areas, which keeps the waste hidden inside your object while maintaining structural integrity.
Alternatively, you can set up sacrificial objects that serve as dedicated receptacles for purged filament, giving you clean color shifts without throwing away expensive material.
Flush Into Infill
Although color changes in multi-color 3D printing typically result in considerable filament waste, you can drastically reduce this by enabling the “Flush Into Infill” feature in your slicer settings. This technique redirects purge material directly into your print’s internal structure instead of discarding it, maintaining print quality while maximizing filament utilization.
| Setting Location | Requirement | Benefit |
|---|---|---|
| “Other” menu | Prime Tower enabled | Easy implementation |
| Slicer settings | Multi-color capability | Efficient color changes |
| Infill parameters | Active purging | Waste reduction |
You’ll find this feature particularly valuable when switching between multiple colors, as it considerably reduces material costs. The purged filament strengthens your infill while keeping your exterior surfaces clean and professional-looking.
Use Sacrificial Objects
Since color changes inevitably produce waste material that must be purged from the hotend, you can redirect this excess filament into sacrificial objects rather than disposal towers.
This technique minimizes waste by utilizing purged material for a designated model that you’ll discard after printing.
You’ll find this method particularly valuable when switching from dark to light colors, as it prevents contamination of lighter filaments with darker residues.
To implement this approach, access your slicing software’s Flush Options and configure the printer to direct purged filament into your sacrificial object.
This strategy delivers multiple benefits: cleaner color shifts, reduced filament jams, improved color accuracy, and optimized material usage.
You’ll achieve better aesthetics while making your multi-color projects more efficient and cost-effective.
Plan Your Color Layout Before Printing
Before you start your multi-color print, carefully design your model in 3D software to visualize and plan where each color will go. Use color coding to differentiate between parts requiring different colors, which simplifies printing and prevents confusion.
Consider your color order to minimize bleeding and guarantee adjacent colors complement each other, especially with dual-extrusion printers.
Account for potential misalignment by leaving slight gaps between different color segments. This improves layer adhesion and reduces color contamination risks. The spacing also provides tolerance for any printer positioning errors that could cause unwanted color mixing.
Test your designs with single colors first before committing to full multi-color prints. This helps identify geometry or layout issues that mightn’t become apparent until you’ve already invested time in a complex multi-color job.
Calibrate Your Printer for Accurate Color Representation
You’ll need to optimize your temperature settings for each filament type to prevent color bleeding and guarantee proper layer adhesion.
Test different materials together to verify they’re compatible and won’t cause unwanted color mixing or print failures.
Use color matching techniques like printing test swatches to fine-tune your printer’s output and achieve the exact colors you’re targeting.
Temperature Settings Optimization
While achieving vibrant, accurate colors in multi-color 3D printing depends on several factors, temperature settings stand as one of the most critical variables you’ll need to master.
Each filament type requires specific temperature ranges for peak melting and adhesion, directly affecting color representation. Fluctuations can cause color inaccuracies and print defects that compromise your final output.
To fine-tune your temperature settings effectively:
- Perform temperature tower tests for each filament to identify the ideal temperature range that enhances color vibrancy and layer adhesion
- Monitor ambient temperature in your printing environment, as cooler conditions affect filament flow and color output
- Use precision measurement tools like thermocouples or infrared thermometers to verify actual nozzle temperatures match your settings
Regular calibration guarantees consistent, professional results.
Color Matching Techniques
Although ideal temperature settings provide the foundation for quality multi-color prints, achieving truly accurate color representation requires systematic calibration of your printer’s color output.
You’ll need color calibration tools and profiles specifically designed for your printer and filament combination to guarantee consistency across different material batches.
Perform regular maintenance by cleaning nozzles and checking filament paths, as contamination directly impacts color accuracy.
Create test prints using known color swatches to identify mismatches and make necessary adjustments in your slicer settings or printer parameters.
Document every change you make during calibration.
This record-keeping helps you refine your approach over time, leading to more reliable color outcomes in future prints and reducing trial-and-error processes.
Material Compatibility Testing
Before starting any multi-color project, test your filament combinations to guarantee they’re compatible with your printer’s specifications and each other.
Different materials require specific temperature and extrusion settings for ideal color representation, so you’ll need to calibrate your printer’s extruder and temperature settings regularly to prevent color bleeding or misalignment during dual-extrusion processes.
Print small samples with various color combinations to evaluate adhesion quality and color accuracy. This testing phase helps you understand how materials interact before committing to larger projects.
- Document ideal settings for each filament type to create a reference guide for future projects
- Use simulation software to visualize potential color issues before physical printing begins
- Streamline your calibration process by maintaining detailed records of successful material combinations
Select Compatible Filaments for Multi-Color Projects
The foundation of successful multi-color 3D printing lies in selecting filaments that work harmoniously together. You’ll need to choose materials specifically designed for dual-extrusion printers to guarantee smooth operation and prime color blending.
| Factor | Good Choice | Poor Choice |
|---|---|---|
| Material Properties | Similar shrinkage rates | Mismatched thermal behavior |
| Temperature Compatibility | PLA + PLA variants | PLA + ABS combination |
| Quality Rating | Well-reviewed brands | Unknown manufacturers |
Prioritize filaments with similar material properties to maintain consistent adhesion and prevent layer separation. Consider temperature-changing filaments for dynamic effects that add versatility to your projects. High-quality, well-reviewed options minimize jamming and inconsistent color output issues. Don’t hesitate to experiment with different brands, as color vibrancy and print fidelity vary greatly between manufacturers.
Optimize Print Settings for Color Transitions
Once you’ve selected compatible filaments, fine-tuning your print settings becomes essential for achieving clean, professional-looking color shifts. Your slicer’s retraction settings need adjustment to minimize filament oozing during changes, preventing unwanted color mixing and surface blobbing.
Consider implementing these critical optimization strategies:
- Use prime towers or purge blocks to prepare your nozzle with new filament before each change, guaranteeing clean color shifts with minimal waste.
- Experiment with temperature settings for each filament type to maintain proper flow and adhesion, as incorrect temperatures cause poor layer bonding.
- Reduce print speed during changes to allow better layer adhesion and more accurate color placement.
Additionally, verify your printer’s well-calibrated, particularly the axes and extrusion multiplier, to maintain consistent layer heights and prevent misalignment during color shifts.
Apply Post-Processing Techniques for Enhanced Results
While your multi-color print may look impressive straight from the build plate, strategic post-processing techniques can transform it into a truly professional-quality piece.
Start by sanding your print to eliminate layer lines, then apply primer for better paint adhesion. You’ll find that solvent treatments before painting dramatically improve surface quality and minimize visible imperfections.
Choose your paint type carefully—acrylic, oil, or spray paint each offers different advantages for durability and vibrancy.
Detailed models require multiple thin paint layers and meticulous application to achieve proper color depth. Don’t rush the prep work; it’s essential for best results.
Follow step-by-step guides to master these techniques, ensuring you’ll consistently achieve professional-looking finishes that showcase your multi-color prints at their absolute best.
Troubleshoot Common Multi-Color Printing Issues
Although multi-color 3D printing opens exciting creative possibilities, you’ll inevitably encounter technical challenges that can frustrate even experienced makers. Understanding these common issues and their solutions will help you achieve professional-quality results.
Key troubleshooting strategies include:
- Prevent filament jams by ensuring proper extruder calibration and maintaining clear filament paths for smooth color shifts.
- Align dual-extrusion nozzles precisely and use accurate slicer calibration settings to eliminate color misalignment issues.
- Monitor temperature settings consistently for each filament type to prevent print failures and improve layer adhesion.
You’ll also need to address layer adhesion problems by confirming material compatibility and adjusting temperatures accordingly.
Regular nozzle cleaning prevents color contamination, ensuring sharp, vibrant shifts that showcase your multi-color designs effectively.
Frequently Asked Questions
How Do You 3D Print Multiple Colors?
You can print multiple colors using dual-extrusion printers, pause mid-print to swap filaments manually, blend different materials for gradients, or assign colors to model sections through slicer software like PrusaSlicer.
Is Multicolor 3D Printing Worth It?
You’ll find multicolor 3D printing worthwhile if you’re creating prototypes, artistic pieces, or commercial products. While initial costs are higher, improved visual appeal and market success often justify the investment for most applications.
How Much Filament Is Wasted on Multicolor Prints?
You’ll waste significant filament during color changes – sometimes more than your actual print uses. A single multicolor vase might waste 195g compared to 185g used for the object itself.
What Is the Best Way to Color 3D Prints?
You’ll achieve best results using dual-extrusion printers for vibrant colors during printing, or apply post-processing techniques like acrylic painting afterward. Plan your color layouts beforehand and separate models into distinct parts for easier printing.

Leave a Reply