You can achieve multi-color 3D prints through manual filament switching by pausing your print, retracting the old filament, loading new material, and purging the nozzle before resuming. Automated systems like the Prusa MMU3 handle up to five colors simultaneously, while dual extruder setups print different colors at once. Always verify filament compatibility, adjust temperature settings accordingly, and configure proper purge towers in your slicer software. Master these techniques to reveal professional-quality multicolor creations.
Understanding Multi-Color 3D Printing Technology
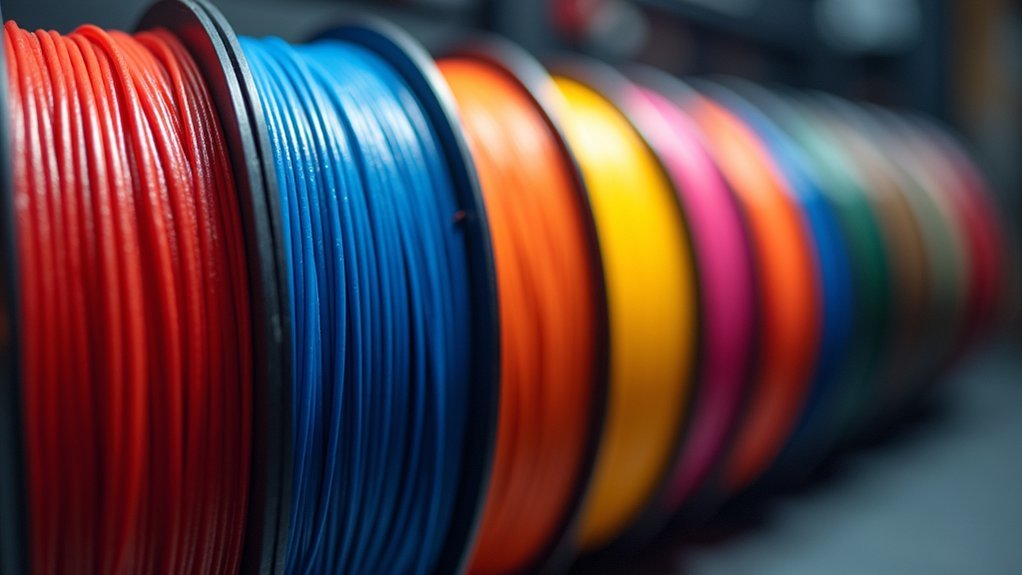
The evolution of 3D printing has transformed single-color prototypes into vibrant, multi-hued creations that rival traditionally manufactured products.
You’ll discover that multicolor 3D printing technology opens creative possibilities beyond traditional single-filament limitations. This technology employs several techniques, including dual extrusion systems that manage multiple filaments simultaneously, layer color changing methods that switch colors between print layers, and sophisticated multi-material printers designed for seamless color shifts.
You can achieve complex color patterns through strategic filament changes during printing cycles.
Advanced systems like the Prusa MMU3 demonstrate automatic multi-color capabilities, managing up to five different colors within single layers while reducing material waste. These automatic multi-filament systems streamline the color-switching process, eliminating manual intervention and ensuring consistent results throughout your printing projects.
Types of Multi-Color 3D Printers and Their Capabilities
You’ll find three main printer types excel at multi-color capabilities: FDM systems with multiple extruders, PolyJet machines using inkjet color technology, and MMU toolchanger solutions.
Each technology offers distinct advantages depending on your project requirements and budget constraints.
Let’s examine how these systems handle filament switching and their specific strengths for creating vibrant multi-color prints.
FDM Multi-Extruder Systems
When upgrading from single-color printing, FDM multi-extruder systems offer the most sophisticated approach to creating complex multicolor objects without constant manual intervention.
You’ll find dual extrusion setups featuring two nozzles that simultaneously print different colors or materials within single layers, dramatically expanding your multicolor printing capabilities. Each extruder and nozzle operates independently, eliminating the need for manual filament swap during prints.
Independent Dual Extruder (IDEX) systems provide even greater precision by using separate print heads that move independently, reducing color bleeding risks.
For maximum versatility, multi-material upgrades like the Prusa MMU3 automatically switch between five different filaments, while BambuLabs AMS modules streamline the process but require careful STL file preparation for each color component.
PolyJet Color Technology
Moving beyond filament-based systems, PolyJet technology represents a fundamentally different approach to multicolor 3D printing that leverages inkjet principles to deposit photopolymer resins layer by layer.
Unlike traditional multicolor filament systems that require mechanical color changes, PolyJet printers mix colors at the pixel level, creating vibrant gradients and complex combinations instantly.
You’ll achieve exceptional results with PolyJet’s capabilities:
- High-resolution printing with layer heights as fine as 16 microns for detailed, smooth finishes
- Simultaneous multimaterial printing combining flexible and rigid properties within single parts
- Real-time color mixing enabling seamless shifts without pause or waste
This technology eliminates the limitations of filament-based color changes, offering speed and precision for prototypes, artistic sculptures, and functional parts requiring intricate color schemes and varying material properties.
MMU Toolchanger Solutions
While PolyJet excels at pixel-level color mixing, MMU toolchanger solutions take a different approach by physically swapping dedicated tool heads during printing.
The MMU Toolchanger for the Original Prusa XL revolutionizes multicolor printing by utilizing up to five tool heads, each equipped with its own extruder and nozzle. This design eliminates cross-contamination between colors and materials.
You’ll benefit from the precise docking system that enables quick switching between tool heads, perfect for large prints with intricate details.
The MMU3 upgrade automates this process, managing when to change the filament through a tube system that reduces waste and tangling. This capability lets you combine different materials like PLA with flexible TPU for innovative applications.
Manual Filament Switching During Print Jobs
Although automated filament switching systems offer convenience, manually changing filament during print jobs provides greater control and works with any 3D printer.
You’ll need to pause your print using the control panel when ready for a color change.
The manual filament switching process requires careful execution:
- Retract and remove – Retract the old filament from the extruder to prevent clogging, then carefully remove it completely.
- Load and purge – Insert the new filament and purge the nozzle by extruding a small amount to clear previous material.
- Test before resuming – Conduct a test extrusion to verify proper flow before continuing your print.
Always confirm filament compatibility and adjust extruder temperature settings accordingly.
Change filament only when necessary to maintain print quality and avoid material waste.
Automated Multi-Material Systems and Upgrades
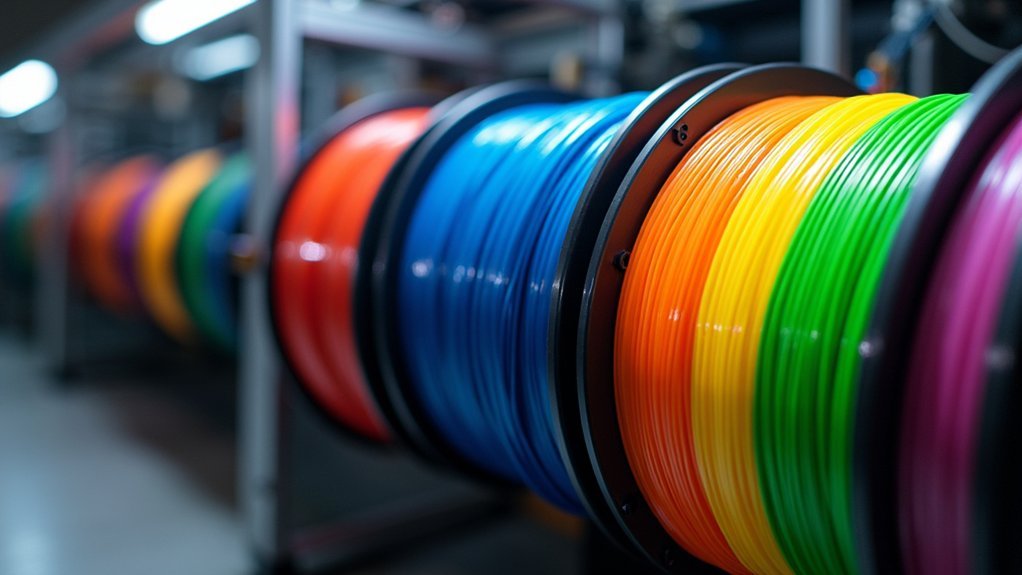
You’ll find that setting up the Prusa MMU3 requires careful calibration of filament loading sequences and buffer management to guarantee smooth material shifts.
The XL Toolchanger offers significant advantages by eliminating purge waste and reducing print times since each extruder maintains its dedicated hotend.
These automated systems transform complex multi-color projects from tedious manual processes into reliable, hands-off printing experiences.
MMU3 Setup Process
Setting up the MMU3 requires methodical preparation and precise calibration to achieve seamless automated filament switching.
You’ll need to carefully configure your Original Prusa MK-series printer to work with this five-filament system through deliberate steps.
Your setup process involves three critical components:
- Hardware Installation: Mount the MMU3 unit and connect feeding tubes to prevent filament tangling.
- Software Configuration: Integrate PrusaSlicer with your printer settings for ideal multi-material management.
- Calibration Testing: Perform extensive filament changes testing to guarantee reliable shifts between materials.
You’ll use PrusaSlicer’s Multimaterial Paint function to designate color areas within your designs.
Regular maintenance of the feeding system guarantees consistent performance.
Take time with initial calibration—proper setup prevents failed prints and material waste during automated switching operations.
XL Toolchanger Benefits
Unlike single-extruder systems that require complex filament switching mechanisms, the XL Toolchanger revolutionizes multi-material printing through five independent tool heads that eliminate contamination risks entirely.
You’ll appreciate how this multicolor solution dedicates each extruder to a specific color, ensuring pristine print quality without cross-contamination concerns.
The system’s impressive 36x36x36 cm build volume accommodates large, intricate projects requiring attention to detail.
You won’t waste time changing the filament manually since the efficient docking mechanism handles tool swaps automatically, markedly reducing downtime and enhancing printing speed.
You can mix various materials like PLA, PETG, and flexible TPU within single prints, enabling innovative designs with easier support removal and superior mechanical properties for professional-grade results.
Step-by-Step Process for Mid-Print Filament Changes
Execute a mid-print filament change by first pausing your print through the control panel—this critical first step prevents layer disruption and maintains print quality.
The printing process requires careful attention when switching between different colors using proper techniques.
Follow these essential steps to guarantee successful mid-print shifts:
- Retract and remove – Select the retraction option to pull old filament from the extruder, then carefully remove it to prevent damage.
- Load new material – Insert your new filament, confirming proper alignment with the extruder for smooth feeding.
- Purge before resuming – Clear the nozzle of any old material remnants to assure ideal flow and color accuracy.
You’ll maintain consistent print quality while achieving the multi-color effects you’re seeking through this methodical approach.
Dual Extruder and IDEX Printer Operations
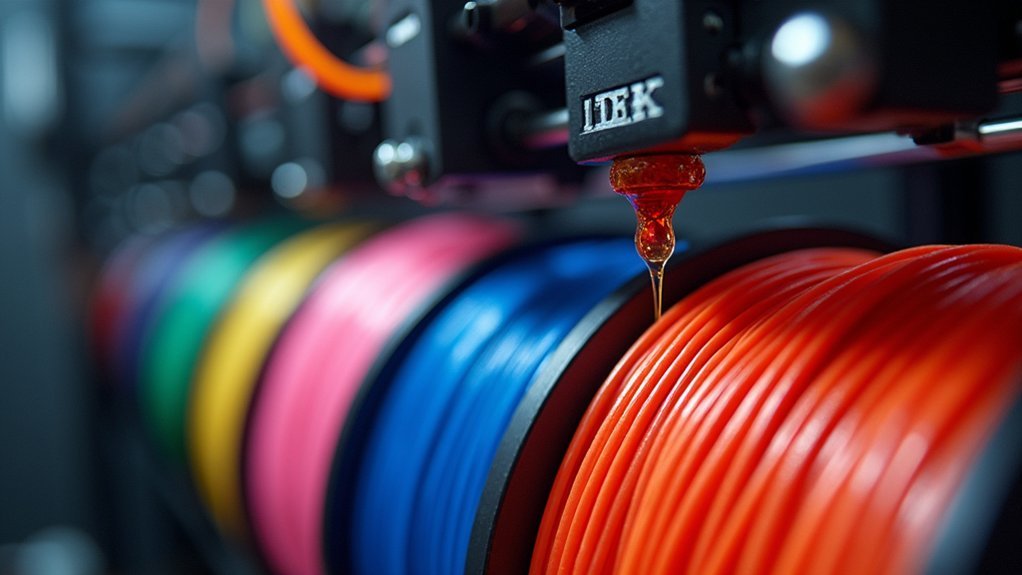
When you’re ready to move beyond single-nozzle limitations, dual extruder and IDEX printers open up extraordinary possibilities for complex multi-material printing.
These systems use two separate nozzles, enabling simultaneous printing with different colors or materials for intricate multicolor prints without manual intervention.
IDEX printers feature independent print heads that move separately, reducing color contamination risks and enhancing design complexity.
You’ll need to calibrate both nozzles precisely to prevent misalignment and layer shifting issues.
Your slicer settings require careful configuration to manage each nozzle’s path effectively, ensuring smooth shifts between materials.
These advanced systems dramatically increase your printer’s versatility, particularly for support materials that dissolve easily without damaging your main print structure.
Multi-Color Kit Integration and Setup
Multi-color kits transform single-extruder printers into versatile multi-material machines that’ll handle up to five different filaments simultaneously.
The Prusa Multi Material Upgrade exemplifies this technology, dramatically expanding your creative possibilities and color combinations.
Before installation, verify printer compatibility with your chosen multi-color kit, as different models support varying multi-extruder configurations.
Setup involves connecting tubes for filament transport and calibrating the system to prevent tangling during changes.
Key integration steps include:
- Configuring slicer software like PrusaSlicer’s Multi-material Paint function to specify color areas
- Connecting transport tubes and calibrating filament feeding mechanisms
- Performing initial test prints to guarantee smooth color changes
Regular maintenance through cleaning and calibration prevents filament jams and maintains consistent print quality throughout multi-material projects.
Pause and Resume Printing Techniques
You’ll need to master three critical steps when using pause and resume techniques for filament switching: timing your pause perfectly, removing the old filament safely, and resuming your print without issues.
Each step requires careful attention to prevent print failures or quality problems that can ruin hours of work.
Let’s examine how to execute each stage properly to achieve clean color changes in your prints.
Timing Your Print Pause
Although manually pausing your 3D printer mid-print might seem disruptive, strategic timing your print pause creates the perfect opportunity for seamless filament switches on a single extruder setup.
You’ll need to calculate the exact layer where color mixing should occur and configure your slicing software accordingly.
- Set specific layer heights in your slicer to automatically pause the printer at predetermined points
- Calculate layer counts accurately before initiating the print to minimize downtime and maintain quality
- Monitor the process closely since pause-and-resume methods require your immediate attention
During the pause, you’ll check filament alignment and purge the nozzle thoroughly. This removes old filament remnants and prevents unwanted color mixing in your final print.
Proper timing guarantees clean changes between colors.
Safe Filament Removal Steps
Once you’ve paused your printer at the correct layer, the actual filament removal process requires careful attention to prevent damage to your extruder or hot end.
Access your printer’s control panel and select “Pause” to guarantee no further extrusions occur during safe filament removal.
Before removing material, retract the filament from the extruder to prevent clogging or heat damage.
Carefully pull out the old filament without forcing it, which could damage the mechanism or leave residue in the nozzle.
When loading new filament, align it properly and insert until it reaches the hot end for peak melting.
After switching, perform a nozzle purge to clear any remnants from the previous material, guaranteeing a clean color shift before resuming your print.
Resuming After Color Change
After completing your filament swap and nozzle purge, resuming your print requires verification that the new material is flowing correctly before continuing. The pause and resume technique guarantees your printer maintains precise layer alignment throughout the color change process.
Before resuming, confirm these essential steps:
- Verify filament loading – Verify the new filament is properly seated in the extruder without gaps or resistance.
- Check nozzle clearance – Confirm purging the nozzle removed all previous color residue for clean output.
- Test extrusion flow – Manually extrude a small amount to verify consistent material flow before resuming.
Once you’ve confirmed proper filament flow and clean color change, resume printing from the paused layer. Your printer will continue exactly where it stopped, maintaining dimensional accuracy and layer consistency throughout the remaining print.
Software Configuration for Multi-Color Projects
When you’re ready to tackle multi-color 3D printing projects, your slicer software becomes the command center that orchestrates every filament change and color shift. Proper software configuration guarantees seamless changes between colors while minimizing waste and contamination.
Start by enabling your slicer’s color change features. PrusaSlicer’s Pause at Height function lets you manually swap filaments at specified layers, while the Multimaterial Paint function designates color areas for MMU3 systems with automatic switching capabilities.
Enable your slicer’s color change features first – PrusaSlicer offers both manual Pause at Height and automatic Multimaterial Paint functions.
Configure essential settings like purge towers or wipe zones to prevent color contamination during changes. For multi-extruder printers, assign specific colors to each extruder in your slicer settings.
You can also implement custom G-code to automate pausing and switching processes, streamlining your multi-color printing workflow considerably.
Temperature and Material Compatibility Management
Successfully switching between different filament materials requires careful attention to thermal compatibility, as each material type operates within specific temperature ranges that can’t be ignored.
Understanding these requirements prevents print failures and guarantees smooth alterations between different materials during your projects.
Before switching filament types, you’ll need to verify compatibility and prepare your printer accordingly:
- Check manufacturer specifications for both materials – PLA prints at 180-220°C while ABS requires 210-250°C
- Adjust extruder temperature settings to match the new filament’s requirements to prevent clogs or flow issues
- Clean your nozzle and hot end thoroughly to avoid contamination between different material types
Mixing filaments with vastly different thermal properties can cause warping or poor adhesion, so always verify temperature compatibility before changing materials mid-print.
Troubleshooting Common Filament Switching Issues
While filament switching can streamline your 3D printing workflow, several common issues may disrupt the process and compromise print quality.
If your printer doesn’t recognize filament changes, update your firmware immediately. When you can’t properly remove filament from the extruder, clean the nozzle and extruder thoroughly to eliminate clogs that block smooth operation.
Configure your purge tower settings correctly to prevent color contamination between different materials. Calibrate your extruder’s steps/mm precisely to guarantee accurate filament retraction and advancement during switches.
Monitor temperature settings closely, as incorrect temperatures cause jamming or poor extrusion. If switching fails repeatedly, verify your slicer’s retraction settings and increase the purge tower volume to completely clear previous filament traces.
Advanced Multi-Color Printing Strategies
Once you’ve mastered basic filament switching, you can elevate your 3D printing projects by implementing advanced multi-color strategies that transform simple models into vibrant, professional-quality creations.
PrusaSlicer’s Multimaterial Paint function lets you define specific color zones directly on your model, creating intricate multicolor designs with precision. This approach works exceptionally well with dual extruder setups that handle simultaneous filament changes automatically.
Essential strategies for professional results:
- Configure purge towers or wipe zones to prevent color contamination between filament changes
- Adjust wall thickness and opacity settings to eliminate color bleeding and maintain sharp edges
- Use specialized G-code commands for precise manual filament switching control
Your extruder configuration greatly impacts print quality, so optimize settings based on your specific hardware setup for the cleanest multicolor output possible.
Maintenance and Care for Multi-Color Printer Systems
Maintaining your multi-color 3D printer requires consistent attention to several critical components that directly impact print quality and system reliability. Regular nozzle and extruder cleaning prevents clogs that compromise color accuracy during filament shifts. You’ll need to inspect the filament path routinely for tangles or blockages that disrupt material flow.
| Maintenance Task | Frequency | Impact on Color Changes |
|---|---|---|
| Nozzle cleaning | After each project | Prevents color contamination |
| Filament path inspection | Weekly | Guarantees smooth switching |
| Temperature calibration | Per material type | Optimizes adhesion quality |
Always adjust temperature settings for each printer filament material’s specific requirements. Keep firmware updated to benefit from performance improvements and bug fixes. Test new filament brands thoroughly before starting major projects to verify compatibility and prevent costly printing failures.
Frequently Asked Questions
How to Switch Colors When 3D Printing?
You’ll pause your print, retract and remove the current filament, load new filament, purge the nozzle to clear previous color remnants, then resume printing for clean changes.
How to Swap Filament Color Mid Print?
Pause your printer at the desired layer, retract the current filament, insert the new color, purge the nozzle to clear old material, then resume printing after verifying proper flow.
How Do You 3D Print Things With Multiple Colors?
You can achieve multicolor 3D printing by manually pausing prints to swap filament, using multi-material upgrade systems for automatic changes, employing dual extruders, or selecting gradient filaments for changeover effects.
How to Multicolor Print Without AMS?
You’ll manually pause your print at specific layers using slicer software, swap filaments by hand, adjust temperatures if needed, and use purge towers to prevent color mixing between changes.



Leave a Reply