
You’ll achieve perfect miniature gaming models by selecting a high-resolution printer with 18-micron XY precision, maintaining workspace temperatures between 25-35°C, and systematically calibrating exposure settings through test prints. Orient your models at 30-45 degree angles to minimize supports, use two-stage IPA washing for thorough cleaning, and complete UV curing in controlled chambers. Follow strict maintenance schedules including FEP film replacement every 30-50 prints. Mastering these fundamentals opens the door to advanced techniques that elevate your miniatures.
Selecting Your Resin Printer and Setting Up the Workspace
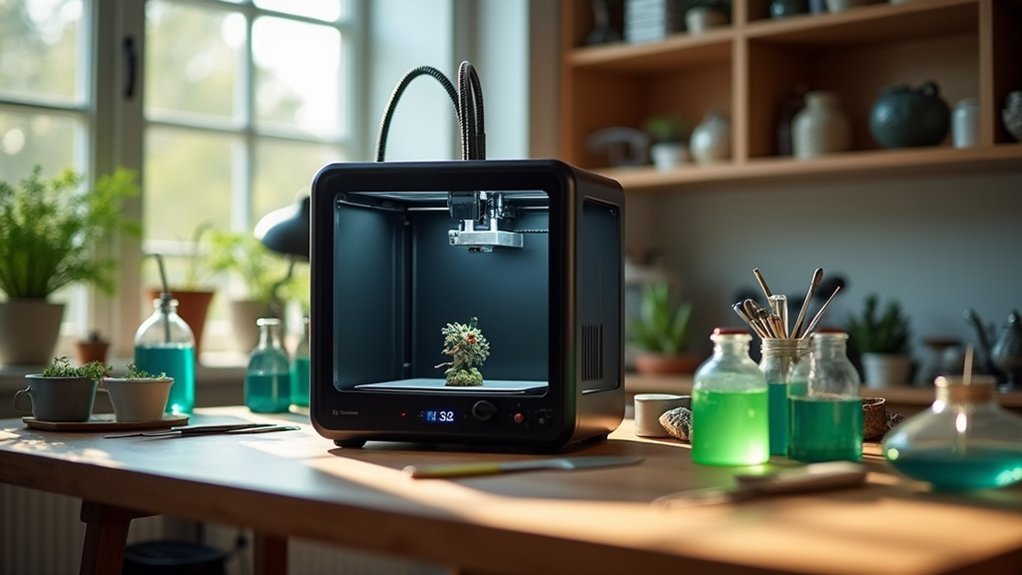
When you’re starting your resin printing journey for miniature gaming models, selecting the right printer becomes your foundation for achieving professional-quality results.
Prioritize printers with high XY resolution around 18 microns or better to capture fine details like facial expressions and armor engravings. The Creality HALOT-MAGE S 14K offers excellent ease of use and reliability for most users.
Budget-conscious options include the Elegoo Mars 3 and Anycubic Photon Mono 2, which balance cost and quality effectively. For beginners starting out, consider smaller printers first to avoid overspending if you’re unsure about your long-term interest in the hobby.
Set up your workspace in a well-ventilated area with adequate lighting and a stable, level surface.
Store resins in sealed containers away from light and heat. You’ll need post-processing equipment like an isopropyl alcohol wash station and UV curing box to complete your miniatures.
Creating Optimal Environmental Conditions for Printing Success
Your printing environment greatly impacts the quality and success of your miniature prints, making proper setup essential before you begin any project.
You’ll need to control temperature and airflow while implementing safety measures that protect both you and your workspace from resin exposure. Maintaining your workspace at the ideal minimum temperature of 20°C (68°F) will prevent viscosity issues that lead to failed prints and poor detail resolution.
Additionally, you must store your resin correctly to maintain its performance characteristics and guarantee consistent printing results.
Temperature and Ventilation Control
Although many makers focus primarily on printer settings and resin quality, environmental conditions play an equally essential role in producing flawless miniature gaming models. You’ll need to maintain temperatures between 25°C and 35°C for ideal resin curing and layer adhesion. Below 20°C, your resin becomes too viscous, causing print failures and poor detail resolution.
| Temperature Range | Resin Behavior | Print Quality | Action Required |
|---|---|---|---|
| Below 20°C | High viscosity | Poor adhesion | Add heating |
| 25°C – 35°C | Ideal flow | Excellent detail | Maintain range |
| Above 35°C | Low viscosity | Monitor closely | Increase ventilation |
| Fluctuating | Unpredictable | Defects/warping | Stabilize environment |
Use space heaters or dedicated printer heating modules while ensuring proper ventilation removes harmful fumes without creating temperature fluctuations. Monitor conditions continuously and avoid drafts near your printer. Different resin types exhibit varying sensitivities to temperature changes, making it crucial to understand your specific material’s temperature properties before starting any print job.
Workspace Safety Measures
Beyond maintaining proper temperature and airflow, you must prioritize thorough safety protocols to protect yourself from resin’s inherent health hazards.
Always wear chemical-resistant nitrile or neoprene gloves with extended cuffs, UV-protective goggles, and long sleeves to prevent skin contact and eye exposure. Never use latex gloves—they don’t provide adequate chemical protection.
Keep your workspace meticulously organized and clean resin spills immediately using absorbent materials while wearing full PPE.
Store all liquid resin and contaminated waste in sealed, labeled containers, and dispose of materials according to local hazardous waste regulations. Never pour resin down drains.
Install fire extinguishers within easy reach and never leave your printer unattended during operation.
Monitor your health regularly for allergic reactions or sensitivities from repeated resin exposure.
Keep the printer’s lid closed during operation to protect against harmful UV light exposure that could damage your vision.
Resin Storage Best Practices
Where you store your resin determines whether your prints succeed or fail before you even power on your printer.
Keep containers completely sealed in dark, cool environments to prevent contamination and premature curing. Use opaque bottles when possible, and avoid transferring resin to unsealed containers that’ll increase oxidation.
Maintain storage temperatures within manufacturer recommendations—refrigeration extends shelf life for specialty resins, but always warm them to room temperature before printing.
Control humidity with desiccants since moisture contamination creates porous, weak prints. Ensure proper ventilation in storage areas to maintain air quality and prevent the buildup of harmful vapors.
Monitor your resin’s 6-12 month shelf life carefully. Check regularly for color, viscosity, or odor changes indicating degradation.
Plan purchases to use resin within its shelf life, preventing waste and print failures from expired materials.
Calibrating Exposure Settings With Test Models
You’ll need to determine the precise curing time that balances detail sharpness with structural integrity for your specific resin and printer combination.
Test models designed for exposure calibration become your primary tool for finding this sweet spot, as they feature thin details, overhangs, and supports that reveal how different exposure settings affect print quality.
Start by selecting calibration models that challenge your printer’s capabilities while remaining small enough to conserve resin during testing. The Validation Matrix model can complete testing in under 15 minutes, making it an efficient choice for quick exposure assessments.
Finding Optimal Curing Time
Once you’ve mastered the basic resin printing process, determining the perfect curing time becomes essential for achieving professional-quality miniatures that won’t crack, remain sticky, or turn brittle.
Start with your resin manufacturer’s recommended curing times as your baseline, then run incremental tests on identical test models. For miniatures, begin with 1-2 minutes in a UV curing station, adjusting based on results.
You’ll know you’ve found the sweet spot when your prints pass the hardness test—tapping them produces a stone-like sound rather than a dull thud. Properly cured models feel completely dry with smooth, matte surfaces. Well-cured prints are also less prone to deformation when handling or transporting your finished miniatures.
If prints remain tacky, increase curing time. If they become brittle or crack easily, reduce exposure. Keep detailed notes of your settings for consistent future results.
Test Model Selection
Before committing to printing your valuable miniature models, selecting the right test pieces will save you both time and expensive resin while ensuring perfect results.
Choose test models that mirror your final miniatures’ size and complexity, including fine details like armor engravings, overhangs, and thin walls. Temperature towers and calibration cubes help verify dimensional accuracy and layer consistency.
Print multiple copies with varying exposure times to find ideal settings.
Evaluate models immediately after washing but before post-curing, as surface softness reveals exposure issues. Handle prints gently during support removal to avoid confusing damage with calibration defects.
Miniature-specific test models capture small-scale nuances better than generic shapes, providing clearer feedback on parameter adjustments for your gaming pieces. Testing with specialized resins designed for miniatures ensures your calibration accounts for the unique properties that affect detail retention and flexibility.
Hollowing Miniatures and Strategic Drainage Hole Placement
When printing larger miniatures, hollowing becomes essential for reducing resin consumption while maintaining structural integrity.
You’ll want to set wall thickness between 1.5 to 3 millimeters—thin walls create fragile prints while thick walls waste resin. Use software like Chitubox or Meshmixer to hollow your models and remove any closed voids that trap uncured resin.
Strategic drainage hole placement prevents suction effects and pressure buildup during printing.
Position 2-3 millimeter holes at the lowest points where resin pools, guaranteeing multiple holes for proper airflow. This prevents vacuum effects that cause warping or build plate adhesion failures.
After printing, thoroughly drain and clean these holes to remove resin residue and guarantee proper curing throughout your miniature. Adding an infill structure with grid 3D at 5% density provides internal support that prevents warpage and eliminates resin pockets during the printing process.
Choosing and Preparing STL Files for Gaming Models
Your STL file selection directly impacts your print’s success, so you’ll need to assess file quality before loading any model into your slicer.
Once you’ve confirmed the file’s mesh integrity, you must plan the ideal orientation that minimizes supports while protecting fine details.
Strategic support placement becomes your final preparation step, ensuring your miniature prints cleanly without sacrificing delicate features like weapons, hair, or facial details. Consider whether you want pre-supported models for convenience or non-supported files that allow custom support strategies tailored to your specific printer setup.
File Quality Assessment
Success in resin printing miniature gaming models starts with selecting and preparing high-quality STL files that match your printer’s capabilities.
You’ll need to examine your mesh for holes, inverted normals, and non-manifold edges that can cause print failures. Use mesh repair tools to fix these defects before slicing.
Check that your model is watertight—essential for resin printing success. Avoid mesh intersections and overlapping geometry that confuse slicing software.
Balance detail density with your printer’s resolution capabilities; overly fine features won’t print accurately.
Export using binary STL format with 0.1mm chordal tolerance and 1° angular tolerance. Keep files under 20MB for efficient processing.
Always preview your slice to verify details will resolve properly before committing to a print. Consider using miniature figurines as test models to evaluate your printer’s ability to handle complex gaming model geometries before printing expensive or detailed pieces.
Model Orientation Planning
Proper orientation transforms your miniature from a potential print failure into a detailed masterpiece that’ll impress at any gaming table.
You’ll want to angle your models between 30-45 degrees to balance layer adhesion while reducing suction forces that can damage delicate features. This sweet spot improves resin flow and minimizes support contact on visible detailed surfaces.
Position overhangs so they’re supported yet accessible for easy support removal during post-processing. Guarantee your model’s base maintains contact with the build plate for stability throughout the print.
Adjust orientation based on your miniature’s complexity, maximizing exposure of fine details while minimizing necessary supports. Smart orientation planning prevents print failures and preserves the intricate features that make your gaming models stand out. Remember that overhangs exceeding 40-45 degrees will require additional support structures to print successfully.
Support Placement Strategy
Strategic support placement builds directly on your orientation planning to guarantee print success and surface quality.
Place supports on non-critical areas like bottoms of feet to minimize visible marks after removal. Your model’s lowest points always need at least one heavy support to bear the print’s weight during building.
Use light supports wherever possible to reduce surface damage, but switch to medium or heavy supports for longer spans and load-bearing points.
You must secure all overhangs and islands to prevent sagging or mid-print detachment failures.
Match support types to your model’s geometry—light supports minimize contact damage but risk bending if too long.
Heavy supports provide stability for larger features while distributing weight evenly from your build platform’s raft base. Add bracings between supports to prevent wobbling and enhance overall structural stability during the printing process.
Essential Printing Process Steps and Build Plate Management
The foundation of exceptional miniature prints begins with meticulous build plate preparation and systematic process execution.
You’ll need to level your build plate precisely by loosening screws, lowering it onto paper placed on the resin vat screen, then tightening to achieve perfect parallelism. Clean your build plate thoroughly, removing any cured resin residue that could compromise adhesion.
Prepare your resin vat by ensuring it’s debris-free and checking the FEP film for wear. Pour just enough resin to cover the vat bottom without overfilling. Stir gently if the resin has been sitting.
Maintain ambient temperature at least 23°C for ideal curing. Monitor those critical first layers carefully—they determine your print’s success. Adjust exposure times as needed for stronger initial adhesion. Remember that quality is proportional to the time invested in the printing process, so patience during setup will yield superior results.
Support Placement Strategies for Complex Miniature Geometries

Whether you’re printing delicate weapon details or intricate armor textures, support placement becomes the critical bridge between digital design and physical success.
Apply light supports (0.1–0.3 mm tips) to fragile areas while concentrating heavier supports on structural load points for proper anchoring. Avoid placing supports on highly detailed surfaces where removal scars would damage aesthetics.
For overhangs and bridges, increase support density locally and use medium-to-heavy supports for longer spans. Orient models to minimize isolated islands, but add targeted supports where unavoidable.
When scaling up miniatures, manually re-assess auto-generated supports since they often become misplaced or overly thick.
Focus on minimal contact areas for easier removal, placing supports on structurally necessary but visually unimportant sections to preserve your model’s appearance. Proper printer tuning ensures that supports will actually hold and function effectively during the printing process.
Model Orientation Techniques to Minimize Support Requirements
Beyond careful support placement, proper model orientation serves as your first line of defense against excessive support requirements.
Position your miniatures at 30º to 45º angles to balance support needs with print stability. You’ll want to minimize cross-sectional area per layer, which reduces curing forces and improves detail quality. Avoid placing large flat surfaces parallel to the build plate, as this creates excessive suction forces.
Strategic orientation protects visible surfaces from support marks. Place supports on hidden areas like weapon undersides or cloak backs rather than faces or armor details. Implementing dual-axis tilting creates multiple anchor points that significantly improve overall print stability and success rates.
- Angle flat surfaces 10º-20º to improve bed adhesion without over-adhesion
- Rotate models 180º to discover orientations requiring fewer supports
- Align thin features vertically to reduce lateral support needs
- Test 5º incremental rotations using slicer preview tools
Proper Washing and IPA Cleaning Methods
Once you’ve optimized your model orientation and completed printing, removing uncured resin becomes your next priority for achieving professional results.
Use IPA baths, washing stations, or ultrasonic cleaners to effectively remove residual resin from miniature surfaces. Follow your resin manufacturer’s recommendations for IPA concentration and cleaning duration—don’t exceed recommended soaking times as excessive exposure can degrade surface details.
Employ a two-stage wash cycle: first remove bulk resin in a container, then transfer models to an ultrasonic cleaner for deep cleaning.
Ultrasonic cleaners use cavitation bubbles to dislodge resin in hard-to-reach areas like undercuts. Keep cleaning time between 1-3 minutes to balance thorough cleaning with preventing surface damage.
Industrial-grade odorless methylated spirits offer an effective alternative to IPA, remaining clean and non-sludgy over extended use periods.
Always wear gloves and maintain proper ventilation throughout the process.
UV Curing and Post-Processing for Professional Results
Why does your freshly printed miniature still feel tacky after thorough cleaning? You haven’t completed the UV curing process. This final step hardens your resin completely, transforming a fragile print into a durable gaming piece.
Place your cleaned miniature in a UV curing chamber for approximately 15 minutes, rotating it to guarantee even exposure. You can build a DIY station using a reflective bucket and LED UV strips for uniform light distribution.
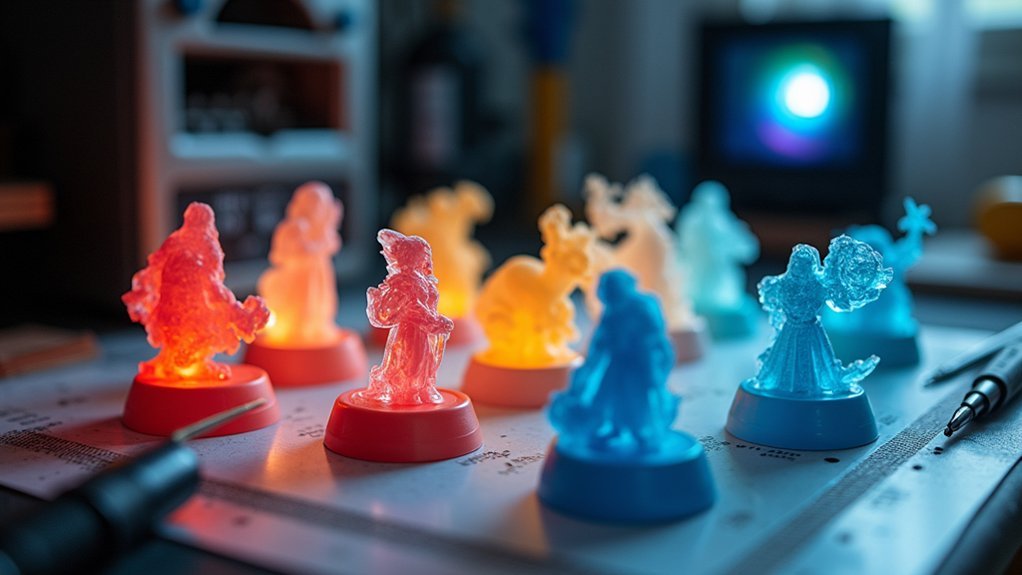
Monitor the process carefully—under-curing leaves surfaces sticky, while over-curing creates brittleness and obscures fine details. Successfully cured miniatures should exhibit a lighter color and matte finish compared to their uncured state.
- Remove all supports before curing for maximum light penetration
- Use multiple short cycles with rotation for complex models
- Follow manufacturer’s recommended curing times as your baseline
- Sand and prime only after complete curing for best results
Maintenance Routines and Advanced Quality Optimization
Your resin printer’s performance depends entirely on consistent maintenance habits that prevent costly failures and guarantee every miniature meets professional standards.
Clean your build platform after each print and inspect the resin tank for contamination.
Weekly, examine moving parts, lubricate slides, and adjust belt tension.
Monthly deep cleaning with compressed air removes debris affecting precision.
Calibrate platform levelness and check resin quality for discoloration or thickening.
Replace FEP film every 30-50 prints and lubricate the Z-axis rod quarterly.
Store resin in cool, dark places using sealed containers.
Filter resin after use to remove cured particles.
Always wear protective equipment like gloves and goggles when handling resin to prevent skin contact and potential health hazards.
Monitor your printing environment’s temperature and humidity, as fluctuations affect curing and model fidelity for ultra-detailed miniatures.
Frequently Asked Questions
How Long Does Resin Last Before It Expires or Degrades?
Unopened resin typically lasts 12-24 months under ideal conditions, while opened resin degrades within 6-12 months. You’ll maintain peak quality for about 3 months regardless of whether it’s opened.
Can I Mix Different Brands or Colors of Resin Together?
You can mix different resin brands and colors, but make certain they’re chemically compatible with similar curing times. Avoid mixing water-washable with standard resins, and always test small batches first.
What’s the Best Way to Dispose of Failed Prints and Waste Resin?
You should cure all failed prints and liquid waste resin completely using UV light or sunlight, then dispose of the solidified material as regular plastic trash following local regulations.
How Do I Fix Layer Separation or Delamination in Finished Prints?
Apply additional UV curing to weak spots, use resin bonding agents for separated layers, reinforce with epoxy filler, then sand and polish the repaired areas for seamless appearance.
Should I Wear a Respirator Even With Good Ventilation While Printing?
Yes, you should always wear a respirator with organic vapor filters when resin printing. Ventilation reduces but doesn’t eliminate all harmful VOCs and particles that can cause respiratory irritation and long-term health issues.


Leave a Reply