You must test metal powder flow in AM because poor flowability directly causes inconsistent layer deposition, compromised part density, and mechanical property failures. Traditional testing methods like Angle of Repose can’t detect critical flow variations between suppliers that lead to print defects, porosity, and surface finish problems. Modern dynamic flow testing reveals performance differences under real manufacturing conditions, helping you maintain consistent powder quality and prevent costly production failures. Understanding specific testing protocols guarantees your parts meet aerospace and medical standards.
The Critical Role of Powder Flow in Layer Deposition Quality
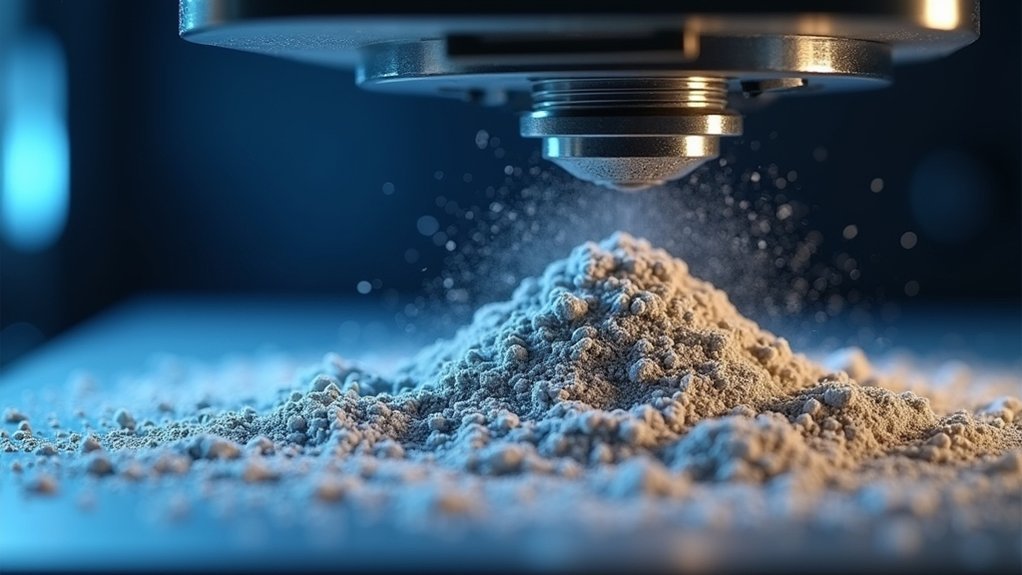
When you’re working with additive manufacturing, the flowability of your metal powders directly determines the quality of each deposited layer. Poor flow creates inconsistent layer thickness and compromised surface finish, ultimately damaging your final product’s integrity.
Your powder’s specific properties—particularly particle shape and size distribution—significantly impact flow behavior. Spherical particles enhance flowability and promote uniform layer spreading, while irregular shapes hinder consistent deposition.
Spherical powder particles deliver superior flowability and uniform layer spreading compared to irregular shapes that compromise deposition consistency.
You can’t rely on traditional powder testing alone to optimize performance. Dynamic testing methods that assess specific energy and permeability reveal critical flow properties that standard tests miss.
When you neglect proper flow assessment, you’ll encounter defects like reduced tensile strength and poor surface quality. Effective flow management guarantees both individual layer quality and overall build integrity in your AM process.
How Flowability Impacts Final Part Density and Mechanical Properties
Beyond surface quality concerns, your powder’s flowability fundamentally determines the final density and mechanical performance of your printed parts. When flowability improves, you’ll achieve better layer deposition and reduced porosity, directly enhancing mechanical properties like tensile strength and ductility.
Your particle size distribution greatly affects packing efficiency during the AM process. Poor powder characteristics introduce density inconsistencies that compromise part performance, particularly critical in aerospace and medical applications.
| Flowability Level | Part Density | Porosity | Mechanical Properties | Applications |
|---|---|---|---|---|
| Excellent | 98-99% | <1% | ideal strength/ductility | Aerospace critical parts |
| Good | 95-98% | 1-3% | High performance | Medical implants |
| Fair | 90-95% | 3-7% | Moderate performance | General components |
| Poor | <90% | >7% | Compromised properties | Prototyping only |
| Variable | Inconsistent | Variable | Unpredictable failure | Unacceptable |
Maintaining consistent powder characteristics guarantees reliable mechanical performance across production runs.
Traditional Testing Methods vs. Modern Dynamic Flow Assessment
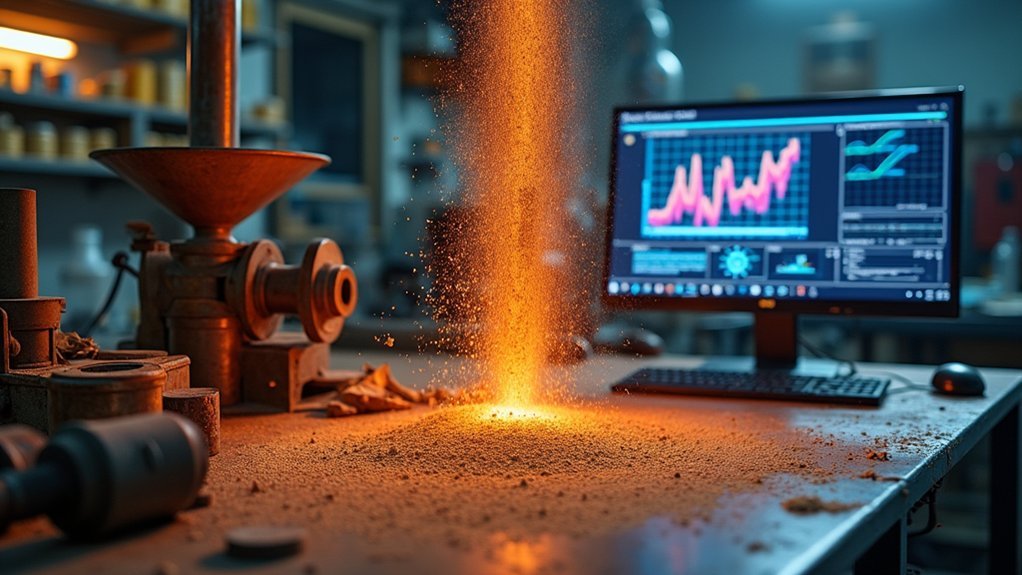
You’ll find that traditional testing methods like the Angle of Repose and Hall Flowmeter often miss critical nuances in powder behavior that directly affect your AM process success.
These single-parameter tests can’t capture how particle shape, size variations, and environmental conditions influence flow characteristics under real manufacturing conditions.
Modern dynamic flow assessment techniques using rotary shear devices and rheometers provide the sensitivity you need to detect subtle performance differences that traditional methods overlook.
Traditional Method Limitations
Although traditional testing methods like the Angle of Repose and Hall Flowmeter have served the powder industry for decades, they’re proving inadequate for the precise demands of additive manufacturing.
You’ll find these conventional techniques lack the sensitivity needed to detect subtle differences in powder behavior that can dramatically impact your AM performance. Single-point measurements can’t capture the complex flow properties occurring during dynamic processing conditions.
When you rely on these outdated methods, you’re fundamentally flying blind to critical powder characteristics that determine print quality.
Modern powder rheometers offer the thorough assessment you need, providing detailed insights into how your materials behave under varying conditions. This shift from static to dynamic testing protocols enables you to identify powder properties that directly correlate with successful AM outcomes.
Dynamic Testing Advantages
When you implement dynamic testing methods like the FT4 powder rheometer, you’re accessing a thorough assessment that simulates real processing conditions rather than relying on static measurements. This advanced powder characterisation reveals specific energy differences that traditional methods miss, capturing subtle flow properties variations under different stress conditions.
| Parameter | Traditional Methods | Dynamic Testing |
|---|---|---|
| Flow Rate Measurement | Limited accuracy | Extensive data |
| Shear Properties | Not captured | Detailed analysis |
| Energy Requirements | Unmeasured | Precisely quantified |
| Batch Variability Detection | Often missed | Clearly identified |
You’ll discover performance discrepancies between suppliers’ materials that guarantee consistent feedstock quality. Dynamic testing provides critical flow properties data for optimizing AM processes, delivering reliable quality assurance through extensive flow characterization that captures real-world processing conditions.
Particle Size Distribution and Its Relationship to Flow Performance
Since particle size distribution (PSD) serves as the foundation for metal powder flowability, you’ll find that optimizing this characteristic directly impacts your additive manufacturing success.
Optimizing particle size distribution forms the cornerstone of successful metal powder flowability in additive manufacturing applications.
When you’re working with particle size distributions, wider ranges enhance packing efficiency as smaller particles fill voids between larger ones, improving flow characteristics.
Your flow performance depends on three critical factors:
- Particle shape – Spherical particles flow better than irregular shapes, though irregular particles increase green strength.
- Size consistency – Tighter distributions may reduce packing density, causing porosity issues.
- Layer thickness compatibility – Smaller particles enable finer layers in Powder Bed Fusion processes.
You must consistently monitor PSD using appropriate testing techniques, as variations directly affect flow speed and packing density, ultimately determining your final part quality.
Supplier Variability and the Need for Consistent Characterization Standards
You’ll encounter significant variations in metal powder properties when sourcing from different suppliers, which can dramatically impact your AM process performance and final product quality.
Traditional testing methods often can’t detect these subtle but critical differences in powder behavior, leaving you vulnerable to unexpected processing issues.
That’s why you need standardized testing requirements that provide reliable, sensitive characterization standards to guarantee consistent powder quality across all your suppliers.
Supplier Impact on Properties
Although metal powders may appear identical across suppliers, significant variations in manufacturing processes create substantial differences in flowability, particle size distribution, and chemical composition that directly impact your additive manufacturing results.
When you switch suppliers without proper assessment, you’re risking inconsistent powder behaviors that can lead to print failures and defective parts.
Supplier variability affects critical characteristics of powders in three key ways:
- Shear strength variations can cause feeding issues and inconsistent layer deposition.
- Chemical composition differences may alter melting behavior and mechanical properties.
- Particle morphology changes directly influence powder properties like packing density and flow rates.
You can’t assume that powders from different sources will perform identically, even when they meet the same material specifications.
Implementing rigorous characterization standards guarantees consistent performance regardless of supplier changes.
Standardized Testing Requirements
When you’re evaluating metal powders from multiple suppliers, standardized testing requirements become your critical defense against performance inconsistencies that can sabotage your AM operations.
Standard test methods from ASTM International and ISO provide the framework you need to guarantee quality standards are met across different batches and suppliers. These protocols eliminate variability in powder flow characterization that stems from environmental conditions, handling practices, and operator inconsistencies.
You’ll achieve reliable, reproducible results when you follow established testing procedures rather than relying on supplier-specific methods. The ASTM AMPM PTP program monitors laboratory performance, helping you maintain rigorous quality control.
Without standardized requirements, you can’t accurately compare metal powders or predict their flow behavior in your specific AM applications.
Batch-to-Batch Variations That Affect Manufacturing Outcomes
Even minor variations between powder batches can dramatically alter your manufacturing outcomes, turning what should be a predictable process into a source of frustration and defects.
Batch-to-batch variations in flow properties create unpredictable challenges that directly impact your final components’ quality.
Consider how these variations affect your process:
- Particle distribution differences alter packing efficiency, leading to density inconsistencies even when powders appear similar.
- Flowability changes cause feed system blockages and layering problems during printing.
- Specific Energy variations during processing correlate directly with batch-specific flow issues.
You’ll find that stainless steel powders with identical size distributions can exhibit completely different powder behavior due to underlying flow characteristics.
Without consistent monitoring of powder quality for each batch, you’ll encounter porosity, poor surface finish, and unreliable manufacturing outcomes.
Powder Reuse and Blending Strategies for Cost Optimization
Since high-value materials like titanium can represent 30-60% of your total production costs, developing effective powder reuse and blending strategies becomes critical for maintaining profitability in additive manufacturing.
You’ll find that reusing metal powders becomes economically viable only when you’re producing sufficient build series to offset initial investments.
However, you must monitor how reused powders change during processing. The particle morphology shifts from spherical to angular shapes, directly impacting flowability.
Additionally, the particle size distribution tightens as smaller particles are lost, creating potential packing issues that compromise your final product quality.
You’ll need to optimize blending ratios between fresh and reused powders carefully. Dynamic testing helps you adjust these mixtures for ideal performance while maintaining consistent flow characteristics throughout your manufacturing process.
Shear Testing Devices and Their Limitations in Predicting AM Performance
When you’re using rotary shear cells and other shear testing devices to evaluate metal powder flow, you’ll encounter significant result variability between different testers and consolidation conditions.
You’ll find these discrepancies become even more problematic with highly cohesive materials, where traditional shear testing often can’t detect the subtle behavioral differences that critically impact your AM outcomes.
You can’t rely solely on shear properties to predict powder performance in additive manufacturing since these measurements don’t capture all the flow characteristics essential for reliable printing results.
Device-to-Device Result Variability
Although shear testing provides valuable insights into powder flowability, device-to-device variability creates significant challenges that can undermine your ability to predict AM performance accurately.
Different testing devices produce inconsistent results, particularly when you’re working with cohesive powders that exhibit pronounced measurement differences between equipment types.
This variability stems from three critical factors:
- Consolidation conditions – Different devices apply varying pressure and stress patterns during testing.
- Operator expertise – Untrained personnel can introduce measurement errors that affect flow rate assessments.
- Environmental conditions – Temperature and humidity variations impact powder behavior during evaluation.
Without standardized testing procedures across devices, you’ll struggle to obtain reliable, comparable data.
This inconsistency directly affects your ability to predict how powders will perform in actual AM processes.
Cohesive Material Measurement Challenges
While shear testing devices provide a standardized approach to measuring powder flowability, they encounter significant measurement challenges when evaluating highly cohesive materials used in additive manufacturing. You’ll find that traditional shear testing methods often fail to capture subtle differences in cohesive powder behavior, making it difficult to predict actual AM performance. These limitations become particularly pronounced when you’re working with highly cohesive materials that exhibit unpredictable flow properties.
| Material Type | Testing Consistency | AM Performance Prediction |
|---|---|---|
| Free-flowing | High agreement | Reliable |
| Moderate cohesive | Good agreement | Moderately reliable |
| Highly cohesive | Poor agreement | Unpredictable |
You need more sensitive and thorough testing techniques to accurately assess these challenging materials and guarantee successful additive manufacturing outcomes.
AM-Specific Property Prediction
These measurement challenges point to a broader issue: shear testing devices struggle to predict how metal powders will actually perform during additive manufacturing processes.
You’ll find that standardized methods like Jenike’s flow index classify flowability based on stress ratios, but they can’t adequately predict powder behavior during layer deposition in metal Additive Manufacturing.
The key limitations you’re facing include:
- Dynamic behavior gaps – Shear tests can’t capture real-time powder flow under actual AM conditions
- Layer deposition discrepancies – Lab results often don’t match in-process performance
- Incomplete assessment – Shear properties alone don’t predict flow problems
You need thorough characterization methods that combine dynamic flow tests with other techniques to accurately assess properties of the powder for AM applications.
Environmental Factors That Influence Metal Powder Flow Behavior
Since metal powder behavior extends far beyond the intrinsic properties of the particles themselves, you’ll need to contemplate how environmental conditions can dramatically alter flow characteristics during additive manufacturing processes.
Humidity presents one of the most critical challenges, as increased moisture causes particle agglomeration and severely reduces flowability.
Temperature fluctuations compound these effects by promoting oxidation and changing particle morphology during storage.
Ambient pressure variations directly impact packing density, with lower pressure environments creating increased aeration that disrupts consistent powder flow.
Vibrational energy from surrounding equipment alters powder packing structures, leading to inconsistent layer deposition.
Additionally, environmental contaminants like oils or foreign particles modify surface properties, creating unpredictable flow behaviors that compromise final product quality and manufacturing repeatability.
Specific Energy Measurements for Identifying Flow-Related Issues
Building on these environmental challenges, specific energy measurements offer a quantitative approach to diagnose flow-related issues before they impact your manufacturing process.
These dynamic tests reveal critical flowability differences that traditional static assessments can’t detect, helping you identify potential bottlenecks early.
When conducting powder flow assessment, you’ll benefit from monitoring these key aspects:
- Batch consistency – Variability in specific energy values between powder batches indicates flow inconsistencies that could affect layer deposition.
- Blend optimization – Understanding energy metrics helps you guarantee both fresh and reused powders maintain suitable flow properties.
- Proactive problem-solving – Real-time monitoring allows you to address flow-related problems before they cause defects.
This approach enables you to maintain consistent manufacturing efficiency while minimizing quality issues.
Permeability Testing to Assess Powder Bed Formation Quality
While specific energy measurements reveal flow dynamics, permeability testing takes your powder assessment deeper by evaluating how air moves through your powder bed. This testing measures airflow resistance, directly impacting how well your powder spreads and forms uniform layers during additive manufacturing.
You’ll discover pressure drop variations across different metal powders, revealing critical flow characteristics that affect layer quality and part integrity.
Permeability testing helps you assess your feedstock’s suitability for Powder Bed Fusion processes by analyzing the specific energy needed to move air through powder. This data directly correlates with consistent layer deposition and defect minimization.
You’ll also use these measurements for lifecycle management of reused powders, since their permeability changes considerably after multiple build cycles, affecting overall manufacturing success.
Real-World Case Studies of Flow Problems in Production Environments
When production environments encounter unexpected flow problems, the root causes often trace back to subtle powder characteristics that standard particle size analysis misses.
Metal Powder C exemplifies this challenge—despite having similar particle size distributions to other powders, it caused significant blockages during AM production. Extensive flow testing revealed the underlying issues that visual inspection couldn’t detect.
Real-world case studies demonstrate three critical findings:
- Dynamic testing identified that differences in Specific Energy directly correlated with production flow problems.
- Stainless steel powder variability led to substantial AM performance differences, even with similar specifications.
- Used powders exhibited increased flow energy compared to virgin materials, negatively impacting performance.
These cases underscore why you can’t rely solely on particle size data—thorough evaluation of physical properties prevents costly production disruptions.
Establishing Quality Control Protocols for Metal Powder Feedstock
Since production disruptions from poor powder flow can cost thousands of dollars per hour, you need robust quality control protocols that catch flow problems before they reach your AM machines.
Implementing systematic testing protocols helps you identify batch-to-batch variability in feedstocks, allowing you to mitigate risks associated with powder particle performance and defects in final products.
Your characterisation methods should include Carr’s index and Hausner ratio testing to assess flowability, which directly impacts layer deposition and part quality.
Regular powder particle size distribution and shape analysis guarantees compliance with industry standards like ASTM F1472.
Advanced rheological testing techniques enhance predictability of powder behavior during processing, maintaining high quality control standards in AM production while preventing costly manufacturing failures.
Frequently Asked Questions
Why Do We Check the Flow Property of Powder?
You check powder flow properties to guarantee consistent layer deposition, prevent manufacturing defects, optimize packing density, maintain quality across batches, and enhance overall process efficiency in your production operations.
What Is the Flowability Test for Powder?
You’ll conduct Hall flow rate tests, measure Carr’s index, and determine dynamic angle of repose. These standardized methods evaluate how easily your metal powders flow under different conditions for consistent manufacturing.
How to Check the Flow Rate of Powder?
You can check powder flow rate using the Hall flow test, measuring time for a specific mass to flow through a standardized orifice, or use dynamic avalanche rheometry for thorough analysis.
What Are the Factors That Affect Powder Flow?
You’ll find particle shape, size distribution, and morphology profoundly impact flow behavior. Moisture content alters inter-particle forces, while environmental conditions affect consistency. Powder reuse changes characteristics, requiring you to monitor these variables regularly.


Leave a Reply