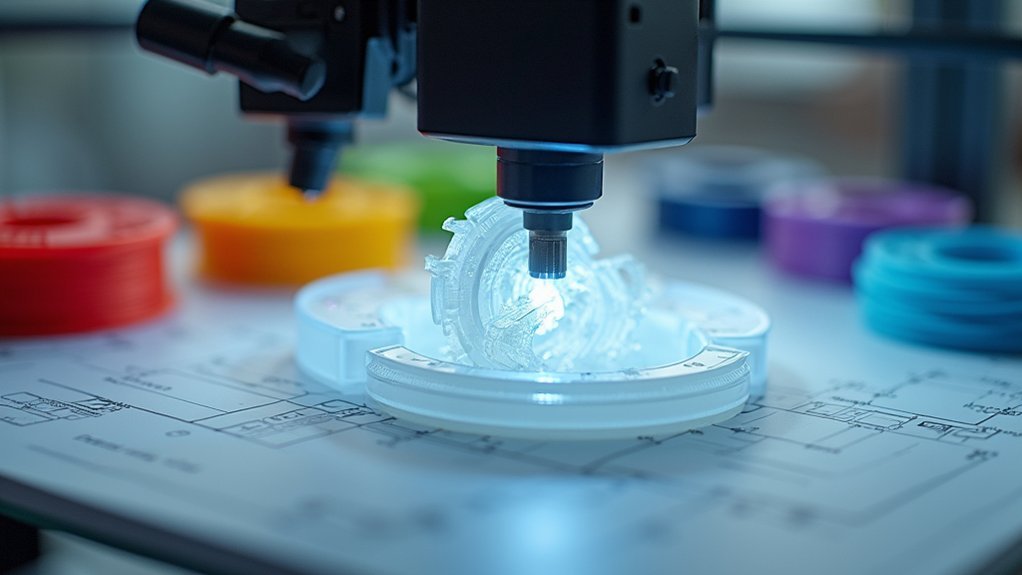
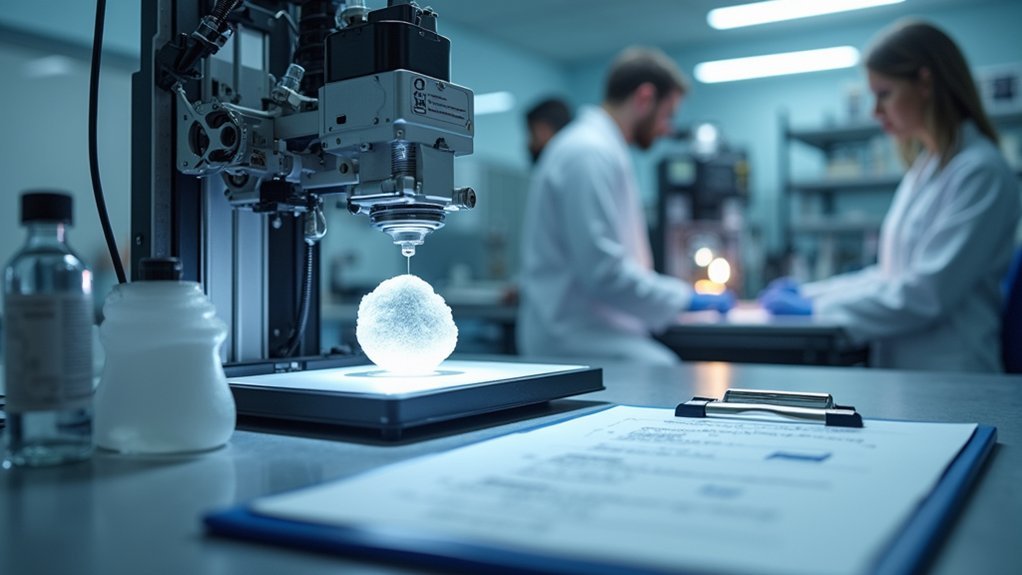
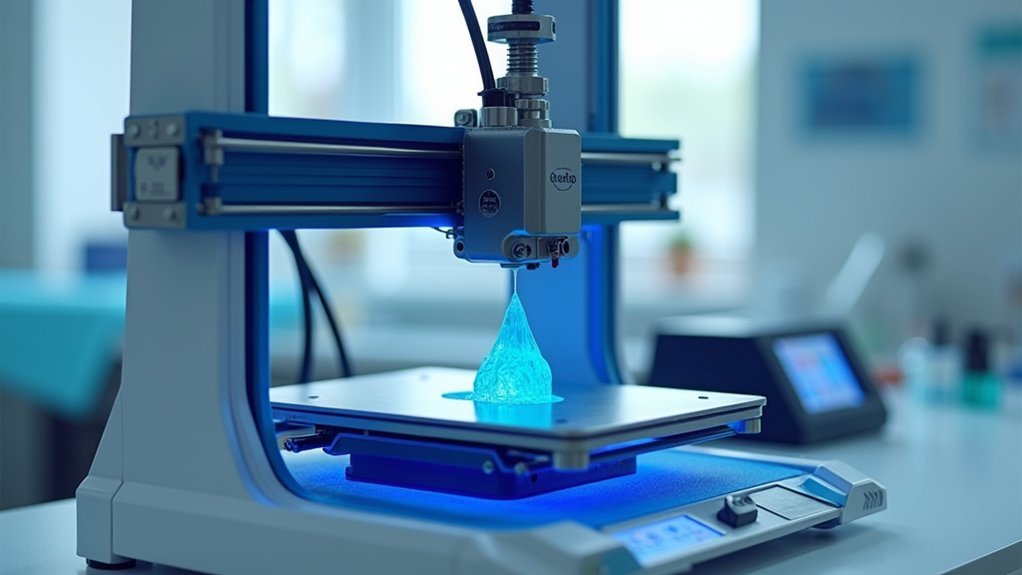
You’ll need to start by selecting biocompatible materials like PC-ISO or Nylon PA 12 that meet ISO 10993 standards for patient safety. Choose appropriate 3D printing technology such as SLA for high-resolution components or SLS for complex geometries. Prepare digital models from medical imaging data like CT scans, then convert them to STL files. Implement rigorous quality control measures following FDA 21 CFR Part 820 regulations and establish a Quality Management System for compliance documentation. The following extensive guide covers every critical step you’ll need to master.
Understanding Medical Diagnostic Equipment Design Requirements

When you’re designing medical diagnostic equipment for 3D printing, you must first understand that biocompatibility isn’t just a recommendation—it’s a critical requirement that directly impacts patient safety.
You’ll need materials that meet ISO 10993 standards while delivering the mechanical properties necessary for operational durability.
Your functional design must incorporate user ergonomics, ensuring healthcare professionals can operate devices comfortably and efficiently.
Ergonomic functionality ensures healthcare professionals operate diagnostic devices with optimal comfort and maximum operational efficiency during critical procedures.
Precision engineering becomes paramount since diagnostic accuracy depends on exact measurements and consistent performance.
You can’t overlook regulatory guidelines—FDA 510(k) compliance requires extensive documentation of your design choices, materials, and manufacturing processes.
Throughout development, implement rigorous quality control measures.
Every component must withstand operational stresses while maintaining reliability, making thorough validation essential for successful medical device approval.
Selecting Biocompatible 3D Printing Materials for Medical Applications
Building on those stringent design requirements, your material selection becomes the foundation that determines whether your 3D printed medical equipment will meet regulatory standards and perform safely in clinical environments.
Biocompatible materials for 3D printing in medical applications require careful consideration of their specific properties and intended use.
Here are your primary biocompatible material options:
- PC-ISO – Perfect for surgical guides requiring sterilization and direct patient contact
- Nylon PA 12 – Offers flexibility with high-quality finishes for steam-sterilizable devices
- Titanium – Ideal for implants needing long-term body integration and exceptional strength
- Cobalt Chrome – Provides corrosion resistance for durable joints and high-performance implants
Each material serves specific roles in diagnostic equipment manufacturing, ensuring your 3D printed components meet both safety standards and functional requirements.
Choosing the Right 3D Printing Technology for Diagnostic Equipment

When selecting 3D printing technology for diagnostic equipment, you’ll need to compare each method’s capabilities against your specific requirements for precision, material properties, and production volume.
Your technology choice directly impacts which materials you can use, so you must evaluate whether SLA’s high resolution, SLS’s complex geometries, or DMLS’s metal components best match your diagnostic device needs.
Consider how factors like biocompatibility requirements, regulatory compliance, and manufacturing timelines will influence both your technology selection and material criteria.
Technology Comparison Analysis
Although multiple 3D printing technologies exist for medical applications, you’ll need to carefully match each technology’s capabilities with your diagnostic equipment’s specific requirements to achieve ideal results.
Each technology comparison analysis reveals distinct advantages for medical diagnostic equipment production.
Consider these key technology strengths:
- SLA for high-resolution models – delivers exceptional detail accuracy for precise diagnostic components
- SLS for complex geometries – handles intricate internal structures without support material requirements
- DMLS and SLM for durable components – produces biocompatible metal parts with superior strength
- FDM for quick prototyping – offers cost-effective rapid development with diverse thermoplastic options
Your selection must factor in lead times, production volumes, and material properties alongside regulatory standards for medical devices.
Ensuring compliance with ISO 13485 requirements guarantees your chosen 3D printing technologies for medical applications support necessary validation processes.
Material Selection Criteria
Material compatibility forms the foundation of successful medical diagnostic equipment production, directly impacting device performance, regulatory approval, and patient safety.
When you’re making material selection decisions, prioritize biocompatibility to meet regulatory standards. Consider PC-ISO and Nylon PA 12 for their proven medical applications, or explore high-performance polymers like PEEK for demanding requirements.
You’ll need to evaluate mechanical properties including tensile strength, flexibility, and temperature resistance.
Match your 3D printing technology choice with material capabilities—SLA for precision parts, SLS for complex geometries, or DMLS for metal components.
Cost-effectiveness matters greatly. Standard thermoplastic filaments work well for low-volume production, while medical-grade titanium suits high-strength applications.
Don’t overlook sterilizable materials if your equipment requires chemical exposure resistance or repeated sterilization cycles.
Creating and Preparing Digital Models for Medical Device Printing
You’ll start your medical device printing journey by capturing precise anatomical data through digital imaging techniques like MRI or CT scans.
Next, you’ll segment this data to isolate the specific structures you need.
Then, you’ll optimize your CAD models using advanced software tools that convert imaging data into printable surface meshes while ensuring accuracy for your intended medical application.
Finally, you’ll prepare STL files that maintain compatibility with your 3D printer and meet the regulatory standards required for medical device manufacturing.
Digital Imaging and Segmentation
Before you can begin 3D printing medical equipment, you’ll need to transform anatomical data into precise digital models through imaging and segmentation.
Digital imaging techniques like MRI and X-Ray CT capture detailed anatomical structures, providing essential imaging data for creating accurate 3D models of diagnostic equipment.
You’ll then use segmentation to isolate specific structures from these captured images—a critical step for developing precise computer models that represent your intended device accurately.
Advanced software tools streamline this segmentation process, enabling rapid conversion of your imaging data into printable 3D models.
Once completed, you’ll export these digitized models as STL files, the standard format for 3D printers.
- Capture high-resolution anatomical data using MRI or CT scanning
- Isolate target structures through precise segmentation techniques
- Convert segmented data into printable models using specialized software
- Export patient-specific designs as STL files for manufacturing
CAD Model Optimization
Once you’ve exported your STL files from the segmentation process, CAD model optimization transforms these raw digital representations into print-ready medical devices. You’ll refine surface meshes and integrate essential features like connectors while guaranteeing your models meet strict specifications for mechanical properties and biocompatibility.
| Optimization Step | Key Considerations |
|---|---|
| Surface Mesh Refinement | Convert 3D scanning techniques data into smooth, printable surfaces |
| Feature Integration | Add connectors, mounting points, and functional elements |
| Property Validation | Verify mechanical properties meet device requirements |
| Biocompatibility Check | Ensure materials and design support safe patient interaction |
The model preparation process requires advanced software tools that expedite conversion while maintaining accuracy. Your digital representations must translate perfectly to physical medical devices, making this optimization phase critical for successful 3D printing outcomes.
STL File Preparation
STL file preparation transforms your optimized CAD models into the standard format that 3D printers understand and process.
You’ll begin by digitizing anatomical structures using 3D scanning techniques, creating digital representations for your medical devices. Through segmentation, you’ll isolate specific structures from scanned data, developing precise 3D computer models suitable for printing.
- Convert segmented anatomical data into surface meshes using advanced software that streamlines preparation.
- Export prepared models as universally compatible STL files ensuring accurate reproduction across most 3D printers.
- Incorporate necessary connectors and supports into your files for enhanced printed model’s functionality.
- Add color information to improve your final model’s appearance and professional presentation.
This systematic approach guarantees your medical equipment designs translate successfully from digital concepts to physical prototypes.
Quality Control and Testing Standards for 3D Printed Diagnostic Tools
Precision becomes paramount when you’re 3D printing diagnostic tools that’ll directly impact patient care and clinical decisions.
You’ll need robust quality control measures following regulatory guidelines like ISO 13485 to establish a thorough quality management system. Your devices must meet biocompatibility standards per ISO 10993, with testing requirements varying based on patient contact levels.
Process validation proves your manufacturing consistently produces devices meeting safety and performance standards according to FDA regulations in 21 CFR Part 820.
Maintain detailed documentation and traceability of materials and production methods for quality assurance compliance and audit readiness.
Implement continuous monitoring systems to adapt to evolving standards and guarantee your 3D printed diagnostic equipment remains reliable in clinical environments.
Regulatory Compliance and FDA Approval Considerations

Why does maneuvering FDA approval for 3D printed diagnostic equipment feel so complex?
You’re dealing with regulatory compliance that requires meeting FDA regulations under 21 CFR Part 820, plus ISO 13485:2016 certification for EU markets.
Your Quality Management System becomes the backbone for documenting adherence to medical devices standards.
A comprehensive Quality Management System serves as your foundation for proving compliance with stringent medical device regulatory standards.
Key requirements you’ll need to address:
- Biocompatibility testing – Varies based on patient contact type and intended use
- Documentation and traceability records – Extensive records demonstrating regulatory compliance
- Validation of 3D printing processes – Proving your manufacturing methods meet required standards
- Ongoing collaboration with regulatory bodies – Maintaining compliance monitoring throughout development
You’ll need robust documentation, thorough validation protocols, and systematic traceability records to successfully navigate approval and commercialization of your diagnostic equipment.
Post-Processing Techniques for Medical Diagnostic Equipment
Once your 3D printed diagnostic equipment emerges from the printer, you’re only halfway to achieving medical-grade quality.
Essential post-processing techniques transform raw prints into functional medical devices. Start with thorough cleaning to remove support material and residue. For resin-based parts, curing under UV light verifies proper polymerization and strength required for medical-grade applications.
Surface finishing through sanding, polishing, or coating applications creates smooth surfaces that minimize contamination risks.
Sterilization follows, using autoclaving or gamma irradiation to eliminate pathogens completely.
Quality assurance measures conclude the process. You’ll need dimensional inspection to verify specifications and biocompatibility testing to ascertain patient safety.
These steps guarantee compliance with ISO 13485 and FDA guidelines, making your diagnostic equipment ready for clinical use.
Integrating Electronic Components and Sensors
You’ll need to carefully plan how electronic components and sensors integrate with your 3D printed medical device from the design phase onward.
Embedding sensor technologies directly into printed structures requires selecting compatible materials and printing techniques that won’t compromise electronic functionality.
You can achieve seamless electronic circuit integration by using conductive filaments for pathways and multi-material printing to create protective housings around sensitive components.
Embedding Sensor Technologies
As 3D printing technology advances, embedding sensor technologies directly into medical equipment transforms static devices into intelligent, data-collecting instruments.
You’ll discover that multi-material printing techniques enable seamless integration of conductive materials, creating complex sensor arrays within your 3D printed medical diagnostic equipment. This breakthrough allows you to develop sophisticated monitoring systems that weren’t possible with traditional manufacturing.
- Real-time monitoring capabilities through embedded sensors provide continuous health data collection
- Bio-sensors integration enables detection of specific biomolecules for rapid diagnostic testing
- Microfluidic channels allow precise fluid control for point-of-care testing applications
- Wireless data transmission supports remote patient monitoring and immediate medical interventions
You can now create portable diagnostic devices that combine structural components with advanced sensing capabilities, revolutionizing healthcare delivery through intelligent, connected medical equipment.
Electronic Circuit Integration
When you integrate electronic circuits directly into 3D printed medical equipment, you’re fundamentally transforming how diagnostic devices function and perform.
You’ll achieve this by embedding conductive materials during the printing process, allowing electronic components to become part of the device structure rather than separate attachments. This approach reduces assembly complexity while creating compact diagnostic equipment.
You can incorporate various sensors like temperature, pressure, and biosensors directly into your printed models.
When integrating these elements, you must carefully select materials that maintain both conductivity and biocompatibility for safe medical use.
Flexible electronics enable you to create conformable, wearable diagnostic devices that enhance patient comfort.
Your success depends on balancing functionality with safety requirements in medical environments.
Validation and Performance Testing of Printed Diagnostic Devices
Before your 3D printed diagnostic device can reach patients, it must undergo rigorous validation and performance testing to meet regulatory standards and confirm patient safety.
You’ll need to assess functionality, accuracy, precision, and repeatability while following FDA regulations outlined in 21 CFR Part 820. Biocompatibility testing guarantees your materials are safe for patient contact, adhering to ISO 10993 standards.
Essential validation steps include:
- Performance verification – Test accuracy, precision, and repeatability under real-world conditions
- Biocompatibility assessment – Evaluate material safety for patient contact following ISO 10993
- Iterative testing protocols – Identify and resolve performance issues before commercialization
- Quality management system implementation – Maintain thorough quality records for regulatory compliance
You must establish a robust quality management system that documents every testing phase, confirming consistent performance throughout your diagnostic devices’ lifecycle.
Cost Analysis and Production Scalability Factors
While traditional manufacturing requires substantial upfront investments in tooling and molds, 3D printing medical diagnostic equipment eliminates these barriers and dramatically reduces your initial costs. You’ll achieve significant savings on cost per part through rapid prototyping, enabling quick design iterations without expensive retooling.
| Traditional Manufacturing | 3D Printing Technology |
|---|---|
| Weeks to months production | Hours to days delivery |
| High minimum order quantities | Single unit economically viable |
| Limited customization options | Unlimited design freedom |
Your production costs decrease substantially when creating custom diagnostic tools in-house. Biocompatible materials like PC-ISO impact pricing but guarantee regulatory compliance. Scalability factors favor 3D printing for small batches and patient-specific devices. You’ll streamline your supply chain by reducing outsourcing dependencies, making diagnostic equipment production more efficient and cost-effective.
Implementing Quality Management Systems for Medical Device Manufacturing
As you shift from prototyping to manufacturing medical devices through 3D printing, implementing a thorough Quality Management System (QMS) becomes critical for regulatory compliance and patient safety.
Your QMS must align with regulatory standards like ISO 13485:2016 and FDA requirements to guarantee effective medical device manufacturing processes.
Aligning your QMS with ISO 13485:2016 and FDA standards ensures compliant, effective medical device manufacturing through 3D printing technology.
Essential components you’ll need to establish include:
- Process Documentation – Document all manufacturing procedures, roles, and quality control measures for consistent execution.
- Continuous Monitoring – Track production metrics throughout the entire product lifecycle to maintain quality standards.
- Risk Management – Follow ISO 14971 guidelines to identify, assess, and mitigate potential device-related risks.
- Quality Records – Maintain detailed documentation demonstrating compliance and effective quality control implementation.
Your QMS guarantees regulatory adherence while protecting patient outcomes.
Frequently Asked Questions
What Materials Are Used in 3D Printing Medical Devices?
You’ll use biocompatible materials like PC-ISO, Titanium, and Cobalt Chrome for medical devices. FDM employs ABS and Nylon, while SLA uses specialized resins. Metal printing utilizes Titanium and Stainless Steel for implants.
What Are Two Ways That 3D Printing Is Used in the Medical Field?
You’ll find 3D printing creates custom prosthetics and implants that fit patients perfectly, improving comfort considerably. You can also rapidly prototype functional diagnostic equipment, enabling quick testing and validation within hours.
Can PLA Be Used for Medical Devices?
You can use PLA for certain medical devices like surgical guides and anatomical models, but you’ll need biocompatibility testing and regulatory approval since it’s not inherently biocompatible for medical applications.
How Are Medical Appliance Technicians Using 3D Printing Technology?
You’re using 3D printing to create patient-specific molds, rapid prototype diagnostic tools, produce complex components without tooling, utilize biocompatible materials for safety, and quickly iterate designs for testing and validation.


Leave a Reply