You should start by ensuring every edge in your mesh connects exactly two faces, creating a watertight structure essential for successful 3D printing. Use specialized software like Meshmixer or NetFabb to identify and fix non-manifold issues such as self-intersecting faces, overlapping edges, and floating objects. Export your STL files using binary format with 0.1mm chordal tolerance for optimal precision. Design with adequate wall thickness and eliminate gaps that disrupt surface continuity. These thorough strategies will transform your printing success rate.
Understanding Manifold Geometry Requirements for 3D Printing

When you’re preparing 3D models for printing, manifold geometry serves as the foundation for successful results. In the printing industry, you’ll need each edge in your mesh of triangles to connect exactly two faces, creating a watertight structure.
Think of manifold geometry like a balloon’s surface—it’s continuous without holes or overlapping sections. Your STL file format demands this precision because non-manifold geometry creates serious printing problems.
Self-intersecting faces and floating components will cause failed prints and unexpected defects. You’ll also need to maintain adequate wall thickness throughout your design, as thin walls compromise structural integrity and won’t print correctly.
Before printing, you should verify your model’s manifold integrity using specialized software to identify and fix errors early.
Identifying and Fixing Common Non-Manifold Issues
Although your 3D model might look perfect on screen, hidden non-manifold issues can sabotage your print before it even begins.
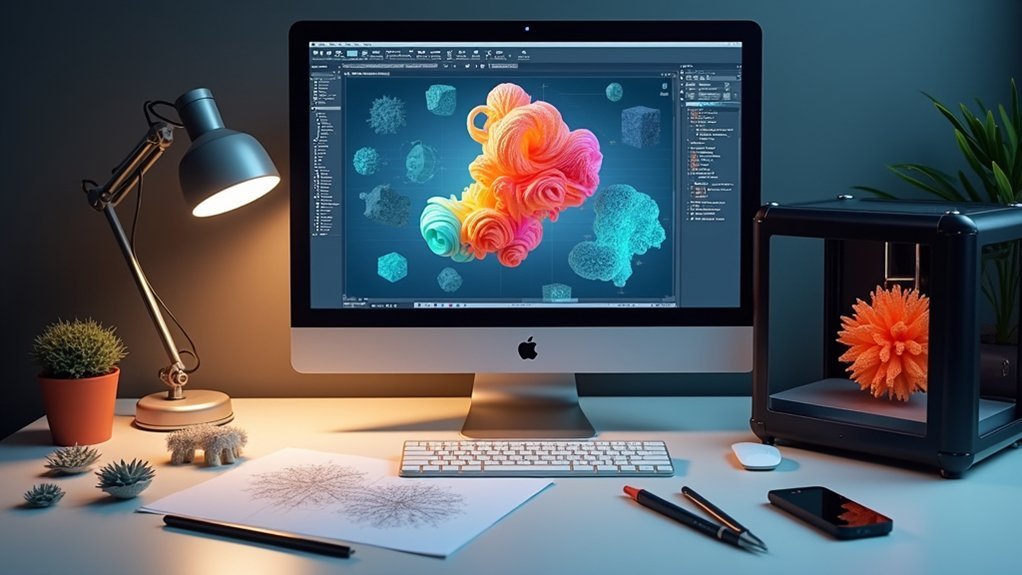
You’ll need specialized software like Autodesk Meshmixer or NetFabb to detect these problems in your mesh. These tools highlight self-intersecting faces, overlapping edges, and floating objects that confuse 3D printers.
Common culprits include holes and gaps that disrupt surface continuity. When you spot these issues, use built-in repair tools to automatically fix most problems and create watertight models.
Small gaps and holes in your mesh can derail an entire print job before it starts.
Don’t skip checking for non-manifold issues before exporting STL files—even tiny errors greatly impact print quality and structural integrity. Regular mesh validation prevents costly printing failures and saves valuable time during production.
Optimizing STL Export Settings From CAD Software

Once you’ve resolved non-manifold issues, proper STL export settings become essential for achieving ideal print results without bloating file sizes.
When you export an STL from CAD software, choose binary format for smaller file sizes and faster processing. Set chordal tolerance to 0.1 mm to maintain dimensional accuracy while controlling file size.
Adjust angular tolerance to 1 degree for best resolution of an STL, especially on curved surfaces. Use 0.1 mm minimum triangle side length to balance detail with performance.
Following these best practices guarantees you’ll generate clean triangles in the mesh without creating unnecessarily larger file sizes. If files exceed 20 MB, increase tolerances slightly to enhance mesh density without sacrificing print quality.
Using Mesh Repair Tools to Validate File Integrity
Before sending your STL files to the printer, you’ll want to validate their integrity using specialized mesh repair tools like NetFabb, MeshLab, or Meshmixer.
These applications automatically identify and fix critical geometry problems including holes, non-manifold edges, and overlapping surfaces that cause print failures.
You’ll appreciate the visual feedback these tools provide, showing exactly where issues exist before and after repairs. This helps you understand what makes files problematic and how to avoid similar issues in future designs.
Making mesh repair tools part of your regular STL preparation process guarantees your files are watertight and properly structured.
Incorporating mesh validation into your workflow ensures clean, printable STL files every time.
This best practice greatly reduces printing complications, saving you time and materials by catching problems before they reach your 3D printer.
Best Practices for Preventing Non-Manifold Errors During Design

While mesh repair tools fix problems after they occur, preventing non-manifold errors during your design phase saves you significant time and frustration.
Start by ensuring every edge connects exactly two faces in your CAD software. Use built-in validation tools to check for non-manifold geometry as you work, catching issues before they compound.
Design with adequate wall thickness throughout your model file to prevent structural weaknesses that could cause printing failures. Keep your mesh watertight by eliminating gaps or holes that break the solid boundary.
Regularly run manifold checks using tools like Meshmixer or Netfabb during development, not just before exporting to STL format. These proactive steps create clean, printable files from the start.
Frequently Asked Questions
What Is the Best Software to Create STL Files?
You’ll find SolidWorks, Fusion 360, and Autodesk Inventor excellent for professional STL creation. If you’re beginning, try Blender or Tinkercad instead. They’re user-friendly and offer robust export options for high-quality 3D printing files.
How to Optimize Stl Files?
You’ll optimize STL files by adjusting resolution settings, checking for non-manifold geometries, simplifying complex meshes, ensuring proper wall thickness, and using repair tools to fix gaps and overlapping geometry issues.
Is It Okay to Print With Non-Manifold Edges?
You shouldn’t print with non-manifold edges because they’ll confuse your slicer, creating unpredictable results and potential print failures. While some prints might succeed, you’re risking wasted materials and time unnecessarily.
How to Make a 3D Model Manifold Blender?
You’ll need to eliminate holes and overlapping vertices in your mesh. Use “Merge by Distance” to remove doubles, select “Non-Manifold” under Mesh menu to identify issues, and guarantee your model’s completely closed.


Leave a Reply