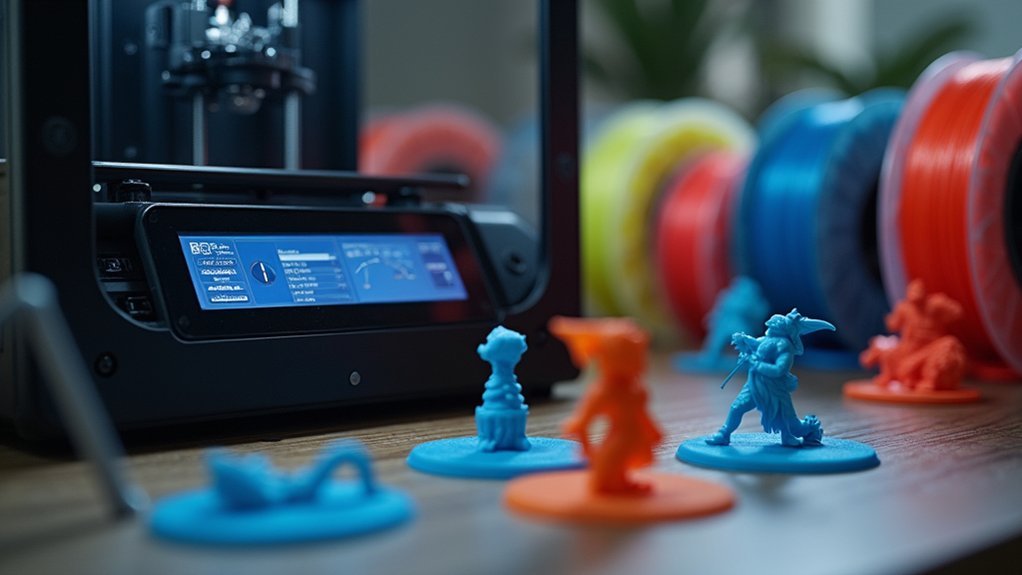
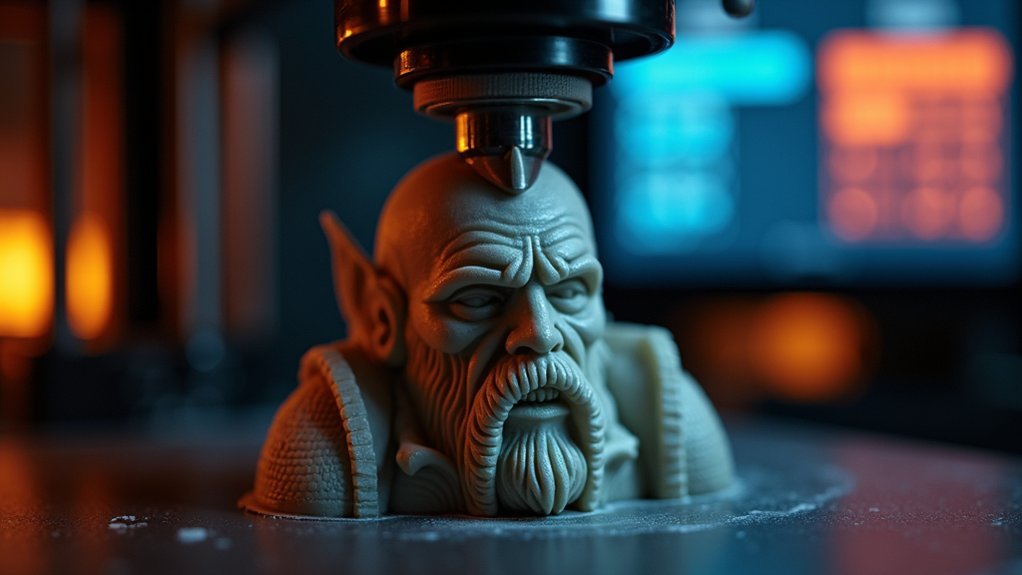
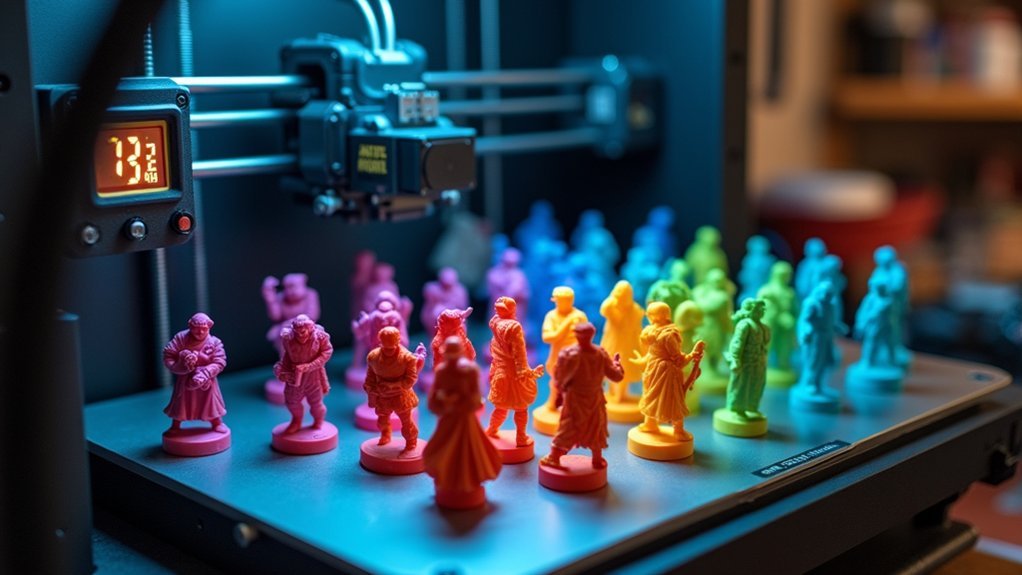
For gaming miniatures, you’ll want to use 20µm-50µm layer heights to achieve the best balance between detail and structural integrity. Highly detailed figures like character models require thinner layers at 20µm or lower for crisp features, while simpler designs can use 50µm-80µm settings. Avoid 10µm layers as they often cause structural failures on bridges and overhangs. Test systematically from 100µm down to find your printer’s sweet spot, and remember that thinner layers dramatically increase print times but capture finer details that’ll elevate your miniatures to professional standards.
Understanding Layer Height Fundamentals for Miniature Quality

When you’re dialing in your 3D printer settings for gaming miniatures, layer height becomes the make-or-break factor that determines whether your figures look professional or amateur.
Layer height, measured in microns, directly controls surface smoothness and detail resolution. You’ll find that thinner layers between 10µm-20µm produce exceptional surface quality, capturing intricate details like facial features and armor textures with remarkable precision.
However, there’s a trade-off you need to take into account. While 10µm layers create ultra-smooth finishes perfect for display pieces, they’re prone to structural failures in longer spans.
The ideal layer height for most gaming miniatures sits at 20µm-50µm, balancing detail capture with structural integrity. This range guarantees your miniatures maintain crisp intricate details while avoiding the blocky appearance that thicker 100µm layers create.
Choosing the Right Layer Height for Different Miniature Types
Since different miniature types demand varying levels of detail precision, you’ll need to match your layer height to each model’s complexity and intended use.
For highly detailed figures like the Flamehorn Wyrmling, use thinner layers at 20µm or lower to capture intricate features and achieve razor-sharp finishes.
Moderate detail miniatures work well at 50µm, balancing quality with reasonable print speeds.
When printing miniatures with simpler designs or terrain pieces, thicker layers around 80µm provide adequate results while reducing print time.
For larger, less detailed models where efficiency matters most, 100µm layer heights work effectively despite visible layer lines.
Flat surfaces like the Maznar Column benefit from 50µm settings, maintaining structural integrity without sacrificing essential detail quality.
Balancing Print Speed and Detail Quality

Finding the sweet spot between print speed and detail quality requires understanding how layer height directly impacts both factors.
When you choose smaller layer heights like 10µm-20µm, you’ll achieve razor-sharp and clean details perfect for display pieces, but you’re committing to considerably longer print time—up to 7 hours and 27 minutes per miniature.
If you’re printing multiple miniatures or working on deadlines, consider 50µm settings that deliver reasonable quality in just 2 hours and 18 minutes.
For less intricate 20mm miniatures, 80µm provides acceptable detail while cutting print time to 1 hour and 17 minutes.
A thick layer approach at 100µm works well for larger, simpler designs where speed outweighs ultra-fine detail requirements.
Testing and Optimizing Your Layer Height Settings
After you’ve established your baseline understanding of layer height basics, you’ll need to conduct systematic testing across multiple settings to find your printer’s ideal configuration.
Start by testing layer heights from 100µm down to 10µm using detailed miniatures like the Flamehorn Wyrmling alongside simple geometric shapes like the Maznar Column. Use a microscope to analyze print quality differences between each setting, focusing on surface smoothness and detail clarity.
Pay attention to structural integrity during testing. You’ll find that thin layers around 10µm often fail on bridge spans as small as 1mm, while 50µm maintains excellent structural performance up to 4mm bridges.
Balance your exposure times accordingly—thinner layers need more bottom layers for proper adhesion. Document timing differences since 10µm prints take considerably longer than 100µm alternatives.
Troubleshooting Common Layer Height Issues

When your freshly printed miniatures emerge with visible layer lines or stepping artifacts, you’re likely dealing with a layer height that’s too thick for the model’s intricate details. Reduce your layer height to 50µm or lower to achieve better surface quality on your resin printer.
| Issue | Recommended Layer Height | Notes |
|---|---|---|
| Visible layer lines | 50µm or lower | Higher settings reduce detail quality |
| Sagging bridges | 50µm or higher | Very thin layers weaken long spans |
| Extended print times | Balance needed | 20µm can double printing duration |
Remember that reducing layer height greatly impacts print times—dropping from 50µm to 20µm can extend a 2-hour print to nearly 4 hours. Always recalibrate your exposure settings when adjusting layer height, as thinner layers require more precise timing for proper adhesion.
Frequently Asked Questions
What Is a Good Layer Height for Miniatures?
You’ll want 50µm for most gaming miniatures since it balances detail and speed perfectly. If you’re creating display pieces, use 10-20µm for razor-sharp details, though it’ll greatly increase your printing time.
What Layer Height for 28MM Miniatures?
You should use 20µm for razor-sharp details on display pieces, or 50µm for crisp features with faster printing. Avoid 80µm+ as it’ll create visible layer lines that detract from your miniature’s appearance.
Is 0.1 Layer Height Good?
Yes, you’ll get decent detail with 0.1mm layer height for gaming miniatures. It’s a good balance between print speed and quality, though you’ll see some layer lines on intricate features compared to finer settings.
What Is the 5mm Rule in 3D Printing?
The 5mm rule states you shouldn’t design features smaller than 5mm on your 3D models. It prevents printing failures, guarantees structural integrity, and helps your miniatures withstand handling without breaking during gameplay.


Leave a Reply