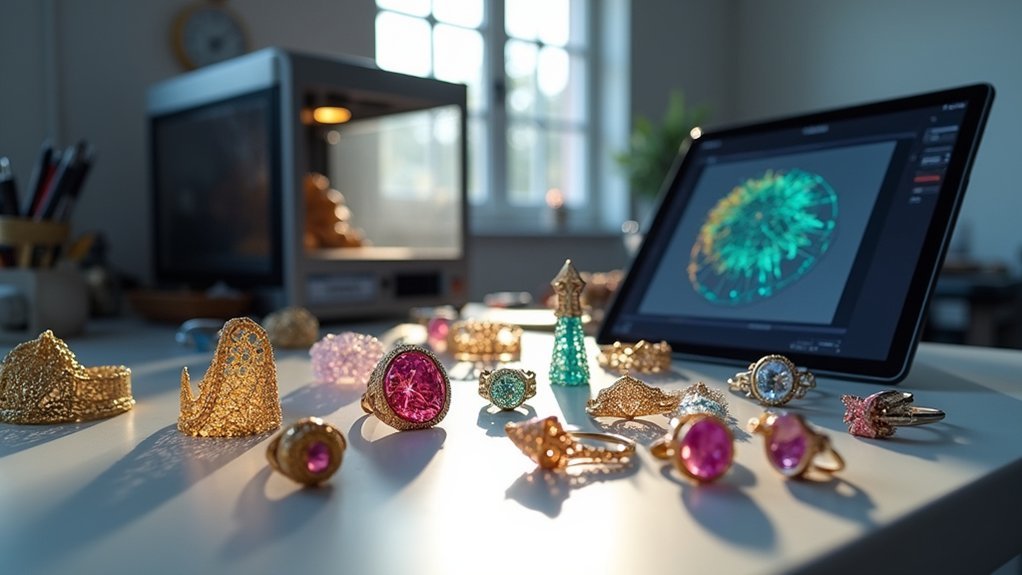
You can revolutionize your jewelry design process by selecting the right 3D printing technology—SLA offers exceptional detail for luxury pieces, while DMLS creates complex metal geometries impossible with traditional methods. Choose PLA filaments for beginner-friendly prototypes or metal-filled materials for authentic finishes. Use specialized CAD software like Rhino or MatrixGold to optimize designs with proper wall thickness and self-supporting structures. Master post-processing techniques and quality control testing to achieve professional results that’ll transform your entire manufacturing approach.
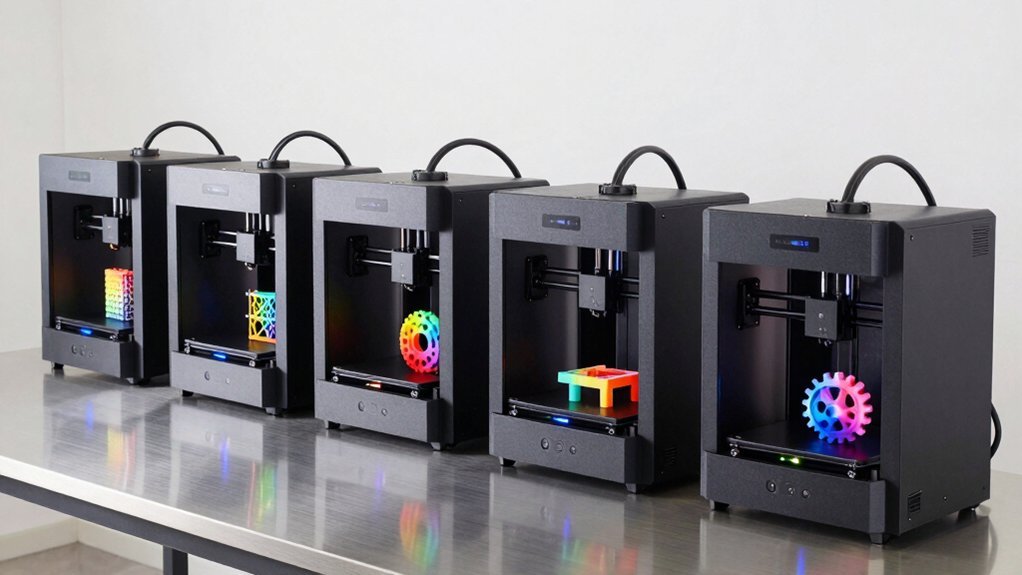
Understanding 3D Printing Technologies for Jewelry Manufacturing
Revolution in jewelry design starts with selecting the right 3D printing technology for your specific manufacturing needs.
You’ll find Stereolithography (SLA) delivers exceptional resolution for intricate designs, while Selective Laser Sintering (SLS) provides strength for functional prototypes.
Though Fused Deposition Modeling (FDM) offers affordability, it’s limited in design complexity compared to SLA or Digital Light Processing (DLP).
Direct Metal Laser Sintering transforms jewelry manufacturing by enabling complex metal geometries impossible through traditional methods.
Your technology choice directly impacts material compatibility and final quality—SLA excels at detailed work while SLS handles robust prototyping.
Understanding each technology’s operational capabilities and limitations guarantees you’ll select the appropriate method matching your design requirements and production goals, maximizing both efficiency and results.
Essential Materials and Filaments for Jewelry Prototypes
You’ll need to choose the right filament materials to transform your jewelry concepts into successful prototypes.
PLA filament options provide an excellent starting point for beginners, while metal-filled materials can give your pieces authentic weight and appearance that closely mimics real jewelry.
Post-processing compatible filaments allow you to sand, polish, and finish your prototypes to achieve professional-quality results that better represent your final product vision.
PLA Filament Options
When starting your jewelry prototyping journey, PLA (Polylactic Acid) stands out as the most beginner-friendly filament option that doesn’t compromise on quality results. This biodegradable material excels at producing intricate designs with minimal warping, making it perfect for detailed jewelry pieces.
PLA’s low melting point enables rapid prototyping, allowing you to iterate your jewelry design concepts quickly and efficiently.
You’ll find several PLA variants that enhance your prototyping capabilities:
- Silk PLA – Delivers a glossy finish that reduces post-processing needs while creating visually stunning prototypes
- Matte PLA – Provides non-reflective surfaces ideal for artisanal looks and reducing glare on detailed features
- Colored PLA varieties – Enable extensive customization without requiring additional coatings or paints
- Standard PLA – Offers reliable performance for testing structural elements and basic design validation
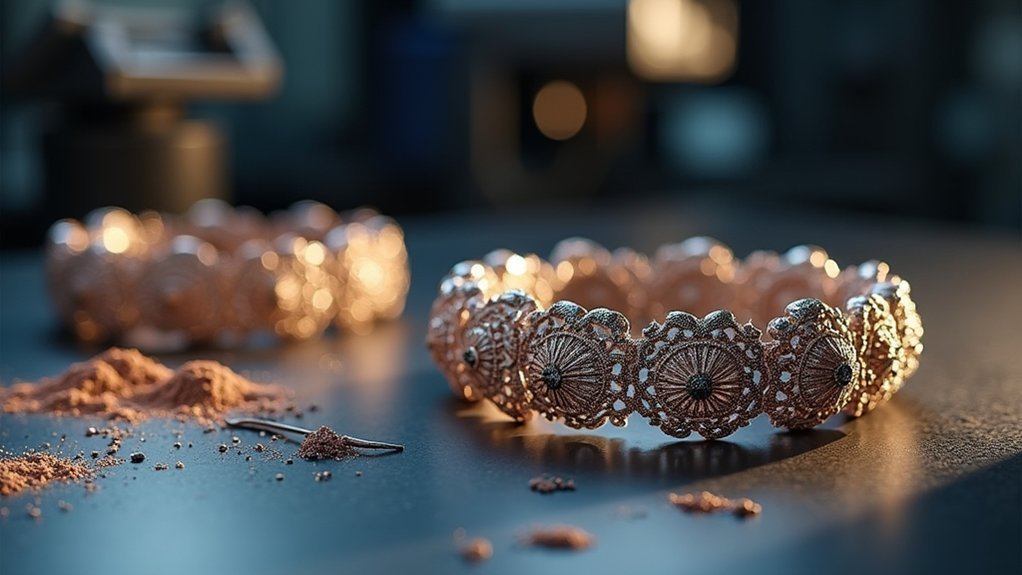
Metal-Filled Materials
While standard PLA serves jewelry prototyping well, metal-filled materials elevate your prototypes to a professional level that closely mimics actual precious metals.
These specialized filaments combine PLA’s lightweight properties with metal powder, delivering authentic metallic appearance and enhanced weight that increases perceived value compared to standard plastic options.
You’ll achieve intricate detailing and complex designs essential for high-end jewelry prototypes while maintaining structural integrity. The substantial feel these materials provide makes your pieces more convincing to clients and stakeholders.
However, success requires careful attention to post-processing techniques like sanding and polishing to achieve professional shine. Quality control becomes critical during these final production stages.
Before selecting metal-filled materials for 3D printing, verify your printer handles abrasive metal powders without compromising print quality or equipment longevity.
Post-Processing Compatible Filaments
Beyond metal-filled options, selecting filaments based on their post-processing compatibility guarantees you achieve professional results with minimal effort.
Your filament choice directly determines which post-processing techniques you’ll need to employ for stunning jewelry prototypes.
Metal-filled PLA stands out because it accepts sanding and polishing exceptionally well, delivering an authentic metallic professional finish.
PETG’s naturally glossy surface requires minimal finishing, making it perfect for sleek modern designs.
Standard PLA benefits from painting or clear coating to enhance its appearance and durability.
Consider these post-processing advantages:
- Metal-filled PLA – Sands and polishes like real metal
- PETG – Glossy finish straight from printer
- ABS – Accepts acetone vapor smoothing for seamless surfaces
- Standard PLA – Takes paint and coatings beautifully
Choose your filament strategically to create durable prototypes with minimal post-processing effort.
CAD Software and Design Optimization for Jewelry Production
Since traditional jewelry design methods can’t match the precision required for complex 3D printed pieces, you’ll need specialized CAD-CAM software to create detailed digital models that translate seamlessly into physical prototypes.
Popular options like Rhino, MatrixGold, and Tinkercad offer features specifically tailored for jewelry production.
Design optimization is essential for successful 3D printing results. You’ll want to create self-supporting geometries that minimize support structures and reduce material waste.
Orient your parts strategically to avoid problematic overhangs, and maintain proper wall thickness between 0.5-1.5mm depending on your chosen material.
Incorporate test points and modular components during the design phase. This approach streamlines prototyping and production by making assembly, disassembly, and testing much easier throughout your manufacturing process.
Selecting the Right 3D Printing Method for Your Project
Although your CAD design may be perfect, choosing the wrong 3D printing method can derail your entire jewelry project before it starts. Your selection directly impacts detail quality, material properties, and production costs for jewelry prototypes.
Consider these key 3D printing methods for your project:
- SLA (Stereolithography) – Delivers exceptional resolution and smooth finishes for intricate jewelry designs.
- DMLS (Direct Metal Laser Sintering) – Produces functional metal prototypes with superior strength for high-end applications.
- DLP (Digital Light Processing) – Offers faster print times while maintaining high accuracy for rapid prototyping.
- FDM (Fused Deposition Modeling) – Provides cost-effective solutions for larger, less detailed pieces.
Match your material properties with design requirements.
Resin works perfectly for detailed SLA prototypes, while metal powder guarantees DMLS durability for functional pieces.
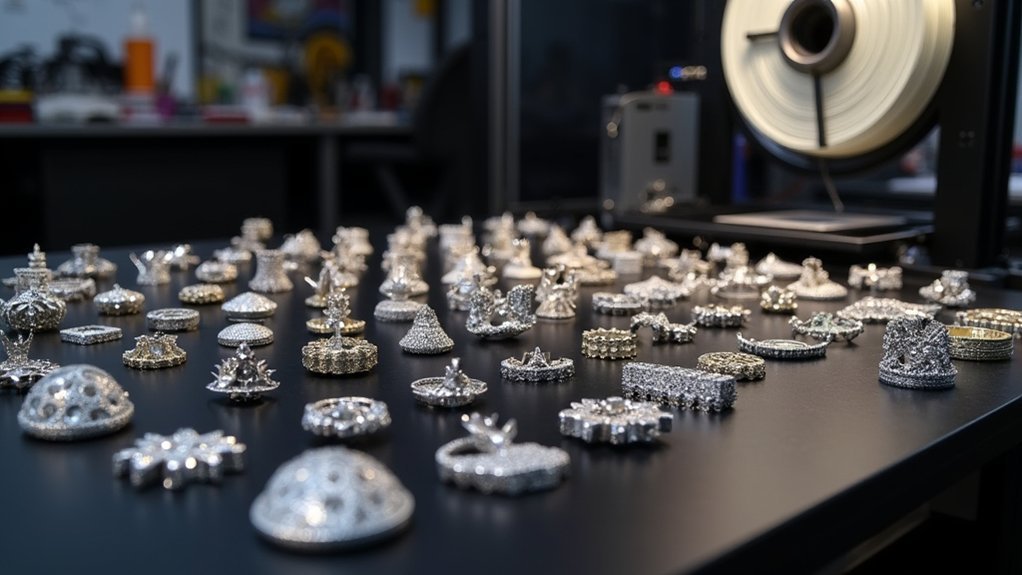
Step-by-Step Jewelry Prototype Manufacturing Process
You’ll need to master three critical phases to successfully manufacture jewelry prototypes through 3D printing.
First, focus on design phase essentials where you’ll create detailed CAD models that account for material properties and structural requirements.
Then you’ll select the ideal printing technology and execute precise post-processing refinement steps to achieve professional-quality results.
Design Phase Essentials
Before you begin crafting your jewelry prototype, you’ll need to establish a solid foundation through meticulous design planning that transforms your creative vision into a printable reality.
The design phase requires careful attention to technical specifications that’ll guarantee successful 3D printing outcomes. Your CAD software becomes your primary tool for creating detailed models with precise dimensions and intricate features.
You’ll need to optimize geometries for self-supporting structures while maintaining appropriate wall thickness for durability.
Key design phase essentials include:
- Converting models using slicing software with proper layer resolution settings
- Selecting appropriate materials for printing based on aesthetic requirements
- Incorporating structural integrity considerations into your design
- Planning for thorough prototype testing and fit adjustments
This systematic approach guarantees your design translates effectively from concept to physical prototype.
Printing Technology Selection
When you’re ready to transform your digital design into a physical prototype, selecting the right printing technology becomes your most critical decision in the manufacturing process. Your printing technology selection directly impacts detail quality, functionality, and cost-effectiveness of your jewelry prototypes.
| Technology | Best For | Key Benefits |
|---|---|---|
| SLA | Intricate luxury designs | Smooth finishes, fine detail |
| SLS | Functional testing prototypes | Multiple materials, durability |
| FDM | Quick iterations | Cost-effective, moderate complexity |
SLA delivers exceptional resolution for detailed jewelry requiring premium finishes. SLS offers versatility with nylon and metal powders for robust functional testing. FDM provides affordability for rapid design iterations, though it sacrifices some detail precision. Consider that SLA requires extensive post-processing while FDM needs minimal finishing work.
Post-Processing Refinement Steps
Once your jewelry prototype emerges from the printer, achieving professional-grade quality depends entirely on meticulous post-processing refinement steps.
You’ll transform rough prints into polished masterpieces through systematic surface preparation and finishing techniques.
Start your post-processing workflow with these essential steps:
- Sanding progression – Begin with 100-200 grit sandpaper to eliminate layer lines, then advance through finer grits up to 2000 for smooth surfaces.
- Polishing enhancement – Apply polishing compounds to metal-filled filaments for authentic metallic shine and professional appearance.
- Painting customization – Use acrylic paints on PLA, ABS, and PETG with primer for superior adhesion and vibrant colors.
- Clear coating protection – Apply final protective coating in glossy or matte finish to prevent wear and enhance visual appeal.
These refinement techniques guarantee your prototypes meet professional jewelry standards.
Post-Processing Techniques for Professional Finishing
While your 3D printer produces the basic shape of your jewelry prototype, the real magic happens during post-processing, where rough printed surfaces transform into professional-quality pieces.
Essential post-processing techniques start with sanding using coarse 100-200 grit sandpaper, then progressing to finer 600-2000 grits for smooth finishes.
Polishing metal-filled filaments with appropriate compounds creates stunning metallic appearances that rival traditional jewelry.
You can customize your pieces through painting with acrylic paints, though priming the surface first guarantees better adhesion.
For ABS prints, vapor smoothing with acetone creates glass-like finishes, but requires proper ventilation for safety.
Finally, applying a clear coat protects your jewelry from wear while offering glossy or matte finish options.
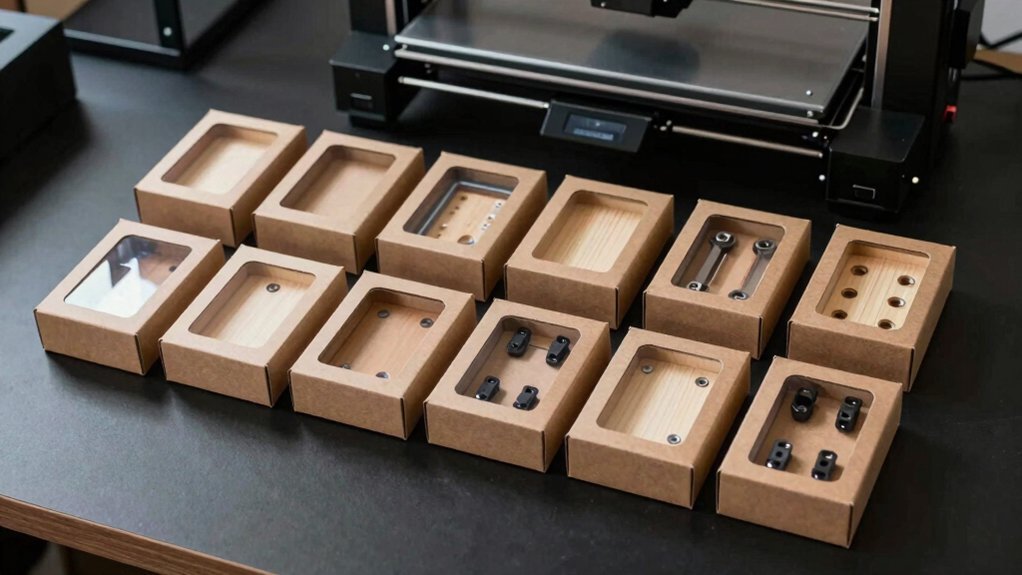
Quality Control and Testing Procedures for Prototypes
After achieving that perfect finish on your jewelry prototype, you’ll need to establish rigorous quality control measures to verify your design meets both aesthetic and functional requirements.
Effective testing procedures guarantee your prototypes deliver the durability and performance customers expect.
Your quality control process should include:
- Stress testing – Apply pressure and tension to assess structural integrity under normal wear conditions
- Dimensional accuracy checks – Measure critical dimensions against design specifications using precision calipers
- Surface quality evaluation – Inspect for defects, consistency, and finish quality under proper lighting
- Functional testing – Test clasps, hinges, and moving parts for smooth operation
Implement iterative testing throughout development, documenting results meticulously.
This continuous improvement approach helps you refine designs systematically, identifying issues early before final production while building valuable data for future projects.
Cost Analysis and Production Scaling Strategies
When shifting from prototype development to production planning, understanding your cost structure becomes essential for sustainable business growth. Your initial investment in 3D printers and software ranges from thousands to tens of thousands of dollars, depending on technology requirements.
Material costs greatly impact expenses—metal-filled PLA costs $25-$50 per kilogram, while high-quality SLA resin ranges $100-$300 per liter.
Material selection significantly affects your bottom line, with costs varying from $25 per kilogram to $300 per liter depending on quality requirements.
Production scaling creates economies of scale by optimizing printer usage and producing multiple prototypes simultaneously, reducing per-unit costs as batch sizes increase.
You’ll benefit from automated post-processing techniques like sanding and polishing, which cut labor costs while maintaining quality standards.
Implementing rapid prototyping strategies through iterative design and testing accelerates time-to-market, enabling quick adjustments based on customer feedback and enhancing your jewelry making competitiveness.
Common Challenges and Troubleshooting Solutions
Even with careful cost planning and production strategies in place, 3D printing jewelry prototypes presents technical obstacles that can derail your project timeline and budget.
You’ll encounter specific challenges that require targeted troubleshooting solutions to maintain print quality and project success.
Key areas demanding your attention include:
- Detail resolution issues – Select SLA or DLP technologies with higher resolution settings for intricate jewelry features
- Material selection problems – Choose metal-filled PLA for realistic appearance or TPU for comfortable wearable pieces
- Surface finish defects – Address layer lines through progressive sanding, starting with coarse grits and moving to finer ones
- Print failures – Monitor temperature, speed, and bed leveling while conducting test prints to prevent warping and adhesion problems
Effective troubleshooting requires systematic parameter adjustments and quality control throughout your jewelry prototypes production process.
Frequently Asked Questions
Can 3D Printed Jewelry Prototypes Be Worn Safely During Allergy Testing?
You shouldn’t wear 3D printed jewelry prototypes during allergy testing. They can interfere with accurate results since printing materials may cause their own reactions, masking or confusing actual allergen responses you’re testing for.
How Do Intellectual Property Laws Affect Sharing 3D Jewelry Design Files?
You can’t freely share copyrighted jewelry designs without permission. Your original creations are automatically protected, but you’ll face legal issues if you distribute someone else’s protected designs without proper licensing or authorization.
What Insurance Coverage Is Needed for 3D Printing Jewelry Prototype Businesses?
You’ll need general liability insurance covering product defects, professional liability for design errors, equipment coverage for 3D printers, and cyber liability protection for digital files and customer data breaches.
Are There Certification Requirements for Selling 3D Printed Jewelry Prototypes?
You don’t need specific certifications for selling jewelry prototypes, but you’ll want to follow safety standards for materials and guarantee compliance with consumer protection laws in your jurisdiction.
How Does Temperature and Humidity Affect Long-Term Prototype Storage?
You’ll notice high humidity causes resin prototypes to absorb moisture and warp, while extreme temperatures create expansion and contraction cycles. Store your pieces in climate-controlled environments between 60-75°F with 40-50% humidity levels.

Leave a Reply