You’ll optimize your 3D printing results by mastering seven key infill density settings. Start with 0-15% for prototypes and display models to save time and material. Use 20-30% for decorative items, 40-50% for standard functional parts, and 60-70% for moderate load-bearing applications. Apply 80-85% for high-stress brackets, 90-95% for critical gears, and 100% for maximum strength components. Remember that higher densities increase print times by 35-100% but dramatically improve structural integrity. These strategic density choices will transform your printing efficiency and part performance.
Understanding Infill Density Percentages and Their Impact on Print Quality
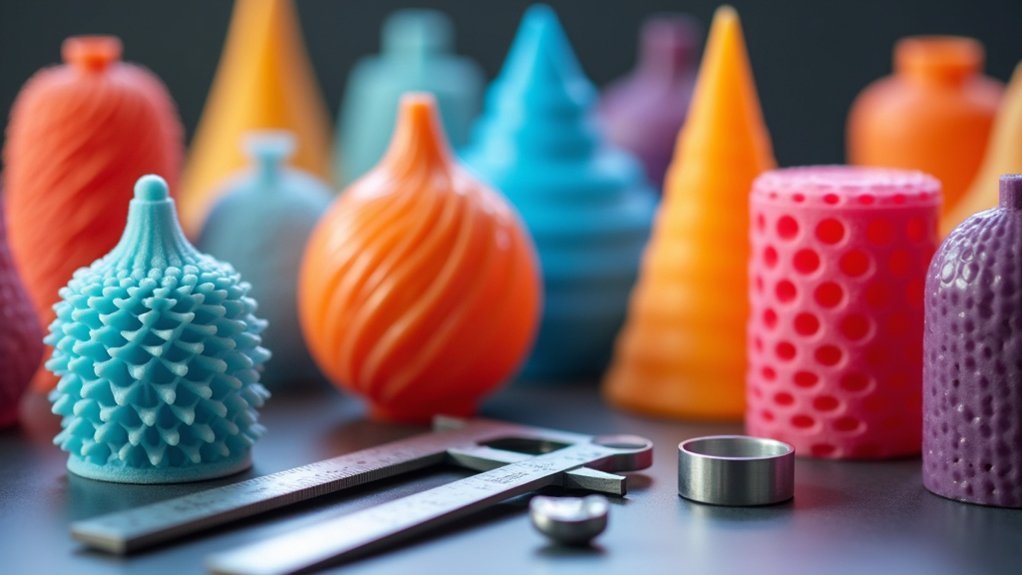
When you’re selecting infill density for your 3D prints, you’re fundamentally determining how much internal structure fills the hollow spaces within your object.
Infill density percentages range from 0% to 100%, directly affecting your print quality and material consumption. For decorative models, you’ll find 0%-20% density sufficient, saving both time and filament.
Lower infill densities between 0%-20% provide adequate strength for decorative prints while minimizing material costs and print duration.
However, functional parts require at least 50% density to maintain structural integrity and durability. Higher densities improve surface finish and layer adhesion while reducing warping issues.
You’ll notice that increasing infill density beyond 50% considerably boosts strength but also increases weight, material usage, and print times.
Balance your strength requirements with resource efficiency by matching density to your print’s intended purpose.
Low Density Settings (0-15%) for Prototypes and Display Models
When you’re creating prototypes or display models, low density infill settings between 0-15% offer significant advantages that’ll transform your workflow.
You’ll achieve stunning visual prototypes that maintain their aesthetic appeal while dramatically reducing material consumption and print times.
This approach cuts your material costs substantially, making it perfect for iterative design processes where you need multiple versions without breaking your budget.
Visual Prototype Benefits
Visual prototyping transforms your design workflow when you leverage low-density infill settings between 0-15%.
You’ll dramatically reduce material usage while maintaining sufficient structural integrity for non-functional display pieces. This infill percentage creates lightweight visual prototypes that showcase your design’s aesthetics without unnecessary material waste.
You’ll achieve smoother surface finishes since lower density minimizes warping risks during printing. The cost-effectiveness allows you to produce multiple iterations quickly, enabling rapid experimentation and feedback collection.
You can focus on perfecting visual elements, proportions, and overall design appeal before investing in higher-density functional prototypes.
This approach accelerates your design process by providing tangible models for client presentations, design reviews, and aesthetic evaluations.
You’ll save both time and money while maintaining professional-quality visual representations of your concepts.
Material Cost Savings
Since material costs represent a considerable portion of your 3D printing budget, implementing low-density infill settings between 0-15% delivers substantial financial benefits for prototype and display model production.
You’ll achieve remarkable cost savings by reducing material usage dramatically – using 10% infill percentage can cut material costs by up to 90% compared to solid prints.
This low-density infill approach proves especially valuable when you’re producing non-functional prototypes or aesthetic models where structural integrity isn’t critical.
You’ll also benefit from considerably faster print times since less material gets extruded during the printing process.
Medium Density Settings (20-50%) for Standard Functional Parts
The sweet spot for most 3D printing projects lies in medium density settings between 20% and 50%, where you’ll find the perfect balance of strength, material efficiency, and print speed.
At 20% infill percentage, you’ll achieve sufficient durability for non-load-bearing items while minimizing material usage and reducing costs.
20% infill strikes the perfect balance—delivering solid durability for everyday items while keeping material costs refreshingly low.
Bumping up to 30% or 40% considerably enhances strength for everyday functional parts that’ll see regular use.
When you need components handling moderate loads, 50% infill delivers increased mechanical properties without the expense of solid prints.
Don’t overlook infill patterns when selecting density—honeycomb or cubic patterns maximize strength at these medium densities without dramatically increasing print time, giving you ideal performance for standard functional applications.
High Density Settings (50-80%) for Load-Bearing Applications
When your 3D printed parts need to handle significant mechanical stress or bear substantial weight, you’ll want to increase infill density to the 50-80% range. This high density infill percentage dramatically enhances parts strength and durability, making them suitable for demanding functional parts like brackets, supports, and mechanical components.
At 60% infill, you’ll achieve an ideal balance between material efficiency and mechanical strength for moderate loads. However, pushing toward 80% maximizes strength for high-stress applications, though you’ll use more material and increase weight.
This robust internal structure prevents structural failures under stress and guarantees longevity. Additionally, higher infill percentages improve dimensional accuracy and reduce warping during printing, which is essential for precise fitment in mechanical assemblies where reliability matters most.
Maximum Density Settings (80-100%) for Critical Structural Components
When you’re designing critical structural components, you’ll need to analyze whether your part requires the absolute maximum strength that 80-100% infill density provides.
You must weigh the notably higher material costs and extended print times against your project’s structural demands.
Consider that while maximum density eliminates internal voids for superior mechanical integrity, it can double or triple both your material usage and printing duration compared to standard settings.
Strength Requirements Analysis
Although standard infill densities work well for most applications, critical structural components demand maximum density settings between 80-100% to meet rigorous strength requirements. When you’re creating functional parts that require exceptional durability, your infill percentage directly impacts performance. Higher densities above 50% dramatically improve tensile strength, while 100% infill creates solid objects perfect for high-impact applications.
| Infill Density | Strength Level | Application |
|---|---|---|
| 80-85% | High | Load-bearing brackets |
| 90-95% | Maximum | Critical gears |
| 100% | Ultimate | Impact-resistant parts |
You’ll need to balance good strength with printing time and material costs. Cubic or gyroid patterns distribute forces effectively across all directions, ensuring your components won’t fail under mechanical stress.
Material Cost Considerations
High-density infill settings deliver exceptional strength but come with significant material cost implications you must factor into your project budget.
While 100% infill percentage creates completely solid parts with maximum high strength, it dramatically increases material usage and extends print times.
Strategic planning helps balance performance requirements with economic constraints.
Consider these material cost factors for high-density infill:
- 80% infill provides excellent structural integrity while offering substantial savings compared to solid prints
- 100% infill percentage doubles or triples filament consumption versus standard densities
- Longer print times increase energy costs and machine wear
- Critical components justify higher material costs for safety-critical applications
- Smart infill placement can reduce material usage without compromising strength in non-critical areas
Print Time Impact
While maximum density infill settings (80-100%) deliver uncompromising structural integrity for essential components, they’ll considerably extend your print times beyond standard density expectations. Your infill percentage directly correlates with layer completion duration, as the printer deposits notably more material per layer.
| Infill Percentage | Time Increase | Strength Gain | Material Costs |
|---|---|---|---|
| 80% | 35-45% longer | High | Moderate increase |
| 90% | 45-70% longer | Very high | Significant increase |
| 100% | 50-100% longer | Maximum | Highest cost |
| Standard (20%) | Baseline | Basic | Baseline cost |
| Medium (50%) | 15-25% longer | Good | Slight increase |
When you’re printing mechanical parts requiring maximum structural integrity, expect considerable time investments. Complex geometries amplify this effect, making project scheduling vital for meeting deadlines while maintaining quality standards.
Variable Density Settings for Optimized Material Distribution
When you’re looking to maximize both performance and efficiency in your 3D prints, variable density settings offer a sophisticated approach to material distribution that goes far beyond traditional uniform infill patterns.
You’ll achieve optimized material distribution by strategically placing higher infill percentage in load-bearing sections while reducing material usage in non-critical areas. This approach transforms how you balance strength, weight, and cost in your prints.
Advanced slicer software enables you to implement these techniques effectively:
- Apply different infill percentages based on structural requirements and load distribution analysis
- Dynamically adjust density during printing without requiring multiple separate print jobs
- Enhance strength-to-weight ratios by concentrating material where it’s needed most
- Noticeably reduce both print time and material costs through intelligent material placement
- Achieve specific mechanical properties for complex geometries and functional applications
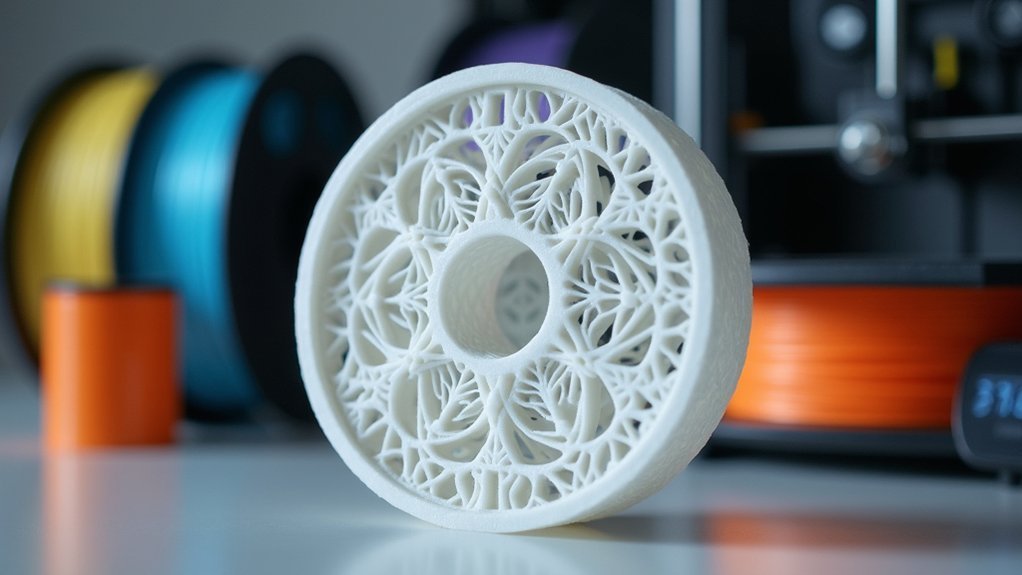
Infill Pattern Selection Based on Density Requirements
Beyond simply adjusting infill percentages, you’ll discover that selecting the right infill pattern becomes essential for achieving your specific density and performance requirements. Your choice directly impacts both structural integrity and print efficiency.
| Density Range | Recommended Pattern | Application |
|---|---|---|
| 0%-15% | Grid/Triangular | Non-functional prototypes |
| 20%-49% | Honeycomb/Gyroid | Medium-strength parts |
| 50%-100% | Cubic/Octet | Functional components |
| Variable | Grid (fast print) | Time-sensitive projects |
| High-stress | Honeycomb | Strongest infill needed |
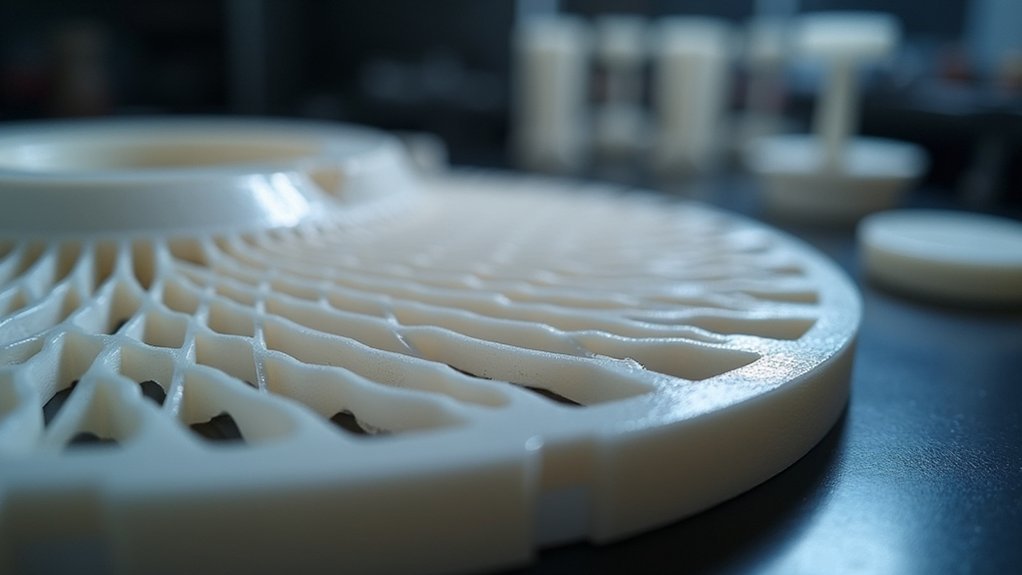
You’ll find that lower densities work well with simple grid patterns for rapid prototyping, while complex geometries like gyroid excel at medium densities. When you need the strongest infill for functional parts, cubic and octet patterns provide uniform strength distribution at higher infill percentages, ensuring peak performance.
Frequently Asked Questions
What Is a Good Infill Density for 3D Printing?
You’ll want different infill densities depending on your project’s purpose. Use 0-15% for decorative items, 20-50% for functional parts, and 50-100% for load-bearing components that need maximum strength.
Is 40% Infill Too Much?
40% infill isn’t too much if you’re printing functional parts needing durability. For decorative items, you’re wasting material and time. Consider your print’s purpose and choose accordingly.
Is 20% Infill Strong Enough?
You’ll find 20% infill strong enough for prototypes and display models, but you shouldn’t use it for functional parts requiring durability. You’ll need higher density for load-bearing applications.
Is 30% Infill Strong?
You’ll find 30% infill provides good strength for most everyday prints and prototypes. It’s strong enough for moderate stress but won’t handle heavy loads without thicker walls or higher density.


Leave a Reply