You’ll achieve professional-grade functional parts when you optimize infill density beyond the standard 20% default setting that most 3D printers use. Start with 50% density for basic load-bearing applications, then increase to 80% for high-stress components. Select cubic or gyroid patterns for balanced strength and material efficiency, while honeycomb delivers exceptional strength-to-weight ratios. Boost your printing temperature by 10°C and implement 5% over-extrusion to enhance infill effectiveness. Use at least 3-4 perimeters for structural integrity, and consider adaptive infill strategies that vary density based on stress distribution. These optimization techniques will transform your prints into reliable mechanical components.
Understanding Infill Density Requirements for Load-Bearing Applications
When designing functional parts that must withstand significant loads, you’ll need to carefully consider infill density as a critical factor in achieving the necessary structural integrity. For load-bearing applications, you should aim for a minimum infill density of 50% to guarantee adequate strength. This baseline provides sufficient tensile strength while managing material consumption effectively.
Consider increasing density to around 80% for parts experiencing high stress, as this enhancement prevents cracking and improves durability.
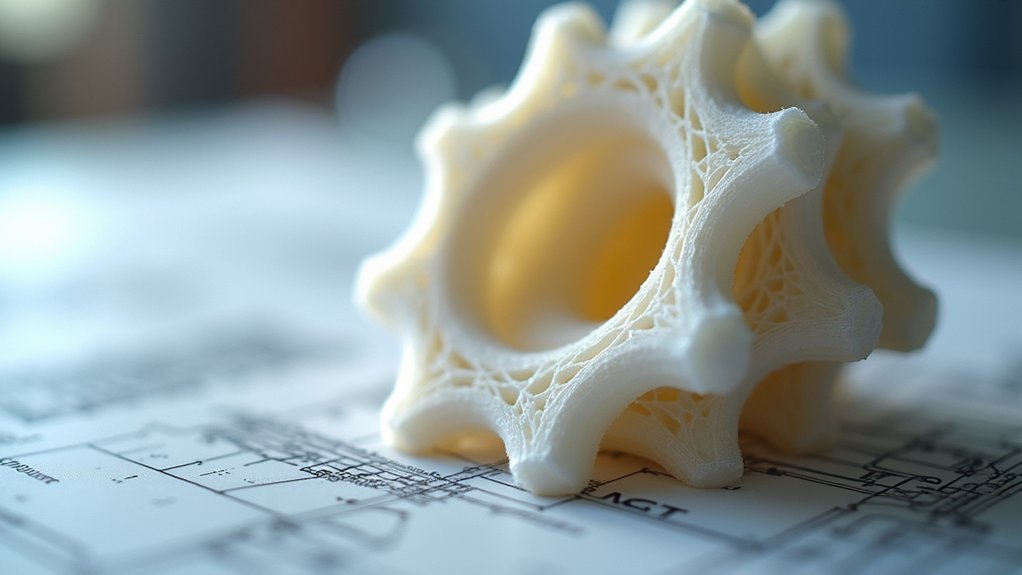
The infill pattern you choose—such as cubic or gyroid—works alongside density to provide shock absorption and resilience. You’ll want to evaluate your design for stress concentrators and align infill density with anticipated load distribution.
This strategic approach optimizes performance while balancing strength requirements against print time and material usage in your functional parts.
Balancing Strength and Material Usage Through Optimal Density Selection
You’ll need to strike the right balance between part strength and material consumption when selecting infill density for your functional prints.
Higher densities above 80% deliver maximum strength but dramatically increase both material costs and print time, while densities around 50-60% often provide sufficient strength for most load-bearing applications.
Understanding these strength versus weight trade-offs helps you establish cost-effective density guidelines that meet your part’s performance requirements without wasteful over-engineering.
Strength Vs Weight Trade-Offs
Since every functional 3D printed part demands a careful balance between structural integrity and material efficiency, you’ll need to make strategic decisions about infill percentage that directly impact both performance and cost.
The strength-to-weight ratio becomes your primary consideration when designing functional parts, as higher infill percentage increases durability but adds unnecessary weight and material usage.
Consider these critical factors when optimizing your balance:
- Load requirements – Match infill density to actual stress demands
- Weight constraints – Minimize density where structural support isn’t essential
- Material costs – Higher densities consume considerably more filament
- Print time – Increased infill extends manufacturing duration
Adaptive infill strategies offer the best solution, providing robust internal support in high-stress zones while reducing density elsewhere, maximizing efficiency without compromising performance.
Cost-Effective Density Guidelines
Finding the sweet spot between strength and material costs requires understanding how different infill densities perform across various applications.
You’ll want to use 50% infill percentage minimum for functional parts requiring load-bearing capabilities, ensuring adequate part strength without excessive material usage. For non-critical components, 20% density reduces print time and costs while maintaining basic structural integrity.
When you need maximum resilience, consider 80% infill, but weigh the increased material usage against actual performance gains.
Adaptive infill patterns offer the best cost-effective solution by concentrating density where stress occurs most. You can optimize expenses by regularly evaluating your specific requirements—decorative elements need minimal infill while mechanical components demand higher percentages.
This strategic approach balances durability with economical printing practices.
Choosing the Right Infill Pattern for Maximum Functional Performance
When you’re designing functional parts that must withstand real-world stress and loading conditions, selecting the ideal infill pattern becomes critical to achieving maximum performance.
Your choice directly impacts strength, material usage, and overall print quality for load-bearing applications.
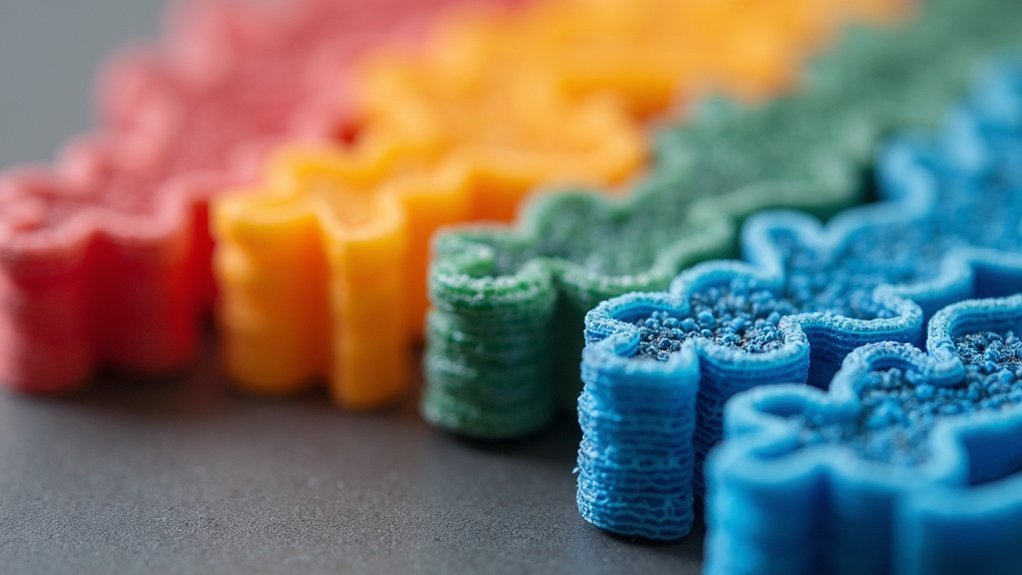
Here are four top-performing infill patterns for functional parts:
- Cubic/Gyroid – Delivers balanced strength and material efficiency, perfect for general load-bearing applications.
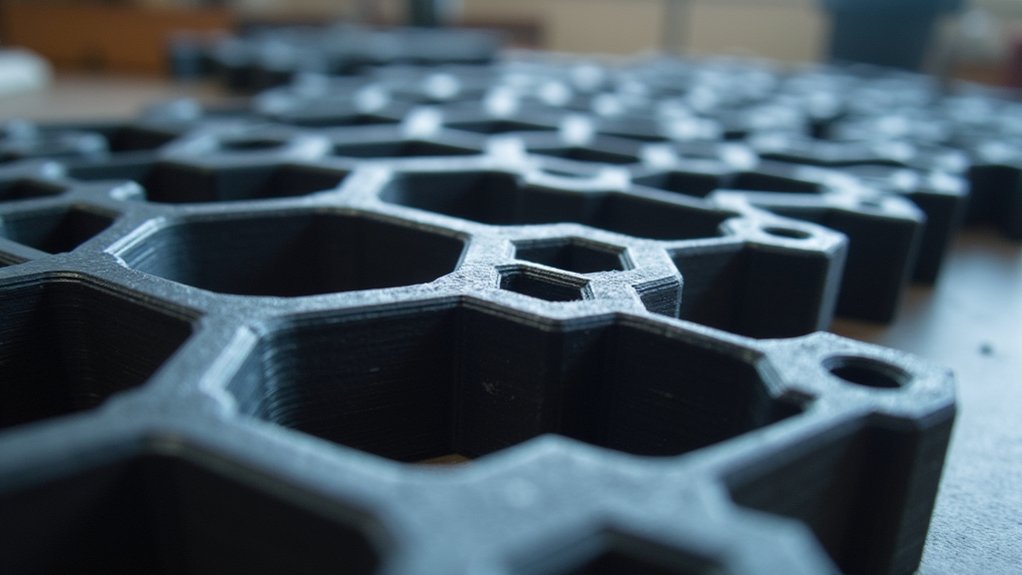
- Honeycomb – Provides exceptional strength-to-weight ratio for lightweight yet robust structural integrity.
- Triangular – Offers maximum rigidity and deformation resistance, making it the strongest option available.
- Adaptive Cubic – Allows varying infill density throughout different sections based on specific stress requirements.
Remember to maintain at least 50% infill density regardless of your chosen pattern to guarantee adequate durability under operational stress.
Temperature and Material Considerations That Impact Infill Effectiveness
Selecting the ideal infill pattern sets the foundation for functional part performance, but your choice of printing temperature and material properties will ultimately determine whether that pattern delivers its intended strength.
When working with materials like Polymaker PLA Pro, you’ll want to increase your temperature by 10°C within the 190-220°C range to enhance layer adhesion and overall part durability.
Consider implementing 5% over-extrusion during your printing process to fill potential gaps that could compromise your infill percentage effectiveness.
If you’re using PETG, you must dry the filament beforehand since moisture retention severely impacts print quality.
Your material selection directly influences tensile strength and flexibility, making high-quality PLA or PETG essential for creating robust functional parts.
Wall Thickness and Perimeter Settings for Enhanced Structural Integrity

You’ll achieve stronger functional parts by configuring your perimeter count and wall thickness settings properly.
Start with a minimum of 3 perimeters for basic functional models, but increase to 4-5 perimeters when your parts face high stress or impact loads.
Boosting wall thickness by 50% through additional perimeters dramatically improves your part’s ability to handle bending forces and resist structural failure.
Optimal Perimeter Count
Three perimeters represent the absolute minimum for functional 3D printed parts, but you’ll achieve considerably better results by pushing that count higher. For high-stress applications, you should target 4-5 perimeters to maximize structural integrity and durability.
Here’s how to optimize your perimeter count for functional parts:
- Balance strength with material usage – More perimeters increase wall thickness by 50%, enhancing tensile strength while managing filament consumption.
- Distribute loads evenly – Additional outer walls prevent failure along layer lines during stress.
- Adjust based on application – Match perimeter settings to your part’s intended function and stress requirements.
- Complement infill percentage – Higher perimeter counts reduce reliance on dense infill while maintaining excellent print settings for strength.
This approach guarantees your functional parts withstand real-world conditions effectively.
Wall Thickness Guidelines
While perimeter count establishes your part’s outer shell structure, wall thickness determines the actual material depth that’ll resist mechanical stress and prevent layer separation.
You’ll achieve peak structural integrity by increasing wall thickness through additional perimeters—adding 50% more thickness dramatically boosts your printed parts’ strength.
For standard functional parts, use a minimum of 3 perimeters, but high-stress applications demand 4-5 perimeters. This wall thickness directly impacts tensile strength along planes parallel to your print bed, making it critical for load-bearing designs.
Combine thicker walls with appropriate infill percentage (50-80%) to create robust internal structures. Include 3-5 top and bottom layers alongside proper perimeter settings to guarantee superior surface quality and maximum durability for demanding applications.
Testing and Validation Methods for Functional Part Durability
Since functional parts must withstand real-world stresses and loads, you’ll need rigorous testing methods to validate your infill density choices and guarantee peak performance.
Here are four essential validation approaches:
- Tensile Strength Testing – Conduct controlled tests on printed samples to quantify how different infill percentage values affect material strength and determine ideal density for your application.
- Impact Resistance Evaluation – Use drop tests to assess how well your functional parts absorb shock at varying infill densities, measuring durability under sudden forces.
- Load Testing Analysis – Apply controlled pressure to parts with different infill configurations to identify failure points and establish load-bearing capacity limits.
- Finite Element Analysis – Run FEA simulations before physical testing to predict stress distribution and performance, enabling data-driven infill decisions.
Advanced Infill Strategies for Complex Mechanical Components
Beyond basic testing protocols, complex mechanical components demand sophisticated infill approaches that account for varying stress distributions and performance requirements throughout the part.
You’ll need at least 50% infill percentage for adequate load-bearing capacity, while critical areas may require 100% density for maximum durability.
Consider gyroid or octet infill pattern designs for functional parts that require vibration resistance and shock absorption. These patterns provide superior resilience compared to traditional grid structures.
Gyroid and octet infill patterns deliver exceptional vibration dampening and impact resistance, outperforming standard grid structures in demanding functional applications.
Implement adaptive infill strategies to optimize material usage while maintaining part strength where it’s most needed. This approach varies density based on stress analysis, reducing costs without compromising performance.
For ultimate durability, incorporate continuous fiber reinforcement within your strong infill structure, pushing strength beyond conventional plastic limitations in high-stress applications.
Frequently Asked Questions
What Is the Best Infill Pattern for Functional Parts?
You’ll want cubic infill for most functional parts since it provides excellent strength and uniform load distribution. For dynamic loads, choose gyroid infill, while honeycomb works best when you need lightweight durability.
What Is the Infill Density for Functional Parts?
You’ll want 50% infill density as your minimum for functional parts to guarantee proper strength. Consider 80% for high-stress applications, but avoid 100% unless maximum density’s absolutely required.
How Much Infill for Functional Prints?
You’ll need 50% infill minimum for functional prints requiring strength. Use 80% for high-stress parts. Choose cubic or gyroid patterns for durability. Lower densities work for decorative pieces.
What Is the Best Support Infill Density?
You’ll want 15-25% support infill density for most prints. This provides adequate structural integrity while using minimal material and reducing print time. Increase to 30% for complex overhangs requiring stronger support structures.
Leave a Reply