You’ll notice that fresh PLA prints straight from your 3D printer display visible layer lines and a distinctly ridged texture that immediately screams “homemade prototype” rather than professional product. These rough surfaces create problems with paint adhesion, cause coating failures like chipping and peeling, and can trap contaminants in functional parts. Surface smoothing transforms amateur-looking prints into commercial-grade pieces that rival injection-molded quality, and there are several proven techniques to achieve these results.
Layer Lines and Surface Imperfections in FDM Printing
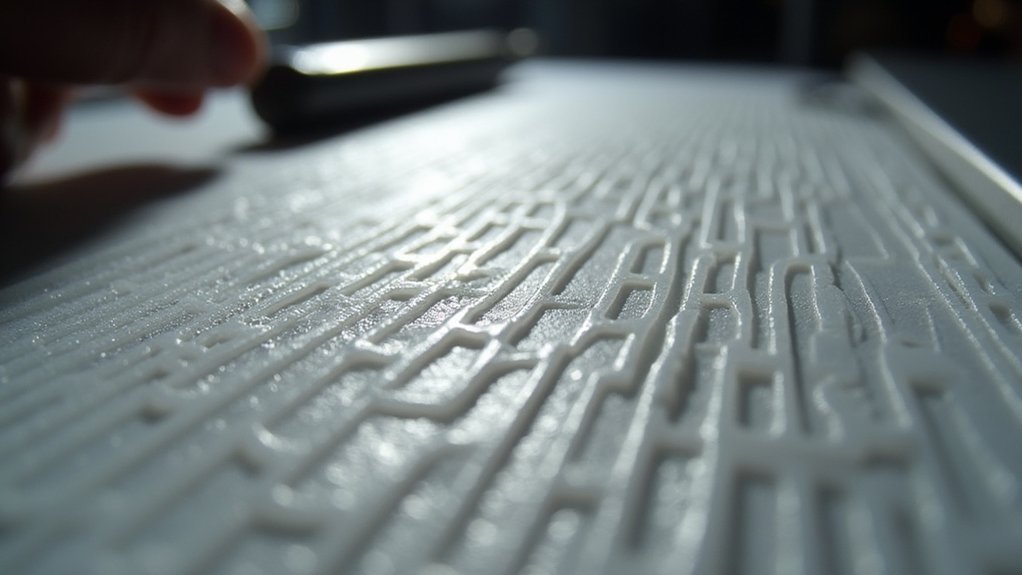
When you examine a fresh PLA print straight from your 3D printer, you’ll notice the characteristic ridged texture that defines FDM printing. These layer lines form naturally as your printer deposits material layer by layer, creating visible horizontal ridges across the surface.
Your chosen layer height directly impacts how pronounced these lines appear—thicker layers create more obvious ridges, while thinner settings improve surface quality.
Layer height serves as your primary control for surface finish—go thinner for smoother results, thicker for faster prints with visible texture.
Beyond layer height, you’ll encounter additional surface imperfections from inconsistent extrusion, under-extrusion, or varying print speeds. These factors compound the visibility of surface irregularities.
PLA’s lower glass phase change temperature makes it particularly susceptible to these imperfections. Achieving a smoother surface isn’t just about aesthetics—rough textures trap dirt and complicate post-processing steps like painting or applying finishes to your prints.
Visual Appeal and Professional Appearance Requirements
You’ll notice that visible layer lines immediately signal to viewers that your part was 3D printed, which can undermine its perceived quality and professionalism.
When you’re creating prototypes, models, or products for clients, that rough, striated surface finish doesn’t meet commercial-grade standards that people expect from finished goods.
Reducing these surface defects through smoothing techniques transforms your prints from obvious prototypes into polished pieces that command respect and credibility.
Layer Lines Visibility
When you apply surface smoothing techniques, you’ll transform rough, striated surfaces into polished finishes that rival injection-molded quality.
The difference is striking: rough PLA prints look amateur, while smooth PLA surfaces appear professionally manufactured.
You’ll find that eliminating these telltale layer lines dramatically elevates your print’s perceived value, making it suitable for client presentations, retail display, or any application where visual quality matters as much as functionality.
Commercial Grade Finish
Commercial applications demand a level of finish quality that separates professional products from hobbyist creations.
When you’re developing prototypes or consumer goods, your PLA prints must meet stringent visual standards that raw FDM output simply can’t achieve. A commercial grade finish requires you to eliminate layer lines and surface imperfections that immediately signal amateur production quality.
Surface smoothing transforms your prints from obviously 3D-printed objects into professional-grade products.
You’ll find that customers and clients judge quality primarily through visual inspection, making smooth surfaces essential for market acceptance. Post-processing techniques like sanding, chemical treatments, and protective coatings help you achieve injection-molded appearance standards.
This enhanced finish directly impacts user satisfaction and perceived value, making your products competitive in demanding commercial markets.
Surface Defect Reduction
Since FDM printing creates objects through layered material deposition, your PLA prints will naturally display visible layer lines that immediately reveal their manufacturing method.
These surface defects markedly impact your print’s professional appearance, making them unsuitable for many commercial applications.
Surface smoothing techniques effectively eliminate these telltale manufacturing marks, transforming rough, layered surfaces into polished finishes.
When you apply proper smoothing methods, you’ll remove the stepped texture that screams “3D printed” and achieve surfaces that rival traditionally manufactured products.
This defect reduction becomes essential when you’re creating prototypes, display models, or consumer goods where visual quality matters.
Your smoothed prints will command higher perceived value and meet industry standards that require clean, professional appearances rather than obviously additive-manufactured surfaces.
Paint Adhesion and Coating Challenges on Rough Surfaces
Although PLA’s rough, layered texture makes the material ideal for rapid prototyping, it creates significant challenges when you’re applying paints or coatings to your finished prints.
PLA’s signature layered texture that enables fast prototyping becomes a major obstacle when achieving professional paint finishes.
The surface roughness prevents proper paint adhesion, causing coatings to chip or peel easily. You’ll notice uneven finishes and inconsistent color application that diminishes your project’s professional appearance.
Without proper preparation, you’ll encounter three main coating problems:
- Poor adhesion – Paint struggles to bond with the layered surface
- Inconsistent application – Rough textures create uneven coverage patterns
- Premature failure – Coatings deteriorate faster due to weak surface bonds
Smoothing techniques like sanding or chemical treatments enhance the surface profile, allowing better paint penetration and bonding.
This preparation guarantees durable, uniform finishes essential for aesthetic applications.
Functional Performance Issues From Textured Finishes
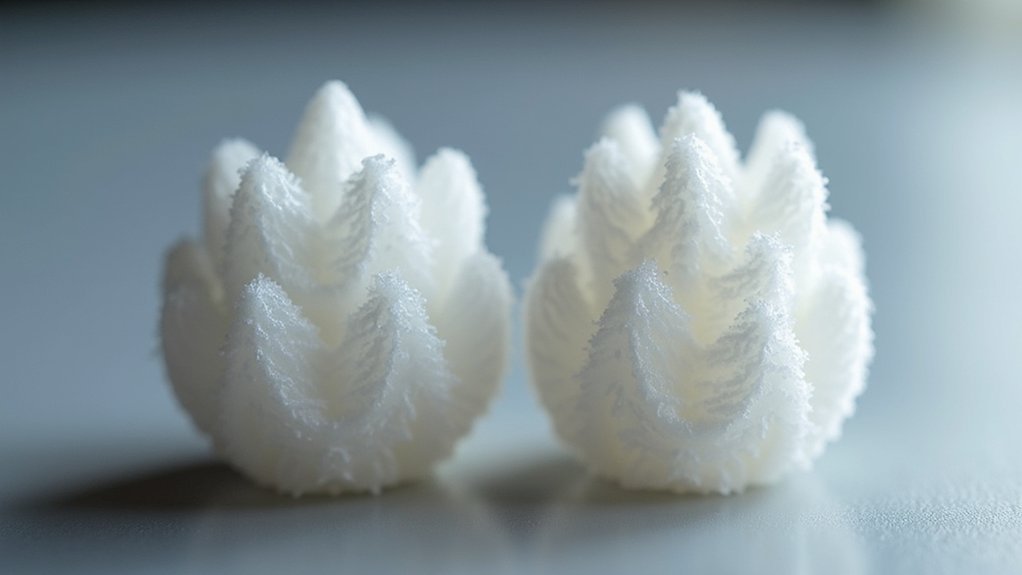
Beyond aesthetic concerns, textured finishes on your PLA prints create measurable functional performance issues that can compromise performance in real-world applications.
When you’re building moving parts or mechanical assemblies, surface roughness increases friction between components, causing binding, accelerated wear, and reduced operational efficiency. Your PLA parts won’t function smoothly in applications requiring precise movement or rotation.
Surface roughness also traps contaminants like dirt, dust, and debris, making thorough cleaning virtually impossible. This contamination buildup proves particularly problematic in food-grade or medical applications where hygiene standards are critical.
Additionally, textured surfaces create poor sealing properties in fluid-containing components. The microscopic gaps and irregularities prevent tight seals, leading to unwanted leaks that can compromise your entire assembly’s functionality and reliability.
Chemical Smoothing Methods for PLA Materials
When you need to eliminate layer lines and achieve a professional finish on your PLA prints, chemical smoothing offers the most effective solution available. Solvents like acetone or ethyl acetate dissolve the outermost layers, creating a glossy finish.
However, methylene chloride provides superior results by bonding and sealing to make the surface exceptionally smooth.
Follow these essential guidelines for ideal results:
- Apply multiple light coats rather than heavy applications to prevent warping or melting.
- Work in well-ventilated areas while protecting your skin and eyes from chemical exposure.
- Test compatibility first since acetone won’t work on certain brands like Prusament.
This next generation smoothing technique effectively closes under-extrusion gaps and dramatically improves model quality, though excessive use may cause surface dulling.
Mechanical Sanding and Abrasive Techniques
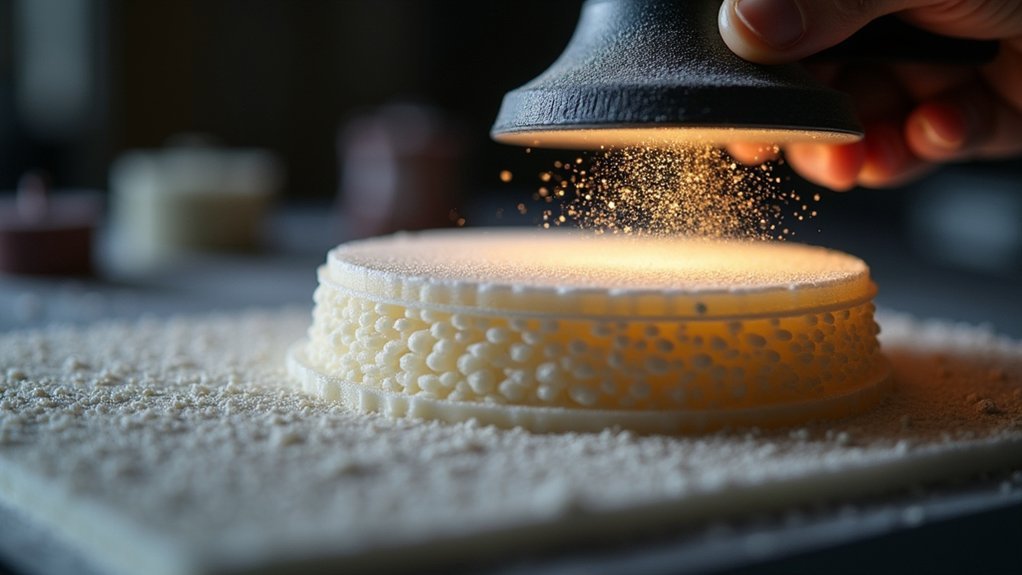
You’ll find mechanical sanding offers the most precise control over your PLA print’s surface finish compared to chemical methods.
Your choice of sandpaper grit becomes vital – start with coarser grits around 120-220 to remove major imperfections, then progress through finer grits up to 2000 for that mirror-like finish.
The key lies in understanding how different abrasive techniques and polishing compounds work together to transform those visible layer lines into smooth, professional-looking surfaces.
Sandpaper Grit Selection
Choosing the right sandpaper grit determines whether you’ll achieve professional-looking results or create more problems for your PLA print.
You’ll need different grits for various use cases throughout the smoothing process.
Start with coarser grits around 80-120 to tackle significant layer lines and major imperfections. These aggressive grits quickly remove material but leave visible scratches that require further refinement.
Here’s your grit progression strategy:
- Coarse phase (80-120 grit): Remove prominent layer lines and surface defects
- Medium phase (150-220 grit): Eliminate scratches from coarser grits while smoothing shifts
- Fine phase (220-400 grit): Create the final polished surface finish
Each subsequent finer grit removes scratches left by the previous one.
You must sand consistently with even pressure to avoid creating uneven surfaces that’ll compromise your print’s appearance.
Polishing and Finishing
After completing your grit progression, you’ll transform your PLA print’s appearance through strategic polishing and finishing techniques.
Soft polishing wheels paired with specialized compounds deliver professional-grade surface sheen that elevates your print’s visual appeal. You’ll achieve remarkable results by applying gentle, consistent pressure while moving the compound-loaded wheel across your print’s surface.
This final polishing stage eliminates microscopic scratches left by even the finest sandpaper, creating a smooth, reflective finish.
You can use microfiber cloths for hand-polishing smaller details or intricate areas where wheels can’t reach effectively.
The time you invest in proper polishing dramatically improves your print’s professional appearance.
While mechanical sanding and polishing require more physical effort than chemical smoothing, you’ll achieve comparable results with greater control over the final outcome.
Heat Treatment Applications for Surface Refinement
When you’re looking for a chemical-free approach to smoothing PLA prints, heat treatment offers an effective alternative that relies on controlled thermal energy to refine surface quality.
You’ll apply controlled heat using a heat gun or oven to gently melt the outer layer, creating a smoother finish while reducing layer line visibility.
Temperature management remains critical for success:
- Keep temperatures below PLA’s glass alteration point (~60°C) to prevent warping or deformation.
- Experiment with different techniques since effectiveness varies based on print geometry and PLA blend.
- Consider this method for larger prints where chemical smoothing becomes impractical due to solvent volume requirements.
You’ll find heat treatment particularly valuable when you want to enhance aesthetic appeal without using harsh chemicals or solvents.
Dichloromethane Smoothing for PLA and PET
You’ll find dichloromethane incredibly effective for eliminating layer lines on both PLA and PET prints, creating a smooth, glossy finish that dramatically improves surface quality.
The key to success lies in using light brushing techniques that prevent bubbling and scratching while ensuring even coverage across your print’s surface.
However, you must prioritize safety by wearing protective equipment and working in well-ventilated areas, as dichloromethane produces toxic fumes that require proper handling protocols.
Dichloromethane Application Techniques
Since dichloromethane can dissolve PLA and PET surfaces on contact, proper application technique becomes critical for achieving professional results without damaging your print.
You’ll get the best results by using a brush to apply multiple light layers rather than flooding the surface. This approach minimizes scratches and prevents over-application that leads to bubbling. Your treated surface will initially appear milky, but clarity improves over time.
Follow these essential application steps:
- Work in thin layers – Apply dichloromethane sparingly and build up coverage gradually.
- Monitor timing carefully – Effectiveness varies by PLA brand and density, ranging from seconds to hours.
- Maintain consistent technique – Use steady brush strokes to achieve uniform surface smoothing.
This method effectively reduces layer lines and seals tiny openings while creating a glossy finish.
Safety and Handling
Three critical safety measures protect you when working with dichloromethane: proper ventilation, protective equipment, and careful handling procedures. You’ll need well-ventilated areas to prevent vapor accumulation and protective gear including safety glasses and gloves. Chemical burns don’t always show symptoms immediately—they can appear hours after exposure, making prevention essential.
| Safety Equipment | Purpose |
|---|---|
| Safety glasses | Eye protection from splashes |
| Chemical gloves | Skin contact prevention |
| Respirator mask | Vapor inhalation protection |
| Ventilation fan | Air circulation maintenance |
You must handle the solvent carefully to avoid overapplication, which causes material oozing and surface bubbles. Don’t let the initial milky appearance concern you—clarity returns as the dichloromethane evaporates. Following these guidelines minimizes health risks while achieving professional smoothing results.
Print Settings That Minimize Post-Processing Needs
While PLA prints often require smoothing to achieve professional results, you can greatly reduce post-processing time by fine-tuning your print settings from the start.
The key lies in adjusting specific parameters that directly impact surface quality.
Consider these essential adjustments:
- Layer Resolution: Use 0.05mm layer height to minimize visible layer lines and enhance surface smoothness considerably.
- Temperature Control: Maintain 195-205°C for subsequent layers to reduce extrusion inconsistencies and achieve better finish quality.
- Speed Optimization: Slow outer wall speeds to 30-40 mm/s for improved layer adhesion and smoother surfaces.
Additionally, enable the “ironing” feature in your slicer to smooth top layers automatically.
Conduct temperature tower tests to identify ideal settings for your specific filament, ensuring consistent results that require minimal finishing work.
Comparing Commercial Injection Molding to 3D Printed Finishes
When you examine a commercially injection-molded part alongside your 3D printed PLA piece, the difference in surface quality becomes immediately apparent. Injection molding delivers superior finishes through high pressure and polished molds, creating glossy, uniform surfaces that 3D printing struggles to match.
| Aspect | Injection Molding | 3D Printing |
|---|---|---|
| Surface Finish | Smooth, glossy, minimal imperfections | Visible layer lines, rough texture |
| Consistency | Uniform quality across all parts | Varies with filament and printer settings |
| Post-Processing | Ready-to-use finish | Requires smoothing, sanding, coatings |
Your FDM printer creates inherent layer lines that commercial products don’t have. Achieving injection-molding quality requires extensive post-processing techniques, adding time and cost to your production workflow while still falling short of commercial standards.
Frequently Asked Questions
Can You Smooth PLA With Isopropyl Alcohol?
You can’t effectively smooth PLA with isopropyl alcohol since it doesn’t dissolve the material. While IPA cleans surfaces well, it won’t reduce layer lines or improve your print’s finish like dedicated smoothing solvents would.
Can You Use a Heat Gun to Smooth PLA Prints?
You can use a heat gun to smooth PLA prints by applying 60-80°C heat while moving constantly. This melts the surface layer, reducing layer lines and creating a glossy finish faster than sanding methods.
What Is Smoothing in 3D Printing?
You’ll encounter smoothing as the process of reducing visible layer lines and surface imperfections on your 3D prints. You can achieve this through chemical treatments, mechanical sanding, or heat methods.
Why Is the Surface of My 3D Print Not Smooth?
Your 3D print’s surface isn’t smooth because FDM printing deposits material layer by layer, creating visible lines. Print settings like temperature, speed, and layer height affect finish quality, plus filament inconsistencies cause surface imperfections.

Leave a Reply