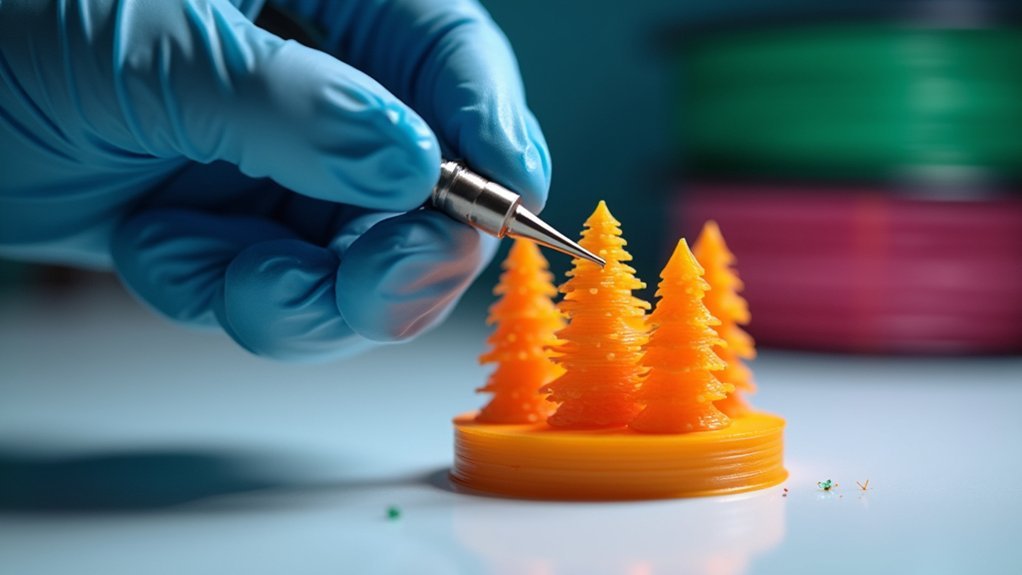
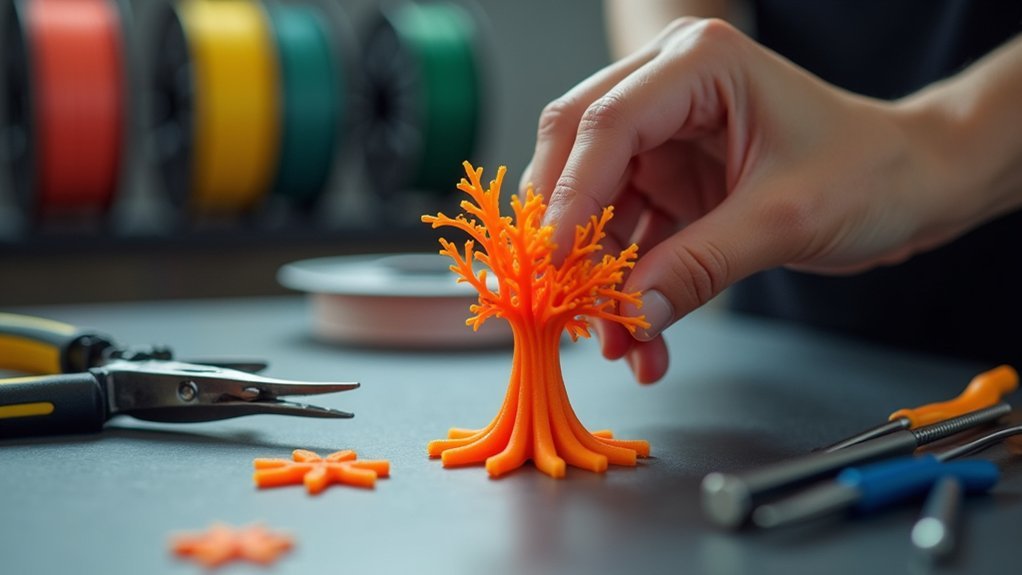
You’ll need the right tools like needle-nose pliers, flush cutters, and X-acto knives for precise removal. Start with easily accessible supports before tackling complex areas to build confidence. Optimize your slicer settings by adjusting Z distance to 0.25mm and reducing support density for easier detachment. Use gentle twisting and bending techniques at the support’s base to find weak points. Finally, sand and post-process your print to achieve professional results that’ll impress anyone examining your work.
Use the Right Tools for Precise Support Removal

Five essential tools can make the difference between a clean support removal and a damaged print.
Needle-nose pliers provide the strongest grip for twisting and breaking off tree supports without damaging your model. For intricate support structures, you’ll need an X-acto knife to make careful, controlled cuts in tight spaces.
Flush wire cutters excel at cutting supports while protecting surrounding print areas from accidental damage.
After removing supports, files and sandpaper become vital for smoothing rough edges and imperfections left behind.
Don’t overlook a craft knife for fine-tuning – it’s perfect for accessing hard-to-reach areas within your print.
Having the right tools guarantees you’ll achieve professional results when removing supports from your 3D prints.
Start With Easy-Access Supports Before Moving to Complex Areas
Now that you’ve assembled your toolkit, you’re ready to tackle the actual removal process strategically.
Begin by identifying the most accessible supports first, regardless of support type. These outer supports are easier to detach and build your confidence before approaching complex internal areas. Use needle-nose pliers for grip and precision when removing support from exposed sections, preventing model damage.
After clearing accessible areas, assess remaining complex zones for adhesion points. Different support settings create varying attachment strengths, so adjust your approach accordingly.
Utilize flush cutters and X-acto knives for intricate internal supports requiring precise cutting. Models with less support material are naturally easier to clean, but maintain patience throughout.
This methodical approach prevents unintentional damage to detailed sections while ensuring thorough support removal.
Adjust Your Slicer Settings to Optimize Support Adhesion

While removing supports manually requires skill and patience, preventing adhesion problems starts with proper slicer configuration.
You’ll want to adjust your support Z distance to approximately 0.25mm, creating enough space for easier removal without compromising your model’s integrity. Next, reduce your support density to balance adequate support with simplified removal processes.
Proper Z distance at 0.25mm and reduced support density create the optimal balance between structural integrity and effortless removal.
Fine-tune your overhang angle settings by lowering the threshold, which decreases the need for aggressive supports and improves print quality.
Your support interface settings control adhesion between supports and your model—adjust these to achieve ideal separation. Finally, experiment with different support infill patterns that allow smoother detachment while maintaining structural integrity during printing.
These adjustments transform difficult support removal into a manageable process.
Apply Gentle Twisting and Bending Techniques
Once you’ve refined your slicer settings for easier support removal, the actual detachment process requires careful physical manipulation. When removing tree supports, gently twist and bend them close to your model to break the bond without damaging the print. Start by applying pressure at the support’s base, where there’s more flexibility and less risk of deformation.
| Technique | Tool | Application |
|---|---|---|
| Gentle twisting | Needle-nose pliers | Controlled, precise removal |
| Base pressure | Fingers | Initial loosening at flexible points |
| Back-and-forth bending | Hands/pliers | Finding weakness points |
Use needle-nose pliers for precise control when supports are hard to remove. If a support feels stuck, carefully bend it repeatedly to locate weak points. Even with ideal print settings, patience prevents unwanted breaks in delicate features.
Post-Process Your Print for a Professional Finish

After successfully removing your tree supports, you’ll likely notice small imperfections, rough patches, or minor surface artifacts where the supports connected to your print.
These marks are normal, especially when removing the supports from PLA support structures, but they don’t have to remain visible.
To achieve professional results, follow this systematic post-processing approach:
- Sand the surface – Use sanding tools with various grits, starting coarse and progressing to fine grits to smooth rough areas left behind.
- Fill and repair – Apply filler compound to deeper gouges or marks, then sand smooth once cured.
- Prime and finish – Apply light primer coats to create a uniform base, then proceed with your final painting or finishing technique for seamless results.
Frequently Asked Questions
How to Remove 3D Printed Tree Supports?
Start with easily accessible supports using needle-nose pliers and flush cutters. You’ll need patience for stubborn areas—apply heat to soften them or use an X-acto knife for precise cutting.
Should You Remove Supports Before or After Curing?
You should remove supports after curing your print. Curing strengthens the material’s structural integrity, making support removal cleaner and easier while preventing deformation that occurs when the print’s still warm.
How Do You Dissolve 3D Print Supports?
You can’t dissolve standard PLA tree supports. You’ll need water-soluble filament like PVA or HIPS for dissolving. Soak printed parts in warm water for several hours until supports completely dissolve away.
How to Easily Remove Supports From 3D Print Reddit?
You’ll find Reddit users recommend adjusting support Z distance to 0.25mm, using needle-nose pliers and X-acto knives, and trying breakaway filaments like Support W for easier removal.


Leave a Reply