You can reduce 3D printing time by up to 50% through smart infill adjustments. Lower your infill density to 10-20% for decorative parts or use 0% for hollow designs. Choose fast-printing patterns like rectilinear or lines that minimize print head movements. Increase your infill speed settings in the slicer while keeping perimeter speeds lower. Combine sparse infill with thicker walls (0.8-1mm) to maintain strength while cutting material usage and print time by 30%. These strategies will transform your printing efficiency.
Optimize Infill Density for Speed Without Compromising Strength

When you’re looking to speed up your 3D printing without sacrificing structural integrity, infill density becomes your most powerful tool for balancing time efficiency with part strength.
For display items that don’t require structural support, you can reduce print time dramatically by lowering infill density to 10-20%. This maintains acceptable integrity while delivering faster print speeds.
Functional parts typically need 75-100% infill density for maximum strength, but you’ll discover that optimizing to around 50% still provides adequate durability while greatly cutting print time.
Cutting infill from 100% to 50% maintains structural integrity while dramatically reducing print time for functional components.
For non-critical applications, consider hollow designs with 0% infill to achieve the fastest print times possible.
The key is matching your infill density to your part’s intended use—decorative pieces need minimal fill, while load-bearing components require strategic optimization between strength and speed.
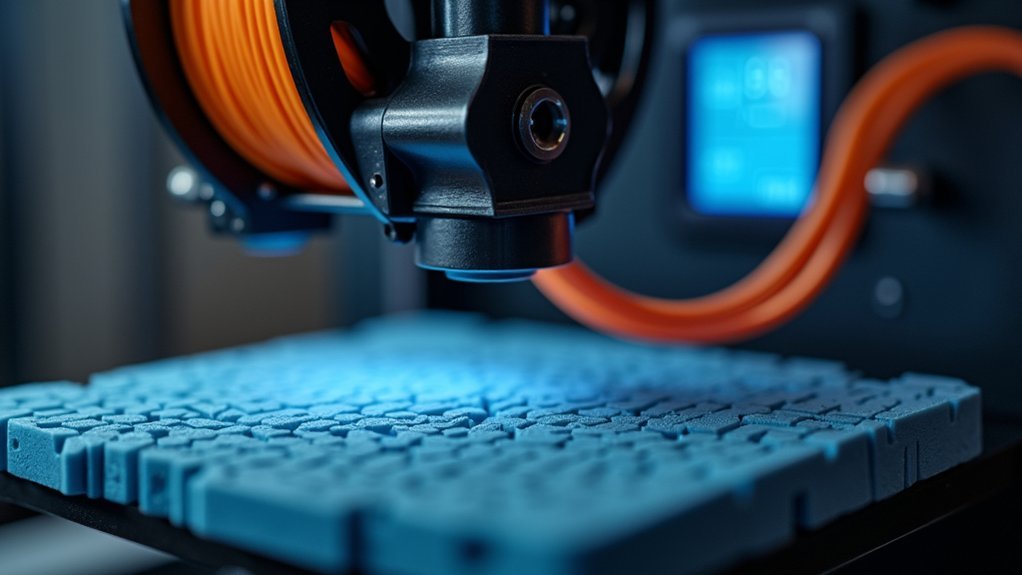
Choose Fast-Printing Infill Patterns Like Rectilinear and Lines
Beyond adjusting infill density, selecting the right infill pattern dramatically impacts your print speed without requiring hardware changes. Rectilinear and line infill patterns are among your fastest options, reducing print time by approximately 25% compared to complex patterns like honeycomb or gyroid.
| Pattern | Speed Benefit | Strength Trade-off | Best Use Case |
|---|---|---|---|
| Rectilinear | 25% faster | Moderate strength loss | Prototypes, decorative items |
| Lines | Fastest option | Significant strength reduction | Draft prints, non-functional parts |
| Grid | 15% faster | Minimal strength loss | Balanced speed/strength needs |
These fast-printing patterns minimize print head movements through straightforward line-based structures. You can further optimize by combining lower infill densities with adjustments to layer height and wall thickness, achieving the perfect balance between speed and structural integrity.
Adjust Infill Speed Settings in Your Slicer
While selecting fast infill patterns provides substantial time savings, you can achieve even greater efficiency by adjusting your slicer’s infill speed settings. Increasing infill speed beyond default values can reduce print time by up to 50% without compromising structural integrity.
This strategy proves especially effective when printing multiple parts simultaneously on your print bed, as infill constitutes a significant portion of total print time.
Configure your infill speed higher than perimeter speeds since internal structures don’t require the precision of outer walls. For non-functional parts, combine faster infill speed with 10-20% density to maximize time savings.
Adjust infill overlap settings to maintain proper adhesion between infill and walls, allowing you to push speeds even higher while preserving print quality and strength.
Use Sparse Infill Strategies for Non-Functional Parts
Speed improvements through infill adjustments become even more dramatic when you’re printing decorative items, prototypes, or visual models that don’t need structural strength.
Sparse infill strategies offer significant print time reductions for non-functional parts without compromising their visual appeal.
You’ll achieve ideal results by setting your infill density between 10-20% for decorative pieces. For items requiring zero structural support, use 0% infill to create completely hollow designs. This dramatically accelerates your printing process while conserving material.
Choose faster-printing patterns like line or grid instead of complex geometries. Combine sparse infill with reduced shell thickness for maximum time savings.
These adjustments can reduce your print time by approximately 25% while maintaining excellent surface quality for prototypes and display models.
Combine Lower Infill With Increased Wall Thickness
Although reducing infill density cuts print time considerably, you’ll often need to compensate for the lost structural integrity.
By combining lower infill density with increased wall thickness, you’ll maintain strength while achieving significant time savings.
Here’s how to optimize this approach:
- Set infill density between 10-20% for non-structural parts to reduce internal movements and material usage.
- Increase wall thickness to 0.8mm-1mm to enhance structural integrity and compensate for reduced infill.
- Adjust wall line count to 3 or more lines to maintain mechanical strength throughout your design.
- Monitor print time reductions of up to 30% while preserving adequate support for your printed object.
This balanced strategy guarantees you don’t sacrifice quality for speed, creating parts that meet your functional requirements efficiently.
Frequently Asked Questions
What Is the Best Infill to Save Time?
You’ll save the most time using 0% infill for decorative items or 10-20% infill with rectilinear patterns for functional parts. Rectilinear infill’s the fastest pattern, cutting print time by 25%.
How to Minimize Print Time?
You’ll minimize print time by reducing infill density to 0-20%, using rectilinear patterns, lowering wall counts to 2-3, implementing dynamic layer heights, and designing without overhangs requiring supports.
Does Infill Density Affect Print Time?
Yes, infill density considerably affects your print time. You’ll reduce printing duration by up to 80% when lowering infill from 100% to 20%, since you’re using less material and fewer movements.
Which Infill Takes the Least Time?
You’ll find rectilinear infill takes the least time because it uses simple straight lines. If you’re prioritizing speed over strength, choose 0% infill density for completely hollow prints.

Leave a Reply