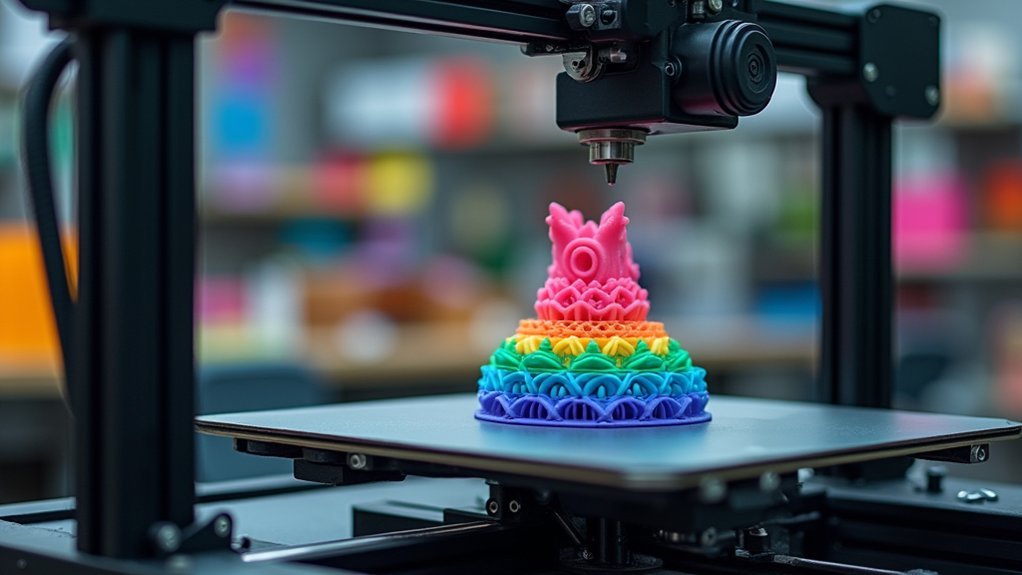
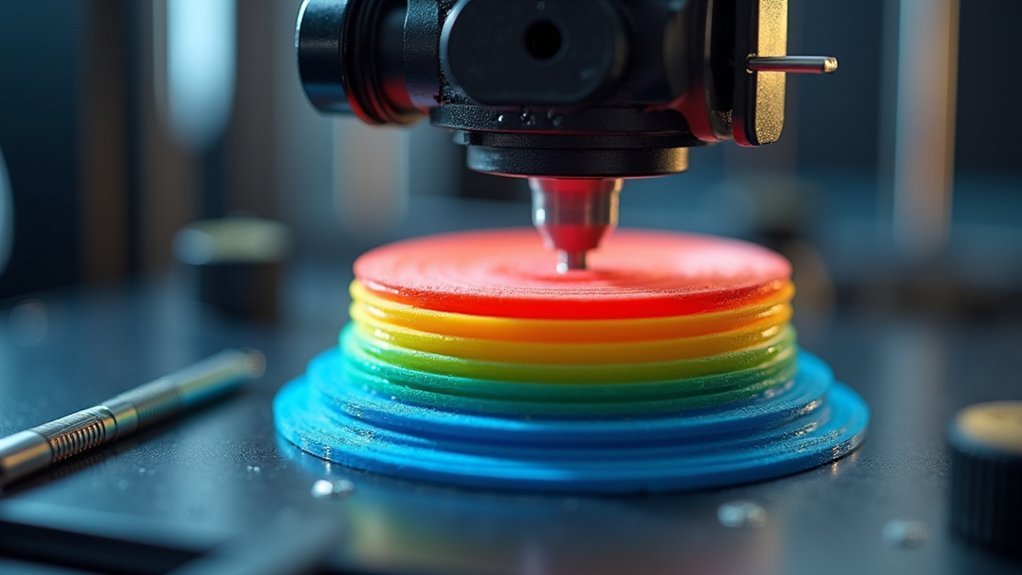
You can adjust layer height in 3D printing through seven key methods: use Height Range Modifiers in your slicer software to set different heights for specific model sections, manually edit G-code files to combine multiple layer settings, enable adaptive layer height tools for automatic geometry-based adjustments, create separate print files with distinct settings, utilize variable layer height painting features for visual control, split your model into segments for multi-height printing, and optimize settings based on material properties like PLA or ABS. These techniques will transform your print quality and efficiency.
Using Height Range Modifiers in Slicer Software

When you need different layer heights for various sections of your 3D print, Height Range Modifiers (HRMs) provide the precise control you’re looking for.
These tools let you specify distinct layer heights for designated portions of your model, giving you unprecedented flexibility in your print settings.
To implement a height range modifier, right-click on your model within the slicer software. You’ll then set upper and lower boundaries for the areas where you want height changes.
Once you’ve established these boundaries, adjust the layer height using the settings panel on the right side of your interface.
You can combine HRMs with other settings modifications for a thorough optimization approach.
This strategic use of height range modifiers leads to improved print quality by effectively balancing detail and speed across different model sections.
Manual G-code Editing for Layer Height Changes
When you need more precise control over layer height changes than slicer modifiers provide, you’ll need to manually edit your G-code files.
This advanced technique requires you to prepare separate G-code files for each layer height and carefully manage the shift points between them.
You’ll also need to handle extrusion values correctly to guarantee your printer maintains accurate material flow throughout the height changes.
G-code File Preparation
Although most slicing software handles layer height adjustments automatically, you’ll sometimes need to manually edit G-code files to achieve precise layer height changes within a single print.
Start by slicing your model at different heights to create separate G-code files for each layer height setting you want to implement. This preparation guarantees you’ll have the necessary code segments ready for combination.
| Step | Action | Purpose |
|---|---|---|
| 1 | Slice model at first height | Create base G-code file |
| 2 | Slice model at second height | Generate alternate layer code |
| 3 | Identify layer markers | Locate ;LAYER comments |
| 4 | Plan shift points | Determine where changes occur |
| 5 | Backup original files | Prevent data loss |
Proper preparation prevents printing failures and guarantees smooth layer shifts throughout your project.
Extrusion Value Management
Once you’ve prepared your separate G-code files, you’ll need to manage extrusion values carefully to prevent filament flow issues during layer height changes.
When combining multiple layer heights in a single print, the extruder’s tracking system can become confused between different layer height segments.
Insert the G92 E[number] command after appending layers from one G-code file to another. This resets the extruder position and prevents over-extrusion or under-extrusion during changes.
Locate layer change points using comments like ;LAYER to identify proper insertion points.
Variable layer height printing requires precise extrusion management since your printing software can’t find these change points automatically.
Whether switching from 0.1mm layer height to 0.3mm, proper G-code editing guarantees smooth filament flow throughout your variable height in 3D printing project.
Adaptive Layer Height Tools for Automatic Adjustments
You’ll find adaptive layer height tools take the guesswork out of adjusting thickness by automatically detecting areas that need fine detail versus those that can print faster.
These smart systems analyze your model’s geometry and apply thinner layers where surface quality matters most, while using thicker layers in simple sections to save time.
You can set your preferred balance between speed and detail, then let the software handle the complex calculations that would take hours to do manually.
Automatic Quality Detection
When your 3D printer can automatically detect and adjust layer heights based on model geometry, you’re leveraging adaptive layer height technology that revolutionizes print enhancement.
This intelligent system analyzes your model’s complexity in real-time, identifying areas that need finer detail versus sections where speed can be prioritized. You’ll find that intricate features automatically receive thinner layers for superior quality, while simple surfaces use thicker layers to reduce print time.
The detection algorithm considers geometric changes and surface complexity to determine ideal layer thickness. You can customize quality parameters to match your preferences, letting the system balance detail and efficiency according to your specific needs.
This automated approach eliminates guesswork while maintaining consistent print integrity throughout your project.
Speed Vs Detail Balance
Building on this automated detection capability, adaptive layer height tools give you precise control over the speed versus detail balance in your prints.
You’ll efficiently optimize both quality and time by automatically adjusting layer heights based on your preferences throughout the printing process.
These tools minimize the staircase effect on curved surfaces by strategically placing smaller layers where detail matters most while maintaining faster speeds elsewhere.
Users consistently report improved results when implementing these features.
To maximize effectiveness:
- Plan alterations carefully – avoid abrupt layer height changes that could compromise structural integrity
- Choose compatible supports – grid supports typically work better than organic supports with adaptive settings
- Set clear priorities – define whether quality or speed takes precedence for different print sections
You’ll achieve professional results while reducing overall print times.
Creating Multiple Print Files With Different Settings
Although most slicers don’t offer built-in variable layer height functionality, you can create multiple print files with different settings by manually combining G-code files.
Start by slicing your model at individual layer heights to generate separate G-code files for each desired height. You’ll need to identify specific layer height changes by locating comments like ;LAYER in the G-code to determine where adjustments occur.
For smooth changes, delete layers after the targeted change height in your first G-code file, then copy required layers from the second file.
Use the G92 E[number] command to maintain proper extrusion values when merging files. Remember that editing G-code introduces risks, especially with generated supports, so thoroughly check your work in G-code preview before printing.
Variable Layer Height Painting Features
While manual G-code editing requires technical expertise, modern slicing software has introduced variable layer height painting features that let you visually assign different layer heights across your model’s surface.
Modern slicing software replaces complex G-code editing with intuitive variable layer height painting tools for enhanced 3D printing control.
You’ll paint layer height preferences directly onto your 3D model, creating an intuitive adjustment process that enhances both quality and efficiency.
This feature offers three key advantages:
- Quality optimization – Apply finer layers to detailed areas while using thicker layers for simple geometry
- Time reduction – Considerably decrease print times by optimizing layer thickness based on geometric requirements
- Visual control – Intuitively adjust settings by painting directly on your model’s surface
Remember to verify support compatibility beforehand, as variable layer heights may not work with all support types, particularly organic supports.
Splitting Models for Multi-Height Printing
When variable layer height painting doesn’t provide sufficient control for complex models, you can split your design into separate sections and assign distinct layer heights to each part.
Create separate components in your 3D modeling software, then export each part individually. Slice these sections with specific layer height settings—use fine layers for detailed areas and coarser layers for basic geometry.
You’ll need to combine the G-code files afterward, carefully editing them to guarantee smooth changes between different layer heights.
Alternatively, use Height Range Modifiers in your slicing software to set different layer heights within the same model without manual splitting.
Consider print time and material properties when planning your approach, as detailed sections with finer layers require considerably longer printing times.
Optimizing Layer Height Based on Material Properties
Since material properties directly dictate ideal layer height settings, you’ll achieve better results by matching your layer height to your filament’s characteristics.
PLA works effectively with layer heights between 0.1-0.3 mm and offers excellent detail at finer settings. However, you’ll need precise temperature control when using smaller layer heights to guarantee proper extrusion.
ABS typically performs better at 0.2-0.3 mm layer heights, which helps minimize warping issues common with this material.
Consider these material-specific guidelines:
- PLA: Use 0.1-0.3 mm layer heights with careful temperature monitoring for thin layers
- ABS: Stick to 0.2-0.3 mm to reduce warping while maintaining quality
- Resin printing: Achieve exceptional detail with layer heights as low as 0.025 mm for intricate designs
Understanding your material’s unique characteristics guarantees peak print quality and reduces printing problems.
Frequently Asked Questions
How to Choose Layer Height in 3D Printing?
Choose layer height between 25-75% of your nozzle diameter. Use 0.1-0.15mm for detailed models requiring fine features, and 0.2-0.3mm for functional parts prioritizing speed over precision.
How to Change Layer Height in Cura?
You’ll find the Layer Height setting in Cura’s Print Setup panel. Select your print profile, then adjust the value typically between 0.1-0.3mm. For variable heights, right-click your model and add Height Range Modifiers.
Is 0.1 Layer Height Good?
You’ll get excellent detail and smooth surfaces with 0.1mm layer height, but expect considerably longer print times. It’s perfect for intricate models and artistic pieces where quality matters more than speed.
How Do I Adjust the Nozzle Height on My 3D Printer?
Access your printer’s settings menu and select bed leveling or nozzle height calibration. Use a piece of paper to gauge the proper 0.1mm gap, then run a test print to verify adhesion.


Leave a Reply