To deep clean your hotend assembly, first turn off and unplug your printer, then gather H1.5 and H2.0 Allen keys, tweezers, and cleaning solvents. Heat the hotend to 200-250°C, remove filament, and carefully disassemble components including the nozzle, extruder cover, and gear assembly. Clean the nozzle with acetone for ABS or ethyl acetate for PLA, ensuring all passages are clear. Reassemble everything properly, then run temperature towers and flow calibration tests to optimize your printer’s performance and achieve professional-quality results.
Preparing Your Printer and Gathering Essential Tools
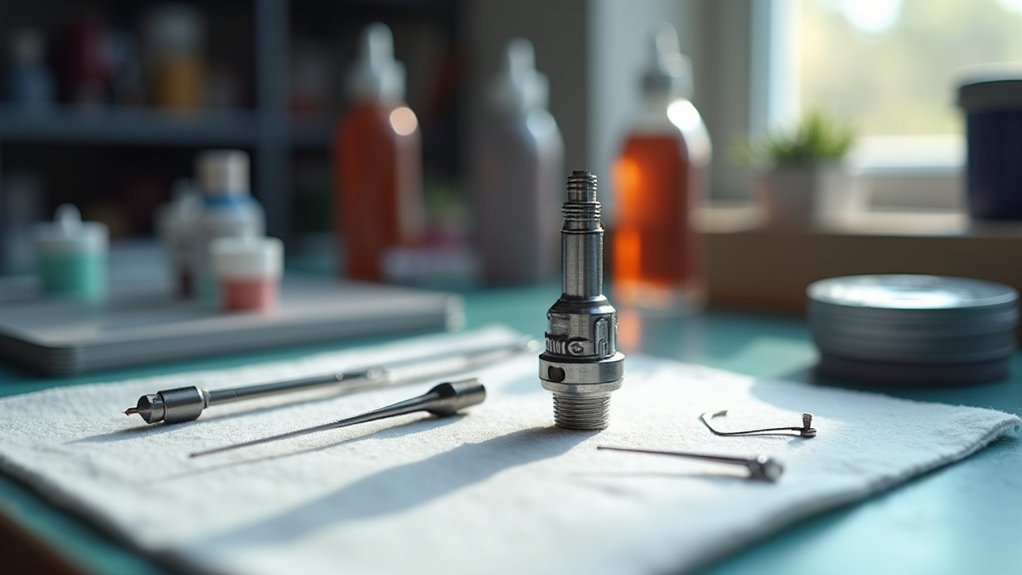
Before you begin deep cleaning your hotend assembly, turn off your 3D printer and unplug it completely to eliminate any risk of electrical shock.
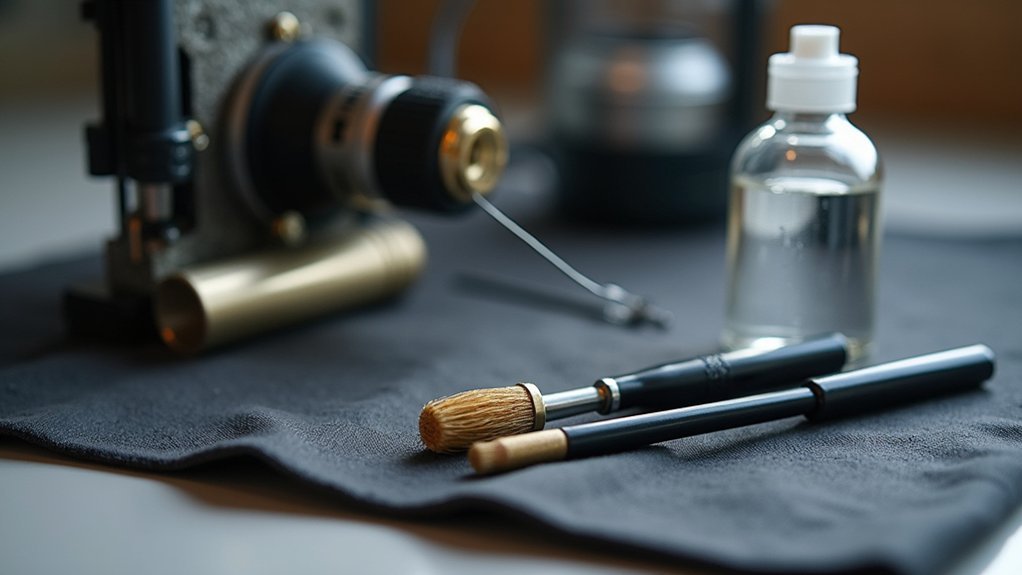
Next, gather your essential tools: H1.5 and H2.0 Allen keys, tweezers, a brush, and an air blower. These tools will help you effectively disassemble and clean each component.
Set up a clean workspace where you can organize components without contamination. Having adequate space guarantees easy access to all tools during the cleaning process.
If you plan to use specific cleaning techniques, prepare cleaning filament for methods like cold pulls.
Finally, review your printer’s assembly and disassembly instructions beforehand. Understanding how components connect prevents accidental damage to sensitive parts during the cleaning procedure.
Heating the Hotend and Safely Removing Filament
With your workspace prepared and tools ready, power on your 3D printer to begin the filament removal process.
Navigate to your printer’s temperature settings and heat the hot end and nozzle to the appropriate temperature for your current filament—typically 200-250°C for most materials. If you’re planning to clean the nozzle thoroughly, consider setting a slightly higher temperature to guarantee complete material flow.
Once heated, use your printer’s retraction controls or gently pull the filament out manually. Work slowly to avoid damaging internal components.
After successful removal, you can proceed to unscrew the nozzle using your H2.0 Allen keys while the hotend remains warm. Remember to handle heated components carefully and allow proper cooling time before performing detailed maintenance work.
Disassembling the Hotend Components Step by Step
After the hotend has cooled to a safe handling temperature, power off your printer completely and begin the systematic disassembly process.
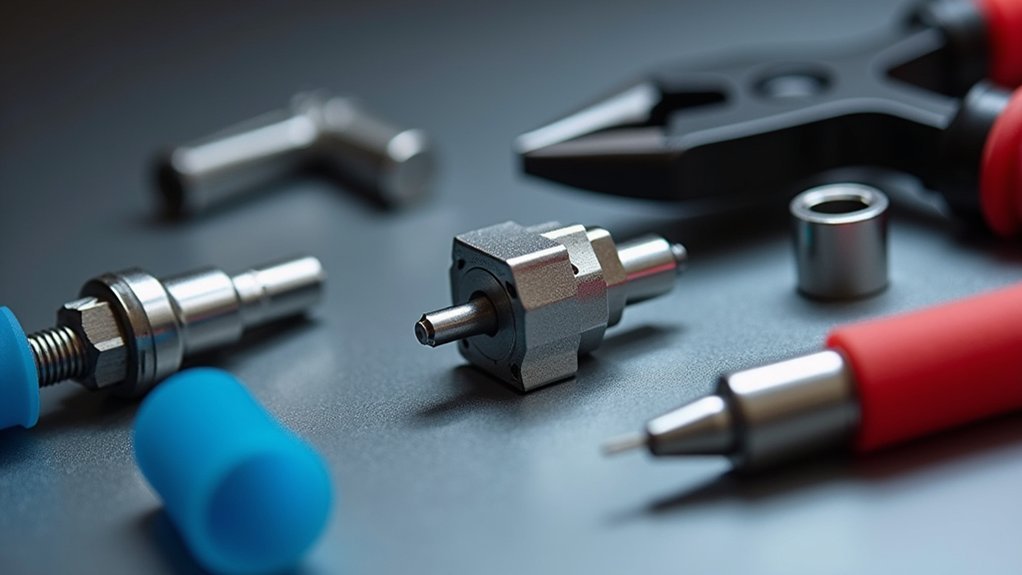
Start by cutting any loaded filament for easier access, then carefully remove the hotend assembly.
Using a H2.0 Allen key, loosen and detach the filament cutter, ensuring you clean any internal debris before continuing.
Next, unscrew the extruder front cover with the appropriate Allen key, being cautious not to damage the FPC cable.
Remove the driven wheel bracket while handling the internal spring and end cap carefully to prevent damage.
Finally, detach the extruder gear assembly to access the nozzle area and clean any internal residues that could affect your printer’s performance.
Cleaning the Nozzle and Internal Parts With Solvents
Now that you’ve disassembled the hotend components, you can tackle the most challenging part of the cleaning process: removing stubborn filament residues from the nozzle and internal passages.
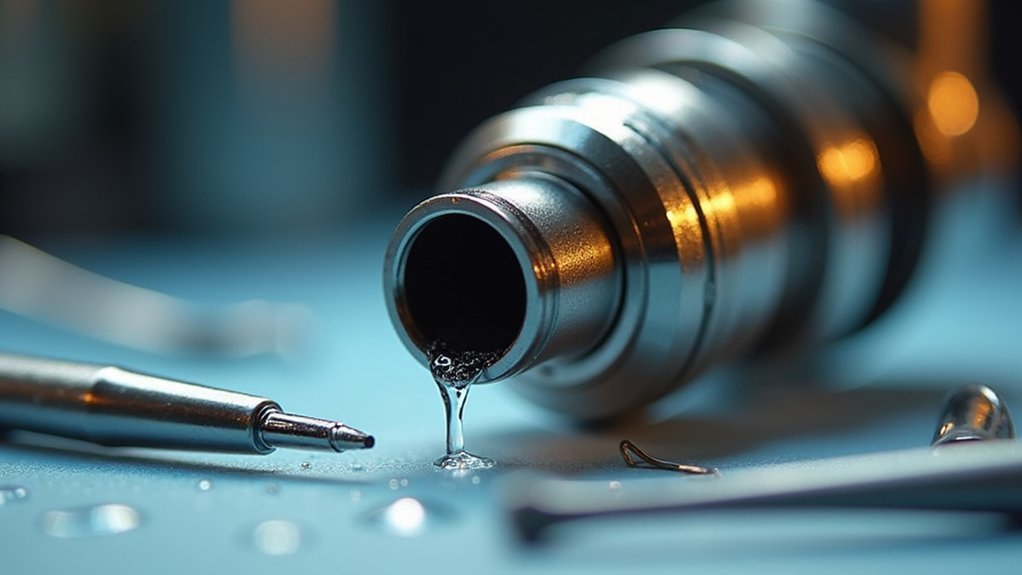
For cleaning the nozzle that’s been used with ABS, choose acetone as your chemical solvent. Soak in acetone for several minutes to dissolve stubborn clogs effectively.
If you’ve printed with PLA, ethyl acetate works better for breaking down residues. After soaking, use a fine needle to gently clear the nozzle hole—ensure it’s thinner than the nozzle diameter to prevent damage.
Before reassembling your hotend assembly, verify all components are completely dry and free of solvent residues to prevent contamination during future prints.
Removing Stubborn Clogs With Mechanical Methods
Sometimes chemical solvents aren’t enough to tackle the most persistent clogs, and you’ll need to employ mechanical methods to physically break up and remove stubborn blockages.
First, heat your nozzle to the last printed material’s temperature to soften the debris. Use a fine acupuncture needle smaller than the nozzle diameter to gently poke through the hole. Make sure you don’t apply excessive force to avoid damage.
When your nozzle is clogged persistently, try the Cold Pull Method. Heat the nozzle, push cleaning filament through the nozzle, then cool it down and pull it out to extract remaining debris.
Follow up using the brush and cleaning filament while heated. Always monitor for nozzle wear, as mechanical cleaning can cause deterioration requiring replacement.
Reassembling the Hotend Assembly Properly
Once you’ve thoroughly cleaned all components, reassembling your hotend assembly requires careful attention to component alignment and proper installation sequence.
Start by installing the cleaned extrusion gear into its designated position, ensuring it aligns correctly with the driven wheel bracket.
Carefully attach the driven wheel bracket while incorporating the internal spring and end cap without damaging components.
Next, reattach the extruder unit front cover, tightening all screws securely to maintain structural integrity during operation.
Secure the side screw firmly to prevent movement or misalignment during printing.
Finally, install the filament hub assembly, positioning the FPC cable correctly to avoid potential damage or interference with hotend operation.
Testing and Calibrating After Deep Cleaning
After reassembling your hotend, you’ll need to run several tests to guarantee everything’s working properly.
Start with a temperature tower test to find your filament’s ideal printing temperature, then calibrate your flow rate to achieve consistent extrusion.
Finally, you’ll want to adjust your first layer settings to compensate for any changes in nozzle height that occurred during the cleaning process.
Temperature Tower Tests
When you’ve completed your hotend deep cleaning, running a temperature tower test becomes essential for determining the best printing temperature for your specific filament.
This test eliminates any guesswork after removing nozzle clogs and filament debris that previously affected performance.
Print a series of identical test objects at incrementally higher temperatures, typically ranging from 190°C to 220°C for PLA.
You’ll visually assess extrusion quality and layer adhesion at each setting.
Watch for stringing, under-extrusion, and over-extrusion during testing to identify your ideal printing temperature.
Maintain consistent layer height and speed throughout the test, ensuring temperature changes alone affect print quality variations.
Document the best performing temperature for future reference, streamlining subsequent prints and maintaining consistent quality across all projects.
Flow Rate Calibration
Since your hotend assembly is now thoroughly cleaned, you’ll need to recalibrate your flow rate to guarantee accurate filament extrusion.
Start by marking 100mm of filament above your extruder, then command your printer to extrude exactly that length. Measure the remaining filament to determine how much actually extruded.
The flow rate calibration depends on your nozzle diameter and filament type, so discrepancies indicate necessary adjustments. Access your slicer’s flow multiplier or extrusion multiplier settings to correct any variations.
If you measured 95mm extruded when commanding 100mm, increase the flow rate accordingly. Repeat this process multiple times and average your results for accuracy.
Regular flow rate calibration after deep cleaning prevents under-extrusion and over-extrusion issues.
First Layer Adjustment
Three critical adjustments determine your first layer success following a hotend deep clean: nozzle height, bed leveling, and extrusion consistency. After cleaning, you must perform first layer calibration to guarantee proper adhesion and prevent print failures.
Position your nozzle height approximately 0.1-0.2 mm above the build plate. Use a piece of paper or feeler gauge between the print head and bed surface, guaranteeing slight resistance when sliding underneath.
| Calibration Step | Target Result | Adjustment Method | Quality Check | Next Action |
|---|---|---|---|---|
| Initial Height | 0.1-0.2mm gap | Paper test | Slight resistance | Continue |
| Test Print | Even extrusion | Square/circle shape | No gaps/over-squish | Fine-tune |
| Adhesion Check | Good bonding | Incremental adjustments | Layer uniformity | Repeat if needed |
| Final Validation | Perfect first layer | Visual inspection | Smooth surface | Complete |
| Troubleshooting | Poor results | Height modification | Re-calibrate | Start over |
Conduct a simple test print, observing extrusion quality and adjusting incrementally until achieving ideal results.
Frequently Asked Questions
How Do You Clear a Clogged Hot End?
Heat your nozzle to the filament’s printing temperature, then gently poke through with a fine acupuncture needle. You can also try the cold pull method or feed cleaning filament through.
How Often Should I Clean My Hotend?
You should clean your hotend based on usage: monthly for light use, every two weeks for moderate use, and weekly for heavy users. Adjust frequency if you notice declining print quality or increased clogging.
How to Clean a Clogged Heatbreak?
First, you’ll disassemble the hotend and remove the heatbreak carefully. Soak it in acetone for hours, then use a fine needle to clear blockages. Dry thoroughly before reassembling.
How to Get PLA off Hotend?
Heat your hotend to 200-220°C to soften the PLA, then pull it out. You can also try the cold pull method or soak the disassembled nozzle in acetone.


Leave a Reply