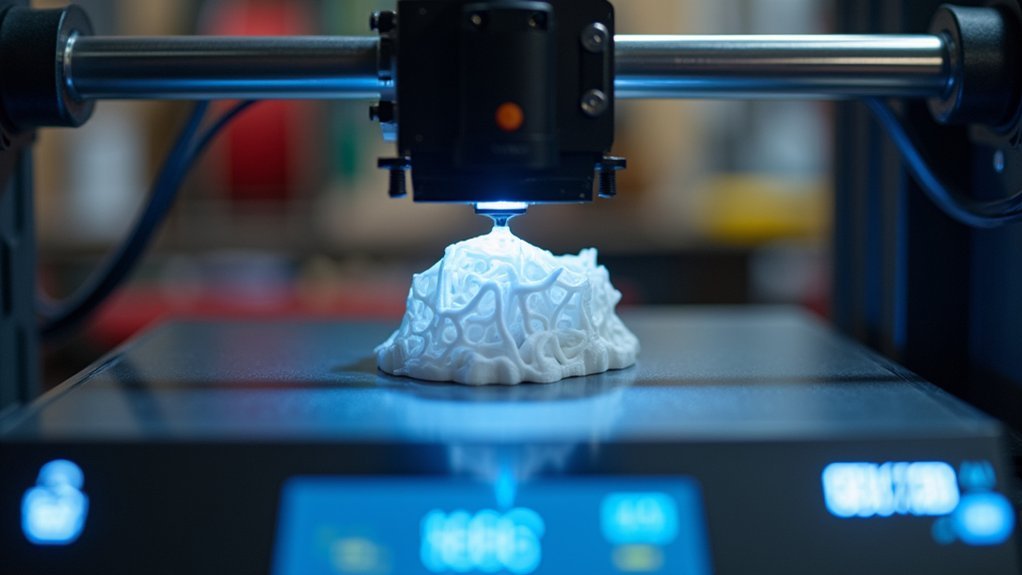
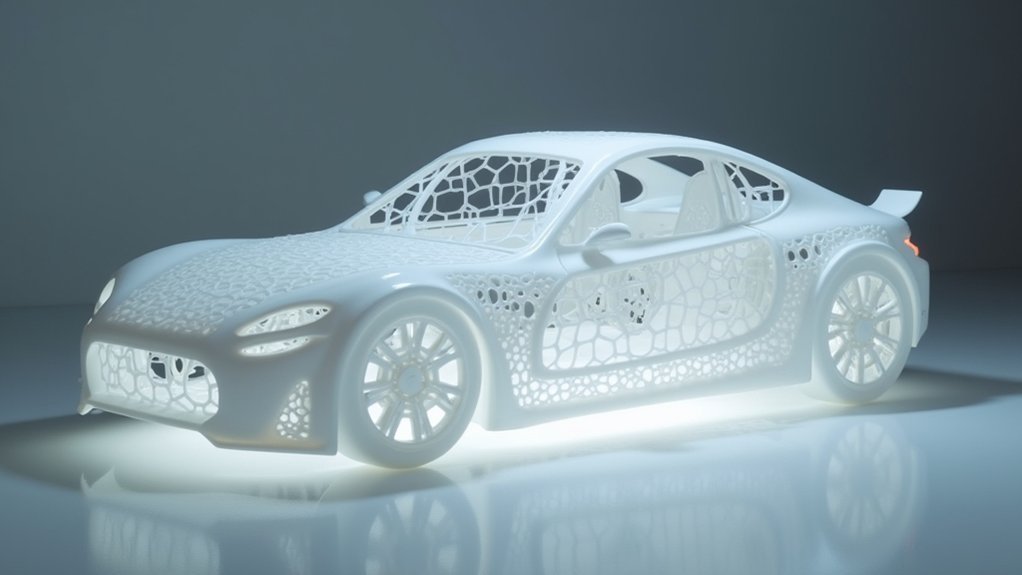
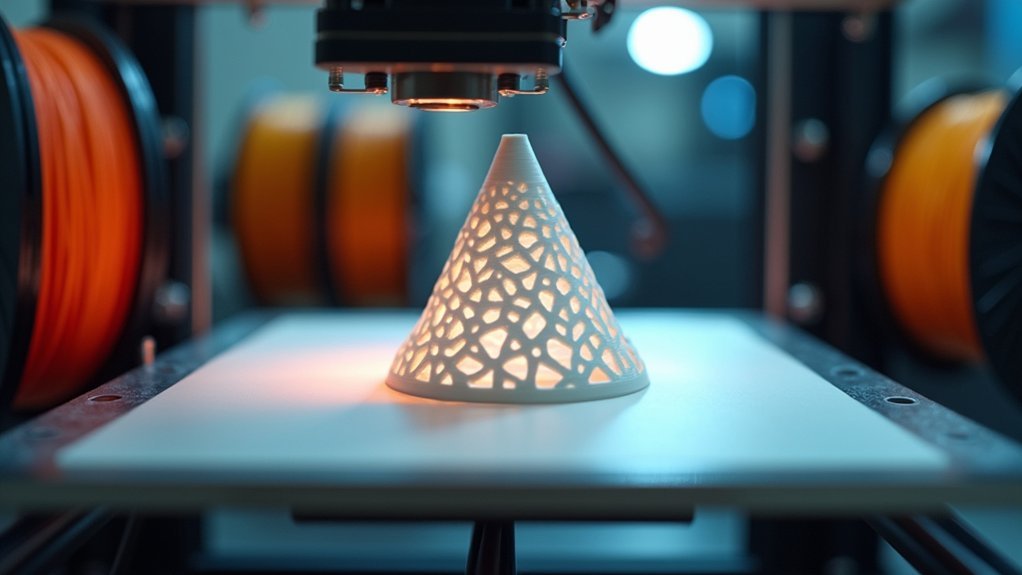
You can dramatically speed up hollow model 3D printing by reducing infill density below 50% and using simpler patterns like lines or grids. Increase your layer height from 0.1mm to 0.2-0.3mm to cut print time nearly in half while maintaining structural integrity. Boost your print speed from 50mm/s to 80mm/s or higher, and choose faster materials like PLA or Draft Resin. Orient your models strategically to minimize support structures and consider larger nozzle sizes for improved material flow. These optimizations will release even more advanced techniques.
Optimize Infill Settings for Hollow Structures

One of the most effective ways to accelerate your 3D printing is optimizing infill settings for hollow structures.
You’ll dramatically reduce print times by lowering infill density below 50%, which most designers prefer for balancing speed and strength. Choose simpler infill patterns like lines or grids rather than complex honeycomb designs—they minimize print head movement complexity during the infill process.
For non-structural components, you can hollow out models completely, eliminating infill entirely. This approach cuts both print time and material usage considerably.
When you need structural integrity, combine low-density infill with strategically placed support structures. Your slicing software’s infill settings enable quick iterations and refinements, letting you tailor hollow models to specific project requirements efficiently.
Adjust Layer Height and Print Resolution
You’ll need to balance layer height selection with your speed requirements, as thicker layers around 0.2mm greatly cut print time for hollow models.
Consider how resolution impacts your timeline—while 0.1mm captures fine details, it’ll slow you down considerably compared to faster settings.
Your hollow sections can handle adjusted parameters differently than solid areas, so customize these settings based on each part’s structural needs.
Optimal Layer Height Selection
When you’re looking to speed up your 3D printing, adjusting layer height stands as one of the most effective strategies at your disposal.
For ideal layer height selection, you’ll want to choose 0.2 mm or thicker layers to dramatically reduce your print times compared to standard 0.1 mm heights. This adjustment works particularly well for hollow models where surface detail isn’t critical.
You can boost print speeds by selecting layer heights between 0.2 mm and 0.4 mm for FFF printers.
Consider using adaptive layer height settings in your slicer software—this intelligent approach lets you print faster in non-detailed areas while maintaining fine resolution where it matters most.
Balance speed with quality by carefully evaluating your model’s specific requirements.
Resolution Vs Speed Tradeoffs
Although fine details look impressive, they’re often unnecessary for many prints, making resolution vs speed tradeoffs a crucial decision in 3D printing optimization.
When you’re printing hollow models, you’ll find that reducing resolution from 0.1mm to 0.3mm can cut your print time in half without compromising structural integrity. This happens because fewer layers need to be printed, directly reducing overall production time.
For non-critical prints, thicker layers won’t markedly affect your model’s functionality. You can push speeds up to 100mm/s with higher layer heights, though you should consider your material’s specific characteristics.
The key is identifying when fine details matter—functional parts might need precision, but decorative hollow models often perform perfectly with faster, lower-resolution settings that prioritize efficiency over microscopic surface quality.
Hollow Section Parameters
Since hollow sections require minimal internal structure, adjusting your layer height and print resolution becomes one of the most effective ways to greatly reduce print time. You can increase your layer height from 0.1mm to 0.2mm, cutting the required layers in half. While this reduces surface quality slightly, hollow models typically don’t need aesthetic perfection on internal surfaces.
Your speed settings should prioritize efficiency over detail for these sections. Lower resolution settings enhance printing speed considerably, though you’ll notice reduced surface smoothness on visible areas.
| Layer Height | Print Time | Surface Quality |
|---|---|---|
| 0.1mm | 100% | Excellent |
| 0.15mm | 67% | Good |
| 0.2mm | 50% | Acceptable |
| 0.3mm | 33% | Poor |
Consider these parameters carefully based on your model’s requirements and visibility constraints.
Select the Right Material for Faster Printing
While print settings and hardware modifications can boost your 3D printer’s speed, your material choice plays an equally essential role in determining how quickly you’ll complete your projects.
PLA and Formlabs Draft Resin offer exceptional speed advantages, with Draft Resin printing three to four times faster than standard resins. However, you’ll need to adjust expectations based on material requirements—PET-G performs best at slower 25 mm/s speeds, while polycarbonate typically requires 30 mm/s.
Material choice significantly impacts printing speed, with Draft Resin achieving 3-4x faster results than standard options.
Flexible filaments often print quicker than rigid alternatives, though you’ll want to balance speed with quality needs.
Low-density materials reduce overall model weight, decreasing cooling and layer adhesion time. Always prioritize materials with excellent adhesion properties and consistent flow rates to minimize failures and maintain ideal printing speed throughout your projects.
Configure Slicer Speed Settings

You’ll find that tweaking your slicer’s speed settings is one of the most effective ways to cut down print times without sacrificing quality.
Start by adjusting your print speed, layer height, and infill patterns to match your project’s requirements.
These three configuration areas work together to dramatically improve your printing efficiency while maintaining the structural integrity you need.
Optimize Print Speed Settings
When you’re looking to reduce print time, adjusting your slicer’s speed settings offers one of the most direct paths to faster results.
You can considerably decrease printing duration by increasing your print speed from the standard 50 mm/s to 80 mm/s or higher, depending on your printer’s capabilities and material requirements.
Draft mode provides another excellent acceleration option for non-critical prints.
This feature enables thicker layers and reduces detail precision, trading quality for speed when perfect surface finish isn’t essential.
Layer height adjustments also greatly impact timing.
Switch from fine 0.1 mm layers to thicker 0.3 mm layers for faster completion while maintaining acceptable quality for functional parts where surface smoothness isn’t paramount.
Layer Height Adjustments
Layer height represents one of the most powerful levers for accelerating your 3D printing workflow. When you’re printing hollow models, layer height adjustments can dramatically reduce your total print time by requiring fewer layers to complete your project.
| Layer Height | Print Time Reduction | Best Use Case |
|---|---|---|
| 0.1mm | Baseline | Detail work |
| 0.2mm | 50% faster | General hollow models |
| 0.3mm | 70% faster | Large hollow prints |
| 0.4mm | 80% faster | Draft prototypes |
| 0.5mm | 85% faster | Concept models |
You’ll want to increase your layer height to 0.2-0.3mm for most hollow models. This adjustment reduces the total number of layers needed while maintaining acceptable surface quality for functional prototypes and non-display pieces.
Advanced Slicer Configuration
Beyond layer height modifications, your slicer’s speed configuration settings offer the next level of optimization for hollow model printing.
Advanced slicer configuration requires strategic adjustments across multiple parameters to maximize printing speed effectively.
Start by increasing your overall print speed settings, carefully balancing velocity with quality requirements. Draft Mode prioritizes speed over surface detail, making it ideal for non-critical hollow prints where finish quality isn’t paramount.
Experiment with infill patterns and reduce density below 50% to accelerate printing without sacrificing structural integrity.
Configure larger nozzle sizes in your settings to enable increased material flow and faster extrusion rates.
These advanced slicer configuration techniques work synergistically to dramatically reduce printing speed while maintaining acceptable results for hollow models.
Minimize Support Structure Requirements

Although support structures are sometimes unavoidable in 3D printing, you can greatly reduce your reliance on them through strategic design choices and smart orientation decisions.
When you minimize support structure requirements, you’ll print faster and use less material overall.
Here are three key strategies to reduce support needs:
- Orient your hollow model strategically – Position overhangs at angles greater than 45 degrees or eliminate them entirely through careful rotation.
- Design internal reinforcement features – Add ribs, strategic holes, or internal supports that strengthen your model without requiring external supports.
- Optimize your slicer settings – Use appropriate layer heights and draft modes for non-functional prototypes, plus select infill patterns that provide strength without excessive material usage.
These approaches will greatly speed up your printing process.
Choose Appropriate Nozzle Size and Temperature
Your hardware settings play a major role in determining print speed, and selecting the right nozzle size paired with ideal temperature settings can greatly cut your printing time.
A larger nozzle size like 0.6 mm or 0.8 mm considerably increases material flow rate, allowing faster printing of hollow models. You’ll also benefit from thicker layers, reducing the total number needed to complete your print.
Adjust your nozzle temperature to the upper recommended limit for your filament—220-250°C for PLA works well. This enhanced material flow prevents extrusion issues while enabling higher print speeds.
Consistent ideal temperatures prevent clogs that cause interruptions. Balance these settings carefully to maintain print quality while maximizing speed, especially since hollow models’ internal structures can affect material flow patterns.
Design Considerations for Hollow Model Efficiency
When designing hollow models for 3D printing, strategic design choices can markedly reduce your print times while maintaining structural integrity. Your design approach directly impacts print quality and overall efficiency.
Three key optimization strategies include:
- Simplify complexity – Reduce intricate details and minimize layer count to accelerate printing while preserving essential features.
- Optimize orientation – Position models to eliminate support structures, which speeds up printing and improves surface finish.
- Create larger openings – Design bigger ventilation holes to enhance airflow and cooling, reducing layer adhesion times.
You’ll also want to incorporate internal lattice structures instead of solid walls. This maintains strength while using less material.
Additionally, adjust your infill percentage to 15-20% for hollow models – you’ll achieve adequate structural integrity while considerably boosting print speed.
Frequently Asked Questions
How Do You Get Your 3D Prints to Print Faster?
You’ll speed up prints by increasing print speed settings, using larger nozzles, reducing infill density below 50%, simplifying designs to minimize supports, and choosing faster-drying materials like draft resins.
How Do I Reduce Print Time in 3D Printing?
You’ll reduce print time by increasing layer height, lowering infill density below 50%, using larger nozzles, switching to fast-printing materials, and optimizing designs to minimize support structures for quicker completion.
Can You 3D Print a Hollow Model?
Yes, you can 3D print hollow models by adjusting your slicer’s wall thickness and infill settings. You’ll save material, reduce weight, and decrease print time while maintaining structural integrity for your projects.
How to Increase the Printing Speed?
You’ll increase printing speed by adjusting slicer settings like doubling print rates, choosing faster-drying materials such as PLA, reducing infill density to 15%, and using larger nozzle sizes.


Leave a Reply