You can remove HIPS support material effectively using seven key techniques: manual breakaway removal with pliers for accessible supports, d-limonene chemical dissolution for complex geometries, ultrasonic cleaning with heated solvents at 45-60°C, combination limonene and isopropyl alcohol treatment in equal ratios, heated bath dissolution at 40-60°C, mechanical tool-assisted removal using precision cutting tools, and post-processing surface finishing methods including sanding and vapor smoothing. These methods will help you achieve professional results across various print complexities.
Manual Breakaway Removal for Simple Geometries

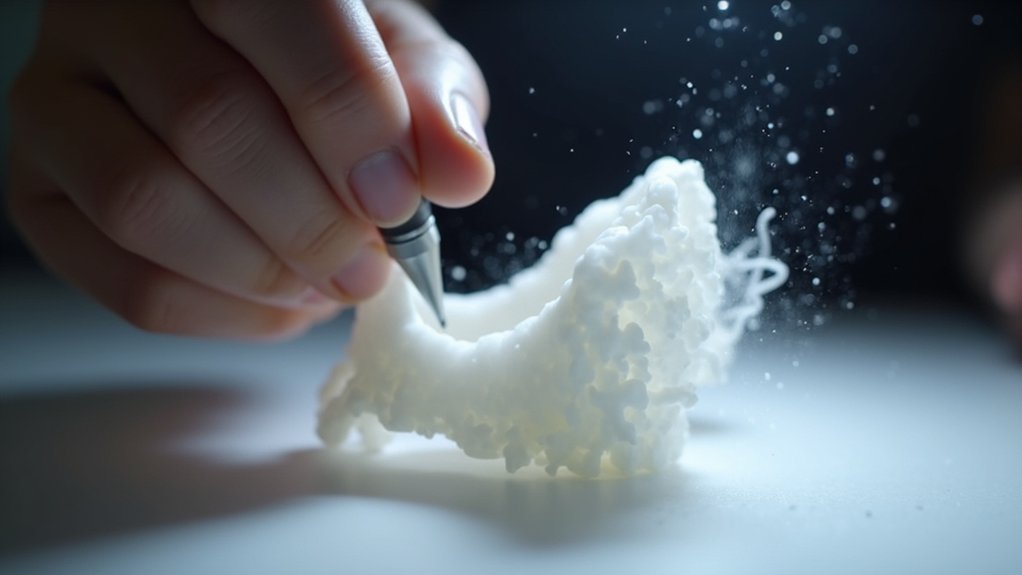
When working with simple geometries, manual breakaway removal offers the most straightforward approach to eliminating HIPS support material from your 3D prints. This technique involves using hand tools like pliers or knives to carefully break or cut away support structures from your printed parts.
You’ll find this method particularly effective when support materials are easily accessible without risking damage to your main print. Apply minimal force during removal to protect delicate features of your model.
The process demands careful handling and patience, especially when support structures integrate tightly with intricate designs. Manual breakaway removal remains the preferred choice for many makers because it’s straightforward and doesn’t require chemical solutions, making it cost-effective and accessible for most printing applications.
D-Limonene Chemical Dissolution Method
When manual removal proves challenging for complex geometries, you’ll need to prepare a d-limonene solution for chemical dissolution of HIPS support material.
You can use pure d-limonene at room temperature or warm it slightly to accelerate the process.
The dissolution method involves specific preparation steps and a controlled immersion process that’ll completely dissolve supports without damaging your printed part.
D-Limonene Solution Preparation
One key advantage of d-limonene lies in its natural origin and effectiveness at breaking down HIPS support material without harsh chemicals.
You’ll achieve the best results by preparing your solution properly before starting the removal of support material.
Mix d-limonene with isopropyl alcohol in a 1:1 ratio to enhance the dissolution process. This combination creates a more effective solvent that penetrates HIPS material faster than d-limonene alone.
You can slightly increase the solution’s temperature to expedite dissolution time and improve effectiveness.
Ensure you’re wearing gloves and working in a well-ventilated area before handling d-limonene, as its fumes can cause irritation.
Prepare enough solution to completely submerge your printed part for ideal results.
Dissolution Process Steps
Begin the dissolution process by removing any large, easily detachable HIPS support material from your printed part using pliers or a craft knife.
This preliminary step prevents damage and reduces dissolution time.
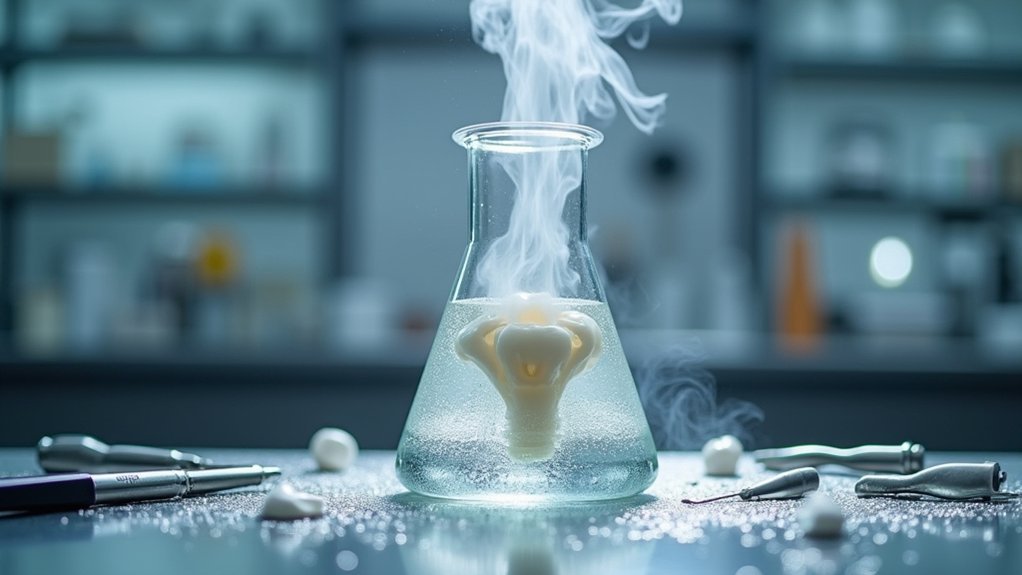
Submerge your printed part in warm d-Limonene solution, ensuring complete coverage of remaining support structures.
Gently agitate the container periodically to enhance the dissolution process effectiveness.
Thinner HIPS support material dissolves faster than thicker sections, so monitor progress accordingly.
Keep the solution warm throughout the process for ideal results.
Once supports have completely dissolved, remove your printed part and rinse thoroughly with isopropyl alcohol.
The removing support process leaves you with a clean, smooth surface finish on your final printed part.
Ultrasonic Cleaning With Heated Solvents

When you combine ultrasonic cleaning with heated solvents, you’ll dramatically accelerate HIPS dissolution compared to room temperature methods.
You can achieve ideal results by maintaining your solvent temperature between 45°C and 60°C, which requires careful monitoring and temperature control equipment.
This enhanced dissolution speed means you’ll complete support removal faster while the ultrasonic agitation ensures thorough cleaning of complex geometries without damaging delicate features.
Enhanced Dissolution Speed Benefits
Although traditional soaking methods can dissolve HIPS support material effectively, ultrasonic cleaning with heated solvents dramatically accelerates the process while delivering superior results.
You’ll experience enhanced dissolution speed when high-frequency vibrations agitate warm solvents, creating an environment where your soluble support material breaks down much faster than conventional techniques allow.
Ultrasonic cleaners generate consistent agitation that penetrates deep into complex geometries, ensuring efficient breakdown of support structures without damaging your printed parts.
When you combine heat with ultrasonic energy, the solvent penetrates HIPS material more effectively, reducing processing time considerably.
This accelerated approach means you’ll spend less time waiting for supports to dissolve while achieving more uniform removal across intricate features and overhangs.
Temperature Control Methods
Proper temperature control maximizes the effectiveness of your ultrasonic cleaning process while protecting your printed parts from heat damage.
When implementing temperature control methods for heated solvent cleaning, you’ll want to maintain your d-Limonene and isopropyl alcohol solution between 40-60°C for ideal HIPS dissolution. This controlled heating accelerates the breakdown of printing support material while preserving your part’s integrity.
Monitor temperatures consistently to prevent overheating that could warp your printed geometry. The warm solvent combination reaches intricate cavities more effectively than cold solutions, delivering a smooth surface finish.
Always guarantee proper ventilation when working with heated solvents. Pre-removing excess HIPS manually before ultrasonic treatment prevents overwhelming the dissolution process and helps improve bed adhesion for future prints.
Combination Limonene and Isopropyl Alcohol Treatment
While d-Limonene alone effectively dissolves HIPS support material, combining it with isopropyl alcohol in a 1:1 ratio creates an even more powerful solvent solution.
Mixing d-Limonene with isopropyl alcohol in equal parts significantly boosts solvent strength for removing HIPS support material.
This combination limonene and isopropyl alcohol treatment accelerates dissolution while improving your part’s surface finish.
Before treatment, manually remove excess support material to prevent damage.
Heat and ultrasonic agitation greatly speed up the process, making this one of the most effective removal methods available.
Follow these best practices for ideal results:
- Prepare workspace – Confirm proper ventilation and safety equipment
- Mix solution – Combine equal parts d-Limonene and isopropyl alcohol
- Apply heat/agitation – Use ultrasonic cleaner for faster dissolution
- Monitor progress – Check frequently to prevent over-exposure
This treatment delivers superior support material removal while enhancing your printed part’s final quality.
Heated Bath Dissolution Techniques

When you need faster HIPS support removal than room-temperature methods provide, heated bath dissolution techniques offer a considerable speed advantage. You’ll submerge your printed parts in a warm d-limonene solution maintained at 40-60°C to accelerate the dissolution process considerably.
| Parameter | Specification |
|---|---|
| Temperature Range | 40-60°C |
| Agitation Method | Gentle stirring |
| Monitoring Frequency | Every 15-30 minutes |
| Rinse Temperature | Warm water |
| Safety Consideration | Ventilated area required |
Add gentle agitation to your heated bath to expedite support material breakdown without damaging your print. You’ll need to monitor the dissolution process closely since removal times vary based on support complexity and volume. After complete dissolution, rinse thoroughly with warm water to eliminate all d-limonene residues for ideal results.
Mechanical Tool-Assisted Support Removal
For prints where chemical dissolution isn’t practical or you need immediate results, mechanical tool-assisted support removal offers a direct approach to separating HIPS supports from your finished parts.
You’ll need precision tools like bandsaws, coping saws, or exacto knives to carefully cut away support structures without damaging your model. This method works exceptionally well for simpler geometries where supports are easily accessible.
Essential techniques for peak print quality:
- Maintain steady, patient movements to prevent accidental damage
- Keep cutting tools sharp for cleaner cuts and reduced fraying
- Combine with chemical methods for complex parts with embedded supports
- Focus on accessible support areas first before tackling intricate sections
Your success depends on approaching each cut methodically, especially when working with complex parts that require more careful maneuvering around delicate features.
Post-Processing Surface Finishing Methods
After removing HIPS support material, you’ll want to refine your print’s surface quality through targeted finishing techniques that address any remaining artifacts or imperfections.
Post-processing methods offer several effective approaches for achieving professional results.
Ultrasonic cleaning provides gentle yet thorough cleaning using vibrations in a solvent bath, removing residual support material while improving surface smoothness without damaging your print.
For complete support elimination, chemical dissolution with d-Limonene effectively removes stubborn support structures, delivering clean finishes for intricate designs without visible support marks.
Vapor smoothing with d-Limonene enhances surface quality by softening the outer layer, creating smoother, more visually appealing finishes.
Manual techniques like sanding or polishing refine surface texture for aesthetic improvements.
You can also use heat guns for reshaping minor imperfections, ensuring refined final products.
Frequently Asked Questions
How Do You Dissolve HIPS Filaments?
You’ll dissolve HIPS filaments by submerging your printed part in heated d-Limonene or a 1:1 d-Limonene and isopropyl alcohol solution. Ascertain you’ve got proper ventilation since the fumes can be harmful.
How to Easily Remove PLA Supports?
You can easily remove PLA supports by soaking your printed part in warm soapy water. Use pliers or a hobby knife for stubborn pieces, then inspect for any remaining material.
Why Are My Supports so Hard to Remove?
Your supports are hard to remove because you’re likely using wrong bed adhesion settings, improper printing temperatures, or inadequate ambient temperature control, causing supports to bond too tightly with your model.
When Using PVA as a Support Material, What Is the Best Way to Remove It From the Finished Part?
You’ll remove PVA support material by submerging your printed part in warm water for several hours. The PVA dissolves completely since it’s water-soluble, then rinse thoroughly afterward.


Leave a Reply