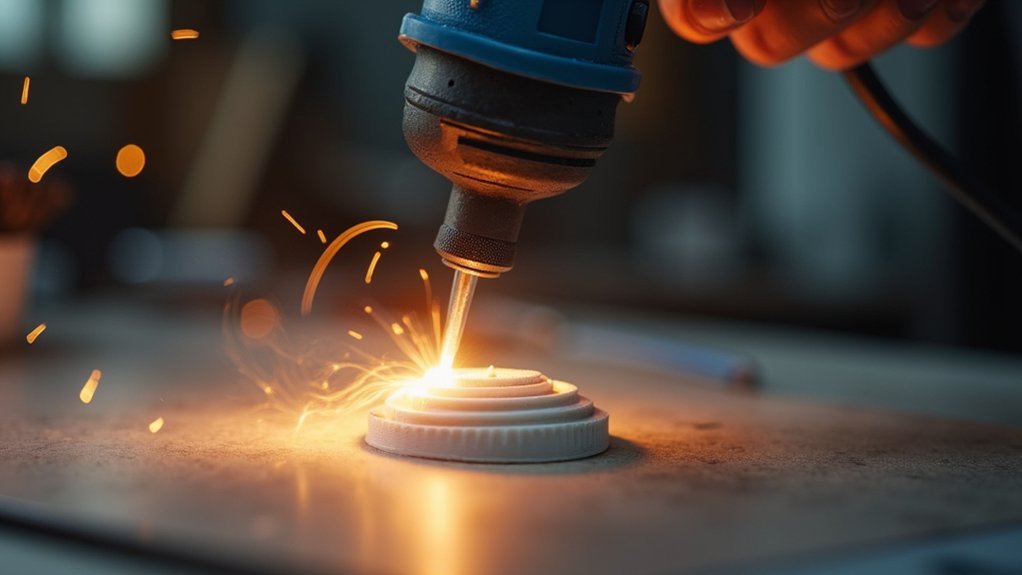
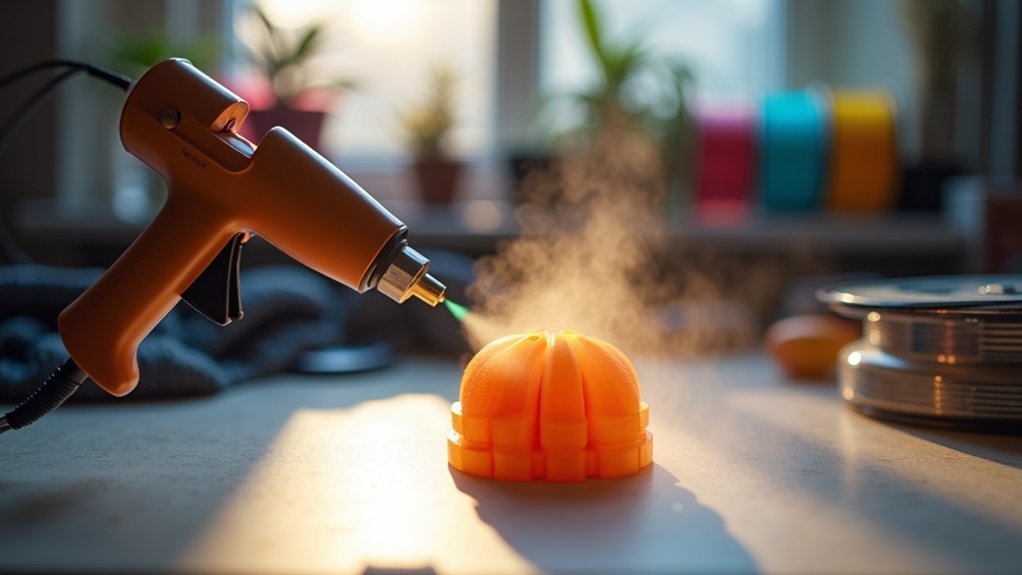
You’ll achieve professional 3D print smoothing by maintaining 6-12 inches distance from your print while using circular motions for even heat distribution. Set your heat gun to 160-180°C for PLA, 210-230°C for ABS, and adjust accordingly for other filaments. Target visible layer lines with short heat bursts, then combine with progressive sanding from 100 to 600 grit. Always work in well-ventilated areas wearing protective gear, and allow gradual cooling on flat surfaces to prevent warping. Master these fundamentals to reveal advanced smoothing strategies.
Optimal Distance Control for Heat Gun Application

When you’re applying heat to your 3D prints, maintaining the proper distance between your heat gun and the print surface becomes essential for achieving smooth results without damaging your work.
The ideal distance ranges from 6 to 12 inches, ensuring even heating across your print’s surface. This positioning prevents localized overheating while delivering consistent heat gun application.
You’ll want to use sweeping motions rather than focusing on one spot. Adjust your temperature settings between 200°F to 300°F for effective smoothing.
Watch for glossiness on the surface—this indicates you’re achieving the right melting point. Consider your print’s thickness when determining exposure times; thicker sections need longer passes while thin areas require quick movements to avoid overheating and maintain a smooth surface.
Temperature Settings for Different Filament Types
Getting the distance right sets you up for success, but your heat gun’s temperature settings must match your specific filament type to achieve ideal smoothing results.
When using a heat gun to smooth PLA filament, set temperatures between 160-180°C to melt the surface without deformation.
ABS filament requires higher temperature settings of 210-230°C for effective smoothing techniques while preventing warping.
PETG responds well to 180-200°C, offering heat resistance that requires controlled application to avoid sagging.
Nylon’s higher melting point demands 230-250°C, but you’ll need caution to prevent burning.
For flexible TPU, use lower settings around 150-170°C to maintain material integrity.
These precise temperature ranges guarantee successful surface finishing without compromising your print’s structural quality.
Circular Motion Patterns for Even Heat Distribution

Three key principles govern successful heat gun smoothing: proper distance, appropriate temperature, and controlled movement patterns.
You’ll achieve ideal results by maintaining circular motion while operating your heat gun 4 to 6 inches from the print surface. This technique guarantees even heat distribution across the material, preventing localized overheating that causes warping.
Move your heat gun slowly in overlapping circles for 10 to 15 seconds per area. Watch for a glossy appearance indicating successful melting outer layers without compromising structural integrity. The circular motion prevents hot spots while gradually smoothing surface irregularities.
Circular heat gun motion for 10-15 seconds creates glossy melted layers while preventing hot spots and surface irregularities.
After heating each section, allow complete cooling before handling. This cooling phase solidifies the melted material into a smooth surface finish while preserving your print’s dimensional accuracy and strength.
Layer Line Targeting With Focused Heat Bursts
When you spot visible layer lines that disrupt your print’s surface quality, you’ll need to target these specific areas with controlled heat bursts rather than heating the entire surface.
You must maintain the proper distance from your print while delivering short, focused bursts of heat to avoid overmelting the plastic.
The key is timing each burst precisely – watch for that telltale glossy appearance that signals the plastic is softening, then immediately move to the next problem area.
Identifying Problem Layer Lines
Most 3D prints exhibit visible layer lines where each deposited layer creates distinct ridges across the surface, and you’ll need to identify which areas require the most attention before applying focused heat bursts.
Run your fingers across the print to locate pronounced ridges or examine it under good lighting to spot inconsistent layers. Focus on areas where layer adhesion appears poor or where gaps between layers are most noticeable.
Before starting the smoothing process with your heat gun, mark problematic sections mentally or with removable tape.
Position yourself at an appropriate distance from the print and prepare to monitor glossiness as you work. This preparation guarantees you’ll achieve a smooth finish while maintaining structural integrity as you carefully melt the outer surface material.
Heat Gun Distance Control
After identifying the problematic areas, you’ll need to establish proper distance control between your heat gun and the print surface.
Maintain 6 to 12 inches between the nozzle and your PLA print to prevent overheating while ensuring adequate heat reaches the layer lines. Use short, controlled bursts lasting 1 to 3 seconds, keeping the heat gun moving steadily across the surface.
Focus on pronounced layer lines without creating uniform melting across the entire print. Watch closely for glossiness, which indicates melting has begun. If you notice this surface change, immediately adjust your distance or reduce heat duration.
Proper distance control lets you smooth specific areas without warping or deforming your print’s overall shape.
Burst Duration Timing
While maintaining proper distance sets the foundation for successful heat gun smoothing, precise burst duration timing determines whether you’ll achieve smooth layer line integration or accidentally melt your print into an unusable mess.
Apply focused heat bursts for 1 to 3 seconds maximum, targeting specific layer lines with controlled softening techniques. This timing allows sufficient heat penetration without causing deformation.
Keep your ideal distance at 4 to 6 inches while using circular or sweeping motions for even heating across the surface. You’ll need constant monitoring of the print during application, watching for that telltale slight gloss indicating proper heat activation.
Stop immediately when you see this surface change, as continued exposure risks overheating and permanent damage to your carefully crafted print.
Safety Precautions When Heat Smoothing PLA and ABS
When you’re heat smoothing PLA and ABS prints, you’ll need to prioritize safety to protect both yourself and your workspace.
You must establish proper ventilation, maintain precise temperature control, and wear appropriate protective equipment before starting any smoothing work.
These precautions aren’t optional—they’re essential for preventing injury and avoiding dangerous fume exposure during the heating process.
Proper Ventilation Requirements
Because both PLA and ABS release potentially harmful fumes when heated, you’ll need to establish proper ventilation before beginning any heat smoothing project.
Work in a well-ventilated area with open windows and fans running to maintain continuous fresh air circulation. This setup effectively dissipates toxic fumes and creates a safer breathing environment.
Don’t rely solely on airflow – wear protective gear including a respirator mask rated for organic vapors.
Keep a fire extinguisher within reach when operating your heat gun, as overheating creates a potential fire hazard.
Monitor your heat gun’s temperature settings constantly to prevent excessive heating of your printed part. This prevents both increased fume release and structural damage to your project while maintaining ideal safety conditions.
Temperature Control Methods
Temperature control serves as your primary defense against ruining your 3D print during heat smoothing.
Effective temperature control methods require maintaining your heat gun between 160°F to 220°F for PLA and 230°F to 300°F for ABS. You’ll need to monitor the temperature constantly using a thermometer or infrared attachment to guarantee accuracy throughout the smoothing process.
Keep your heat gun 6-12 inches from the surface to prevent overheating and deformation. Always work in a well-ventilated area since heated plastics release fumes, particularly ABS which emits harmful vapors.
Don’t forget essential protective gear including gloves and safety goggles to shield yourself from burns and toxic exposure during operation.
Personal Protective Equipment
Although heat smoothing transforms rough 3D prints into polished masterpieces, you’ll expose yourself to serious health and safety risks without proper protective equipment.
Always wear safety goggles to shield your eyes from heated debris and heat-resistant gloves to prevent burns when handling hot objects or adjusting your heat gun.
Work exclusively in a well-ventilated area to avoid inhaling dangerous fumes released from melting plastic.
Consider using a respirator to filter harmful particles, especially when smoothing ABS prints that emit toxic vapors.
Keep a fire extinguisher within reach since heat guns can ignite nearby flammable materials.
These protective measures aren’t optional—they’re essential for safe heat smoothing operations that protect your health while achieving professional results.
Pre-Heating Techniques for Better Surface Preparation
Proper pre-heating sets the foundation for successful 3D print smoothing and dramatically improves your final results.
Start by pre-heating your heat gun to the appropriate temperature range of 200-250°C for PLA materials. You’ll want to use a thermometer or heat gun with built-in temperature monitoring to guarantee accuracy.
Before applying heat, focus on thorough cleaning of your print’s surface to remove dust and debris that could interfere with the smoothing process.
Pre-heat your work area to prevent sudden temperature changes that might cause warping during surface preparation.
Once everything’s properly warmed, maintain a 6-12 inch distance from your print while moving the heat gun in steady, back-and-forth motions. This technique guarantees even heat distribution across the entire surface for ideal results.
Combining Heat Gun Methods With Sanding for Superior Results

You’ll achieve the best results when you combine heat gun techniques with strategic sanding approaches that work before and after heat application.
Pre-heat sanding preparation removes initial surface imperfections and creates an ideal foundation for thermal treatment.
Post-heat finishing steps then refine the melted surface layer through progressive grit sanding techniques.
Pre-Heat Sanding Preparation
When you combine heat gun techniques with strategic sanding, you’ll achieve dramatically smoother results than using either method alone. Pre-heating your PLA print slightly before sanding creates ideal conditions for surface preparation. The gentle heat softens the material, making imperfections easier to remove during the smoothing process.
| Sanding Stage | Grit Range | Purpose |
|---|---|---|
| Initial prep | 100-200 | Remove major layer lines |
| Fine smoothing | 400-600 | Refine surface texture |
| Pre-heat phase | Any grit | Soften PLA for easier sanding |
| Final inspection | N/A | Check for remaining flaws |
Start with coarser grit sandpaper to eliminate larger surface defects, then progress to finer grits. Apply your heat gun from 6-12 inches away, moving steadily to prevent warping. This preparation guarantees superior results when you apply final heat gun techniques.
Post-Heat Finishing Steps
Once your heat gun work is complete, the real magic happens during the finishing phase where strategic sanding transforms your smoothed print into a professional-quality piece.
These post-processing techniques require careful attention to achieve your desired smoothness level.
Your sanding stage should follow this systematic approach:
- Start with higher grit sandpaper (400-600) to refine the print’s surface after heat treatment
- Use wet sanding methods to reduce dust and create a polished finish
- Apply primer to fill small gaps created during the heating process
- Perform final light sanding for ideal surface preparation
- Consider epoxy resin application for enhanced durability and gloss
Combining these smoothing methods with proper heat gun techniques creates superior results, improving both aesthetic quality and structural integrity while ensuring better paint adhesion.
Avoiding Warping and Deformation During Heat Application
While heat guns offer excellent results for smoothing 3D prints, improper technique can quickly turn your carefully crafted model into a warped mess. To prevent warping, maintain 6-8 inches distance from your print and keep the heat gun moving constantly in circular motions for even heating. Set your temperature around 250°F for PLA to achieve the smoothing effect without risking deformation.
You’ll need to monitor your print closely during the process. Watch for surface glossiness, which signals the plastic’s starting to melt—stop immediately when you see this.
Never rush the cooling process, as rapid temperature changes create internal stress that causes warping. Instead, let your print cool naturally on a flat, heat-resistant surface to maintain its shape.
Post-Heat Cooling Strategies for Maximum Smoothness
The cooling phase following heat gun application determines whether your smoothing efforts succeed or fail.
Your post-heat cooling strategies directly impact the final surface quality and dimensional accuracy of your print.
Implement these essential cooling techniques after heat gun smoothing:
- Control the environment – Use a well-ventilated area or fan to promote even cooling and prevent thermal stress.
- Choose proper placement – Position your print on a flat heat-resistant surface to maintain shape integrity.
- Monitor temperature actively – Track cooling progress with an infrared thermometer for consistent results.
- Practice patience – Don’t touch smoothed areas until they’re fully cooled to prevent warping and surface defects.
- Prevent rapid temperature changes – Allow gradual cooling to avoid irregular shapes and imperfections.
These strategies guarantee your smoothing efforts deliver professional-quality results.
Troubleshooting Common Heat Gun Smoothing Problems
Even with careful technique, heat gun smoothing can produce unexpected results that compromise your print’s quality. When you notice uneven melting or warped sections, you’ve likely held the heat gun too close or used excessive temperature.
If glossiness appears too quickly, immediately move the heat gun away and reduce your temperature setting between 200°C to 250°C. Maintain that 6-12 inch distance for even heating across all surfaces.
Should you create new defects like bubbles or deep grooves, you’re moving too slowly in one area. Always monitor your 3D prints carefully during smoothing, watching for early signs of distortion.
Monitor your prints constantly during heat gun smoothing to catch distortion early before permanent damage occurs.
If overheating occurs, let the print cool completely before attempting corrective measures. Remember, successful smoothing requires patience and consistent sweeping motions.
Frequently Asked Questions
How to Smooth 3D Prints With a Heat Gun?
You’ll hold the heat gun 6-12 inches away, moving it in circular motions. Start with lower heat settings and watch for a glossy surface appearance. Wear protective gear and guarantee proper ventilation throughout the process.
How to Get Perfectly Smooth 3D Prints?
You’ll achieve perfectly smooth 3D prints by maintaining proper layer adhesion, calibrating your printer settings, using quality filament, controlling temperature consistently, and post-processing with sanding, acetone vapor, or heat treatment techniques.
What Is the Smoothest 3D Printing Method?
You’ll achieve the smoothest results with resin-based SLA or DLP printers, which produce minimal layer lines and glossy finishes directly. These technologies don’t require post-processing smoothing techniques.
How to Smooth PLA 3D Prints Without Sanding?
You can smooth PLA prints using a heat gun at 150-200°C, keeping it 6-12 inches away while moving steadily. Acetone vapor baths and chemical smoothing agents also work well without requiring any sanding.


Leave a Reply