Multi-color glow-in-the-dark 3D printing works by combining phosphorescent filaments containing strontium aluminate particles with advanced dual extruder or automatic material systems. You’ll need hardened steel nozzles to handle the abrasive glow materials, precise temperature control (210-220°C for nozzles), and proper layer adhesion settings. The strontium aluminate crystals absorb light energy and re-emit it slowly, creating luminous effects in different colors. Strategic hardware setup and careful calibration reveal even more impressive possibilities.
Understanding Phosphorescent Materials in 3D Printing Filaments
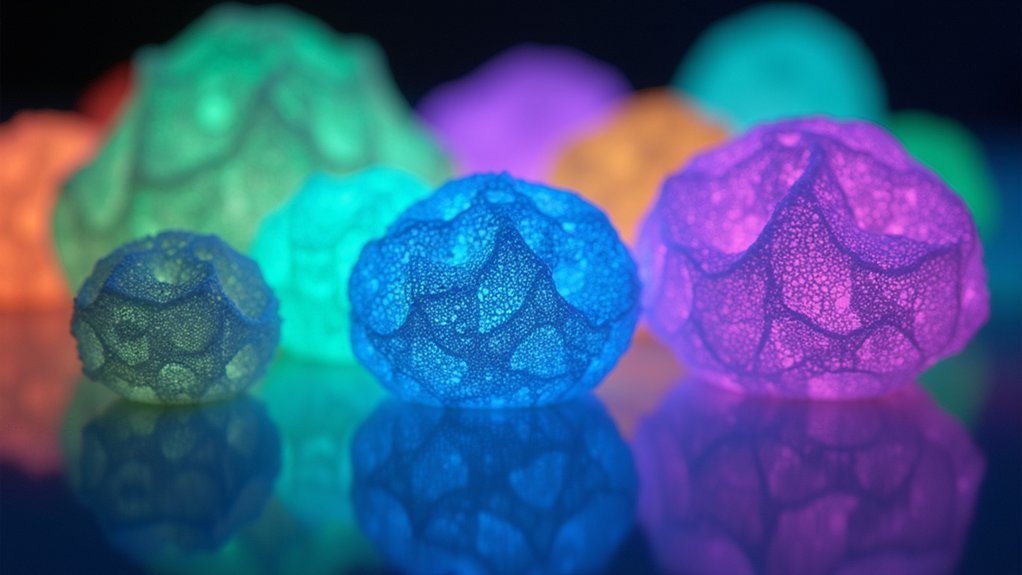
While standard 3D printing filaments produce objects in solid colors, phosphorescent materials transform your prints into luminous creations that continue glowing long after you’ve turned off the lights.
These specialized filaments contain strontium aluminate particles that absorb light energy during exposure and slowly release it, creating the distinctive glow-in-the-dark effect you see for hours afterward.
You’ll find that most glow-in-the-dark colors use a PLA base infused with these phosphorescent materials, making them compatible with your standard FDM 3D printer.
The particles work by storing photons from light sources and gradually emitting them as visible light.
This process allows your printed objects to maintain their luminous appearance long after the charging light source has been removed, creating truly unique aesthetic effects.
How Multi-Color Systems Enable Glow Filament Combinations
Multi-color 3D printing systems release creative possibilities that single-filament setups simply can’t match, especially when working with glow-in-the-dark materials.
Dual head and IDEX technologies let you combine different multi-color filament types simultaneously, creating complex designs with varied glowing effects. You can pause prints to manually swap filaments, building layered color combinations that enhance your glow-in-the-dark prints’ visual impact.
Advanced solutions like Mosaic Palette and Prusa MMU take things further by blending different glow filament colors, producing unique gradient effects.
However, you’ll need proper temperature and flow management to prevent clogging since glow filaments are more abrasive. External spool holders help reduce feeding resistance, ensuring smooth filament routing when working with multiple materials for consistently stunning results.
The Science Behind Strontium Aluminate Glow Properties

When you examine glow-in-the-dark filaments, you’re looking at tiny strontium aluminate particles that act as energy storage systems within the plastic material.
These phosphorescent particles work by absorbing photons from light sources and trapping that energy in their crystal structure through a process called photoluminescence.
You’ll find that the specific composition of these particles—including their size, concentration, and chemical purity—directly determines how bright your printed objects glow and how long they’ll continue emitting light after charging.
Phosphorescent Particle Composition
Since traditional zinc sulfide compounds produce weak, short-lived glows, manufacturers have turned to strontium aluminate as the superior phosphorescent material for 3D printing filaments.
This advanced compound delivers exceptional brightness and maintains its luminescent properties for several hours after light exposure.
The effectiveness of your glow-in-the-dark prints depends on three critical composition factors:
- Particle size – Finer strontium aluminate particles create more vibrant, uniform glows throughout your printed objects.
- Concentration levels – Higher phosphorescent material ratios produce stronger luminescence but may affect filament printability.
- Moisture protection – Sealed storage with desiccants prevents degradation of the strontium aluminate’s light-absorbing capabilities.
You’ll achieve ideal results by understanding how these compositional elements work together to create that coveted afterglow effect in your multi-color 3D prints.
Light Absorption Mechanics
Understanding strontium aluminate’s remarkable glow properties requires examining its unique crystalline structure and energy storage capabilities.
When you expose strontium aluminate to light sources, particularly UV light or sunlight, the material’s crystalline lattice absorbs photons and traps electrons in higher energy states. This energy storage mechanism allows the phosphorescent particles to accumulate light energy efficiently during charging periods.
You’ll find that strontium aluminate’s superior crystalline structure enables better energy retention compared to older zinc sulfide materials.
When darkness falls, the trapped electrons gradually release stored energy as visible light photons, creating that distinctive glow. Your glow filament’s brightness and duration depend on particle concentration and size distribution.
The material’s efficiency in both absorption and re-emission makes it ideal for extended glowing periods in 3D printed objects.
Automatic Material System Integration for Glow Filaments
Although traditional 3D printing often requires manual filament changes that interrupt workflow, the Automatic Material System (AMS) revolutionizes glow-in-the-dark printing by enabling seamless alterations between multiple phosphorescent filaments.
You’ll experience enhanced versatility without manual intervention, allowing complex multi-color designs with various glow properties.
However, you should consider these critical factors when using glow PLA with automatic material system:
- Compatibility concerns – AMS Lite works with Bambu A1, but glow PLA’s stiffness and abrasiveness can cause jams.
- External spool optimization – Adding external spool holders improves filament routing and reduces resistance for smoother operation.
- Proper setup requirements – Incorrect filament handling leads to clogs and inconsistent color changes.
The integration minimizes frequent nozzle changes while maintaining consistent print quality across extended multi-filament projects.
Temperature and Speed Settings for Multi-Color Glow Printing
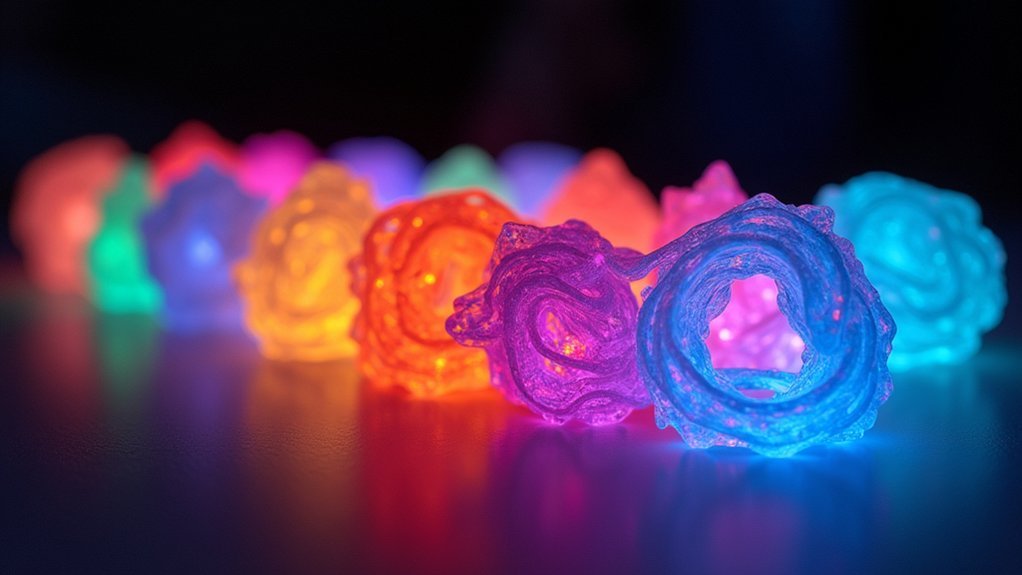
When switching between different glow filaments during multi-color printing, you’ll need to fine-tune temperature and speed settings to prevent the quality issues that plague automatic material changes.
Maintain your nozzle temperature between 210-220°C to guarantee peak melting without overheating that diminishes glow quality. Set your bed temperature around 60°C for enhanced adhesion across color shifts.
Reduce your print speeds to 30-50mm/s to improve filament flow and prevent jams caused by glow filaments’ stiffness and abrasiveness.
Inspect your nozzle regularly since abrasive particles accelerate wear—consider hardened steel nozzles for durability.
You’ll need to adjust these settings based on your specific glow filament brand to avoid clogging and adhesion problems during multi-color sequences.
Filament Routing Challenges With Abrasive Glow Materials
Because glow-in-the-dark filaments contain abrasive particles that make them stiffer than standard PLA, you’ll encounter feeding challenges that can turn your multi-color prints into frustrating failures.
The increased stiffness creates resistance during filament routing, particularly in systems like the Bambu A1 with AMS Lite, where multiple material changes amplify the problem.
To overcome these abrasive glow materials challenges:
- Use external spool holders to reduce filament path resistance and minimize bending stress
- Mount spools directly onto your printer for smoother feeding with less friction during material swaps
- Implement homemade top-mount solutions for better desk setup management and improved flow consistency
Regular nozzle inspection becomes critical since abrasive particles accelerate wear.
Address potential clogs immediately to maintain reliable multi-color performance throughout your glow-in-the-dark printing projects.
Layer-by-Layer Color Changing Techniques for Glow Effects
While automated multi-material systems offer convenience, manual layer-by-layer color changing gives you precise control over glow effect placement and intensity. You’ll need to pause your printer at specific layers to switch glow-in-the-dark filaments, creating distinct color bands along the Z-axis.
| Layer Setting | Recommendation | Benefit |
|---|---|---|
| Thickness | 0.2mm+ | Enhanced glow retention |
| Temperature | Maintain consistency | Better layer adhesion |
| Charging Time | 15-30 minutes UV | Maximum glow intensity |
| Planning | Pre-calculate changes | Reduced waste |
| Attendance | Manual monitoring | Quality control |
This technique limits you to Z-axis alterations—you can’t achieve XY-axis color changes. Use thicker layers since they retain more phosphorescent material. After printing, charge each section under UV light for peak glow effects. Careful planning minimizes filament waste while ensuring strong layer adhesion between color changes.
Dual Extruder Systems for Simultaneous Glow Color Printing
Dual extruder systems release simultaneous multi-color glow printing capabilities that single-nozzle printers can’t match.
You’ll create intricate glow-in-the-dark designs by printing multiple phosphorescent colors simultaneously, eliminating time-consuming filament swaps and reducing potential contamination between materials.
Independent Dual Extruder (IDEX) technology gives you separate control over each print head, preventing color bleeding while maintaining precise temperature control for sensitive glow filaments.
You’ll need hardened steel nozzles to handle abrasive phosphorescent materials effectively.
Key advantages of dual extruder systems:
- Multiple glow intensities – Combine different phosphorescent materials in one print for varied brightness levels
- Enhanced creativity – Design complex patterns using different glow colors simultaneously
- Improved efficiency – Eliminate manual color changes and reduce print failures
Careful calibration guarantees consistent results when working with temperature-sensitive glow-in-the-dark filaments across both extruders.
Light Charging Methods for Maximum Glow Performance
You’ll find that sunlight delivers the most effective charging for your glow-in-the-dark prints, requiring just 15-30 minutes of direct exposure to achieve peak brightness.
UV lamps serve as an excellent indoor alternative when natural sunlight isn’t available, greatly outperforming standard LED lighting sources.
Understanding the best exposure duration for each light source guarantees you’re getting the brightest and longest-lasting glow from your phosphorescent filaments.
UV Vs Sunlight
When it comes to charging your glow-in-the-dark prints, you’ve got two powerhouse options: direct sunlight and UV light. Both methods effectively energize phosphorescent materials, but they deliver different results.
Sunlight provides the gold standard for charging, requiring approximately 30 minutes for peak brightness. Your prints will absorb light more efficiently from this natural source compared to indoor lighting.
UV light offers a convenient alternative, delivering similar charging durations with enhanced glow effects.
Consider these key differences:
- Sunlight: Delivers superior overall performance and longer-lasting glow intensity
- UV flashlight: Provides concentrated charging power, perfect for targeted areas or indoor use
- Efficiency: Phosphorescent filaments respond better to sunlight than artificial LED sources
Both methods require consistent exposure while avoiding moisture, which can greatly dull your print’s glow performance.
Optimal Exposure Duration
Although charging methods matter greatly, timing your exposure determines whether you’ll achieve underwhelming results or spectacular luminescence. Finding the best exposure duration for your glow-in-the-dark prints requires understanding how different light sources activate phosphorescent materials at varying rates.
| Light Source | Minimum Time | Best Duration | Maximum Brightness |
|---|---|---|---|
| Direct Sunlight | 15 minutes | 60 minutes | Highest |
| UV Flashlight | 5 minutes | 20 minutes | Very High |
| Indoor Lighting | 45 minutes | 2+ hours | Low |
| LED Light | 30 minutes | 90 minutes | Medium |
| Fluorescent | 25 minutes | 75 minutes | Medium-High |
You’ll notice sunlight delivers the best results, requiring just fifteen minutes for basic activation but truly excelling after a full hour. UV flashlights offer convenience with faster charging times while maintaining excellent brightness levels for your glow-in-the-dark creations.
Storage and Moisture Control for Phosphorescent Filaments
Since phosphorescent filaments contain light-storing particles that react poorly to moisture, you’ll need to implement proper storage techniques to maintain their glow performance.
Moisture absorption dulls the glow effect and causes inconsistent filament flow plus brittleness during printing.
Effective storage and moisture control strategies include:
- Sealed storage with desiccants – Store filaments in airtight bags with silica gel packets, replacing desiccants regularly to guarantee continued moisture absorption.
- Dry box systems – Use dedicated filament dryers or dry boxes for long-term storage to maintain peak filament quality.
- Pre-print conditioning – Keep filaments dry before charging with UV light or sunlight, as dry filaments achieve superior glow intensity and longevity.
Regular inspection of your storage setup prevents moisture-related print quality issues.
Hardware Requirements for Successful Glow Multi-Color Prints
You’ll need specific printer capabilities and hardware modifications to achieve reliable glow-in-the-dark multi-color prints.
Your FDM/FFF printer must handle 1.75mm filament effectively, with models like the Ender 3 or high-speed options such as FLASHFORGE delivering excellent results.
The key lies in upgrading your nozzle and extruder setup to handle the unique challenges these abrasive phosphorescent materials present.
Printer Capabilities Overview
Three key hardware components determine your success with glow-in-the-dark multi-color printing: your printer’s filament compatibility, temperature control systems, and material handling capabilities.
Your FDM printer must handle 1.75mm filament effectively, with models like the Ender 3 and Bambu A1 proving reliable for this application.
You’ll need precise temperature control for both heated beds (50-60°C) and nozzles (210-220°C) to guarantee proper adhesion and flow.
Essential capabilities include:
- Hardened steel nozzle compatibility – Standard brass nozzles wear quickly with abrasive glow-in-the-dark filaments.
- Variable speed control – Slower printing speeds optimize glow filament quality.
- Multi-material systems – Dual-extruder setups or external solutions like BambuLabs AMS enable efficient color changes.
These features work together to handle glow filaments’ unique printing requirements.
Nozzle and Extruder Setup
Beyond these foundational printer features, your nozzle and extruder configuration directly impacts print quality when working with abrasive glow materials. You’ll need a hardened steel nozzle to prevent premature nozzle wear, as glow filaments quickly degrade standard brass options. Choose 0.4mm or larger to avoid clogs and guarantee smooth flow.
| Component | Recommendation | Benefit |
|---|---|---|
| Nozzle Material | Hardened Steel | Resists wear from abrasive particles |
| Nozzle Size | 0.4mm+ | Reduces clogging issues |
| Extruder Type | Direct Drive | Better filament control |
Direct drive extruders eliminate filament feeding issues common with glow materials’ stiffness. Add an external spool holder to reduce routing resistance. For multi-extrusion setups, calibrate each extruder for 210-220°C temperatures to maintain consistent quality across all colors.
Frequently Asked Questions
How Does Glow in the Dark PLA Work?
You’re using PLA infused with strontium aluminate particles that absorb light energy and slowly release it as a visible glow. The phosphorescent pigments charge under UV or sunlight, then emit stored energy in darkness.
How Does Multicolor 3D Printing Work?
You’ll use multiple extruders or manual filament swapping to print different colored layers. IDEX systems prevent color mixing, while solutions like Mosaic Palette automatically splice filaments together for seamless changes.
How Does Glow in the Dark Print Work?
You’ll use phosphorescent filament containing strontium aluminate particles that absorb light energy. After charging your print with sunlight or UV light, it’ll glow in darkness as the material slowly releases stored energy.
Why Is My Glow in the Dark PLA Not Sticking to the Bed?
Your glow-in-the-dark PLA isn’t sticking because it’s rougher than regular filament. Heat your bed to 60°C, clean it thoroughly, level it properly, use adhesive like glue stick, and slow your first layer speed considerably.

Leave a Reply