You can eliminate 3D print layer lines using five effective methods. Start with sanding using 200-400 grit sandpaper, progressing to finer grits up to 3000 for polished results. Try chemical smoothing with solvents like ethyl acetate or vapor treatment with alcohol mist for dramatic improvements. Apply primers and paint in thin coats to fill gaps and create uniform surfaces. Consider epoxy resin coatings like XTC-3D for glass-smooth finishes, or use controlled heat treatment below 70°C. Each technique offers unique advantages for achieving professional-quality results.
Sanding Techniques for Smooth Surface Finishes

Sanding transforms rough, layered 3D prints into smooth, professional-looking parts through a systematic progression of grits.
Start with coarse 200-400 grit sandpaper to eliminate prominent layer lines, then advance through finer grits up to 3000 for polished results. Wet sanding reduces dust while achieving superior smooth surface quality during post-processing techniques.
Begin with 200-400 grit sandpaper to remove layer lines, then progress through finer grits up to 3000 for polished finishes.
Use sanding sticks or sponges for even pressure distribution and accessing intricate areas on your 3D printed parts. This approach protects fine features from excessive wear.
Work methodically, focusing on one section at a time with patience.
After completing the grit progression, apply liquid plastic polish using a cotton cloth for enhanced shine. This final polishing step adds professional refinement to your finished parts, creating surfaces that rival injection-molded quality.
Chemical Smoothing and Vapor Treatment Methods
While mechanical sanding works well for many applications, chemical smoothing offers a faster alternative that can dramatically reduce surface roughness through controlled dissolution of your print’s outer layers.
You can use solvents like tetrahydrofuran or dichloromethane for dramatic results, though they require careful handling. Ethyl acetate provides a safer option with moderate effectiveness.
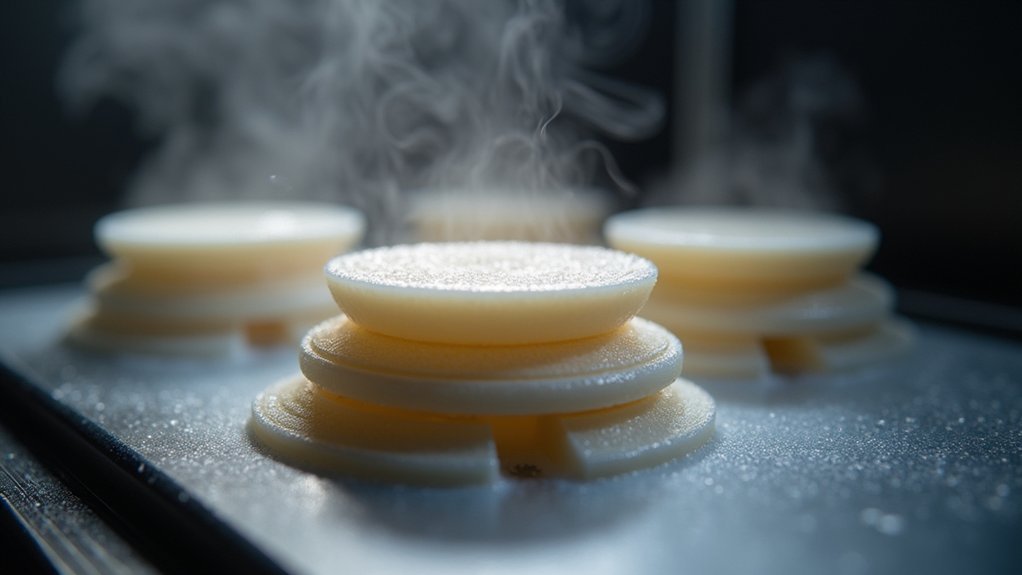
Vapor smoothing using automated machines with alcohol mist can reduce surface roughness by nearly 90%. Heat gun smoothing works effectively for larger parts without fine details by evenly softening layer lines.
Always follow strict safety precautions when using chemical smoothing methods. Work in a well-ventilated area and wear appropriate protective equipment to prevent inhalation or skin contact with potentially hazardous solvents.
Priming and Painting for Layer Line Coverage

Three specialized primer types can transform your layer-lined print into a professional-looking finished piece. Fine line primers like Tamiya effectively fill small gaps while self-leveling lacquer primers create a uniform base layer that reduces layer lines visibility.
Your priming process determines the final surface quality:
- Apply multiple thin coats – Allow proper drying time between applications for ideal coverage
- Thin your primer properly – Use leveling agents or lacquer thinner when airbrushing for smoother application
- Sand between coats – Progress through various grit sizes to refine the surface texture
- Build gradually – Each layer should enhance smoothness rather than add thickness
After priming, you’ll achieve a high-quality foundation that accepts paint beautifully. The combination of proper priming and sanding techniques delivers a smoother finish that completely eliminates visible layer lines.
Epoxy Resin Coating Applications
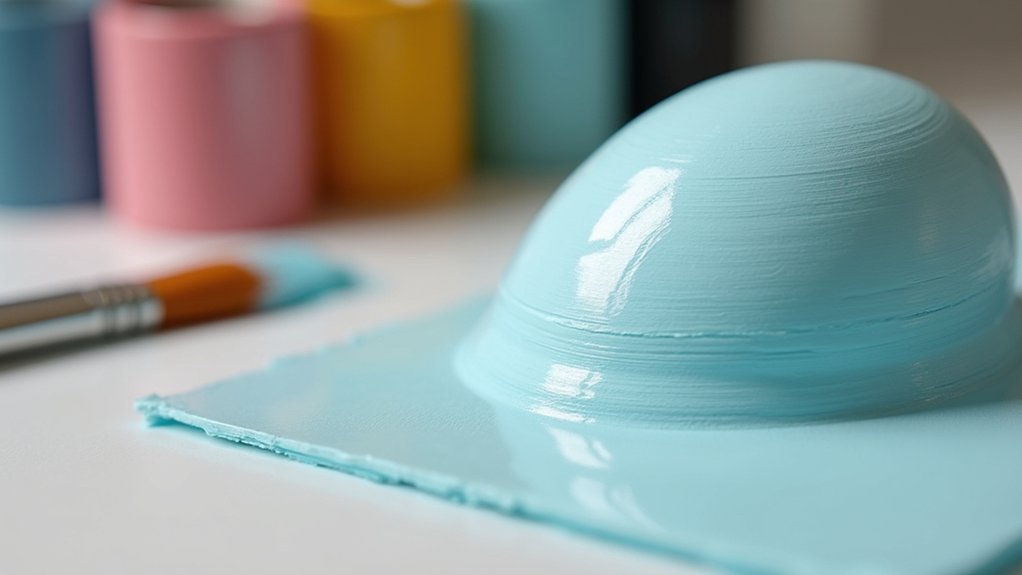
Epoxy resin coatings like Smooth-On XTC-3D offer one of the most effective methods for achieving glass-smooth surfaces on layer-lined prints. These specialized formulations fill layer lines and imperfections while delivering a glossy finish that transforms your 3D prints.
Proper preparation guarantees ideal adhesion. Start by wet sanding your print’s surface before application. Mix the resin and hardener in equal parts, then brush the mixture generously across the surface. The epoxy will self-level, creating an even smooth finish.
Curing times vary from one to twenty-four hours depending on environmental conditions and product specifications. Allow complete hardening before handling.
Beyond eliminating layer lines, epoxy resin provides lasting protection against scratches and UV damage, greatly enhancing your print’s durability and appearance.
Heat Treatment and Thermal Smoothing Approaches

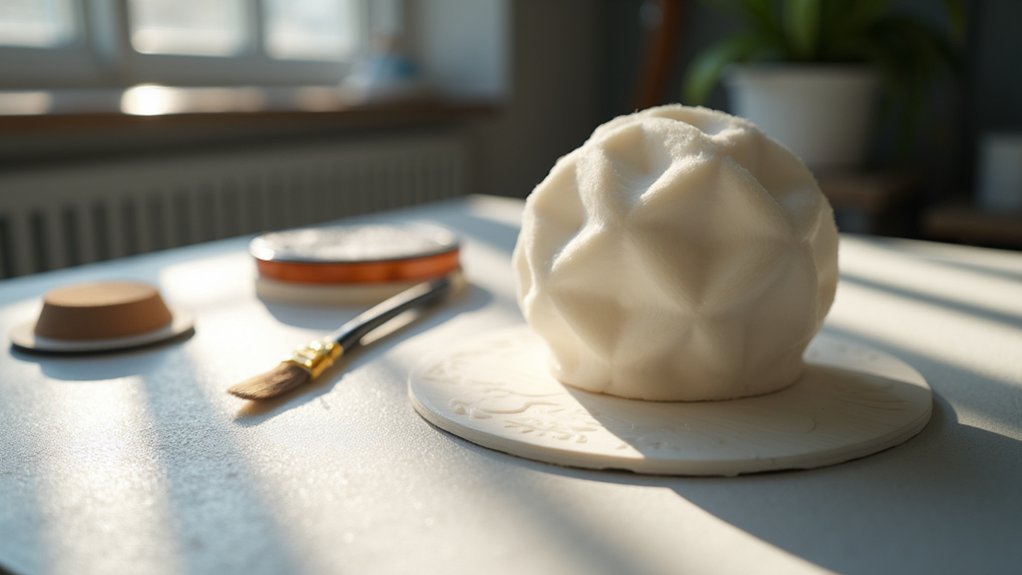
Heat treatment offers a direct approach to smoothing layer lines by carefully warming your print’s surface until the plastic becomes pliable enough to self-level.
This method works well on medium to large prints without intricate details, as excessive heat can damage fine features. Thermal smoothing effectively reduces visible layer lines on materials like PLA when you maintain proper calibration.
Follow these guidelines for ideal results:
- Distance Control: Keep your heat gun 6-12 inches from the surface while moving continuously
- Temperature Monitoring: Maintain temperatures below 60-70°C to prevent deformation
- Even Application: Use a revolving platter for consistent heat distribution across the entire print
- Surface Selection: Focus on prints lacking delicate details for best smoothing techniques effectiveness
This approach delivers visible improvements without compromising structural integrity.
Frequently Asked Questions
How to Get Rid of Layer Lines on 3D Print?
You’ll eliminate layer lines by reducing your layer height below 0.12mm, using high-quality filament, slowing print speeds, and post-processing with progressive sanding from 220 to 2000 grit sandpaper.
How to 3D Print Without Layer Lines?
You can’t completely eliminate layer lines, but you’ll minimize them by reducing layer height below 0.12mm, using smaller nozzles, optimizing temperatures, and applying post-processing techniques like sanding or chemical smoothing.
How to Eliminate Seams in 3D Printing?
You’ll eliminate seams by adjusting retraction settings, using Z seam alignment to position them strategically, enabling coasting to reduce excess material, and post-processing with sanding for smoother finishes.
How to Remove Layer Lines From Abs?
You can remove ABS layer lines through acetone vapor smoothing, which softens the plastic surface. Alternatively, sand progressively from 220 to 2000 grit, or apply chemical smoothing agents like XTC-3D.


Leave a Reply