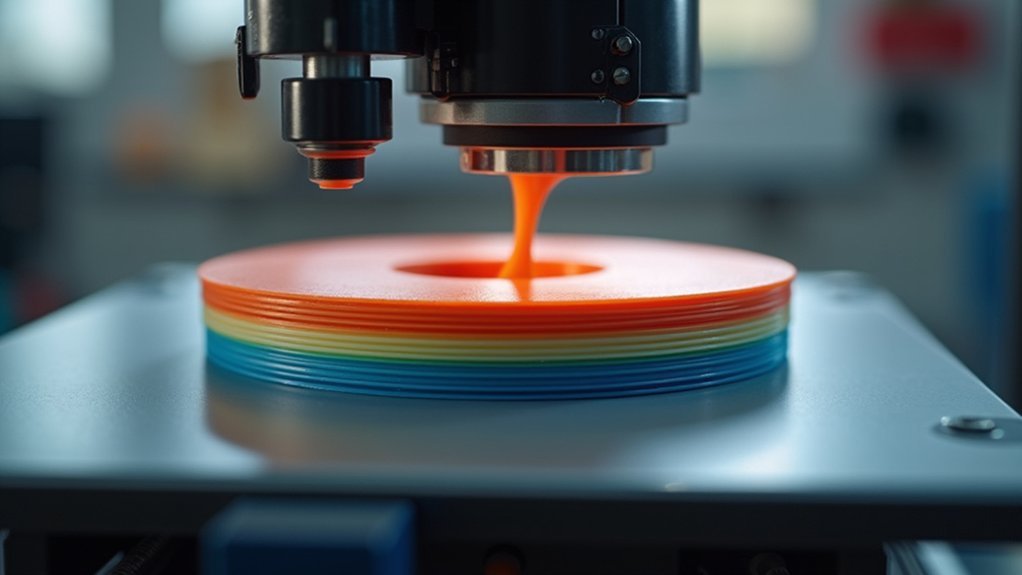
You’ll achieve ideal 3D printing quality by setting layer height to 0.2mm, using 50-60mm/s print speeds for PLA, and configuring travel speeds between 120-150mm/s. Set your initial layer speed to 20-30mm/s for better bed adhesion, while infill can run faster at 60-100mm/s. Configure acceleration between 500-2000mm/s², retraction speeds at 30-70mm/s, and increase nozzle temperature by 5-10°C for high-speed printing. These settings form the foundation for mastering advanced optimization techniques.
Optimal Layer Height for Speed and Quality Balance

When choosing layer heights for your 3D prints, you’ll face a fundamental trade-off between speed and quality. The ideal layer height typically ranges from 0.1mm for detailed work to 0.3mm for faster prints. Thicker layers greatly reduce overall print time by requiring fewer passes, but they’ll sacrifice surface detail.
Conversely, thinner layers improve dimensional accuracy and finish quality while extending print duration.
Thinner layers deliver superior surface finish and precision at the cost of significantly longer printing times.
A standard 0.2mm height often strikes a good balance for most projects, delivering reasonable print speed settings without compromising too much detail.
Consider your nozzle diameter when selecting heights—larger 0.4mm nozzles handle thicker layers effectively, while smaller nozzles need thinner layers for quality prints and proper layer adhesion.
Match your choice to your project’s specific requirements.
Nozzle Diameter Settings for Maximum Efficiency
Your nozzle diameter directly determines how fast you can print and how much material flows through your extruder at any given moment.
Larger nozzles like 0.6mm or 0.8mm let you push considerably more filament through faster, while smaller 0.2mm or 0.3mm nozzles require you to slow down for precise detail work.
Understanding this speed-diameter relationship helps you choose the right nozzle size and configure ideal flow rates that match your project’s priorities.
Nozzle Size Impact
While many 3D printing enthusiasts focus solely on speed settings, nozzle diameter plays an equally critical role in determining both print velocity and final quality.
You’ll find that larger nozzles like 1.0mm enable faster prints by extruding more filament per second, allowing overall printing speed increases to 70-100mm/s for rapid prototyping.
However, you’ll sacrifice intricate details that smaller 0.4mm nozzles provide. When using smaller nozzles, you’ll need slower speeds of 30-50mm/s to prevent issues where the layer doesn’t adhere properly.
For ideal results, match your layer height to 75% of your nozzle diameter. This balance guarantees high-quality prints while maximizing your print speed based on your project’s detail requirements.
Speed-Diameter Correlation
The relationship between nozzle diameter and printing speed forms the foundation of efficient 3D printing enhancement.
You’ll achieve excellent results by understanding how larger nozzles enable faster print speeds through increased extrusion rates. A 1.0mm nozzle allows speeds up to 100mm/s, while 0.4mm nozzles require 50-60mm/s for quality output.
Your layer height should match 0.75 times your nozzle diameter for superior adhesion.
When you prioritize fine details, use smaller nozzles at reduced speeds of 30-40mm/s. Conversely, less intricate designs benefit from larger nozzles at 70-100mm/s.
Consider your material type when selecting nozzle diameter—flexible filaments perform better with larger openings to prevent clogs.
Balance printing quality against speed by matching your nozzle choice to your project’s detail requirements.
Optimal Flow Rates
Flow rates determine how efficiently your 3D printer operates at different nozzle diameters, with larger openings delivering exponentially better throughput than their smaller counterparts.
Your 0.4mm nozzle size handles 10-12mm³/s flow rate effectively, supporting print speeds of 50-70mm/s for detailed PLA printing.
When you upgrade to 0.6mm, you’ll achieve 15-20mm³/s flow rates with ideal print speed reaching 100mm/s without quality loss.
The 0.8mm configuration pushes boundaries further, delivering 25-30mm³/s for rapid prototyping at high speeds.
Your extrusion multiplier calibration becomes critical here—improper settings cause over-extrusion or under-extrusion issues.
Match your printing material viscosity to these flow parameters, ensuring your printer maintains consistent layer adhesion while maximizing throughput efficiency across different nozzle configurations.
Print Speed Configuration for Different Materials
Different 3D printing materials demand distinct speed configurations to achieve ideal results and prevent common printing failures.
When adjusting print speed in your slicing software, you’ll need to take into account each material’s unique characteristics.
PLA offers the most flexibility, allowing speeds from 50-60 mm/s for quality prints, with potential increases up to 150 mm/s depending on your printer’s capabilities.
ABS requires slower speeds of 40-60 mm/s due to temperature requirements and warping prevention.
PETG performs best at 40-60 mm/s to maintain proper bed adhesion and prevent stringing.
TPU demands patience at 20-30 mm/s to avoid clogs and guarantee accuracy.
Nylon needs careful handling at 30-50 mm/s.
Your printing speed refers to material per second extruded, directly affecting print settings and overall printing time.
Infill Speed and Density Optimization

You’ll need to balance your infill speed and density settings to achieve the right combination of print time efficiency and part strength.
Finding ideal infill percentages means choosing 10-20% for non-structural parts and 50% or higher when strength matters, while adjusting your infill speed between 60-100 mm/s independently from your outer shell speeds.
Your pattern choice directly impacts this balance—simpler grid patterns print faster than complex honeycomb structures, but you’ll sacrifice some structural benefits for speed gains.
Optimal Infill Percentages
Twenty percent infill strikes the sweet spot for most 3D printing projects, delivering adequate strength while keeping material costs and print times reasonable.
You’ll need to adjust infill density based on your specific requirements and the structural integrity demands of your PLA prints.
Consider these ideal infill percentage ranges for different applications:
- Decorative models (10-20%) – Minimizes material waste and maximizes print speed efficiency for non-functional items
- Functional prototypes (30-50%) – Balances structural integrity with reasonable print time for working parts
- Heavy-duty components (70-100%) – Provides maximum strength when your infill pattern settings prioritize durability over speed
Your slicer settings should complement your chosen infill density.
Lower percentages work well with simple grid patterns for faster printing, while higher densities benefit from honeycomb patterns that enhance structural performance without dramatically impacting efficiency.
Pattern Speed Balance
While external surfaces demand precision and slower speeds, infill regions can handle much faster print speeds—typically 80-100 mm/s—without sacrificing your print’s visual quality.
You’ll want to balance infill density with these higher speeds, keeping density between 10-30% for non-structural parts to enhance printing time. Simple patterns like lines or grids work best at faster infilling speeds, while complex honeycomb structures slow down filament extrusion unnecessarily.
Your slicing software lets you fine-tune this balance—20% density at maximum infill speed maintains adequate strength while minimizing printing process duration.
Remember that travel speeds between infill sections can also be increased since they’re hidden within your print.
Experiment with different combinations, as functional parts may require adjusted print speed settings for ideal print quality.
Travel Speed Settings to Minimize Print Time
When your 3D printer’s extruder travels between different sections of a build without depositing material, enhancing these movement speeds can dramatically cut your overall print time.
Travel speed settings in your slicing software typically range from 100-200 mm/s for peak efficiency without compromising print quality.
Here’s how to maximize your travel speed benefits:
- Start conservative – Begin with 120-150 mm/s and gradually increase while monitoring print head accuracy.
- Test complex geometries – Intricate designs require careful speed adjustments to prevent defects.
- Monitor for issues – Watch for stringing, oozing, or layer misalignment that indicate excessive speeds.
Higher travel speeds prove especially valuable for prints with multiple non-contiguous features, where your print head frequently moves between isolated sections.
Initial Layer Speed for Proper Bed Adhesion

Your initial layer speed directly impacts whether your print sticks to the bed or fails before it even gets started.
You’ll want to slow down this first layer to around 20-30 mm/s—significantly slower than your regular print speed—to give the filament time to properly bond with the build surface.
This reduced speed also helps compensate for minor bed leveling issues and creates the foundation that’ll make or break your entire print.
Optimal Initial Layer Speed
Since your first layer serves as the foundation for your entire print, you’ll want to slow down considerably from your standard printing speed to guarantee proper bed adhesion.
Setting your initial layer speed between 20-30 mm/s creates ideal conditions for strong layer bonding with your print bed. This slower pace allows the filament to properly settle and form secure connections that prevent warping throughout your print.
For maximum print quality, implement these three critical adjustments:
- Increase temperature by 5-10°C above normal settings, especially when printing PLA.
- Thicken initial layer height slightly beyond subsequent layers to compensate for bed imperfections.
- Reduce travel speed during the first few layers to maintain precise positioning.
These combined settings make sure your foundation layer creates rock-solid adhesion that supports successful prints from start to finish.
Bed Adhesion Techniques
Three fundamental bed adhesion techniques work together with your ideal initial layer speed to create an unbreakable foundation for successful prints.
First, calibrate your first layer height correctly—a slightly thicker initial layer paired with your 20-30 mm/s initial layer speed dramatically improves adhesion to the print bed.
Second, increase your printing temperature by 5-10 degrees Celsius above standard settings for enhanced layer adhesion.
Third, configure your slicer software to maintain these slower speeds exclusively for the initial layer while returning to normal speeds afterward.
These techniques prevent warping and detachment by allowing the filament to bond effectively with your print bed surface, ensuring optimal adhesion that’ll support your entire print from start to finish.
Temperature Settings for High-Speed Printing
When you’re pushing your 3D printer to higher speeds, temperature becomes your most critical ally in maintaining print quality. Higher temperatures improve filament flow and support increased extrusion rates, preventing under-extrusion that commonly occurs during fast printing.
For ideal PLA print speed performance, consider these temperature adjustments:
- Increase nozzle temperature by 5-10°C above your standard settings to guarantee smooth filament melting.
- Upgrade to a high-flow hotend for consistent extrusion at elevated temperatures and speeds.
- Boost cooling settings with higher fan speeds to rapidly solidify layers and prevent warping.
Proper temperature settings directly impact layer adhesion quality. While PLA typically prints between 180-220°C, faster print speeds require the upper temperature range to maintain consistent flow.
Balance increased nozzle heat with enhanced cooling to achieve ideal results.
Acceleration and Jerk Values for Smooth Motion
While temperature controls filament flow, your printer’s acceleration and jerk settings determine how smoothly the printhead moves through complex geometries.
Acceleration values between 500-2000 mm/s² control how quickly your printhead increases speed, while jerk settings around 5-20 mm/s manage instantaneous direction changes. These parameters directly impact print quality and motion smoothness.
Lowering both values reduces vibrations that cause defects like ghosting and ringing on your prints. However, you’ll need to balance speed against quality based on your printer’s capabilities.
Start with conservative settings and gradually increase them while monitoring print performance.
Run test prints with varying acceleration and jerk settings to find your ideal settings. This tuning process helps prevent mechanical issues while maintaining the smooth motion essential for high-quality prints.
Retraction Speed and Distance Calibration
After fine-tuning your printer’s motion settings, you’ll need to calibrate retraction parameters to eliminate stringing and oozing between printed sections.
Retraction speed typically ranges from 30-70 mm/s, while retraction distance varies based on your extruder type and filament types.
Follow these calibration steps for ideal settings:
- Start conservative – Begin with 40 mm/s retraction speed and 1-2 mm distance for direct drive systems.
- Run test prints – Use small calibration models to identify stringing issues without wasting material.
- Adjust incrementally – Increase speed/distance gradually until stringing disappears, watching for jams or under-extrusion.
Too aggressive retraction causes jams and feeding problems, while insufficient settings create messy prints.
Most slicer software includes retraction towers and visualization tools to streamline your calibration process.
Cooling Fan Speed Settings for Quality Results
Proper cooling fan settings can make the difference between professional-quality prints and failed attempts riddled with defects. Your cooling fan speed directly affects print quality by controlling how quickly layers solidify.
For PLA filament, you’ll want 100% cooling fan speed after the first few layers since rapid cooling improves layer adhesion and surface finish. Insufficient cooling creates poor dimensional accuracy and surface defects, while excessive cooling can damage layer adhesion in detailed prints.
Most slicers offer customizable settings that adjust fan speeds based on print speed or layer height. You’ll achieve ideal results by gradually increasing cooling—start with lower settings for initial layers, then ramp up for subsequent ones.
This balanced approach maintains thermal stability while maximizing print quality.
Frequently Asked Questions
What Is the Best Speed for 3D Printing?
You’ll want to print at 50-60 mm/s for medium-quality PLA prints. Use 30-40 mm/s for intricate details, or increase to 70-100 mm/s for simpler objects where precision isn’t critical.
How Fast Should I Run My 3D Printer?
You should run your printer at 50-60 mm/s for most PLA prints. Use 30-40 mm/s for detailed work, or push to 100-150 mm/s for simple models if you’ve properly calibrated your machine.
Does 3D Print Speed Affect Quality?
Yes, your 3D print speed directly affects quality. You’ll get better layer adhesion, dimensional accuracy, and surface finishes at slower speeds. Fast printing creates vibrations, causing defects like ringing and ghosting.
How Fast Should PLA Print?
You should print PLA at 50-60 mm/s for balanced quality and speed. Use 30-40 mm/s for detailed models or increase to 150 mm/s for simple designs when you prioritize speed over precision.


Leave a Reply