Dual extruder multi-material printing works through two independent nozzle assemblies that coordinate to deposit different materials or colors in a single print. You’ll need to carefully calibrate nozzle offsets, manage temperature settings for each material type, and configure retraction settings to prevent cross-contamination between extruders. The key is material compatibility – pairing filaments with similar thermal properties like PLA with PVA guarantees proper layer adhesion. Mastering these technical aspects will reveal advanced printing capabilities you didn’t know were possible.
Understanding Dual Extruder Technology and Components
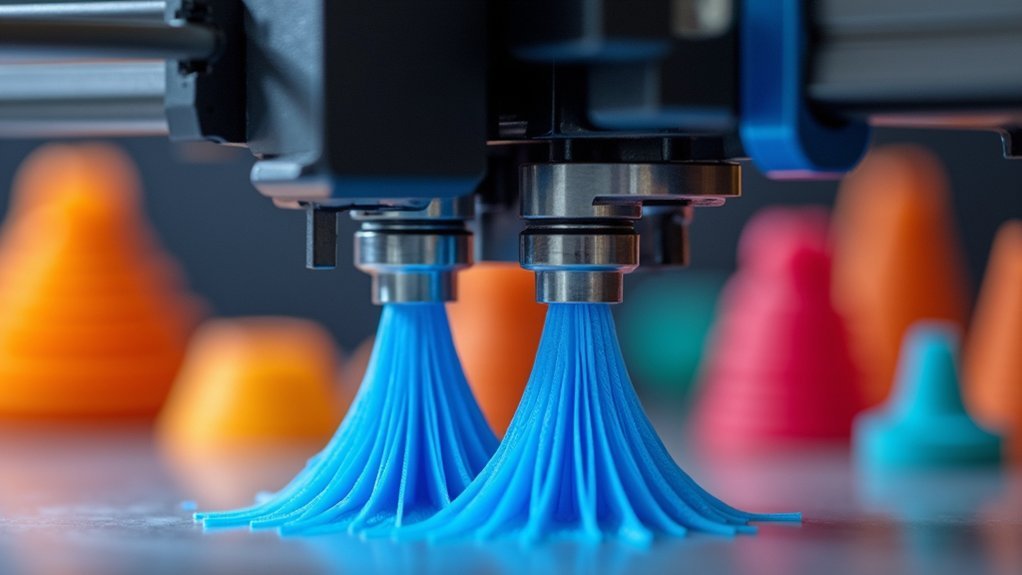
While single extruder 3D printers limit you to one material at a time, dual extruder technology transforms your printing capabilities by incorporating two separate nozzle assemblies that can operate simultaneously.
This setup enables you to create complex prints using multiple materials or colors in a single job, dramatically expanding your design possibilities.
Independent dual extruder systems (IDEX) take this further by allowing each extruder to function separately, eliminating cross-contamination risks between different filaments.
IDEX technology prevents filament mixing by operating each extruder independently, ensuring clean material transitions and eliminating contamination between different filament types.
You’ll find that each extruder includes dedicated drive motors, ensuring precise material control. The dual filament feed mechanism manages material flow to both nozzles, while specialized slicer software coordinates the entire multi-material process.
However, you’ll need to master precise calibration techniques to achieve proper alignment and synchronization between both extruders.
The Multi-Material Printing Process Step by Step
Now that you understand the hardware components, you’re ready to execute successful multi-material prints by following a systematic workflow.
Start by designing your model in CAD software that supports material labeling, specifying which sections will use different materials.
Next, slice your model using dual extrusion-compatible software, configuring temperature and speed parameters for each material.
Carefully load filaments into separate extruders to prevent jams, then assign proper material settings in your slicer.
During multi-material printing, one extruder handles your main component while the other can print support structures using soluble materials.
This approach enables cleaner prints with varying properties.
After printing completes, you’ll find minimal finishing required since dual extrusion produces superior quality compared to single-material alternatives.
Material Compatibility and Selection Guidelines
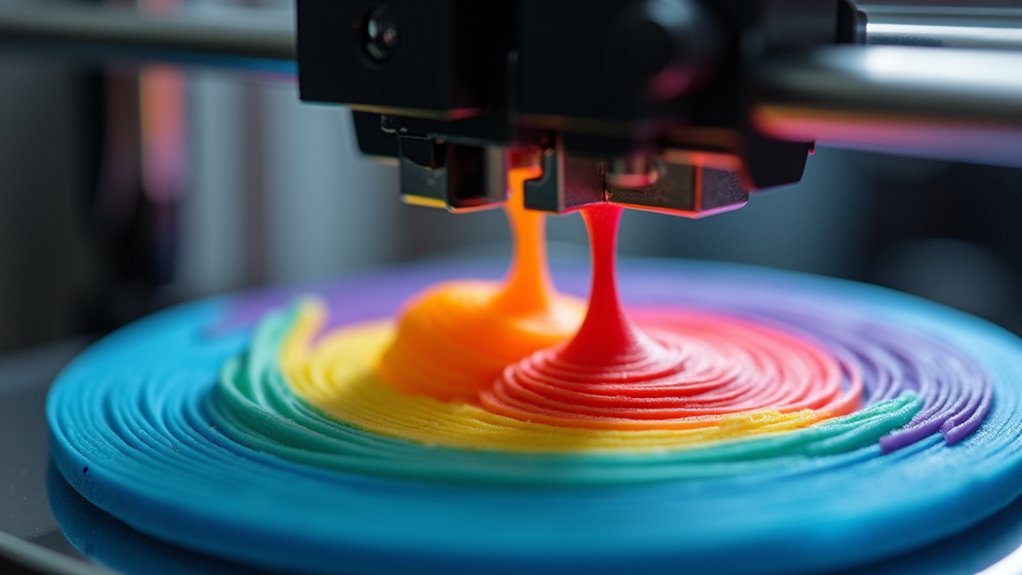
When you’re selecting materials for dual extruder printing, you’ll need to take into account both thermal and chemical compatibility to guarantee successful prints.
You can’t simply pair any two filaments together—materials with vastly different melting temperatures or conflicting chemical properties will lead to print failures and poor adhesion.
Understanding which combinations work well together and following proven selection practices will save you time, filament, and frustration during your multi-material projects.
Compatible Material Combinations
Success in dual extruder printing hinges on selecting materials that work harmoniously together. Compatible materials for dual extrusion require similar thermal properties to prevent printing complications. When you choose materials with matching nozzle temperatures, you’ll minimize technical issues and achieve better results.
Popular combinations you can try include:
- PLA with PVA – Perfect for dissolvable supports that leave clean finishes
- ABS with HIPS – Ideal for easily removable support structures
- Nylon with carbon fiber – Creates lightweight yet incredibly strong components
You’ll want to avoid problematic pairings like flexible TPU with rigid PLA, which causes delamination and weak bonding.
Material manufacturers provide compatibility charts that’ll guide your selection process. Start with small-scale test prints to identify ideal combinations before committing to larger projects.
Selection Best Practices
Three fundamental principles will guide your material selection process and guarantee consistently successful dual extruder prints.
First, you’ll match thermal properties between your primary and support material to prevent warping during dual extruder 3D printing. Choose combinations like PLA with PVA that share similar temperature requirements.
Second, you’ll adjust printing speeds based on material characteristics—flexible filaments like TPU demand slower speeds than rigid materials to avoid extruder jams.
Third, you’ll prioritize soluble support materials such as HIPS or PVA for complex geometries. These dissolve completely, eliminating tedious manual removal.
Before committing to production runs, you’ll test different materials combinations through small prototypes. This testing phase reveals ideal settings and identifies potential compatibility issues, ensuring your dual extruder setup delivers professional results consistently.
Temperature Management for Different Filament Types
When you’re printing with dual extruders, you’ll need to establish ideal temperature settings for each filament type to prevent clogs, poor adhesion, and quality issues.
Your nozzle temperatures must match each material’s requirements—PLA works well at 190-220°C while ABS needs 230-250°C—and you can’t simply use one temperature for both.
You’ll also need to master thermal shift control, managing the heating and cooling cycles as your printer switches between different materials throughout the job.
Optimal Temperature Settings
Managing temperatures becomes critical in dual extruder setups since each filament type demands specific thermal conditions to achieve ideal results. Your best temperature settings will determine whether you’ll experience filament jams or successful prints when you combine two different materials.
When configuring dual extruder 3D printers, you’ll need to establish precise thermal parameters for each material. Here’s what you should focus on:
- Extruder temperatures: Set PLA at 180-220°C and ABS at 220-260°C to prevent warping.
- Bed temperature control: Use 50-60°C for PLA and 80-110°C for ABS to maintain proper adhesion.
- Flexible material adjustments: Configure TPU at 210-230°C with reduced printing speeds for best results.
Proper calibration prevents oozing between extruders and guarantees seamless material exchanges throughout your printing process.
Thermal Transition Control
Beyond maintaining steady temperatures for each material, you’ll face the complex challenge of controlling thermal changes when your printer switches between extruders during multi-material prints.
Thermal shift control becomes critical when combining different filament types like PLA and TPU, which require vastly different temperature ranges. You’ll need effective temperature management strategies that prevent warping and poor adhesion during material switches.
Multi-zone heated beds offer an excellent solution, allowing different print areas to maintain ideal temperatures for each material simultaneously.
Your advanced slicer software should include specific thermal profiles for each extruder, enabling smooth changes between materials. Following manufacturer temperature guidelines meticulously will help you avoid jamming, oozing, and material mixing that commonly occurs during thermal shifts.
Calibration Requirements for Optimal Performance
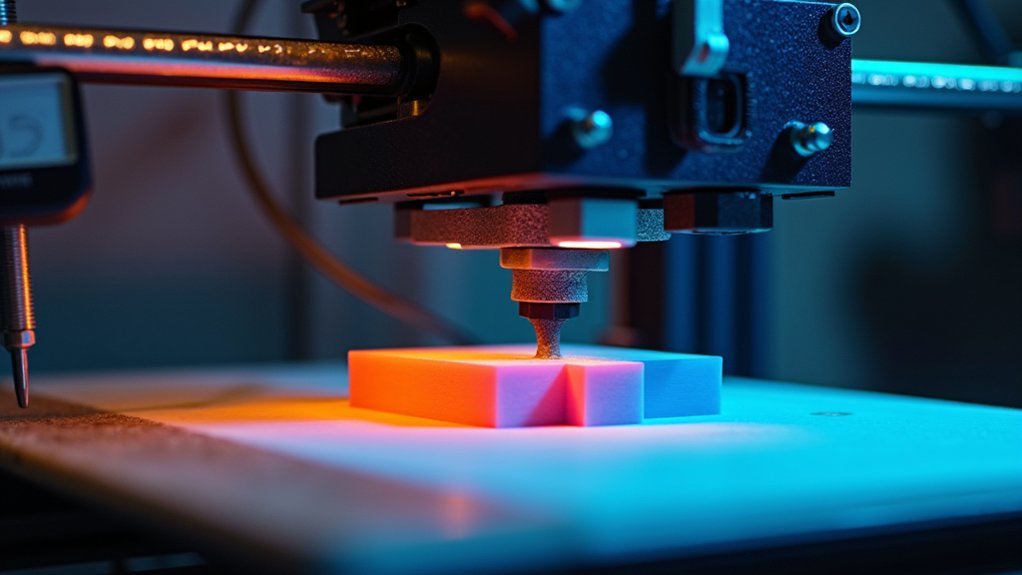
Five critical calibration steps separate successful dual extruder printing from frustrating failures that waste time and materials.
You’ll need to master nozzle alignment, temperature fine-tuning, retraction settings, extruder offset configuration, and regular maintenance schedules to achieve professional print quality.
Proper calibration of dual extruders guarantees accurate layer alignment and prevents costly print failures.
Precise dual extruder calibration ensures flawless layer registration and eliminates expensive material waste from failed prints.
You must calibrate each extruder’s temperature settings based on material properties, since different filaments require specific melting points for peak extrusion.
- Nozzle Offset Precision: Set exact X, Y, and Z offsets in your slicer software to prevent overlapping or gaps between materials.
- Retraction Optimization: Fine-tune retraction distances and speeds to eliminate oozing and stringing between extruders.
- Preventive Maintenance: Schedule regular calibration checks to avoid filament jams and nozzle clogs inherent in complex dual systems.
Software Configuration and Slicing Strategies
You’ll need to configure your slicer software specifically for dual extrusion by enabling multi-material support and assigning each extruder to its designated filament type.
Your software setup must include proper temperature towers, retraction settings, and purge parameters to guarantee clean material shifts between extruders.
Once you’ve established these baseline configurations, you can optimize print paths to minimize unnecessary tool changes and reduce waste while maintaining print quality.
Slicer Software Setup
Three critical configuration steps will determine your dual extruder printing success. Your slicer software must support dual extrusion features, enabling you to assign different materials to specific model parts for ideal dual extruders utilization.
Configure these essential settings:
- Temperature and speed parameters – Set appropriate values for each extruder based on your filament types to prevent adhesion issues.
- Layer height and infill adjustments – Modify these print parameters according to material requirements, as different filaments demand varying ideal settings.
- Advanced support strategies – Utilize soluble materials for support structures to enhance post-processing efficiency.
You’ll want to test your configurations with small-scale prints before tackling complex projects. This approach lets you fine-tune dual extrusion settings and considerably reduces print failure risks.
Print Path Optimization
While proper slicer configuration establishes the foundation for dual extruder printing, enhancing your print path takes these capabilities to the next level. Your slicing software’s smart algorithms determine the ideal sequence of tool paths, minimizing non-printing movements for faster speeds and superior quality in multi-color printing.
| Enhancement Strategy | Benefit |
|---|---|
| Simultaneous support printing | Reduced print time |
| Interface layer creation | Enhanced material adhesion |
| Smart tool path sequencing | Minimized travel movements |
| Distinct filament profiles | Ideal temperature/retraction |
| Strategic extrusion timing | Reduced material waste |
You’ll achieve significant time savings by printing support structures with one extruder while your main model prints with the other. Advanced print path enhancement also creates interface layers that improve adhesion between different materials, ensuring your dual extruder prints maintain structural integrity throughout the process.
Retraction Settings and Ooze Prevention Techniques
When shifting between materials in dual extruder printing, achieving clean switches depends heavily on dialing in your retraction settings to prevent unwanted filament ooze.
Your dual extruder setup requires precise distance and speed adjustments to maintain excellent print quality.
For ideal ooze prevention, you’ll want to configure these essential parameters:
- Set retraction distance between 1-3mm and speeds from 30-60 mm/s to eliminate stringing
- Lower your idle nozzle temperature slightly to reduce material flow without compromising active nozzle performance
- Enable coasting features in your slicer to decrease nozzle pressure before layer completion
Regular nozzle cleaning and proper calibration guarantee consistent results.
Don’t overlook implementing coasting functionality—it greatly reduces pressure buildup, making material changes cleaner and more reliable throughout your multi-material prints.
Layer Adhesion Between Different Materials
Beyond preventing ooze between extruders, you’ll face the critical challenge of confirming different materials actually stick together once deposited.
Layer adhesion in dual extruder printing depends heavily on thermal compatibility between your chosen materials. You’ll need to calibrate print settings precisely, adjusting nozzle temperatures and speeds to achieve ideal bonding.
Thermal compatibility between materials determines whether your dual extruder layers will bond properly or separate during use.
Consider using interface layers or adhesion promoters when working with challenging combinations. Some materials naturally complement each other—PLA and TPU create excellent bonds due to their compatible properties, giving you parts with both rigidity and flexibility.
Don’t skip the testing phase. Experiment with different parameter combinations to find what works best for your specific material pairing. Proper calibration prevents delamination and confirms your multi-material prints maintain structural integrity throughout their intended use.
Troubleshooting Common Multi-Material Print Issues
Even with careful preparation, multi-material printing presents unique challenges that’ll test your troubleshooting skills. When issues arise, you’ll need to identify the root cause quickly to salvage your prints and prevent future problems.
- Filament cross-contamination occurs when residual material from previous prints affects new layers, creating color bleeding or material property conflicts that compromise your print quality.
- Calibration problems manifest as misaligned layers, gaps between materials, or poor adhesion where different filaments meet, requiring precise extruder offset adjustments.
- Temperature settings mismatches cause clogs, poor bonding, or material degradation when switching between filaments with different melting points.
Regular maintenance prevents most issues before they start. Clean your nozzles thoroughly between material changes and verify your filament paths remain clear for consistent flow.
Applications and Real-World Use Cases
Once you’ve mastered the technical aspects of dual extruder printing, you’ll discover its transformative potential across numerous industries and applications.
In aerospace, you’ll create lightweight components by combining materials like rigid plastics with flexible polymers, achieving superior performance while reducing weight.
Medical professionals use dual extruder technology to produce prosthetics with different materials in one print—soft exteriors for comfort paired with rigid internal structures for support.
Automotive manufacturers leverage this capability for complex and functional prints, producing parts requiring varied characteristics like hard structural components integrated with flexible seals.
Educational institutions employ dual extruder systems for STEM projects, letting students experiment with multi-material designs.
Consumer products benefit too, enabling custom smartphone cases with integrated grips that showcase both aesthetic appeal and practical functionality through strategic material placement.
Frequently Asked Questions
How Does a Dual Extruder Work?
You’ll use two separate nozzles that can extrude different materials simultaneously. Each extruder feeds its own filament through independent heating elements, allowing you to print with multiple colors or material types in one object.
How to Strengthen FDM Prints?
You’ll strengthen FDM prints by increasing infill density, optimizing layer heights, using proper print orientation along stress directions, maintaining correct temperatures, and combining rigid with flexible filaments for enhanced durability.
How Do Multi-Filament 3D Printers Work?
You’ll use multiple extruders that feed different filament materials through separate nozzles. The printer switches between extruders during printing, allowing you to create objects with varying colors, properties, or soluble supports.
What Is the Primary Advantage of Using Dual Extruders in 3D Printing?
You’ll gain the ability to print with multiple materials simultaneously, creating complex geometries that incorporate different material properties in a single print job for enhanced functionality.


Leave a Reply