
You’ll perfect dual extruder timing by calibrating nozzle heights within 0.10mm tolerance, optimizing STL loading sequences to control extruder activation order, and adjusting tension settings for consistent feeding rates. Configure your slicer for precise switching points while managing flow rates between 90-110% to prevent cross-contamination. Fine-tune temperature synchronization with PID tuning and implement real-time Z-offset corrections based on layer adhesion quality. These seven coordinated adjustments transform unreliable dual extrusion into professional-grade multi-material prints with seamless changes and enhanced precision.
Calibrating Nozzle Height Alignment for Synchronized Output
When working with dual extruder printers, you’ll need both nozzles calibrated to the same height within a 0.10mm tolerance to prevent misalignment and layer separation issues.
Precise dual nozzle calibration within 0.10mm tolerance is essential for preventing layer misalignment and separation in dual extruder printing.
Use feeler gauges and vernier calipers for precise measurements, allowing adjustments as small as 0.0015mm. A post-it note provides an excellent gauge during the leveling process to measure the distance between each nozzle and build plate.
Check your nozzle height regularly, as minor discrepancies and Y-axis variations greatly impact print quality and stability.
Consult your vendor specifications to confirm both nozzles should maintain identical heights. Community resources offer valuable best practices for achieving ideal calibration.
Don’t overlook this critical step – proper nozzle height alignment guarantees synchronized output and prevents costly print failures.
Optimizing STL File Loading Sequences for Better Print Order
You’ll find that the order you load STL files into Cura directly affects which extruder prints first and how your layers sequence together.
Your file import strategy becomes essential when you’re managing multiple materials, as it determines the print queue and prevents unwanted material mixing.
File Import Order Strategy
Since most slicing software assigns extruders based on the order you import STL files, your loading sequence directly controls which extruder starts the print and handles each component. Your file import order strategy becomes critical for successful dual extruder timing.
Load your primary structure first, followed by support materials or detail components. This guarantees your main extruder handles the foundation while the secondary extruder manages specialized elements.
| Import Order | Extruder Assignment | Best For | Result |
|---|---|---|---|
| First | Extruder 1 | Main structure | Primary foundation |
| Second | Extruder 2 | Support/details | Secondary elements |
| Third | Extruder 1 | Additional parts | Cycled assignment |
| Fourth | Extruder 2 | Final details | Continued rotation |
After importing, manually reassign extruders if needed. Use Cura’s Alternate Mesh Removal for overlapping geometries to refine your dual extruder sequence control.
Sequential Layer Planning Methods
While file import order establishes extruder assignments, sequential layer planning takes your dual extruder control to the next level by optimizing how these assignments convert into actual print execution.
You’ll need to strategically plan each layer’s extruder sequence to minimize switching time and prevent material conflicts.
Effective sequential planning for dual extrusion involves:
- Analyzing layer dependencies – Map which materials are needed for each layer to reduce unnecessary extruder changes
- Grouping similar operations – Batch print sections requiring the same extruder to minimize shifts
- Implementing Alternate Mesh Removal – Use Cura’s feature to control which extruder prints specific regions
- Timing build plate adhesion – Strategically set first-layer extruder to establish proper foundation
This methodical approach guarantees smoother dual extrusion workflows and dramatically improves print reliability.
Print Queue Optimization
Although sequential layer planning establishes your foundation, print queue optimization determines how efficiently your STL files translate into coordinated dual extruder movements.
You’ll need to carefully control your loading order in Cura, as it directly impacts which materials print when. Always assign specific STL files to your first extruder and second extruder before slicing to prevent conflicts.
Use Cura’s Alternate Mesh Removal feature when dealing with overlapping geometries that could confuse your dual system.
You can also manipulate build plate adhesion settings as a workaround to control startup sequences. Your first extruder should handle base layers while your second extruder manages support materials or accent features.
Document successful loading sequences and share them with the community to improve everyone’s print queue optimization strategies.
Adjusting Extruder Tension Settings to Match Feeding Rates
You’ll need to find the ideal spring tension balance that allows clear gear imprints without crushing your filament.
Different materials require specific tension settings—flexible filaments work best with lighter tension while rigid materials can handle firmer pressure.
Test your feeding consistency by running short extrusion tests and examining the gear marks to guarantee smooth, skip-free performance.
Optimal Spring Tension Balance
Finding the sweet spot for spring tension in your dual extruder setup directly impacts whether your filament feeds smoothly or gets mangled by the drive gears.
Your ideal spring tension balance prevents both grinding and crushing while maintaining consistent feeding rates.
You’ll achieve the best results by creating a slight indentation on your filament without deformation.
Here’s what you need to monitor:
- Gear imprints – Check for proper grip marks without deep grooves
- Material-specific settings – Use looser tension for flexible filaments, tighter for rigid PLA
- Extrusion consistency – Test feed rates regularly across different materials
- Visual inspection – Watch for filament deformation or grinding particles
Your extruder performs best when you can see clear but gentle gear marks on the filament surface.
Filament Type Specific Settings
When switching between different filament types, your extruder’s tension requirements change dramatically to accommodate varying material properties. Rigid materials like PLA need higher tension settings that allow slight indentation without crushing the filament.
Flexible filaments such as TPU require lower tension to prevent grinding and under-extrusion issues.
You’ll achieve peak performance by testing each material through extrusion tests, observing how different tension levels affect feeding consistency.
Check for gear imprints on your filament to determine if adjustments are necessary. Document your filament type specific settings for each material to streamline future prints.
This documentation eliminates guesswork when switching between materials with different characteristics, ensuring consistent feeding rates and preventing material deformation or feeding problems.
Testing Feeding Consistency Methods
Testing your extruder’s feeding consistency requires systematic evaluation of how tension adjustments affect material flow.
You’ll need to balance grip strength with filament integrity to achieve peak performance across different materials.
Start with these essential testing methods:
- Extrusion calibration tests – Run measured lengths of filament through each extruder to identify inconsistencies
- Visual tension assessment – Check for slight indentation without deformation on your filament surface
- Material-specific adjustments – Test flexible filaments at lower tensions and rigid materials at higher settings
- Dual drive optimization – Take advantage of dual drive systems’ ability to handle increased extruder tension without stripping
Regular testing prevents grinding from insufficient tension and crushing from excessive pressure, ensuring both extruders maintain synchronized feeding rates throughout your dual extrusion prints.
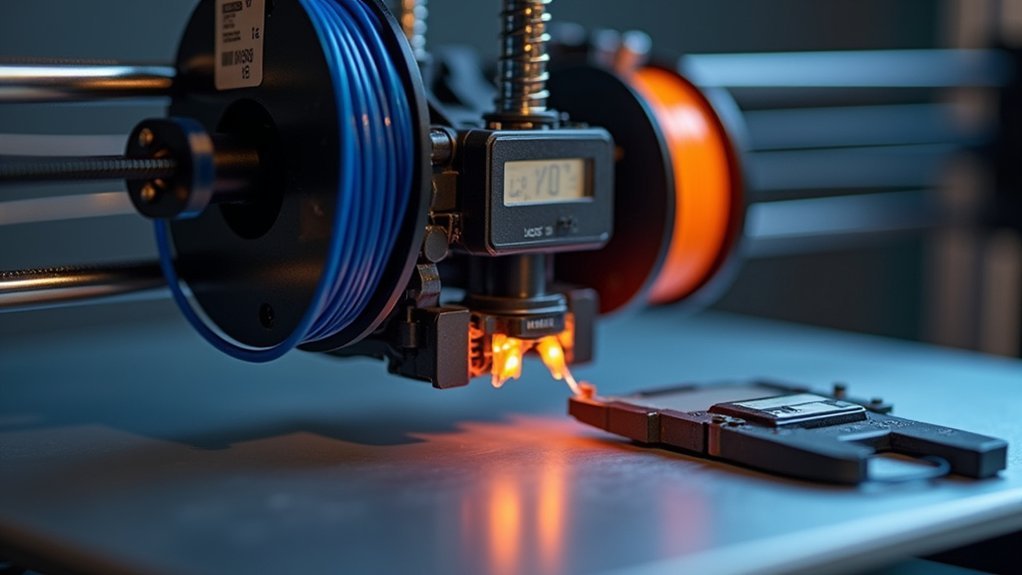
Implementing Real-Time Z-Offset Corrections During Multi-Material Prints
Although dual extruder prints present unique challenges, you can achieve professional results by implementing real-time Z-offset corrections that respond to material behavior as it happens.
Start with a baseline Z-offset of approximately -0.3mm, then adjust through your printer’s touchscreen while observing layer adhesion quality. You’ll need individual adjustments for each nozzle since different filament properties require specific height settings.
Use a larger skirt to provide extra time for fine-tuning before your actual print begins.
Watch the first layers carefully and make immediate corrections when you notice poor adhesion or over-squishing. Document every adjustment you make throughout the printing process.
This record-keeping guarantees you can replicate successful settings for future multi-material projects and builds your expertise in real-time Z-offset corrections.
Configuring Slicer Software for Precise Extruder Switching Points
Proper slicer configuration determines whether your dual extruder switches occur at exactly the right moments during your print.
You’ll need to fine-tune several critical settings to achieve seamless material changes.
Start by assigning specific extruders to designated model parts at precise layer heights. This guarantees you’re using the correct material exactly when needed.
Here’s what you should configure:
- Extruder Assignment: Map specific extruders to model sections using your slicer’s material assignment tools
- Alternate Mesh Removal: Enable this Cura feature for smoother changes between different materials
- STL Loading Order: Arrange files strategically to control which extruder activates first during printing
- Build Plate Adhesion: Configure skirts or brims to designate your primary extruder for initial layers
Remember that proper bed leveling affects switching accuracy, so calibrate both extruders before experimenting with different configurations.
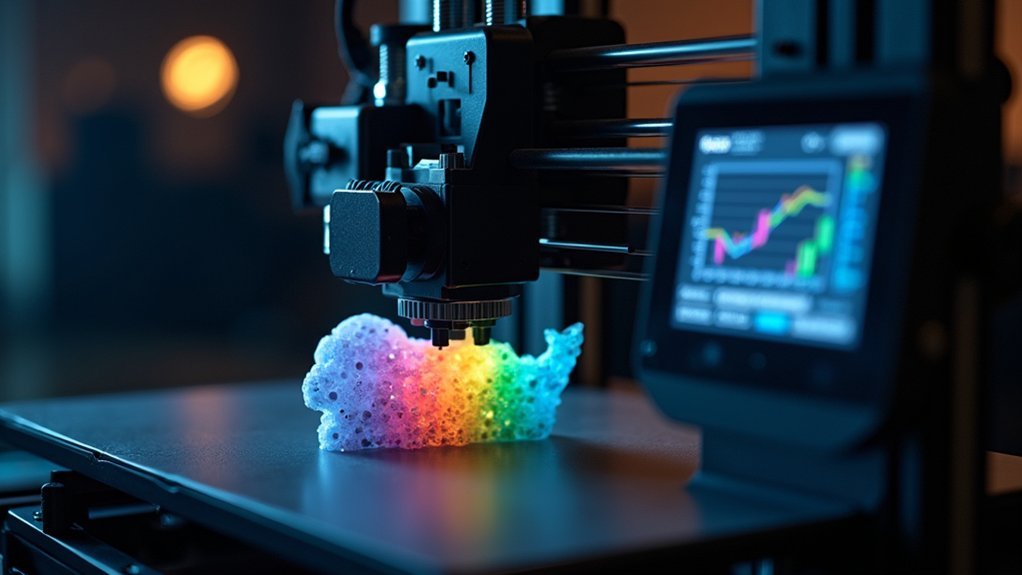
Managing Filament Flow Rates to Prevent Cross-Contamination
When dual extruders operate simultaneously, contamination between different filament types can ruin your print’s visual quality and structural integrity.
Managing filament flow rates becomes critical for preventing cross-contamination between extruders.
Start by selecting compatible filaments with similar melting temperatures to maintain consistent flow characteristics.
Adjust your slicer’s flow rate settings for each extruder between 90-110% of default values, accounting for material properties and diameter variations.
Configure retraction settings with distances of 2-5 mm and speeds around 20-40 mm/s to prevent oozing from inactive nozzles.
Enable prime towers in your slicer to purge contaminated material before switching extruders.
Regularly calibrate e-steps for each nozzle, targeting ±1% accuracy for precise filament delivery.
These adjustments guarantee clean changes and eliminate unwanted material mixing.
Fine-Tuning Temperature Synchronization Between Dual Hot Ends
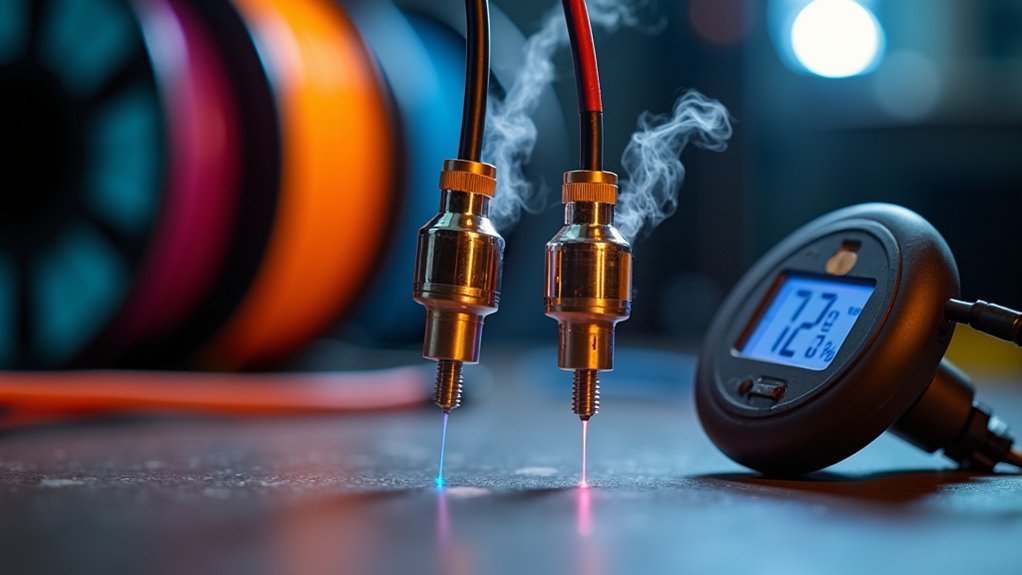
Temperature synchronization between dual hot ends directly affects print quality, as even minor temperature variations can cause layer adhesion failures and unwanted filament oozing.
You’ll need to match each material’s specific requirements—PLA typically needs 180-220°C while ABS requires 220-250°C.
To achieve ideal temperature synchronization:
- Install dual thermistors to monitor and adjust each hot end’s temperature independently
- Perform PID tuning for both extruders to minimize fluctuations and guarantee consistent heat delivery
- Calibrate slicer settings regularly to prevent timing discrepancies that affect synchronization
- Match temperature profiles to each material’s specifications for proper adhesion
Precise temperature control eliminates the gaps between material shifts and prevents cross-contamination during dual extrusion processes.
Frequently Asked Questions
Do I Need to Calibrate Extrusion Every Time?
You don’t need to calibrate extrusion every time. You should recalibrate when changing filament types, experiencing extrusion issues, making extruder adjustments, or starting new projects after significant setup changes.
What Is the Best Slicer for Dual Extrusion?
You’ll find Cura’s the most user-friendly option for dual extrusion with excellent material management. Simplify3D offers advanced control for experienced users, while PrusaSlicer excels with Prusa printers specifically.
How to Fix Inconsistent Extrusion?
You’ll fix inconsistent extrusion by adjusting extruder tension properly, cleaning gears regularly, calibrating Z-offset for each extruder, maintaining consistent print speeds, and performing extrusion tests to optimize settings for different filament types.
How to Calibrate Extruder Tension?
Adjust your extruder tension by testing different settings until you see slight gear indentations on filament without crushing it. Start with lower tension for soft materials, higher for rigid ones, then fine-tune based on performance.


Leave a Reply