You’ll achieve the best results drilling 3D printed parts with high-speed steel (HSS) drill bits for PLA and PETG, or cobalt bits for tougher materials like ABS and nylon. Use a variable-speed drill press set between 500-3000 RPM depending on your filament type, and maintain slow feed rates to prevent melting. Essential supporting tools include digital calipers for precise measurements, deburring tools for smooth edges, and a heat gun to preheat parts and reduce cracking. Proper technique and equipment selection will transform your post-processing capabilities.
Essential Drill Bits for 3D Printed Materials

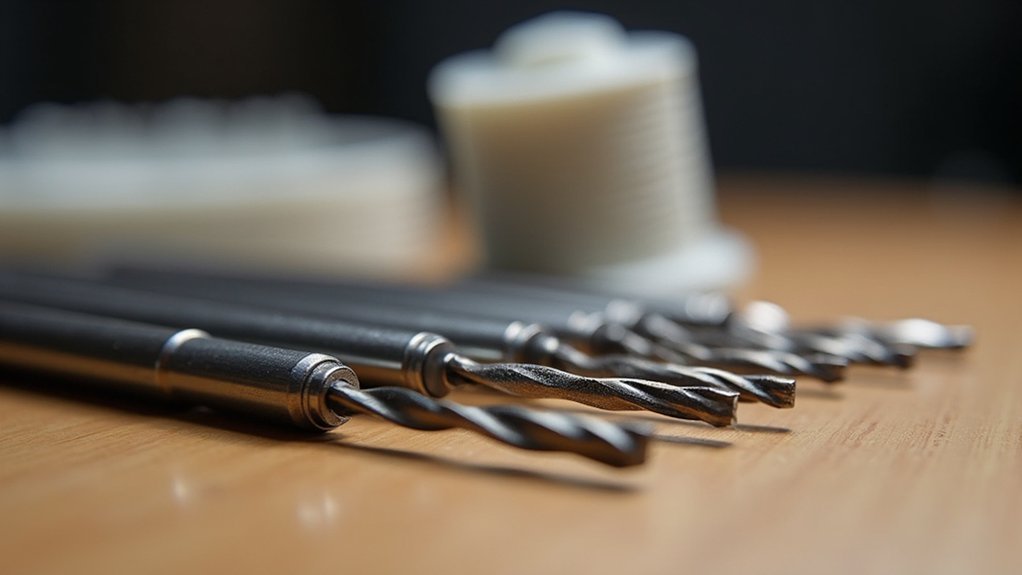
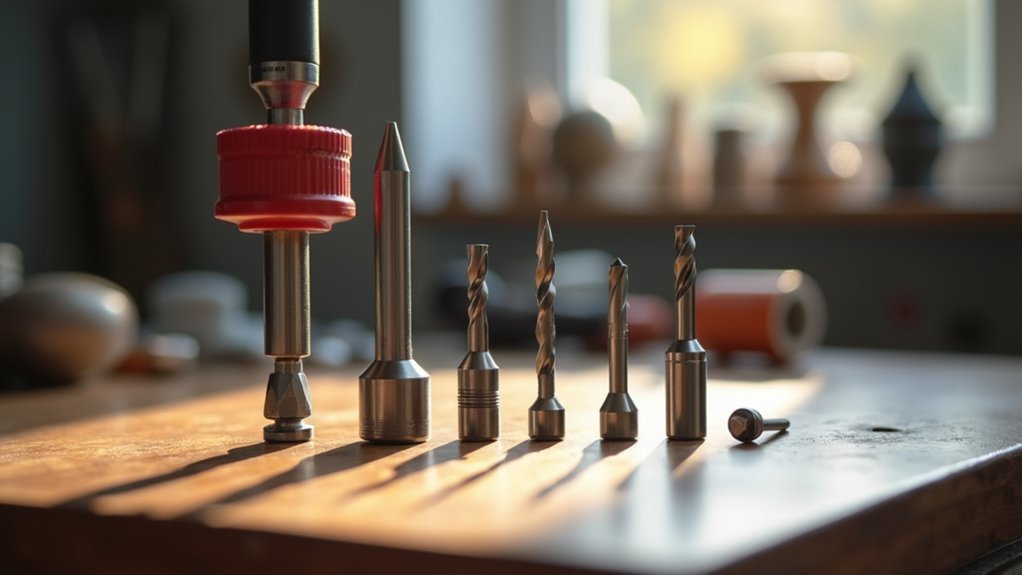
Success in drilling 3D printed parts starts with selecting the right drill bit for your specific material. High-Speed Steel (HSS) drill bits excel when working with PLA and PETG, maintaining their sharpness while handling generated heat effectively.
Choosing the correct drill bit for your 3D printed material is the foundation of successful drilling operations.
For tougher materials like nylon and ABS, you’ll want cobalt drill bits that resist wear and withstand higher temperatures better than standard HSS options.
Spiral flute bits efficiently remove chips and debris, making them perfect for thicker printed parts where clogging becomes problematic.
Brad point bits work well on softer plastics, providing precise entry points while preventing splintering.
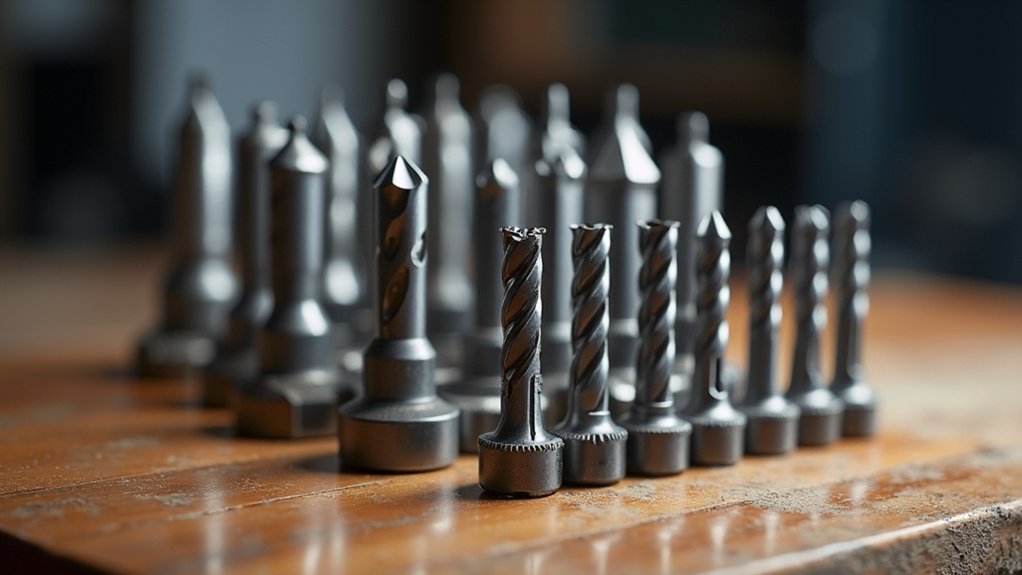
Step drill bits offer versatility when you need varying hole sizes, allowing gradual expansion without compromising the part’s integrity.
Match your bit choice to your material’s properties for best results.
Digital Calipers for Precise Hole Measurement
Accurate measurements make the difference between a perfect fit and a failed assembly when drilling 3D printed parts. Digital calipers are your go-to tool for verifying hole dimensions with exceptional precision, measuring within 0.01 mm accuracy.
You’ll appreciate their versatility for both internal and external measurements, ensuring your drilled holes meet exact specifications.
Choose digital calipers with large LCD displays for clear readings, even in poor lighting conditions. Most models offer both imperial and metric systems, letting you work with your preferred units.
Look for additional features like hold functions that retain measurements and zero functions for relative measuring. These capabilities streamline your workflow when checking multiple holes or comparing dimensions against original specifications, making assembly verification quick and reliable.
Tap Sets for Thread Creation and Cleaning

You’ll need to choose the right tap size that matches your intended screw or bolt diameter, whether you’re working with metric or imperial threading standards.
When cutting new threads, apply cutting fluid and use a tap wrench for controlled, consistent turns that prevent binding or breakage.
For cleaning existing threads in your 3D printed parts, run the tap gently through the hole to remove any debris or imperfections that could affect the fit of your hardware.
Tap Size Selection
Most threading projects in 3D printed parts require careful tap size selection to achieve clean, durable threads that won’t strip or crack the material.
You’ll need to choose between metric (M2 to M12) and imperial (#0 to #10) sizes based on your design requirements. Your filament type directly impacts tap size selection – PLA, PETG, and ABS each offer different strength and flexibility characteristics that affect thread durability.
Always consult a tap drill size chart to determine the correct drill bit diameter before tapping. This guarantees ideal thread engagement while minimizing stripping risks.
You’ll want both taper and bottoming taps in your selection: taper taps easily start new threads, while bottoming taps create threads closer to blind hole bottoms for maximum engagement.
Thread Cutting Techniques
Three fundamental tap types form the backbone of successful thread cutting in 3D printed parts: taper, plug, and bottoming taps. Each serves specific threading depths and quality requirements.
When working with tap sets on 3D prints, you’ll need proper technique to avoid damaging delicate materials.
- Apply tapping lubricant to reduce friction and heat buildup during threading
- Work slowly and steadily to prevent cracking or splitting brittle filament materials
- Choose metric or imperial sizing based on your project’s fastener specifications
- Use taps for cleaning existing threads in printed parts for better screw fit
Your tap sets aren’t just for creating new threads—they’re excellent for cleaning up slightly imperfect printed threads.
The combination of proper tap selection and careful technique guarantees professional-quality threaded connections in your 3D printed projects.
Cleaning Existing Threads
The delicate nature of 3D printed threads often requires post-processing attention, making tap sets invaluable for restoring precision to existing threaded holes. Layer inconsistencies and rough edges from printing can compromise thread quality, affecting assembly fit and function. You’ll find tap sets particularly useful for cleaning threads in plastic materials, ensuring smooth operation for repeated assembly cycles.
| Thread Type | Recommended Speed | Lubrication |
|---|---|---|
| Metric | Slow, steady turns | Light oil |
| Imperial | Quarter-turn technique | Cutting fluid |
| Fine pitch | Extra slow pace | Dry or minimal |
| Coarse pitch | Moderate speed | Standard lubricant |
When cleaning existing threads, work slowly to prevent tap breakage in delicate materials. Regular maintenance using tap sets preserves threaded part integrity, especially essential for assemblies requiring frequent disassembly.
Deburring Tools for Smooth Edge Finishing

While 3D printing creates functional parts, burrs and sharp edges often remain that compromise both safety and aesthetics.
You’ll need a deburring tool to eliminate these imperfections and achieve professional results. These specialized tools feature rotating blades that efficiently shave off excess material without damaging your print’s surface.
A quality deburring tool transforms rough prints into smooth, presentation-ready parts while ensuring safer handling.
Professional finishing with deburring tools eliminates safety hazards while delivering smooth, polished surfaces that meet industrial presentation standards.
You’ll also improve assembly fit since clean edges interlock properly, enhancing functionality in mechanical applications.
- Manual deburring tools offer precise control for detailed work on small parts
- Electric options handle larger components and complex geometries efficiently
- Rotating blade design removes material without gouging underlying surfaces
- Various sizes available to match your specific project requirements and part complexity
Heat Guns to Prevent Cracking During Drilling
Although drilling 3D printed parts seems straightforward, the process often leads to stress fractures and unsightly cracks that compromise your project’s integrity.
Heat guns offer an effective solution by gently preheating your printed parts before drilling. You’ll want to warm the material between 150°F to 200°F (65°C to 93°C), depending on your filament type. This temperature range increases flexibility and reduces cracking risk while making penetration smoother and easier.
Maintain safe distance with your heat gun to prevent overheating and deformation. Always test on scrap pieces or less critical areas first to verify the heating process doesn’t damage structural integrity.
The preheating technique transforms brittle plastic into more workable material, greatly improving your drilling success rate.
Low-Profile Wrenches for Tight Space Access
When 3D printed assemblies feature complex geometries and cramped quarters, low-profile wrenches become indispensable tools for accessing bolts and screws that standard wrenches can’t reach.
Their slim profile and short handles let you apply precise torque in confined areas without losing grip or control.
The compact design enables accurate torque application in tight spaces while maintaining steady grip and complete control over delicate operations.
These specialized tools offer several advantages for 3D printing projects:
- Tight space navigation – Access fasteners in confined areas where regular wrenches won’t fit
- Multiple size options – Compatible with various bolt and screw types in printed assemblies
- Durable construction – Chrome vanadium steel provides longevity and wear resistance
- Delicate part protection – Precise tightening prevents damage from excessive force
Low-profile wrenches help you maintain intricate assemblies without compromising delicate printed components, making them essential for complex mechanical builds.
Drill Stops for Consistent Hole Depth
Precision assembly work requires more than just the right wrenches—you’ll also need accurate drilling techniques to create properly fitted connections. Drill stops are essential accessories that prevent over-drilling and maintain consistent hole depth in your 3D printed parts. They’re particularly vital for delicate or thin-walled components where accuracy matters most.
| Feature | Benefit | Application |
|---|---|---|
| Adjustable depth | Repetitive precision | Mass production |
| Multiple sizes | Versatile compatibility | Various hole diameters |
| Durable materials | Long-term reliability | Frequent use projects |
You’ll find that drill stops attach easily to your drill bits and greatly improve drilling accuracy. Their adjustable nature makes them perfect for repetitive tasks, reducing setup time while ensuring every hole meets your exact specifications in 3D printed assemblies.
Step Drill Bits for Multiple Hole Sizes
Step drill bits revolutionize your 3D printing workflow by combining multiple hole sizes into a single, efficient tool.
These conical-shaped bits feature incremental diameters along their shaft, eliminating frequent bit changes when drilling various hole sizes in your printed parts.
- Precision drilling: Achieve exact hole diameters without risking damage to surrounding material in your 3D prints
- Heat control: Use low drilling speeds to prevent melting or warping of PLA and PETG plastics
- Versatile sizing: Choose from high-speed steel (HSS) options based on your specific project requirements
- Thin material compatibility: Perfect for drilling through typical 3D printed wall thicknesses without breakthrough damage
Step drill bits excel at creating clean holes for fittings, fasteners, and assembly components in your DIY projects and prototypes.
Countersink Bits for Flush Screw Installation
When you need screw heads to sit perfectly flush with your 3D printed surface, you’ll want countersink bits that match your specific screw sizes and material requirements.
You must control your drilling speed carefully to prevent the plastic from overheating and melting, which can ruin both your part and the clean finish you’re trying to achieve.
Selecting the right bit material—whether high-speed steel for basic jobs or carbide for tougher applications—will determine how long your tools last and how professional your results look.
Countersink Bit Selection
Achieving flush screw installations in 3D printed parts requires the right countersink bit for your specific application.
You’ll need to take into account several factors to guarantee ideal results and prevent damage to your printed components.
Your material choice determines the countersink bit type you’ll need:
- High-speed steel bits work perfectly for softer plastics like PLA and PETG
- Carbide bits handle tougher materials such as ABS, nylon, and carbon fiber composites
- Combination drill and countersink bits streamline your workflow by completing both operations simultaneously
- Variable sizing options accommodate different screw diameters from #4 to #14 and metric equivalents
Selecting the correct countersink bit guarantees your screws sit flush while maintaining the structural integrity of your 3D printed parts.
This prevents cracking around screw holes and creates professional-looking assemblies.
Heat Management Techniques
Since 3D printed plastics generate heat rapidly during drilling operations, you’ll need to implement specific thermal management strategies to prevent melting, warping, or damage to your parts.
Start by reducing your drill speed considerably compared to working with metal or wood. Apply gentle, consistent pressure rather than forcing the drill bit through the material.
The most effective technique involves periodically withdrawing the drill bit from the hole during countersinking. This allows accumulated heat to dissipate and prevents the plastic from reaching its melting point.
Take frequent breaks between drilling sessions, especially when creating multiple countersinks.
Monitor the plastic shavings as you work – if they appear melted or stringy rather than clean chips, you’re generating too much heat and should adjust your technique immediately.
Drilling Speed Control
Countersink bits create the conical recesses that allow screw heads to sit perfectly flush with your 3D printed part’s surface, eliminating unsightly protrusions and creating a professional finish.
When you drill with countersink bits, speed control becomes critical for achieving clean results without damaging your plastic material.
- Match bit size to screw diameter – Select the correct countersink bit size for precise alignment and secure fastening
- Use slower drilling speeds – Reduce heat buildup that can melt or warp your 3D printed material during the drilling process
- Apply cutting oil lubrication – A few drops extend bit life and protect your printed parts from heat damage
- Check bit sharpness regularly – Dull countersink bits create uneven recesses requiring additional post-processing work
Pin Vises for Small Precision Holes
When you need exceptional control for drilling tiny, precise holes in your 3D printed parts, pin vises offer the perfect solution.
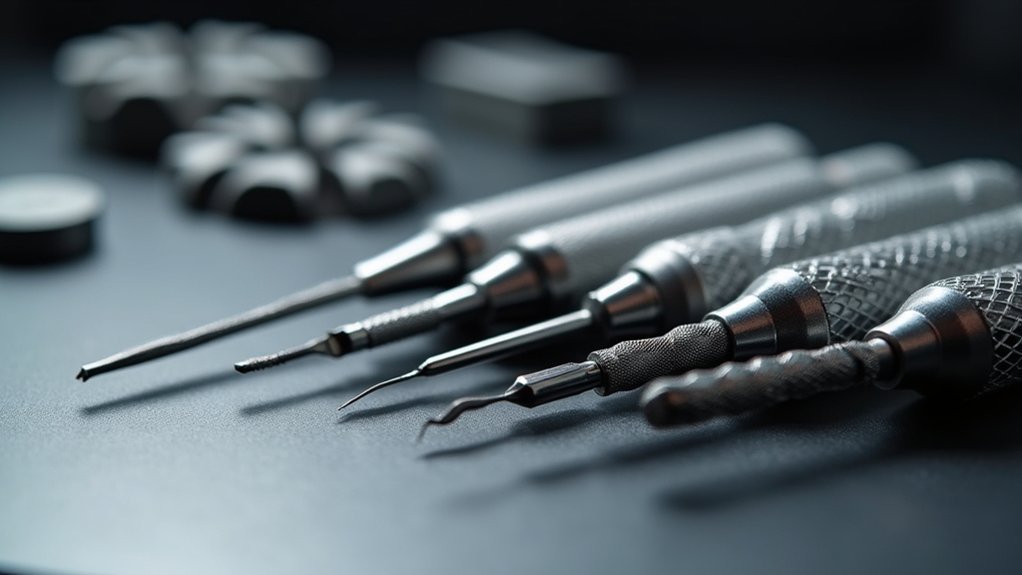
These hand-held tools excel where power drills fall short, giving you superior accuracy for delicate work. Pin vises feature adjustable chucks that accommodate various drill bit sizes, making them incredibly versatile for different hole diameters in intricate designs.
Pin vises deliver unmatched precision for delicate drilling tasks, featuring adjustable chucks that adapt to multiple drill bit sizes effortlessly.
You’ll appreciate the steady grip these tools provide, especially when working with delicate materials that could easily crack under aggressive drilling.
The rotating handle design lets you apply consistent pressure while maintaining smooth rotation, ensuring clean, precise holes every time.
They’re particularly valuable for post-processing tasks like creating screw holes or alignment dowel openings in assembled components, where precision matters most.
Drill Press Setup for Accurate Positioning
When you’re drilling 3D printed parts with a drill press, proper setup determines whether you’ll achieve clean, precise holes or end up with damaged workpieces.
You’ll need to focus on two critical areas: securing your part with appropriate clamping and workholding techniques, and dialing in the correct speed and feed settings for your specific material.
Getting these fundamentals right transforms your drill press from a basic tool into a precision instrument for post-processing your prints.
Clamping and Workholding
Although handheld drilling can work for simple projects, you’ll achieve far better results with a drill press when working on 3D printed parts.
Proper clamping and workholding techniques are essential for maintaining accuracy and preventing damage to your printed components. Securing your 3D printed part eliminates movement during drilling operations, which is vital since these materials can be prone to cracking or deformation under stress.
Use clamps or vises to hold the part firmly against the drill press table.
Essential workholding tips include:
- Position clamps away from the drilling area to avoid interference
- Use soft jaw inserts to prevent marring delicate printed surfaces
- Place a sacrificial backing board beneath the part to prevent tear-out
- Align your drill bit precisely using a speed square before clamping
Speed and Feed Settings
Setting precise speed and feed parameters makes the difference between clean, accurate holes and melted, damaged plastic in your 3D printed parts.
You’ll need to adjust spindle speeds based on your material type. For softer plastics like PLA, use higher speeds around 2000-3000 RPM to achieve clean cuts. Tougher materials like ABS or PETG require lower speeds between 500-1000 RPM to prevent cracking.
Your feed rate should stay slow to moderate, typically 0.005 to 0.01 inches per revolution. This prevents heat buildup that melts plastic and creates rough holes.
These speed and feed settings work best with sharp twist drill bits featuring 60-degree point angles. Remember, patience with your feed rate produces better results than rushing through the drilling process.
Safety Equipment and Protective Gear
Three essential pieces of protective equipment form the foundation of safe drilling practices for 3D printed parts.
Safety glasses protect your eyes from high-speed plastic fragments that can cause serious injury. Quality gloves shield your hands from sharp drill bits and heated tools during post-processing work. A dust mask prevents inhalation of fine plastic particles, especially when working with materials like ABS or nylon.
Additional safety measures you’ll want to implement include:
- Securing long hair and loose clothing to prevent entanglement in rotating equipment
- Keeping a well-stocked first aid kit within easy reach for immediate treatment
- Ensuring proper ventilation in your workspace to minimize particle exposure
- Maintaining clean, organized work surfaces to prevent accidents and improve visibility
Cleaning and Maintenance Tools for Drilled Holes
Proper cleaning and maintenance tools guarantee your drilled holes achieve professional-quality results and excellent functionality.
You’ll need specific cleaning and maintenance tools for drilled holes to guarantee peak performance. Start by regularly cleaning your drill bit and the 3D printed part’s surface to prevent debris buildup that affects hole quality.
Use isopropyl alcohol with paper towels to wipe down the drilled area, removing oils and dust before applying adhesives or finishes.
A deburring tool removes sharp edges and burrs around holes, creating smooth finishes.
Consider using a tap set to create clean, threaded holes that enhance screw and fastener fit.
Finally, a heat gun can warm material around holes, expanding them for better insert or screw fits.
Frequently Asked Questions
Can You Use a Dremel on PLA?
Yes, you can use a Dremel on PLA effectively. Use low speeds to prevent melting, choose appropriate attachments like sanding drums, and wear safety gear to protect against debris and sharp edges.
What Is the Best Tool to Cut 3D Prints With?
You’ll find flat flush cutters work best for trimming supports and excess material. For thicker sections, use a Dremel with cutting attachments. A heated X-acto blade provides clean cuts on thermoplastics.
What Are the Best Screws for 3D Printed Parts?
You’ll want self-tapping stainless steel screws for durability and corrosion resistance. Choose wider thread pitches to prevent cracking plastic prints, and make certain you’re using appropriate screw lengths to avoid damaging your parts.
How to Screw Together 3D Printed Parts?
You’ll measure screw dimensions first, then pre-drill pilot holes using a drill guide. Create threads with a tap set, apply lithium grease to screws, and choose compatible fasteners for your specific filament material.


Leave a Reply