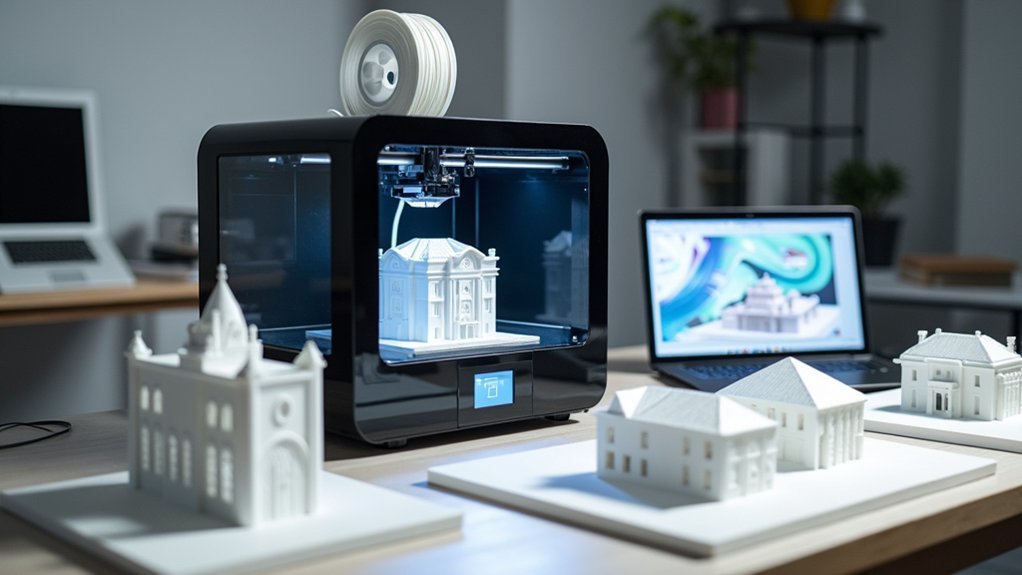
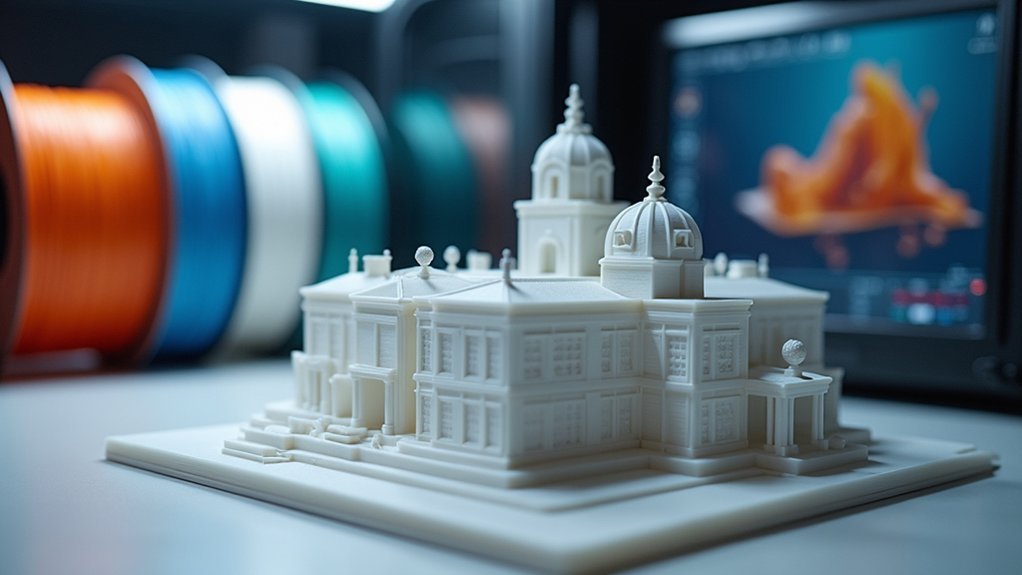
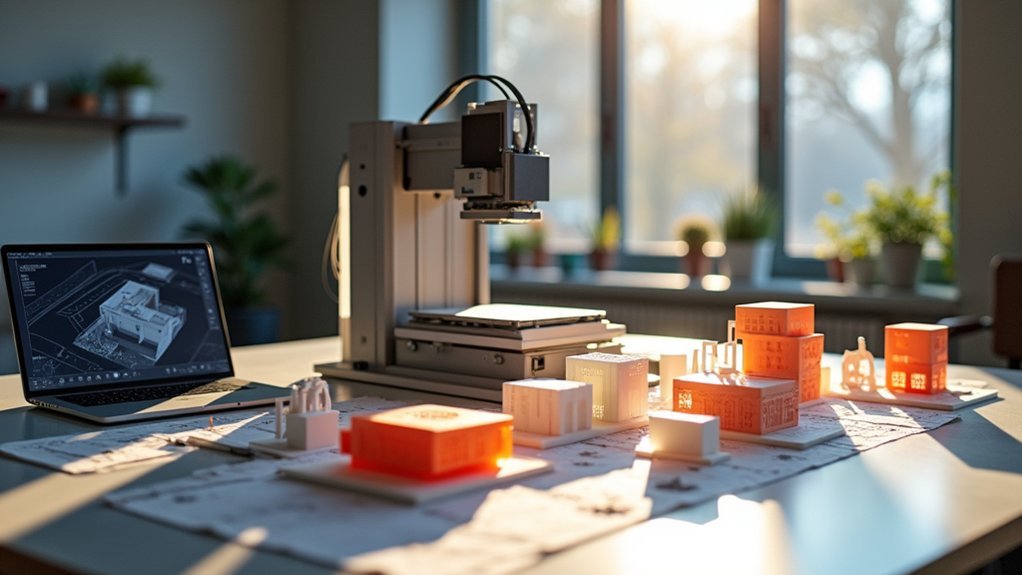
You’ll start by creating watertight CAD models in programs like Rhino 3D or SketchUp, then export them as STL files for 3D printing. Choose SLA technology for detailed presentation models or FDM for budget-friendly concept models. Scale your designs appropriately—typically 1:25 for single floors or 1:200 for large complexes—while maintaining adequate wall thickness. Set layer heights between 0.1-0.16mm using PLA material, then sand and paint your finished models for professional results. Master these fundamentals to reveal advanced techniques.
Why 3D Print Architectural Models?

Precision meets creativity when you choose 3D printing for your architectural models.
You’ll transform complex designs that traditional blueprints can’t effectively communicate into tangible, detailed representations. Your clients will instantly grasp spatial relationships and design intent when they can physically examine your vision.
Physical models bridge the communication gap between complex architectural concepts and client understanding, making abstract designs instantly comprehensible.
You’ll drastically cut production time from weeks to just 1-3 days, accelerating your project timeline. The technology delivers exceptional accuracy down to tenths of a millimeter, ensuring your models precisely reflect specifications.
You’ll catch design flaws early, preventing costly revisions during construction.
3D printing enables you to create intricate geometries cost-effectively, supporting iterative design processes. You can explore multiple concepts, refine details, and customize models without breaking your budget.
This technological advantage gives you the freedom to experiment and perfect your architectural vision efficiently.
Choosing the Right 3D Printer Technology
You’ll need to compare several 3D printing technologies to find the best match for your architectural modeling needs.
Each option offers distinct advantages—SLA delivers exceptional detail for presentation models, FDM provides affordable prototyping, and SLS handles complex geometries with ease.
Your decision should balance the upfront costs against the quality requirements of your specific project.
Technology Comparison Overview
When selecting a 3D printing technology for architectural models, you’ll need to weigh each method’s strengths against your project’s specific requirements.
SLA delivers exceptional detail and smooth surfaces, perfect when you need presentation-quality printed models that impress clients.
FDM offers affordability and accessibility, making it your go-to choice for basic concept models and rapid prototyping.
SLS excels at complex geometries without support structures, ideal for intricate architectural features.
Binder Jetting produces stunning full-color models but results in brittle parts unsuitable for handling.
Consider your project’s scale, required detail level, material needs, and budget constraints.
The right printing technology depends on whether you’re creating a quick study model or a detailed presentation piece that showcases your design vision.
Cost Vs Quality
Three fundamental factors drive every 3D printer selection decision: your budget, quality requirements, and project timeline.
You’ll find that higher quality typically demands greater investment. FDM printers offer the most budget-friendly entry point but deliver lower resolution suitable for concept models.
SLA technology strikes a middle ground, providing exceptional detail and smooth finishes for presentation models at moderate cost increases.
SLS systems require substantial investment—$30,000 to $100,000+—but handle complex geometries without support structures.
Binder jetting delivers full-color capabilities starting at $3,500 for professional desktop units.
Your decision hinges on balancing desired model quality against available budget.
Consider whether you need high-resolution presentation pieces or functional prototypes, then match technology capabilities to your specific architectural modeling requirements and financial constraints.
Stereolithography (SLA) for Detailed Models

Precision becomes paramount when you’re crafting architectural models that need to impress clients and stakeholders. Among available printing technologies, SLA stands out for creating exceptional architectural models with unmatched detail and accuracy.
You’ll achieve smooth surface finishes with minimal visible layer lines, thanks to the laser-cured resin process that hardens liquid material into precise plastic components.
SLA’s impressive 0.1mm feature resolution lets you showcase complex design elements that other methods simply can’t match.
You’ll complete projects faster than traditional model-making, typically within 1-3 days regardless of complexity. While post-processing includes cleaning and curing steps, you’ll guarantee your final models meet the high aesthetic standards essential for professional architectural presentations and client approvals.
Fused Deposition Modeling (FDM) for Concept Models
You’ll find FDM technology straightforward to understand since it works by melting thermoplastic filament and depositing it layer by layer to build your architectural model.
This approach excels during early design stages when you’re testing basic concepts and need quick iterations without demanding fine detail.
FDM’s real advantage comes from producing large-scale models cost-effectively, letting you create substantial architectural pieces within days rather than weeks.
FDM Technology Basics
Simplicity defines Fused Deposition Modeling (FDM) technology, which builds architectural models by melting thermoplastic filament and depositing it layer by layer through a heated nozzle.
You’ll find this 3D printing method perfect for creating basic concept models during early design phases when intricate details aren’t essential.
FDM printers heat thermoplastic materials like PLA or ABS to their melting point, then extrude the molten plastic through a moving nozzle. The nozzle follows predetermined paths, building your architectural models from the bottom up.
Each layer bonds to the previous one as it cools and solidifies.
You’ll appreciate FDM’s accessibility and affordability compared to other 3D printing technologies.
While it offers lower resolution than SLA printers, it compensates with larger build volumes and cost-effectiveness for rapid design iteration.
Early Stage Applications
FDM technology excels during your project’s conceptual phase, where speed matters more than precision. You’ll find this printing process ideal for rapidly testing design ideas and exploring multiple iterations without breaking your budget. The layer-by-layer extrusion method lets you produce architecture models quickly, making it perfect for initial client presentations and design validation.
| Material | Cost | Best For | Print Speed | Detail Level |
|---|---|---|---|---|
| PLA | Low | Indoor models | Fast | Good |
| ABS | Low | Durable prototypes | Medium | Fair |
| PETG | Medium | Outdoor display | Medium | Good |
| Wood Fill | Medium | Aesthetic models | Slow | Excellent |
| TPU | High | Flexible components | Very Slow | Fair |
You’ll appreciate FDM’s accessibility for small firms and hobbyists starting their 3D printing journey.
Cost-Effective Large Models
Scale becomes your greatest advantage when building large architectural concept models with FDM technology.
You’ll find FDM printers exceptionally cost-effective for producing sizable models that would be expensive using traditional methods. The layer-by-layer extrusion process lets you create large models quickly, typically within hours to a couple of days depending on complexity.
While FDM’s resolution is lower than SLA technology, it’s perfectly suited for concept models where you’re focusing on overall design rather than intricate details.
You can rapidly iterate through design variations during early stages without breaking your budget. Common materials like PLA offer excellent print quality and availability, making them ideal for indoor architectural presentations.
This approach transforms how you prototype, enabling faster decision-making.
Creating Digital Models for 3D Printing
Before you can print your architectural model, you’ll need to create a precise digital representation using specialized software.
Start with CAD design programs like BIM, Rhino 3D, or SketchUp to build your model with solid, watertight geometry essential for successful 3D printing.
Export your finished model as an STL file, the standard format for most slicing software. Use slicing programs to optimize print settings, including resolution, support structures, and material compatibility.
Pay careful attention to scale and consider splitting larger components into smaller, printable sections for later assembly.
Verify that all dimensions are accurate and walls maintain proper thickness. Your model’s structural integrity depends on these details being printed correctly, so double-check measurements before proceeding to the actual printing phase.
Scaling and Preparing Models for Print

Choosing the right scale represents one of your most critical decisions when preparing architectural models for 3D printing. You’ll need to select from standard architectural scales while guaranteeing printability at your chosen size.
| Scale | Best For |
|---|---|
| 1:10 | Detailed room sections |
| 1:25 | Single floor layouts |
| 1:50 | Small buildings |
| 1:100 | Medium structures |
| 1:200 | Large complexes |
When scaling your model, you must verify that walls and doors maintain adequate thickness for successful printing. Transform your 2D layouts into solid, watertight 3D models by adding proper thickness to all elements. Simplify complex details that won’t print well at smaller scales. Check geometry carefully to guarantee components fit together properly during assembly while following 3D printing design rules.
Print Settings and Material Selection
Once you’ve properly scaled your architectural model, material selection becomes the foundation of successful 3D printing results.
For indoor architectural models, you’ll want to choose PLA due to its excellent print quality and compatibility with entry-level FDM printers. Your print settings should feature layer heights between 0.1mm to 0.16mm for smooth finishes and adequate detail.
Consider your printing technology carefully—SLA delivers high-resolution models while FDM works better for larger, less detailed prints.
Before printing, verify your 3D model is solid and watertight to prevent failures or structural weaknesses.
You’ll need to calibrate print speed and temperature based on your chosen material. Proper adjustment of these settings greatly impacts your model’s quality and accuracy, requiring careful attention for best results.
Assembly Techniques for Large Models
Large architectural models often exceed your 3D printer’s build volume, requiring you to break complex structures into manageable components. You’ll need to design modular parts with interlocking elements or tabs that enhance both assembly ease and structural stability.
Model makers rely on proven assembly techniques to achieve professional results:
| Technique | Application |
|---|---|
| Chemical bonding | Permanent joints using specialized adhesives |
| Mechanical connections | Removable assemblies with screws or clips |
| Interlocking tabs | Self-aligning components for precise fit |
| Snap-fit joints | Quick assembly without additional tools |
| Threaded inserts | Reinforced connection points for heavy parts |
Pre-plan your assembly sequence to streamline construction and prevent damage. Complete post-processing tasks like sanding and painting on individual components before final assembly. This approach guarantees you’ll achieve a cohesive, polished appearance while maintaining structural integrity throughout the building process.
Post-Processing and Finishing Methods
While raw 3D prints often display visible layer lines and rough surfaces, proper post-processing transforms them into professional architectural presentations.
Start by sanding your model’s surfaces to eliminate layer lines and achieve smoothness. This vital step enhances the overall appearance considerably.
For ideal aesthetics, apply paint strategically. You’ll often want exterior black and interior white finishes to create visual contrast. Use masking tape for clean, precise edges between different colored sections.
Cleaning and curing your model improves durability and creates a polished look.
Different printing technologies require specific approaches – FDM prints need additional finishing work, while binder jetting models often don’t require painting due to their inherent full-color capabilities.
These post-processing techniques guarantee your architectural model meets professional standards.
Frequently Asked Questions
How Do Architects Make 3D Models?
You’ll design detailed 3D models using CAD software like BIM, Rhino 3D, or SketchUp. You’ll then export files in STL format, use slicing software for optimization, select appropriate printing technology, and apply post-processing techniques for finishing.
How Can I Make My Own Models for 3D Printing?
You’ll design your models using CAD software like AutoCAD or SketchUp, export them as STL files, then use slicing software to prepare them for your 3D printer with optimized settings.
How Can 3D Printing Be Used in Architecture?
You can create detailed architectural prototypes quickly, test complex geometries affordably, and produce accurate scale models for client presentations. You’ll iterate designs faster than traditional methods while reducing costs considerably.
Is There Anything Illegal to 3D Print?
You can’t legally 3D print copyrighted designs, firearms, counterfeit money, trademarked products, or certain medical devices without proper permissions. Always check local laws before printing, as regulations vary by jurisdiction and item type.


Leave a Reply