You’ll find color mixing systems waste less filament than multi-extruder setups, which burn through 195g per color change during purging. Set your total extruder count to 6 for ideal blending and calibrate flow rates regularly. Choose filaments with compatible thermal properties and set your primary extruder to the higher temperature. Clean nozzles weekly, verify alignment, and configure purge towers in your slicer. The techniques below will transform your multi-color printing results.
Understanding the Technical Differences Between Color Mixing and Multi Extruder Systems

When you’re choosing between 3D printing technologies, the fundamental architecture sets color mixing and multi extruder systems apart.
Color mixing systems blend filaments during printing using virtual tools, creating new colors from existing materials through specific G-code commands like M163 and M164. You’ll configure mix ratios and virtual tools to achieve desired color combinations.
Color mixing systems use virtual tools and G-code commands to blend filaments and create new colors during printing.
In contrast, dual extruder and multi extruder systems use physically distinct nozzles operating independently, requiring no special mixing commands. You’ll control each nozzle separately for simultaneous printing with different filaments.
Multi extruder setups typically generate less purge waste during color changes, while mixing systems produce more waste when clearing mixed colors from the nozzle between shifts.
Calibrating Your Printer Settings for Optimal Material Flow
Three critical configuration steps determine whether your color mixing system delivers consistent, high-quality blends or frustrating print failures.
First, configure your total extruder count correctly. Set your Geeetech A10T to recognize 6 extruders—3 physical and 3 virtual—for peak blending. Use M163 and M164 G-code commands in your startup script to create virtual tools essential for effective mixing.
| Setting | Physical Extruders | Virtual Extruders | Purpose |
|---|---|---|---|
| Total Count | 3 | 3 | Complete system recognition |
| G-code Commands | M163 assignment | M164 creation | Virtual tool functionality |
| Flow Calibration | Individual rates | Blended ratios | Consistent delivery |
| Temperature Control | Per extruder | Matched settings | Uniform flow |
Second, regularly calibrate flow rates for each extruder to maintain consistent material delivery. Finally, adjust Octoprint’s shared nozzle settings to prevent G-code suppression, ensuring dual extrusion systems recognize all extruders during printing.
Choosing the Right Filament Types for Each Printing Method
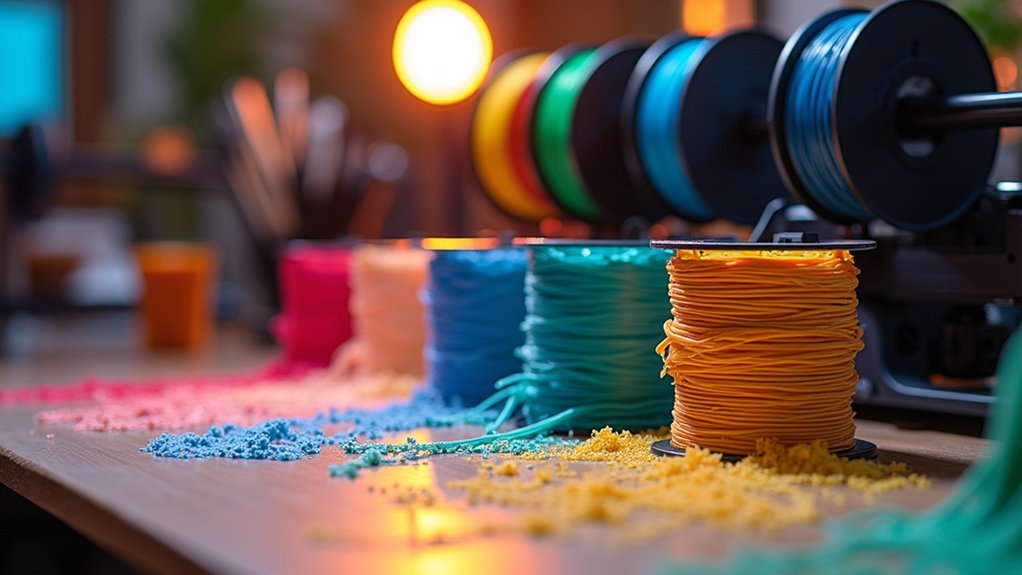
When selecting filaments for color mixing or multi-extruder printing, you’ll need to match materials with compatible thermal properties to prevent jamming and print failures.
You can’t simply combine any two filaments—mixing PLA (190-220°C) with ABS (220-250°C) requires careful temperature adjustments that may compromise one material’s performance.
Your success depends on understanding each filament’s temperature sensitivity and choosing combinations that work within your printer’s capabilities.
Material Compatibility Considerations
Material compatibility stands as the foundation of successful multi-color 3D printing, regardless of whether you’re using color mixing or multi-extruder methods. You’ll need to carefully match filaments based on melting temperatures and adhesion properties to prevent clogs and guarantee smooth blending.
For color mixing, verify your filaments share similar thermal characteristics. With multi-extruders, you can’t afford temperature mismatches between materials. PLA pairs excellently with other PLA variants, while combining PETG and TPU requires attention to thermal expansion rates.
| Compatibility Factor | Key Consideration |
|---|---|
| Melting Temperature | Match within 10-15°C |
| Thermal Expansion | Similar rates prevent warping |
| Chemical Adhesion | Test material bonding strength |
| Flow Characteristics | Consistent extrusion behavior |
| Cooling Requirements | Compatible fan settings |
Always consult manufacturer specifications before combining materials.
Temperature-Sensitive Filament Selection
Temperature requirements become the deciding factor once you’ve established material compatibility.
When selecting temperature-sensitive filaments for dual extruders, you’ll need materials with compatible printing temperatures to prevent warping and misalignment issues. PLA variants work excellently together since they share similar thermal properties, creating smooth color gradients without nozzle clogs.
Avoid pairing high-temperature filaments like ABS with lower-temperature options like PLA in multi-extruder setups. Their different thermal contraction rates during cooling cause print quality problems. Instead, stick with filaments in the same temperature range.
Always consult manufacturer specifications for ideal print settings.
Choose temperature-sensitive filaments specifically designed for dual extrusion or color mixing to enhance reliability and reduce material waste during changes.
Temperature Management Strategies for Different Extruder Configurations
Although dual and multi-extruder setups offer incredible versatility for complex prints, they’ll challenge you to master temperature management across different material types.
When using dual extruders, you’ll need to accommodate filaments requiring temperatures between 180°C to 260°C. For mixing extruders, set your primary extruder to the higher temperature of both materials to prevent clogging, while maintaining the secondary at a lower setting.
You can adjust temperatures dynamically during printing using G-code commands for layer-specific changes.
Install heat break components with better thermal isolation to maintain distinct temperature zones and prevent unwanted melting.
Regular calibration and testing are essential to minimize oozing and stringing issues that occur when temperature differences aren’t properly managed.
Preventing Clogs and Maintaining Clean Nozzles During Color Changes
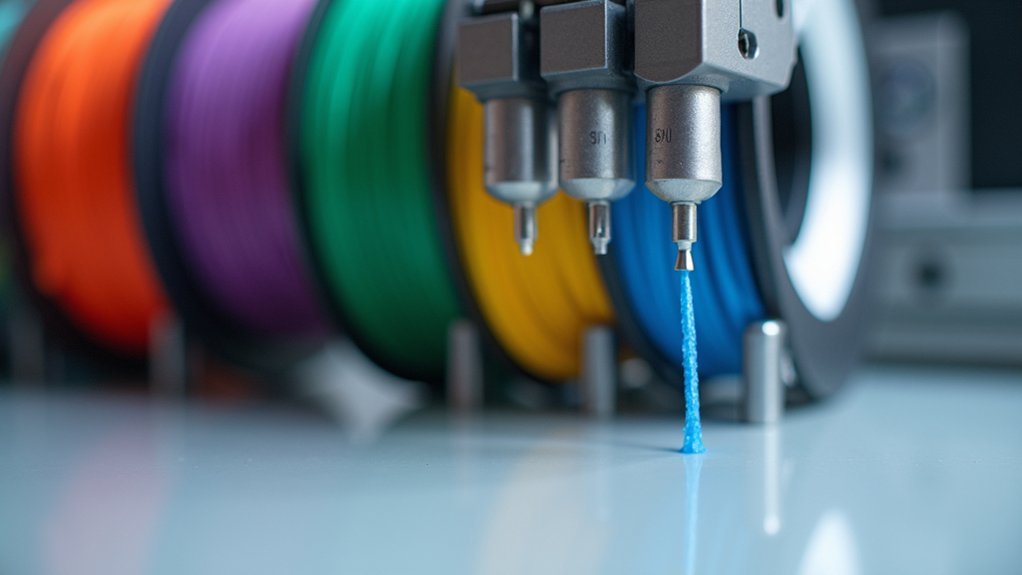
Color changes in 3D printing create the perfect storm for nozzle clogs, as residual filament from previous colors can carbonize and block your hot end when mixed with fresh material. Preventing clogs requires consistent maintenance and smart printing strategies.
Regular cleaning routines keep your nozzle and hot end free from filament residue buildup. Configure purge lines or wipe towers in your slicer to clear old material before new colors start printing. You’ll want to fine-tune retraction settings since excessive pullback creates re-engagement problems.
| Prevention Method | Frequency |
|---|---|
| Nozzle cleaning | Weekly |
| Purge tower setup | Every print |
| Retraction adjustment | As needed |
| Temperature consistency | Always |
| Quality filament use | Standard practice |
Maintain consistent temperatures across all filaments and choose high-quality, less abrasive materials for smoother color shifts.
Configuring Virtual Tools and G-Code Commands for Color Mixing
When you’re setting up virtual tools for color mixing, you’ll need to configure your printer’s firmware and slicer software to recognize both physical and virtual extruders working together.
Successful color mixing requires careful coordination between your printer’s firmware settings and slicer software configuration for optimal extruder recognition.
Set your total extruders to 6 in Octoprint for printers like the Geeetech A10T—this accounts for 3 physical and 3 virtual extruders.
Use M163 commands to assign specific mixing ratios for your virtual tools, then execute M164 to create the actual virtual tool.
Include these M-codes in your S3D startup script so Octoprint processes color mixing commands correctly.
Remember that Octoprint only recognizes physical extruder commands, so specify proper tool numbers (E0 T0) to prevent suppression.
If you’re experiencing blending issues, consider printing directly from an SD card to bypass Octoprint limitations entirely.
Managing Waste Material and Purge Requirements
One of the most compelling advantages of color mixing over traditional multi-extruder setups becomes apparent when you examine waste material generation.
When you’re using multi extruders, you’ll typically waste around 195g of material during each color change due to necessary purging to clear residual filament from inactive nozzles.
Color mixing systems greatly reduce this waste by requiring only the minimal amount needed for proper color blending.
You can further optimize both systems by configuring virtual tools and G-code commands properly.
This optimization helps minimize purge requirements and reduces material consumption.
Managing these waste requirements effectively isn’t just about saving money on filament costs—you’re also reducing environmental impact.
Whether you choose color mixing or multi-extruder systems, understanding purge management strategies will greatly improve your printing efficiency and material usage.
Setting Up Octoprint for Multi Extruder and Color Mixing Operations
You’ll need to configure your extruder count correctly in Octoprint’s Printer Profile Settings to guarantee proper recognition of both physical and virtual extruders.
For the A10T, you must set the total extruder count to 6, which accounts for 3 physical extruders plus 3 virtual tools needed for color mixing operations.
Your virtual tools won’t function properly unless Octoprint can recognize and communicate with each extruder through the correct G-code commands.
Extruder Count Configuration
Configuring your extruder count correctly in Octoprint forms the foundation for successful multi-extruder and color mixing operations with the Geeetech A10T.
You’ll need to set the total number of extruders to 6, which accounts for your 3 physical extruders plus 3 virtual tools used for color mixing functionality.
Essential configuration steps include:
- Set total extruder count to 6 in Octoprint settings
- Enable the “shared nozzle” checkbox for proper multiple extruders functionality
- Configure M163 commands to define virtual tool mixing ratios
- Use M164 commands to create virtual tools in G-code scripts
- Include correct M-codes in your Simplify3D startup script
If Octoprint fails to recognize virtual tools properly, you may need to print directly from the SD card as a troubleshooting alternative.
Virtual Tool Recognition
While proper extruder count configuration establishes the groundwork, virtual tool recognition requires precise G-code command implementation to guarantee Octoprint communicates effectively with your A10T’s mixing capabilities. You’ll need to incorporate M163 and M164 commands in your startup scripts to define virtual tools properly. Octoprint only recognizes commands for physical extruders, ignoring unrecognized virtual tools, so accuracy is critical. Unlike dual printers with separate extruders, mixing printers require the shared nozzle checkbox enabled for proper virtual tool communication.
| Command | Function | Example |
|---|---|---|
| M163 | Sets mix ratios | M163 S0 P0.5 |
| M164 | Creates virtual tool | M164 S4 |
| T0-T2 | Physical extruders | T0, T1, T2 |
| T3-T5 | Virtual tools | T3, T4, T5 |
If blending issues persist, consider SD card printing as Octoprint may suppress virtual tool commands.
Troubleshooting Common Issues With Dual Extruder Alignment and Drooling
Precision becomes critical when working with dual extruder systems, as even minor misalignments can wreak havoc on your prints.
Minor misalignments in dual extruder setups can destroy print quality, making precise calibration absolutely essential for success.
When you’re dealing with drooling and alignment problems, you’ll need systematic troubleshooting approaches.
Key solutions for dual extruder issues include:
- Nozzle alignment verification – Check for proper positioning to prevent material leakage and misalignment
- Extruder calibration – Run test prints to ascertain consistent extrusion and adjust flow rates
- Retraction optimization – Increase distance and speed settings to minimize drooling between color changes
- Wipe tower implementation – Use towers or skirts to catch excess material from inactive nozzles
- Temperature monitoring – Maintain material-specific hot end temperatures to prevent inconsistent melting
These adjustments will considerably improve your print quality and reduce frustrating dual extruder complications.
Design Considerations for Gradients Versus Distinct Color Layers
When you’re planning gradient designs versus distinct color layers, you’ll need to optimize your material flow rates differently for each approach.
Your layer adhesion strategies must account for whether colors will blend seamlessly or maintain sharp boundaries between sections.
You’ll also want to map out your color shift timing carefully, as gradients require gradual changes while distinct layers need precise switching points.
Gradient Flow Optimization
Since gradient flow optimization requires precise coordination between multiple filament streams, you’ll need to master the delicate balance of extrusion rates to achieve those smooth color shifts that make prints visually striking.
Successfully blending multiple colors demands careful attention to several critical factors that’ll determine your print’s visual quality.
Key optimization strategies include:
- Configure virtual tools correctly in your multi-material printer to prevent unwanted color artifacts
- Calibrate extrusion rates between different filaments for seamless changes without abrupt shifts
- Implement varying layer heights and infill patterns to maintain structural integrity while enhancing visual appeal
- Fine-tune slicing strategies to accommodate complex gradient requirements
- Balance print speed with material usage during the calibration process
Remember that gradient optimization typically requires more time and material than distinct color layers, but the stunning visual results justify the extra effort.
Layer Adhesion Strategies
Although gradient shifts create visually stunning effects, they’ll greatly impact your print’s structural integrity compared to distinct color layers. When you’re designing gradients, guarantee gradual color changes to enhance layer adhesion and prevent delamination. Abrupt alterations weaken bonds between layers, creating failure points.
| Aspect | Color Mixing | Multi-Extruder |
|---|---|---|
| Layer Adhesion | Homogeneous interface | Requires temperature control |
| Material Bonding | Blended changes | Distinct layer boundaries |
| Infill Strategy | Standard patterns work | Gyroid/cubic recommended |
You’ll need to control print temperatures and cooling rates carefully with multi-extruder setups to achieve proper layer adhesion. Consider your materials’ thermal expansion coefficients—significant differences between colors can negatively affect bonding. Choose infill patterns like gyroid or cubic for multi-material prints to support interlayer bonding.
Color Transition Planning
Proper color change planning determines whether your multi-color prints achieve professional results or become costly failures.
You’ll need to choose between gradients and distinct layers based on your printer setup and design goals.
For smooth color shifts, consider these key factors:
- Gradient mixing requires careful G-code planning with M163 and M164 commands to control virtual tool ratios.
- Multi-extruder setups work better for sharp color boundaries and complex models with different material properties.
- Physical nozzle spacing limits your effective print area and demands precise alignment.
- Test prints help you determine ideal color mixing ratios before committing to final projects.
- Layer adhesion improves with distinct color changes versus complex gradient shifts.
Plan your approach based on whether you prioritize smooth blending or crisp color separation.
Frequently Asked Questions
Is Multi-Color Printing Worth It?
You’ll find multi-color printing worthwhile if you’re creating complex designs, prototypes, or decorative items. It’s costlier and requires more maintenance, but you’ll achieve superior aesthetics and functionality compared to single-color prints.
What Is the Best Way to Color 3D Prints?
You’ll get best results using colored filaments during printing for simple designs, or post-processing with paints and primers for complex details. Multi-extruder setups work well for professional applications.
How Much Filament Is Wasted on Multicolor Prints?
You’ll waste significant filament during multicolor prints, with estimates showing around 195g of waste compared to 185g for the actual print. Dual extruders waste more due to purging requirements between colors.
What Is the Best Tip for 3D Printing?
You’ll achieve best results by calibrating your bed level perfectly and maintaining consistent temperatures. Don’t rush print speeds, and always use quality filament. Clean your nozzle regularly and guarantee proper adhesion.


Leave a Reply