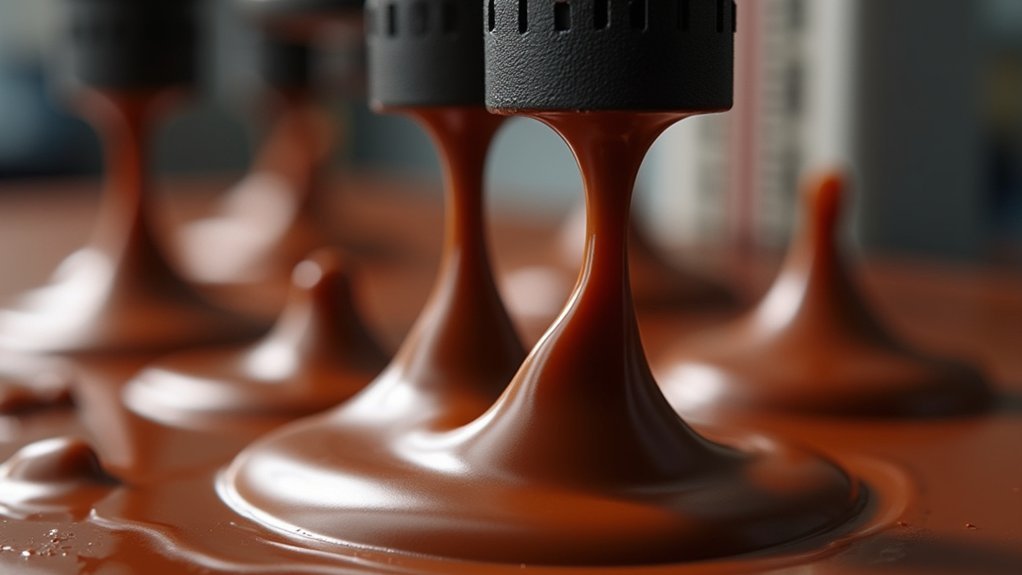
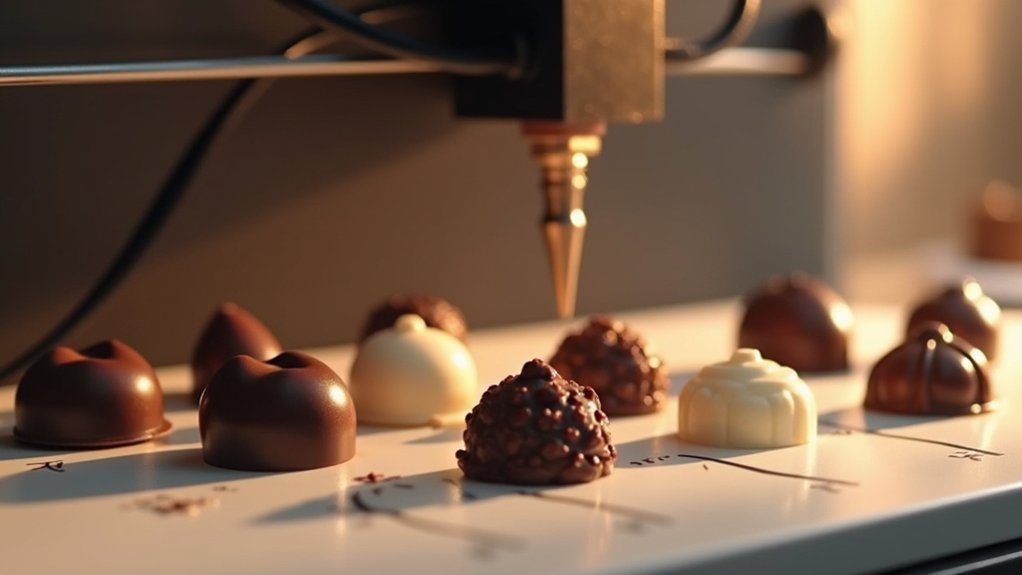
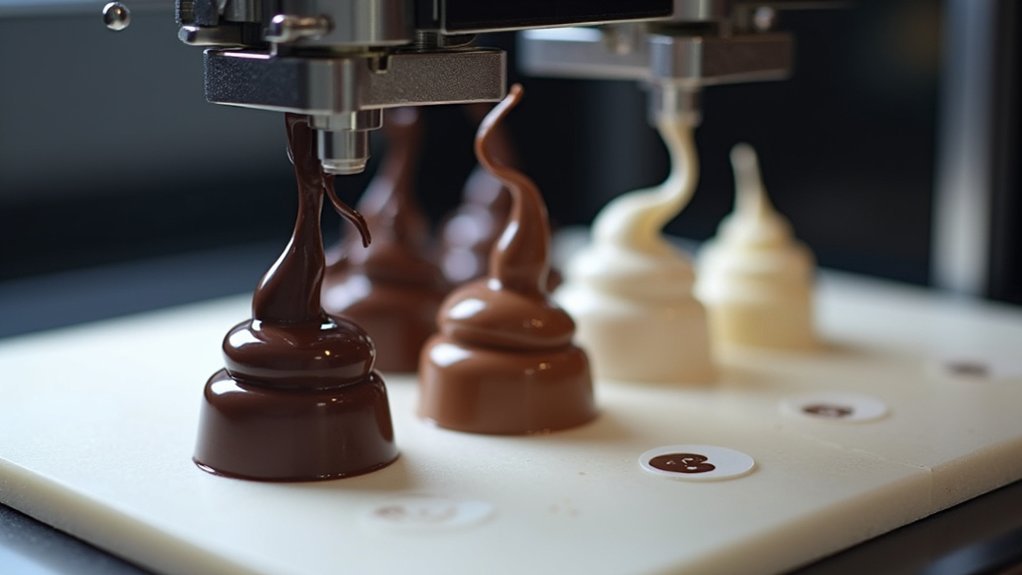
You’ll achieve the best chocolate 3D printing results when you maintain your chocolate at exactly 32°C, which sits just above chocolate’s natural melting point. This temperature works ideally for dark, milk, and white chocolate types, ensuring smooth extrusion and strong layer adhesion. You’ll also need to control your room temperature between 64-74°F with humidity below 50% to prevent bloom and maintain consistent flow. Understanding these environmental factors will help you master more advanced temperature calibration techniques.
How Temperature Affects Chocolate Flow and Viscosity in 3D Printing

When you’re 3D printing chocolate, temperature directly controls how smoothly the material flows through your printer’s nozzle. As you increase the printing temperature, chocolate’s viscosity decreases considerably, allowing better flow and improved layer adhesion that’s essential for maintaining your design’s structural integrity.
You’ll find that chocolate exhibits thixotropic behavior during printing. This means it becomes less viscous when stress is applied as it moves through the nozzle, then quickly solidifies once extruded.
The ideal printing temperature sits around 32°C, just above chocolate’s melting point of 28°C to 30°C.
For optimal 3D chocolate printing, maintain temperatures around 32°C—just above the melting point—to ensure smooth extrusion and structural integrity.
This precise temperature range guarantees smooth extrusion without compromising the material’s ability to hold its shape after deposition, giving you clean, well-defined layers in your final printed piece.
Understanding the Science Behind Chocolate Melting Points for Printing
Understanding chocolate’s molecular structure helps you master the thermal dynamics essential for successful 3D printing.
Chocolate’s crystal structure determines its melting behavior, with cocoa butter polymorphs creating distinct melting phases between 28°C to 30°C. This narrow temperature range requires precise control during printing operations.
You’ll need to maintain extrusion temperatures around 32°C to achieve ideal flow characteristics without destabilizing the chocolate’s structure. The triglycerides in cocoa butter undergo phase changes that directly impact viscosity and printability.
When you exceed this critical temperature range, you’ll encounter over-extrusion and compromised structural integrity.
Lower temperatures prevent proper melting, resulting in poor layer bonding and weak prints. Understanding these thermal properties allows you to prevent chocolate bloom while maintaining consistent flow behavior throughout your printing process.
Recommended Temperature Ranges for Different Chocolate Types

Though all chocolate types share similar thermal properties, you’ll achieve ideal results by fine-tuning temperatures within the 32°C range based on your specific chocolate composition.
The recommended temperature ranges remain remarkably consistent across varieties, but understanding subtle differences will elevate your printing success.
Here are the excellent settings for each chocolate type:
- Dark chocolate – Print at 32°C for smooth extrusion, as melting occurs between 28°C and 30°C.
- Milk chocolate – Maintain approximately 32°C to preserve flow properties and achieve professional finishes.
- White chocolate – Use 32°C printing temperature for superior layer adhesion and print quality.
You can enhance printability by adding flow enhancers like magnesium stearate to maintain excellent viscosity.
Always consider your environment—maintain ambient temperatures between 64°F and 74°F with humidity below 50% for best results.
Balancing Extrusion Temperature With Ambient Room Conditions
As ambient room conditions fluctuate throughout your printing session, you’ll need to fine-tune your extrusion temperature to maintain consistent chocolate flow.
Keep your room between 64°F to 74°F with humidity under 50% for ideal results. When ambient temperatures drop, increase your extrusion temperature slightly above the standard 32°C to counteract increased chocolate viscosity. Conversely, if your room’s warmer, you’ll want to lower the temperature to prevent over-extrusion and messy prints.
Monitor your first layer’s adhesion closely—it’s your best indicator of proper temperature balance.
You’ll notice smooth, glossy finishes when temperatures are dialed in correctly. Watch for clogging or inconsistent flow, which signals you need temperature adjustments to match your current room conditions.
Effects of Chocolate Composition on Optimal Printing Temperature

Beyond room conditions, the chocolate you choose plays an equally important role in determining your ideal printing temperature.
Different chocolate formulations require distinct temperature adjustments to achieve the best flow and print quality.
Each chocolate type demands specific temperature settings to optimize flow characteristics and ensure superior printing performance.
Your chocolate’s composition directly impacts the best temperature you’ll need:
- Traditional chocolate typically requires temperatures around 32°C, just above its natural melting point for smooth flow without quality loss.
- Compound chocolates with palm oil perform better due to enhanced flow properties and lower melting points, allowing you to print at reduced temperatures.
- Modified chocolates with additives like magnesium stearate (up to 5% w/w) improve flow behavior, enabling smoother extrusion at lower temperatures while maintaining excellent print results.
Understanding your chocolate’s rheological properties helps you fine-tune the best temperature for successful 3D printing.
Heating System Components and Temperature Control in Chocolate Printers
While selecting the right chocolate matters, your printer’s heating system determines whether you’ll achieve consistent results.
The Cocoa Press operates at 32°C nozzle temperature, perfectly positioned above chocolate’s 28°C to 30°C melting point. Its 150W heating system maintains chocolate just below body temperature, guaranteeing smooth extrusion and proper layer adhesion.
You’ll need proper temperature settings to avoid weak bonds from inadequate heat or over-extrusion from excessive temperatures. When configured correctly, you’ll achieve smooth, glossy finishes.
The system works efficiently with standard 110VAC or 220VAC outlets for consistent performance.
Don’t overlook ambient conditions—maintain room temperature between 64°F to 74°F and humidity under 50%.
These environmental factors work alongside your printer’s heating components to guarantee ideal chocolate quality and printing success.
Temperature-Related Print Quality Issues and Their Solutions
You’ll encounter several temperature-related problems when chocolate 3D printing that can ruin your prints if left unaddressed.
The most common issues include poor layer adhesion, stringing, sagging overhangs, and inconsistent surface finishes that stem from improper temperature settings.
Fortunately, you can solve these problems by implementing targeted temperature adjustments and following proven solution strategies.
Common Temperature Problems
Although chocolate 3D printing offers exciting creative possibilities, temperature-related issues can quickly derail your projects if you don’t recognize and address them promptly.
Inadequate temperature control leads to several predictable problems that’ll compromise your print quality.
Here are the three most common temperature-related issues you’ll encounter:
- Weak layer bonds or over-extrusion – When temperatures aren’t properly calibrated, your chocolate won’t adhere correctly between layers or will flow too freely.
- Poor surface finish quality – Incorrect temperatures create unwanted matte textures instead of the smooth, glossy appearance you’re aiming for.
- First layer adhesion failures – This fundamental problem indicates your temperature settings need immediate adjustment to prevent structural weaknesses throughout your entire print.
Effective Solution Strategies
Once you’ve identified temperature-related issues in your chocolate prints, implementing targeted solutions will restore your print quality and prevent future problems.
Start by maintaining your ideal chocolate printing temperature at 32°C for smooth extrusion and structural integrity. Control your environment by keeping room temperature between 64°F-74°F with humidity below 50%.
Use temperature towers to calibrate settings for your specific chocolate formulation—this’ll help you achieve better surface finish and strength. Monitor temperature variations during printing and adjust based on observed quality.
If you’re experiencing flow issues, add up to 5% magnesium stearate as a flow enhancer. These strategic adjustments will eliminate weak bonds, prevent over-extrusion, and guarantee consistent results.
Calibrating Your Chocolate 3D Printer for Perfect Temperature Settings
When calibrating your chocolate 3D printer, start by setting your nozzle temperature to 32°C—just above chocolate’s melting point of 28°C to 30°C. This guarantees smooth extrusion without overheating your material.
Follow these essential calibration steps:
- Test temperature ranges – Create a calibration tower testing nozzle temperatures from 28°C to 34°C to compare print quality outcomes.
- Adjust for environment – Increase chocolate temperature slightly when room temperature drops below 64°F to 74°F to prevent clogging.
- Monitor first layer adhesion – Fine-tune temperature settings to guarantee strong bonding with your print bed.
Remember to maintain workspace humidity below 50% to prevent chocolate bloom.
Maintaining proper workspace humidity levels below 50% is crucial for preventing unsightly chocolate bloom during 3D printing operations.
Environmental conditions directly affect your printer’s performance, so you’ll need to adjust temperatures accordingly for consistent results.
Managing Cooling and Solidification During the Printing Process
After setting your ideal nozzle temperature, you’ll need to master the cooling and solidification process to achieve professional-quality chocolate prints.
Your printing environment plays an essential role—maintain room temperature between 64°F to 74°F with humidity under 50%. This creates ideal conditions for your chocolate to solidify quickly after extrusion.
Use cooling fans strategically to manage freshly extruded chocolate temperature. This controlled hardening process improves detail definition and prevents layer separation. Effective temperature control enhances layer adhesion while minimizing warping risks.
Monitor your chocolate’s behavior continuously. If you notice stringing, your chocolate’s too warm. Weak bonds or under-extrusion indicate it’s too cool.
Adjust temperatures based on your room conditions to maintain consistent quality throughout the printing process.
Seasonal Temperature Adjustments for Consistent Print Results
As seasons change throughout the year, your chocolate printing setup requires strategic temperature adjustments to maintain consistent quality. Room temperature fluctuations between winter and summer directly impact your printing success, making seasonal calibration essential.
During colder months, you’ll need to increase your chocolate’s extrusion temperature slightly to compensate for ambient coolness and guarantee smooth flow.
Summer’s higher humidity affects chocolate viscosity, requiring temperature modifications to prevent clogs and maintain print quality.
Here’s your seasonal adjustment strategy:
- Monitor room temperature regularly, keeping it between 64°F-74°F for ideal results.
- Increase extrusion temperatures during winter to counteract cold ambient conditions.
- Create a temperature-controlled environment to minimize seasonal fluctuations and guarantee consistent layer adhesion.
Regular monitoring during seasonal changes helps you achieve that desired smooth, glossy finish.
Temperature Settings for Adding Mix-ins During Chocolate Printing
Beyond maintaining stable temperatures throughout seasonal changes, incorporating mix-ins like caramel, marshmallows, or nuts into your chocolate prints requires precise temperature control to preserve both flow characteristics and print quality.
You’ll need to maintain your chocolate temperature around 32°C for ideal extrusion when adding these ingredients.
Timing matters greatly – introduce mix-ins too early and you’ll affect viscosity, too late and you’ll achieve inconsistent distribution.
Use compound chocolate with palm oil for smoother mixing and better ingredient integration.
You should maintain room temperature between 64°F to 74°F with humidity under 50%.
Different mix-ins and ratios will influence your final texture and stability, so you’ll need to experiment with various temperatures to achieve desired printability for each specific formulation.
Preventing Chocolate Bloom Through Proper Temperature Management
You’ll need to master three critical temperature factors to prevent that unsightly white bloom from ruining your chocolate creations.
First, maintain proper storage conditions before printing, then control your printing environment’s temperature and humidity levels during the process.
Finally, implement strategic post-print cooling methods that won’t shock the chocolate’s delicate crystalline structure.
Storage Temperature Control
While your 3D printed chocolate creations may look perfect straight from the printer, improper storage can quickly ruin their appearance through chocolate bloom.
Effective storage temperature control is vital for maintaining your chocolate’s visual appeal and quality.
Follow these critical storage guidelines:
- Maintain consistent room temperature between 64°F to 74°F, avoiding any temperature fluctuations that can destabilize your chocolate’s structure and trigger unsightly blooming.
- Never refrigerate or freeze your chocolate prints, as this causes moisture condensation and inevitable blooming when you return them to room temperature.
- Store in airtight containers away from direct sunlight, heat sources, and humidity levels above 50% to shield your creations from environmental factors.
Proper storage temperature control guarantees your chocolate masterpieces retain their pristine appearance long after printing.
Printing Environment Conditions
Since chocolate bloom can occur during the printing process itself, controlling your printing environment becomes just as critical as proper storage.
You’ll need to maintain your room temperature between 64°F and 74°F while keeping humidity under 50%. This precise climate control prevents bloom formation that can ruin your printed chocolate’s visual quality.
Don’t overlook adjusting your chocolate’s temperature based on ambient conditions during the printing process. Warmer rooms might require slightly cooler chocolate to achieve ideal flow, while cooler environments may need warmer chocolate.
Monitor both your ambient temperature and chocolate temperature simultaneously.
Remember that fluctuating temperatures pose the greatest risk. Keep your printing area’s climate stable throughout the entire printing session to guarantee consistent results and prevent unsightly bloom from developing on your finished pieces.
Post-Print Cooling Methods
Once your chocolate print finishes, the cooling phase determines whether you’ll achieve professional-quality results or face disappointing bloom formation.
You’ll need to implement proper post-print cooling methods to prevent fat and sugar from migrating to your chocolate’s surface.
Your best approach involves maintaining ambient temperature between 64°F and 74°F for gradual cooling.
Don’t rush this process by placing prints in cold environments like refrigerators, as rapid temperature changes cause condensation and worsen bloom issues.
Follow these essential cooling strategies:
- Use temperature-regulated rooms to maintain consistent environmental conditions throughout the cooling process.
- Implement gentle air circulation to guarantee even temperature distribution across your printed chocolate.
- Allow gradual cooling at room temperature to maintain structural stability and prevent temperature shock.
Safety Considerations When Working With Heated Chocolate Systems
Although chocolate 3D printing opens exciting creative possibilities, you’ll need to prioritize safety when working with heated systems that can reach temperatures well above room temperature. These safety considerations are essential for successful printing sessions.
Maintain your chocolate temperature just below body temperature (around 32°C) for safe handling while achieving ideal extrusion quality. Always wear heat-resistant gloves when touching heated components or chocolate to prevent burns and skin irritation.
Keep chocolate at 32°C for safe handling and optimal extrusion while wearing heat-resistant gloves to prevent burns.
Ensure your workspace has proper ventilation to prevent chocolate fume accumulation during extended heating periods. Keep water and liquids away from heated chocolate systems, as moisture causes chocolate to seize or triggers unwanted chemical reactions.
Regularly inspect your printer’s components for wear or overheating signs that could pose safety risks and affect print quality.
Troubleshooting Temperature Problems in Chocolate 3D Printing
When your chocolate 3D prints fail, temperature problems are often the culprit behind issues like poor adhesion, warping, or weak layer bonding.
You’ll need to identify whether you’re dealing with over-extrusion from excessive heat, under-extrusion from low temperatures, or environmental factors affecting your print quality.
Let’s examine the most common temperature-related failures and how you can quickly fix them to get your prints back on track.
Common Temperature Issues
Since chocolate’s narrow temperature window makes it particularly sensitive to environmental changes, you’ll likely encounter several common temperature-related problems during 3D printing.
Understanding these issues helps you maintain the ideal printing temperature around 32°C for successful prints.
The most frequent temperature problems include:
- Poor layer adhesion – When your chocolate isn’t hot enough, layers won’t bond properly, creating weak structures that collapse or crack during printing.
- Excessive melting and stringing – If temperatures exceed recommendations, your chocolate becomes too fluid, causing messy prints with lost details and unwanted material bridges between sections.
- Flow inconsistencies – Cold environments below 64°F hinder chocolate’s flow characteristics, while warm conditions above 74°F cause shape loss, requiring constant temperature adjustments.
Fixing Print Failures
Whenever chocolate print failures occur, your first step involves systematically diagnosing temperature-related causes before attempting complex solutions. Start by checking your ambient environment and chocolate temperature settings, as these directly impact print quality.
| Problem | Temperature Solution |
|---|---|
| Over-extrusion | Lower chocolate temp below 32°C |
| Under-extrusion | Increase temp closer to 32°C |
| Poor layer adhesion | Check nozzle consistency at 32°C |
| Inconsistent flow | Clean nozzle, verify temp stability |
You’ll want to run a temperature tower test to pinpoint ideal settings for your specific chocolate formulation. This systematic approach helps identify whether failures stem from incorrect chocolate heating, nozzle temperature fluctuations, or environmental factors. Proper temperature control resolves most chocolate printing issues efficiently.
Frequently Asked Questions
What Is the Optimal Temperature for 3D Printing?
You’ll want to set your nozzle temperature around 32°C for ideal chocolate 3D printing. This temperature guarantees proper extrusion and flow while preventing melting issues that’d compromise your print’s structural integrity.
What Is the 45 Degree Rule for 3D Printing?
You should keep overhangs under 45 degrees from vertical when 3D printing. This prevents layers from sagging or drooping since steeper angles can’t support themselves properly without additional support structures during printing.
How Long Does It Take to 3D Print Chocolate?
You’ll spend 30 minutes to several hours printing chocolate, depending on your design’s complexity. Simple objects print faster, while intricate details require more time. Factor in setup, calibration, and cooling between layers.
Is 230 Degrees Too Hot for PLA?
Yes, 230°C is too hot for most PLA filaments. You’ll likely experience over-extrusion, stringing, and poor surface quality. Stick to 200-220°C for best results and check your manufacturer’s recommendations.


Leave a Reply