Start by downloading a temperature tower model and setting your slicer software to test 5-10°C increments within your filament’s recommended temperature range. Configure G-code commands like M104 to automatically change temperatures at specific layer heights, typically every 10-15 layers. Print the tower while monitoring for defects like stringing, under-extrusion, or poor layer adhesion. Analyze each section to identify the temperature that produces the smoothest surface finish and strongest layer bonding for ideal print quality and performance.
Understanding Temperature Tower Fundamentals and Benefits

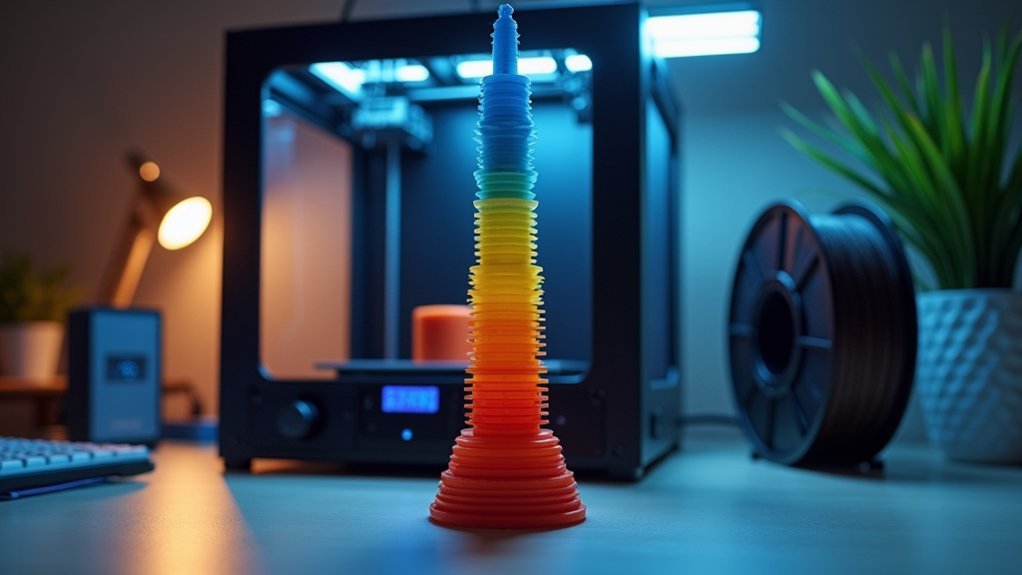
When you’re struggling to achieve consistent print quality with a new filament, a temperature tower becomes your most valuable diagnostic tool. This calibration model prints multiple sections at varying temperatures, typically in 5°C or 10°C increments, letting you compare results side-by-side.
Each temperature change reveals how your filament behaves under different thermal conditions. You’ll quickly identify the sweet spot where your extruder delivers peak flow characteristics without defects.
Finding your filament’s temperature sweet spot eliminates defects and delivers consistent, high-quality prints every time.
Lower temperatures often cause under-extrusion and poor layer bonding, while excessive heat creates stringing and over-extrusion. By analyzing each section of your temperature tower, you can spot warping, curling, or layer separation issues.
This systematic approach eliminates guesswork, reduces material waste, and guarantees you’re printing with settings that produce stronger, more durable parts consistently.
Setting Up Your Slicer Software for Temperature Testing
Now that you understand the diagnostic power of temperature towers, you need to configure your slicer software to execute these tests properly.
Start by downloading PrusaSlicer or Cura, both excellent choices that support temperature change commands. In your slicer settings, select your temperature tower model and set layer height to 0.2mm for ideal quality-speed balance.
Configure your temperature range based on filament manufacturer recommendations, using 5°C or 10°C increments for effective evaluation.
Implement temperature changes at specific heights using Cura’s ChangeAtZ script or PrusaSlicer’s custom G-code commands. These tools automatically insert temperature change commands at designated layers.
After slicing, carefully review the preview to verify all temperature adjustments are correctly positioned before printing your calibration tower.
Designing and Configuring Temperature Tower Parameters
Three critical parameters will determine your temperature tower’s effectiveness: temperature range, increment size, and layer consistency. You’ll need to select appropriate temperature ranges based on your filament manufacturer’s recommendations to cover the complete melting spectrum. Configure your increments at 5°C or 10°C intervals for distinct comparison blocks.
| Parameter | Recommended Setting | Purpose |
|---|---|---|
| Temperature Range | Manufacturer specs ±20°C | Cover melting spectrum |
| Increment Size | 5°C or 10°C | Create distinct blocks |
| Layer Height | 0.2mm or 0.3mm | Maintain consistency |
| G-code Command | M104 S[temp] | Automate temperature changes |
Set consistent layer heights like 0.2mm for uniform analysis. Use custom gcode commands like M104 to program automatic temperature adjustments at specific layer heights, ensuring seamless shifts throughout your tower.
Implementing G-Code Commands for Temperature Changes
You’ll need to master specific G-code commands to execute precise temperature changes during your calibration print.
The M104 command sets nozzle temperature without waiting, while M109 pauses printing until the target temperature’s reached.
You can implement layer-based adjustments using mathematical functions that automatically calculate temperature values as your print progresses through different heights.
M104 Vs M109 Commands
Two essential G-code commands control your extruder’s temperature behavior during 3D printing, and understanding their differences will help you optimize your print quality and efficiency.
| Feature | M104 | M109 |
|---|---|---|
| Execution | Non-blocking | Blocking |
| Wait Time | No waiting | Waits for target |
| Print Flow | Continues immediately | Pauses until heated |
| Best Use | Mid-print changes | Initial heating |
| Syntax | M104 S200 | M109 S200 |
M104 sets your nozzle temperature without waiting, letting your printer continue executing commands. This makes it perfect for temperature change during prints, minimizing downtime between layers. M109 pauses everything until reaching the target temperature, which you’ll want for significant adjustments where precision matters most.
Layer-Based Temperature Adjustments
Strategic temperature management throughout your print requires implementing layer-based adjustments that respond to changing print conditions.
You’ll use the M104 command to set your hotend temperature without waiting for stabilization, allowing continuous printing while temperature adjusts in the background.
For dynamic control, incorporate mathematical expressions like M104 S{230 – (4 * int((layer_z / 8)))}, which automatically calculates temperature based on current layer height. This approach guarantees precise temperature reduction as your print progresses upward.
When implementing these changes, visualize your layer numbers carefully to place commands at correct heights.
Include G-code comments using semicolons to annotate your adjustments for future reference.
Reserve M109 for significant temperature changes requiring stabilization, while using M104 for seamless mid-print adjustments.
Mathematical G-Code Functions
Parentheses are essential for proper parsing—they guarantee calculations execute in the correct order.
You can implement these mathematical functions directly in your slicer’s “Before layer change G-code” settings, eliminating manual intervention during temperature tower tests.
Start with 5°C or 10°C incremental adjustments to effectively assess your filament’s ideal temperature range while maintaining consistent print quality throughout the calibration process.
Printing and Monitoring Your Temperature Tower
Once you’ve prepared your temperature tower model and slicer settings, you’re ready to begin the printing process that’ll reveal your filament’s ideal temperature range.
- Start at the manufacturer’s recommended lower temperature – Begin your print using the conservative temperature setting to establish a baseline for each temperature step as the tower progresses upward.
- Watch the first layers carefully – Monitor temperature changes and verify proper bed adhesion, as poor initial layering will compromise your entire calibration test results.
- Maintain consistent environmental conditions – Keep your printing area stable, avoiding temperature and humidity fluctuations that could interfere with accurate temperature testing.
- Document observations during printing – Note any visible changes in extrusion quality, layer bonding, and surface finish as each new temperature section begins.
Analyzing Results and Optimizing Temperature Settings
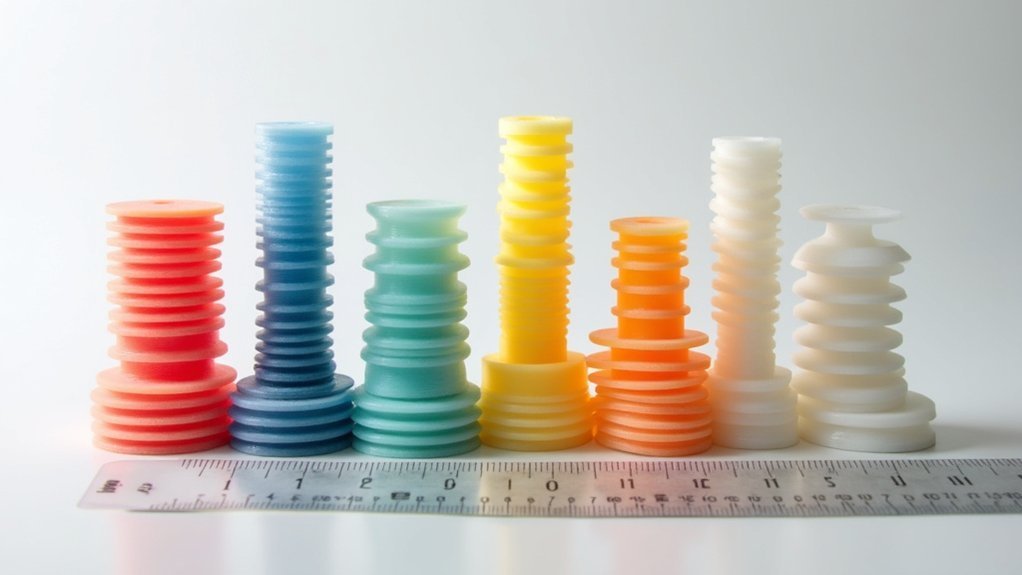
Now you’ll examine your temperature tower to identify the ideal printing temperature through careful visual quality assessment.
Start by comparing each section for common print defects like stringing, under-extrusion, or poor layer adhesion that indicate suboptimal temperatures.
Focus on selecting the temperature range where your print shows the best overall quality, structural integrity, and minimal defects across all test features.
Visual Quality Assessment
Visual inspection reveals critical information about your extruder’s performance at different temperatures.
You’ll need to examine each block systematically to identify visual defects and determine the ideal temperature for your filament.
Follow this assessment process:
- Check for stringing and oozing – Look for thin plastic threads between sections or excessive material bleeding from the nozzle.
- Evaluate layer adhesion – Compare surface smoothness and note any separation between layers that indicates poor bonding.
- Identify extrusion issues – Document under-extrusion at lower temperatures appearing as gaps, or over-extrusion at higher temperatures showing as bulging.
- Examine complex features – Pay special attention to overhangs and bridges, as these reveal how well your filament performs under challenging conditions.
Temperature Range Selection
After completing your visual assessment, you’ll analyze the documented results to determine your filament’s ideal temperature range.
Start by examining each section’s layer adhesion, surface finish, and any signs of under-extrusion or over-extrusion. Look for the sweet spot where your print exhibits strong layer bonding with minimal stringing and smooth surfaces.
Your temperature range selection should focus on the section that demonstrates peak performance across all quality indicators.
Cross-reference these findings with the filament manufacturer’s recommended specifications to validate your results. Document the successful extruder temperature for future reference, as this becomes your baseline setting.
Remember that different filament brands and colors may require slight adjustments, so maintain detailed records of your calibration results for consistent print quality.
Print Defect Identification
Each block of your temperature tower tells a specific story about how your filament behaves at different heat settings.
Print defect identification becomes straightforward when you know what to look for across each segment.
Here’s how to analyze your tower systematically:
- Check for stringing and oozing – These indicate your temperature settings are too high, causing excessive material flow between print moves.
- Examine layer adhesion – Poor bonding between layers suggests temperatures that are too low for ideal filament melting.
- Identify over-extrusion signs – Bulging layers and material buildup reveal excessive heat that’s making your filament too fluid.
- Evaluate surface finish quality – Smooth, well-defined surfaces indicate perfect temperatures, while rough textures require adjustments.
Document your findings to establish ideal temperature settings for future prints.
Frequently Asked Questions
How to Calibrate Filament Temperature?
Print a temperature tower with 5-10°C increments across different sections. Examine each section for defects like under-extrusion or poor surface quality. Document results to identify your filament’s ideal printing temperature.
What Happens if Extruder Temp Is Too High?
You’ll experience over-extrusion, filament degradation, stringing, and oozing when your extruder temperature’s too high. Your prints will lose detail, show poor layer adhesion, and may warp or curl, compromising overall quality.
What Temp Should Extruder Be?
You should set your extruder temperature between 180°C-220°C for PLA and 220°C-250°C for PETG. Check your filament manufacturer’s specific recommendations, then run temperature towers to find your ideal setting.


Leave a Reply